Hi, crafty friends. Today’s card share features a simple interactive element… I started by applying ink through THIS stencil to create a background. I did heavier color towards the bottom, smaller hearts and softer color towards to the top, large hearts. I cut a slit in the card stock with THIS interactive die and cut the panel from the die set using red card stock. I stamped a sentiment on the panel from THIS...
Quintuple Slider Die
Hi there, crafty friends. I’m back today with an interactive card I created for my son’s teacher using THIS new die from THIS new release… I started by stamping the background with the lined paper image from THIS stamp set using THIS white pigment ink. Once it was dry, I die-cut one of THESE dies towards the top of the panel. I flipped it over and die-cut it again right on top to have...
More Sunny Days Ahead Release Inspiration
Howdy, crafty friends. I’m back with more inspiration using THIS new release from Simon Says Stamp. I have a fun interactive card to share using my favorite stamp set from the release… I started by die-cutting THIS die from a white card stock panel measuring 4 x 5 inches. I created a card base in the same size. I masked off the center rectangle with THIS tape and applied various blue shades of Distress...
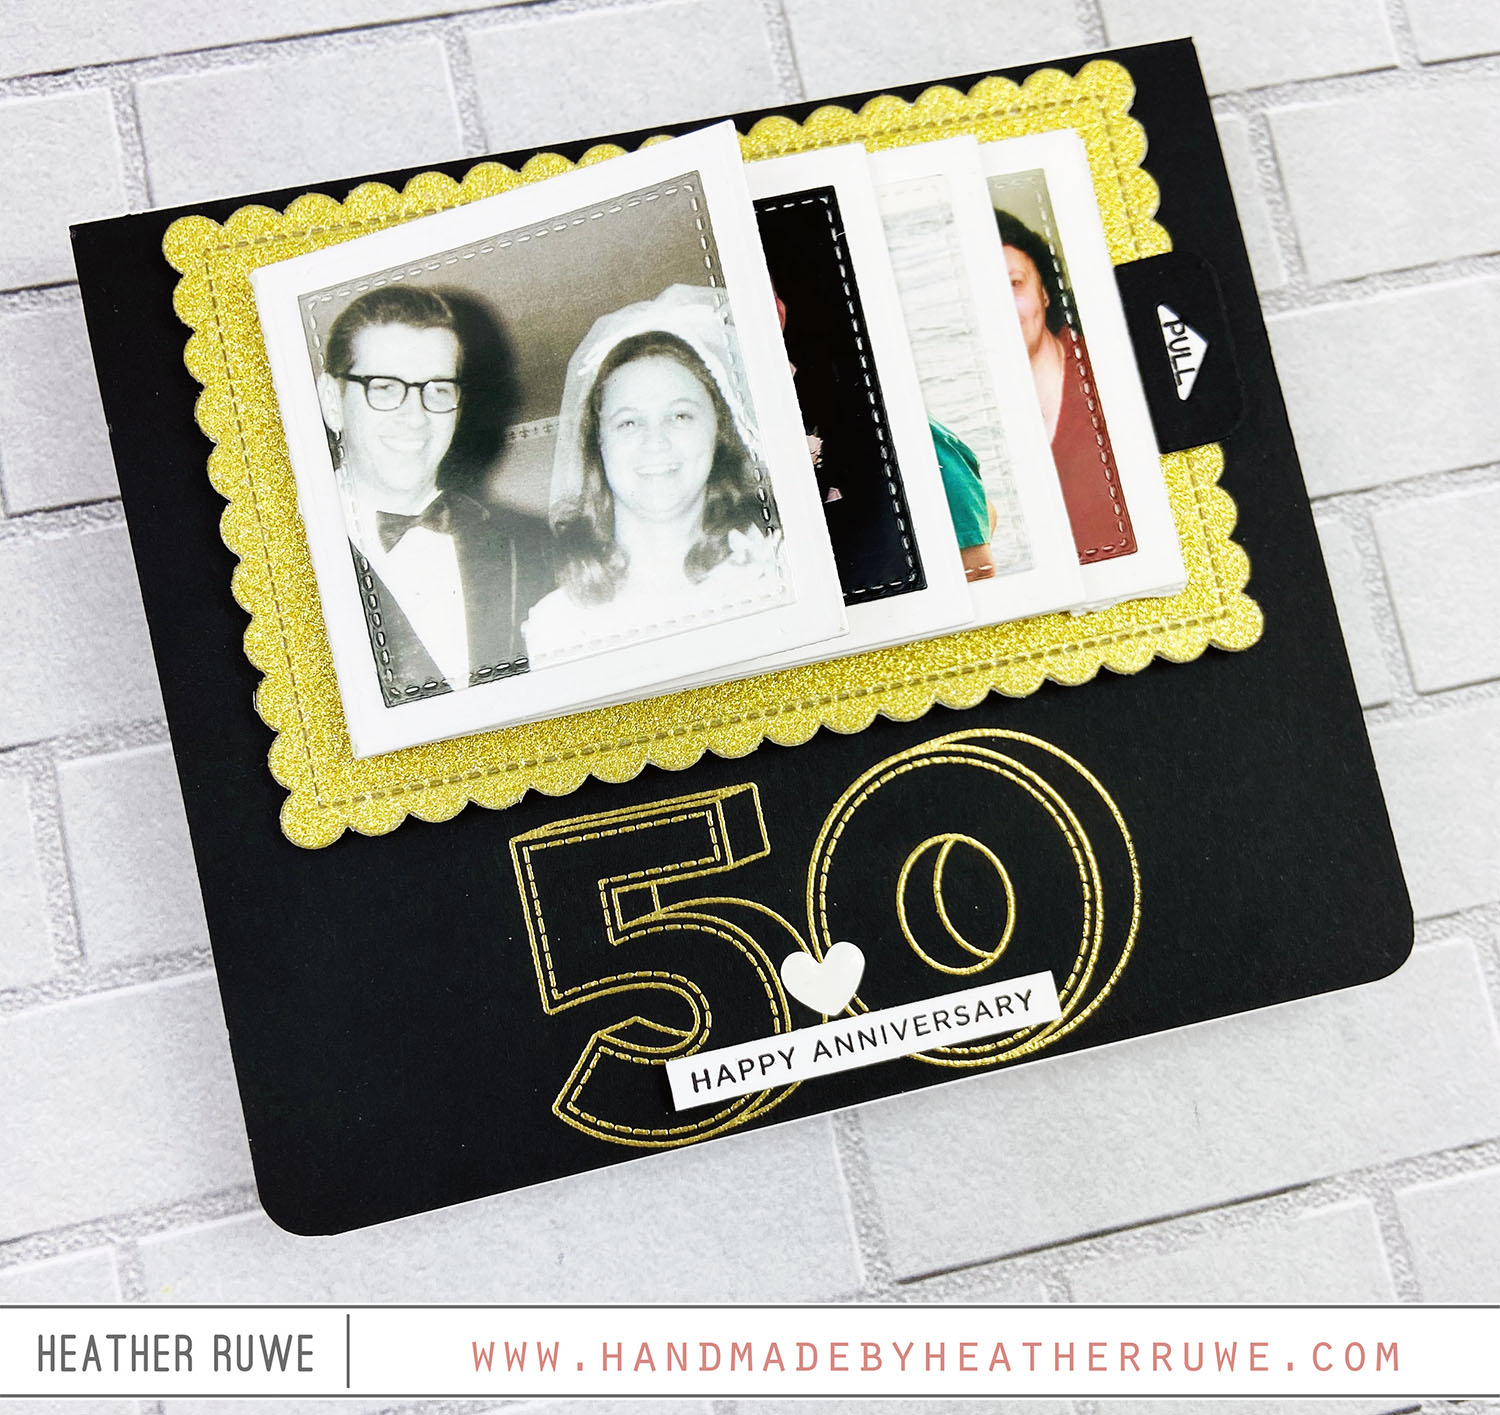
Interactive Anniversary Card with Photos
Howdy, crafty friends. Recently, my parents celebrated their 50th wedding anniversary and I thought I would share the card I created for them… I started by creating the interactive element with THIS die. I die-cut the largest die from the set and reinforced the score lines in both directions. I die-cut the solid square panel and adhered one to the bottom of the die and right next to each score line. I tucked the...
Sliding Window Birthday Card
Hello, crafty friends. I have a card to share today using THIS die, which is my all time favorite interactive die. I love the design and how simple it is to put together. I started by stenciling clouds using THIS stencil with THIS ink. I cut the panel with THIS die and adhered the sliding piece to the back of the panel. I stenciled the front of the card with a honeycomb stencil and...
Multiple Sentiments Interactive Card
Howdy, crafty friends. Today’s card is a great example of a super simple interactive card… I started by die-cutting THIS card stock with THIS die. I also die-cut the smallest rectangle from THIS set in the center of the card to serve as a window for the sentiments. I stamped one of the images from THIS stamp set with THIS ink in the four corners of the panel. I colored them in with Copic...
Carrot and Peas Tri-Fold Card
Hello. I have a tri-fold card to share using a stamp set from THIS new release… To create a tri fold card, I adhered two 4.25 x 5.5 kraft note cards together after trimming a bit off one flap of each card. When you trim off a tiny bit off one flap, they will fit together nicely. To create the front panel, I die-cut THIS die twice to create a full panel of circles....
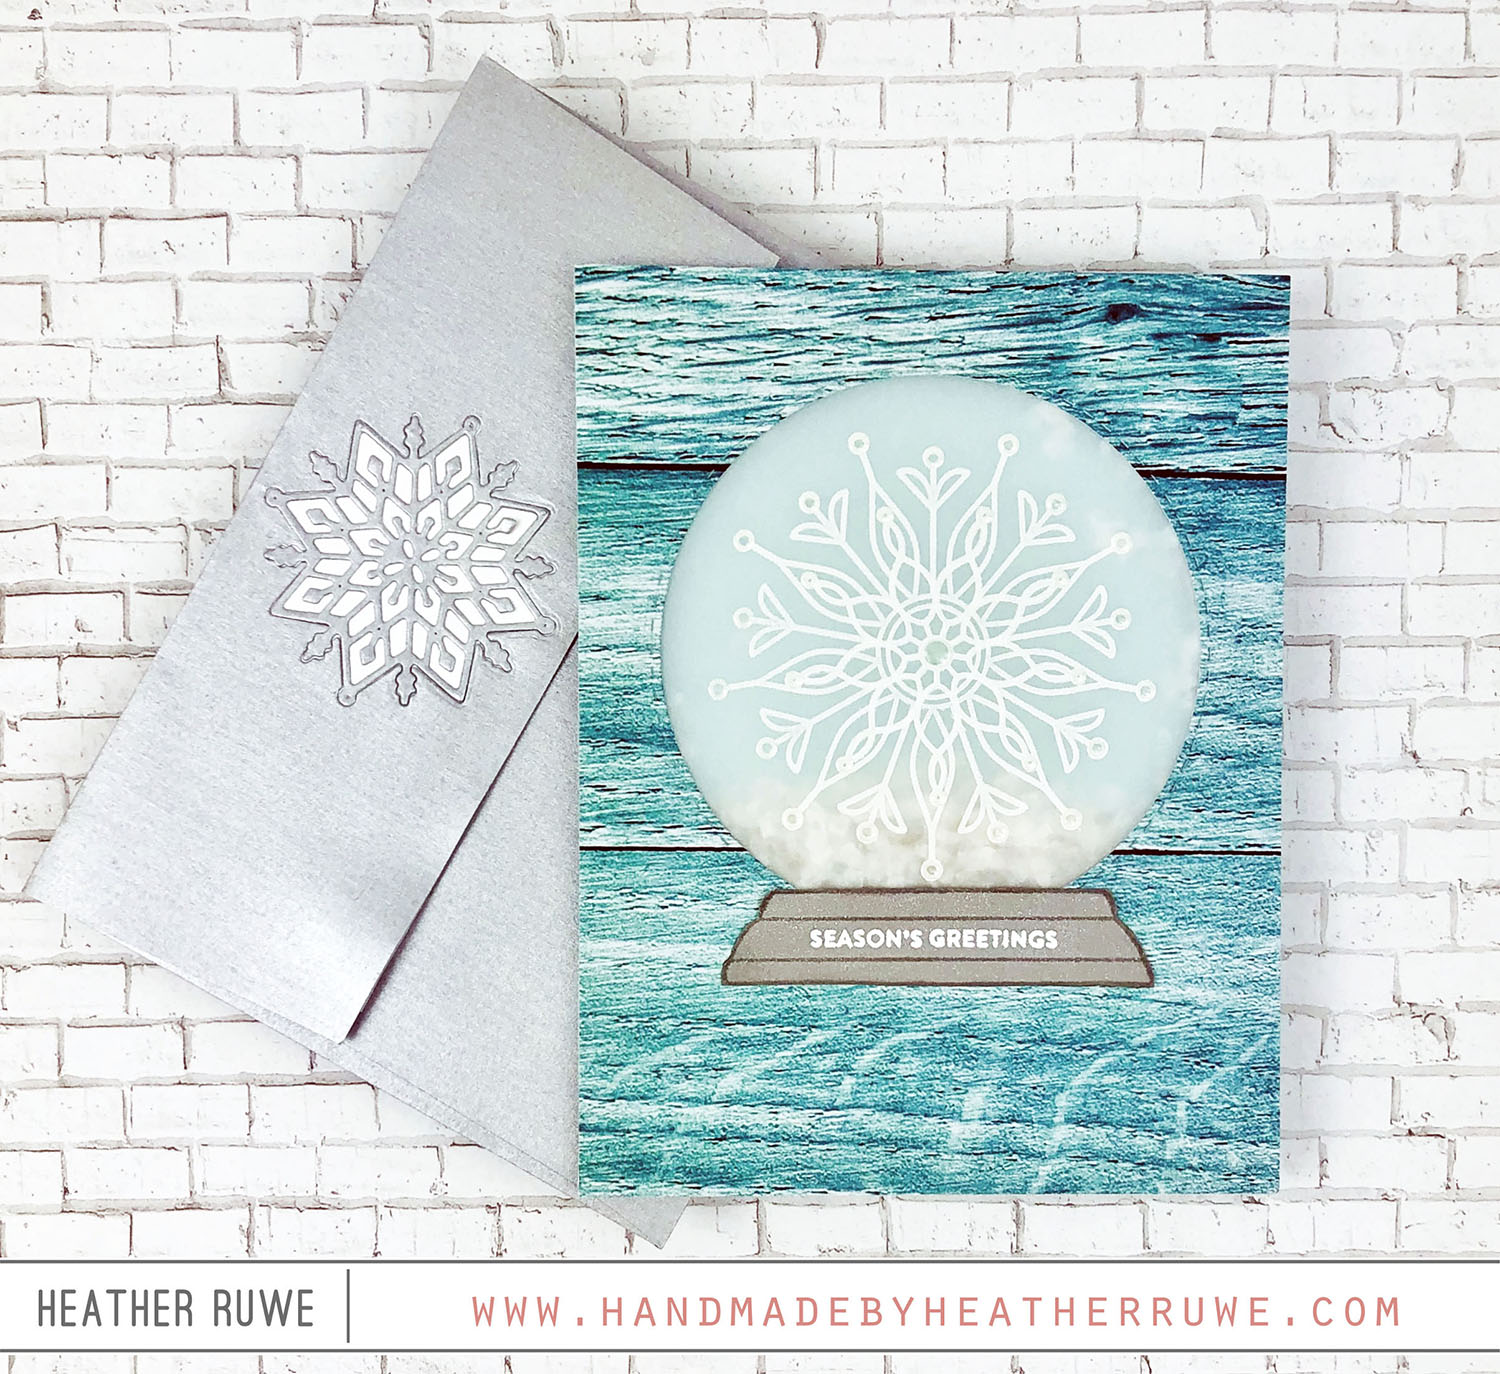
Snowflake Builder Card Kit
Hi there, crafty friends. Today’s card features THIS new card kit from Simon Says Stamp… I stamped one of the layering snowflakes from THIS 6×8 stamp set that’s included in the kit on to a piece of vellum. I die-cut a circle from one of the patterned papers using THIS die and adhered it on top of the vellum. I stamped the bottom of the snow globe image from THIS set, cut it out,...
Simon Says Wednesday Challenge: Interactive Christmas Cards
Hi there, crafty friends. I’m thrilled to be a December guest over HERE on the Simon Says Stamp Wednesday Challenge Blog. This week’s challenge is Interactive Christmas cards showcasing Lawn Fawn products… For both cards, I used THIS die to create a flip-book style interactive card. I watched THIS video by Kelly Marie (the owner of Lawn Fawn) when assembling the interactive elements. I have a lot of interactive dies and this one was...
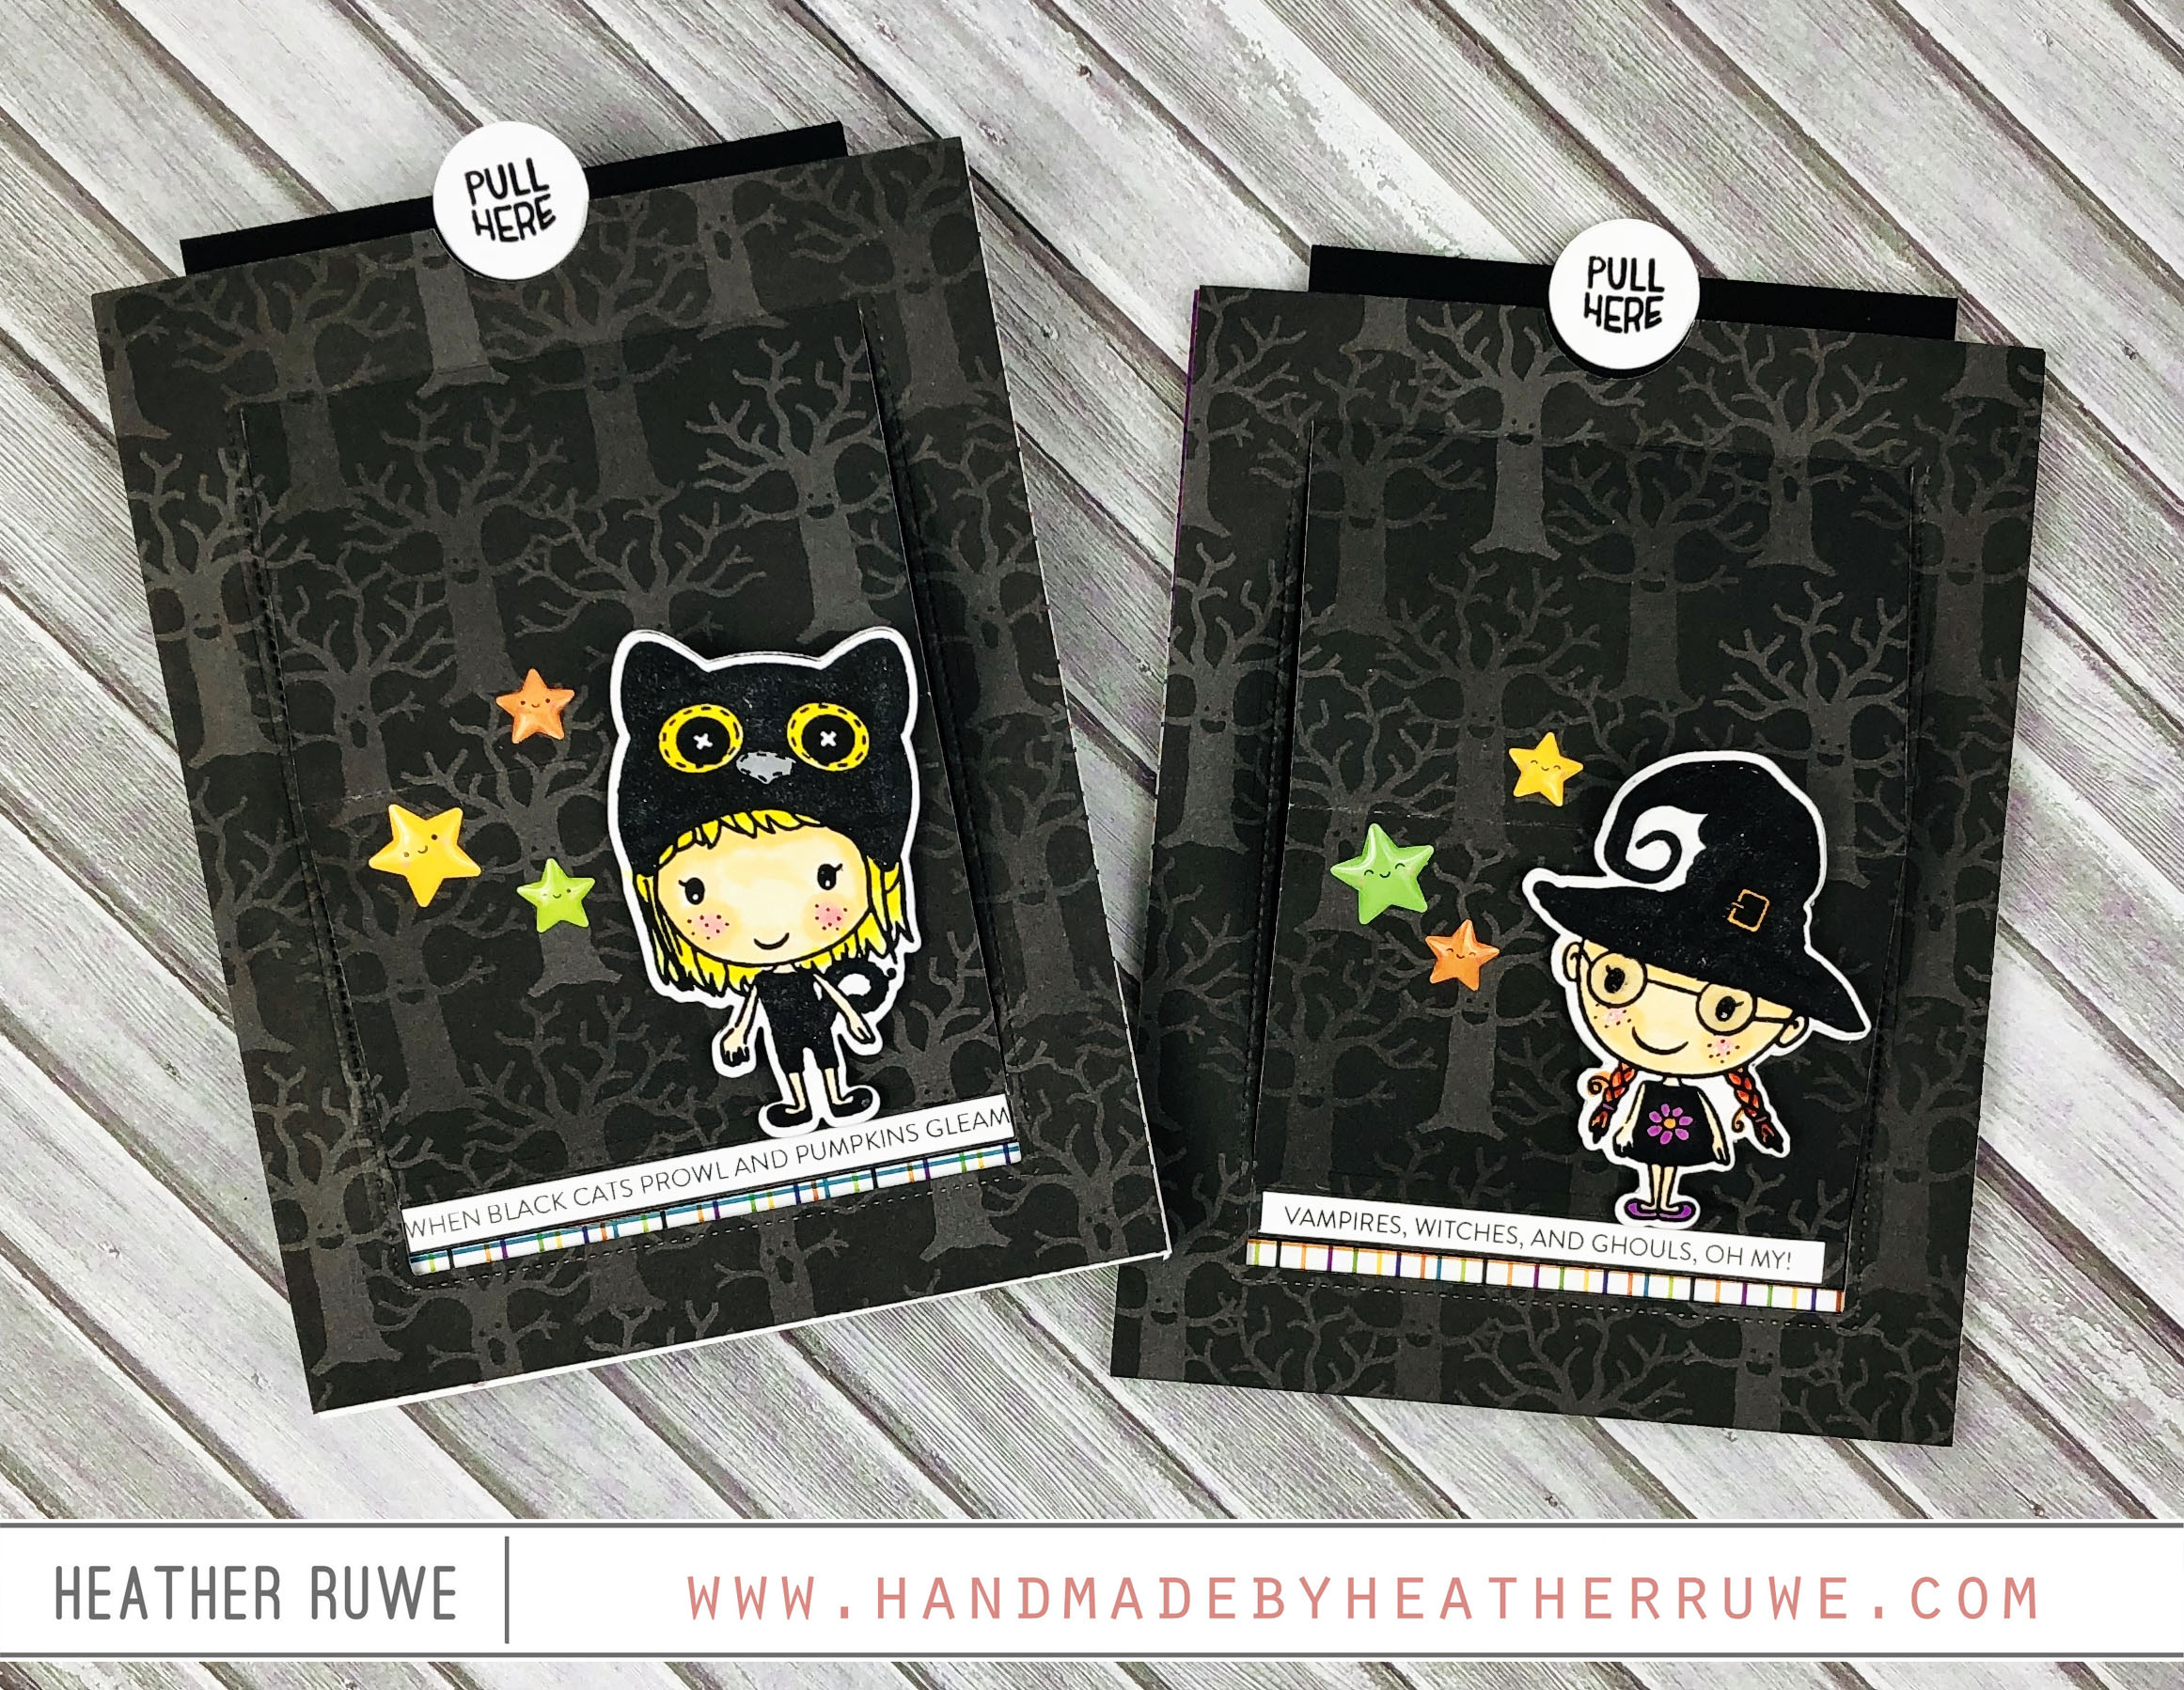
Interactive Halloween Cards
Hi, crafty friends. I’m sharing a couple of interactive Halloween cards that I created for my son’s teachers… I started by die-cutting THIS sliding window die out of a patterned paper panel. I adhered a 3.5 x 5 piece of black card stock to the bottom inside of the moving window and adhered a circle die to the top with a “pull here” sentiment from THIS stamp set. I added foam tape to the...


