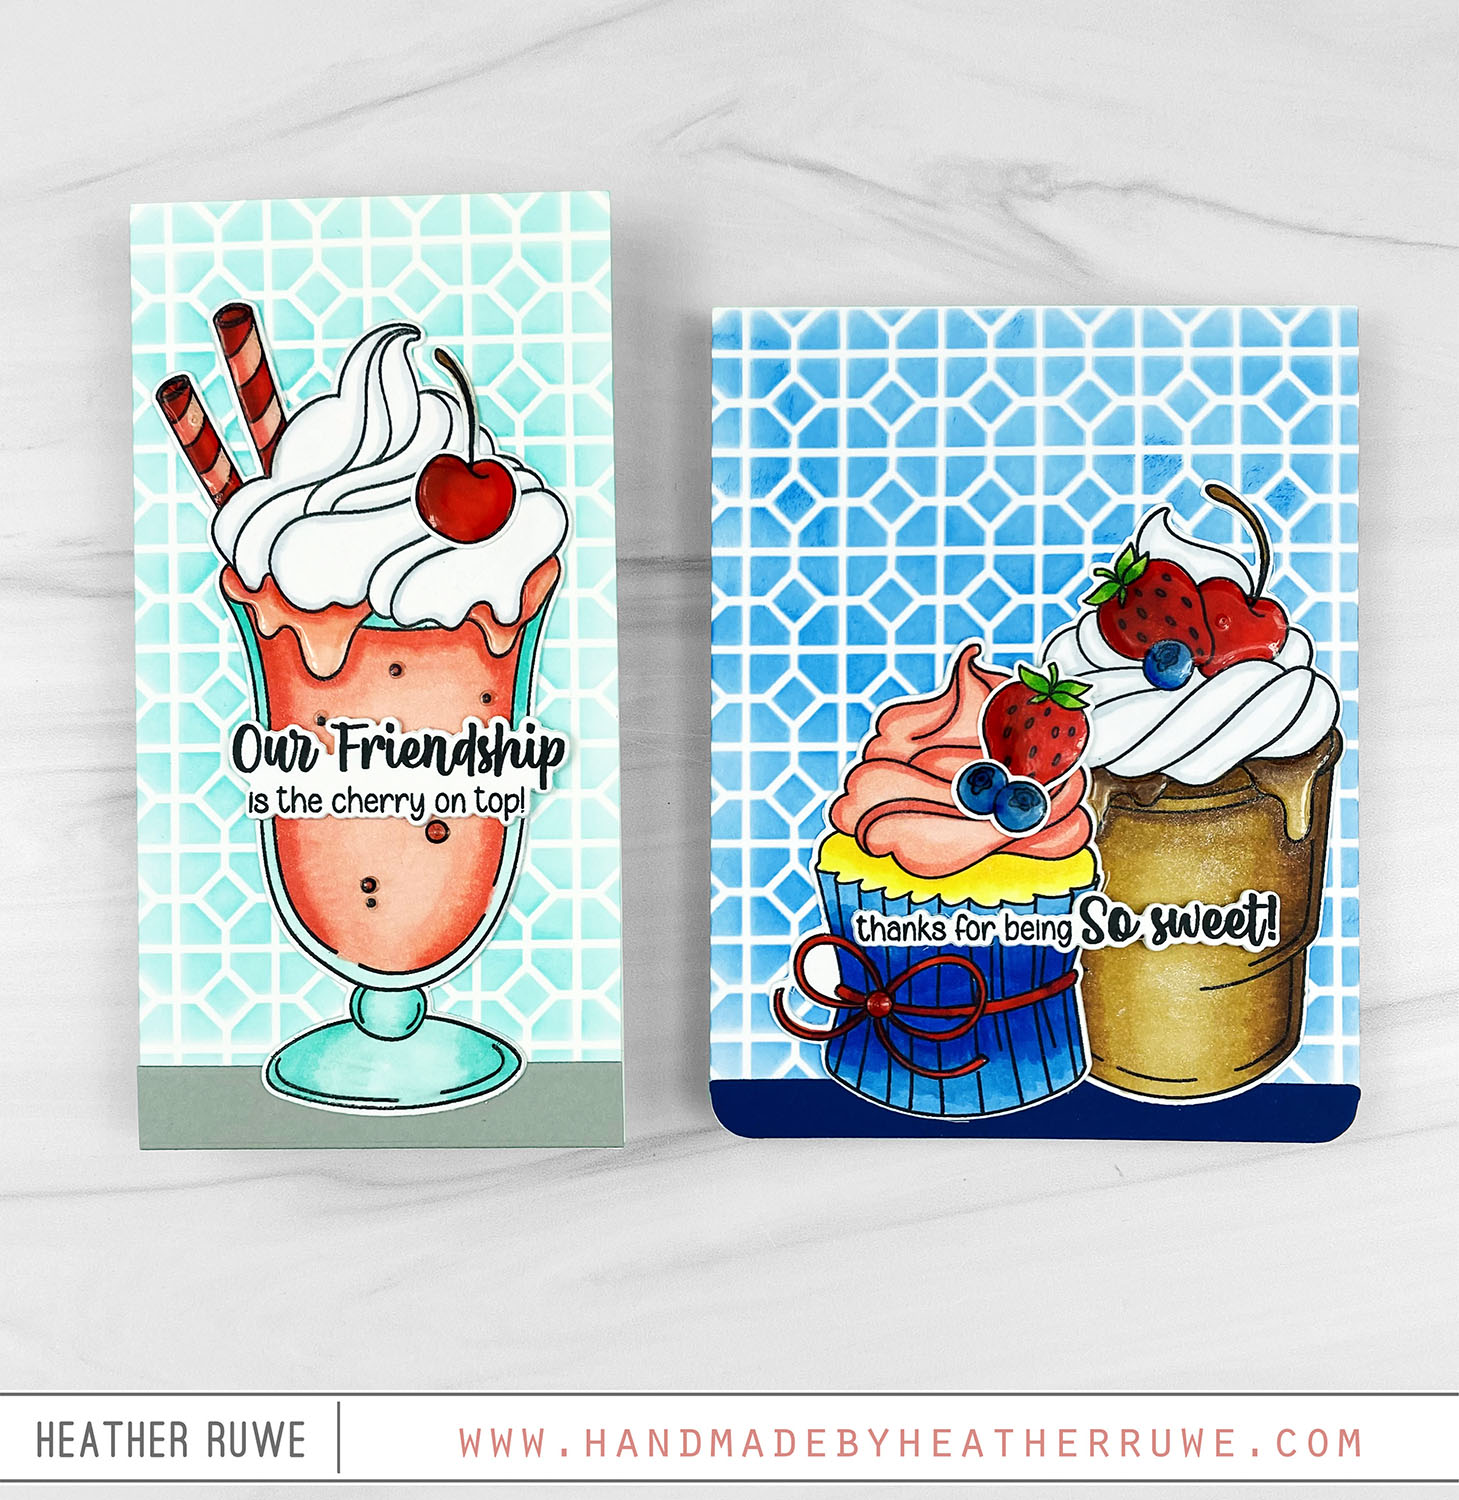
Hey there, crafty friends. Today’s card set is part of THIS Blog Hop celebrating THIS new release… To create the first card… I started by applying blue ink through THIS stencil on the front of a top folding note card. I added a strip of blue cardstock along the bottom and rounded the two bottom corners. Next, I stamped the images (and sentiment) from THIS stamp set, colored them with Copic Markers, and used...
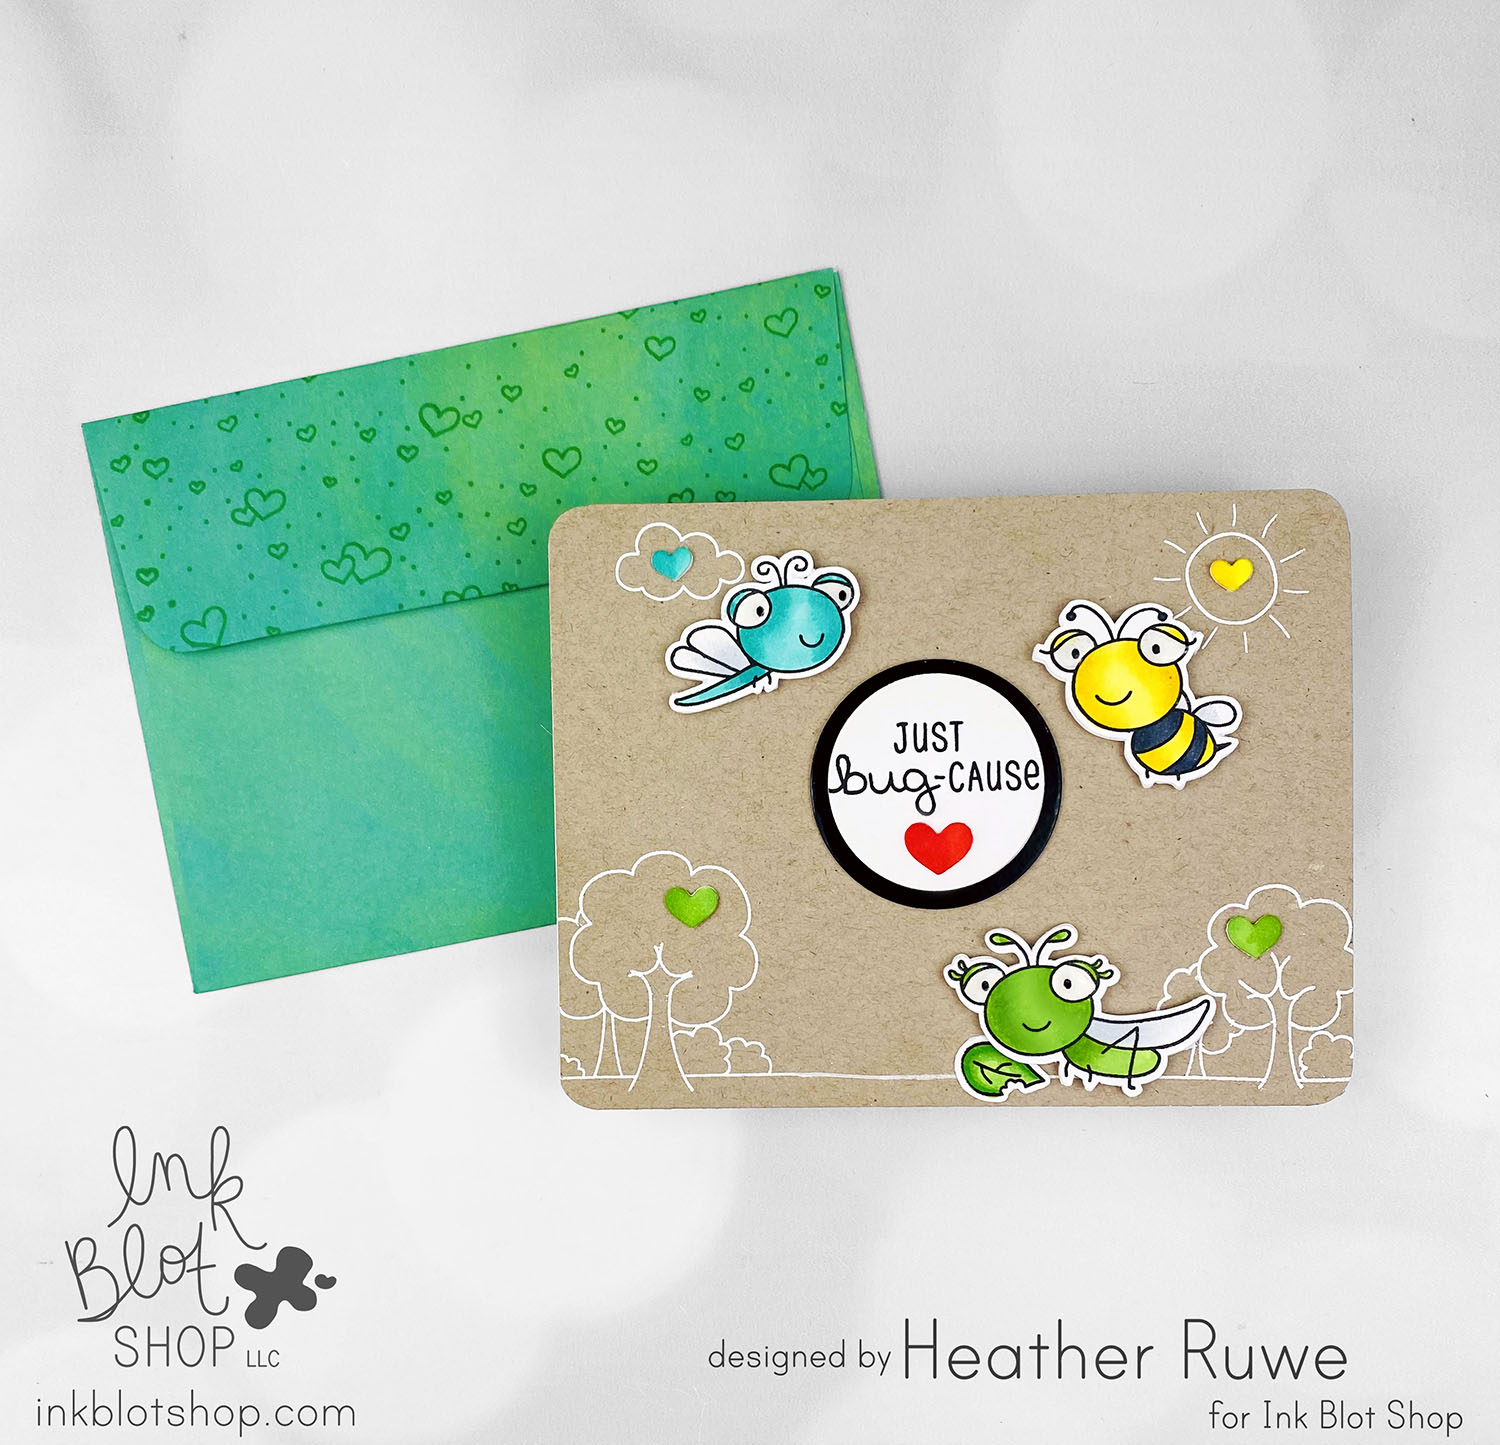
Just Bug-cause Card
Howdy, crafty friends. I wanted to share a non Holiday card to break it up a bit and share a card I made just for fun… To create this card, I started by white heat embossing THESE images on a kraft panel. I adhered it to a side folding white note card and rounded all four corners of the card. I stamped the adorable bugs from THIS stamp set and colored them with Copic...
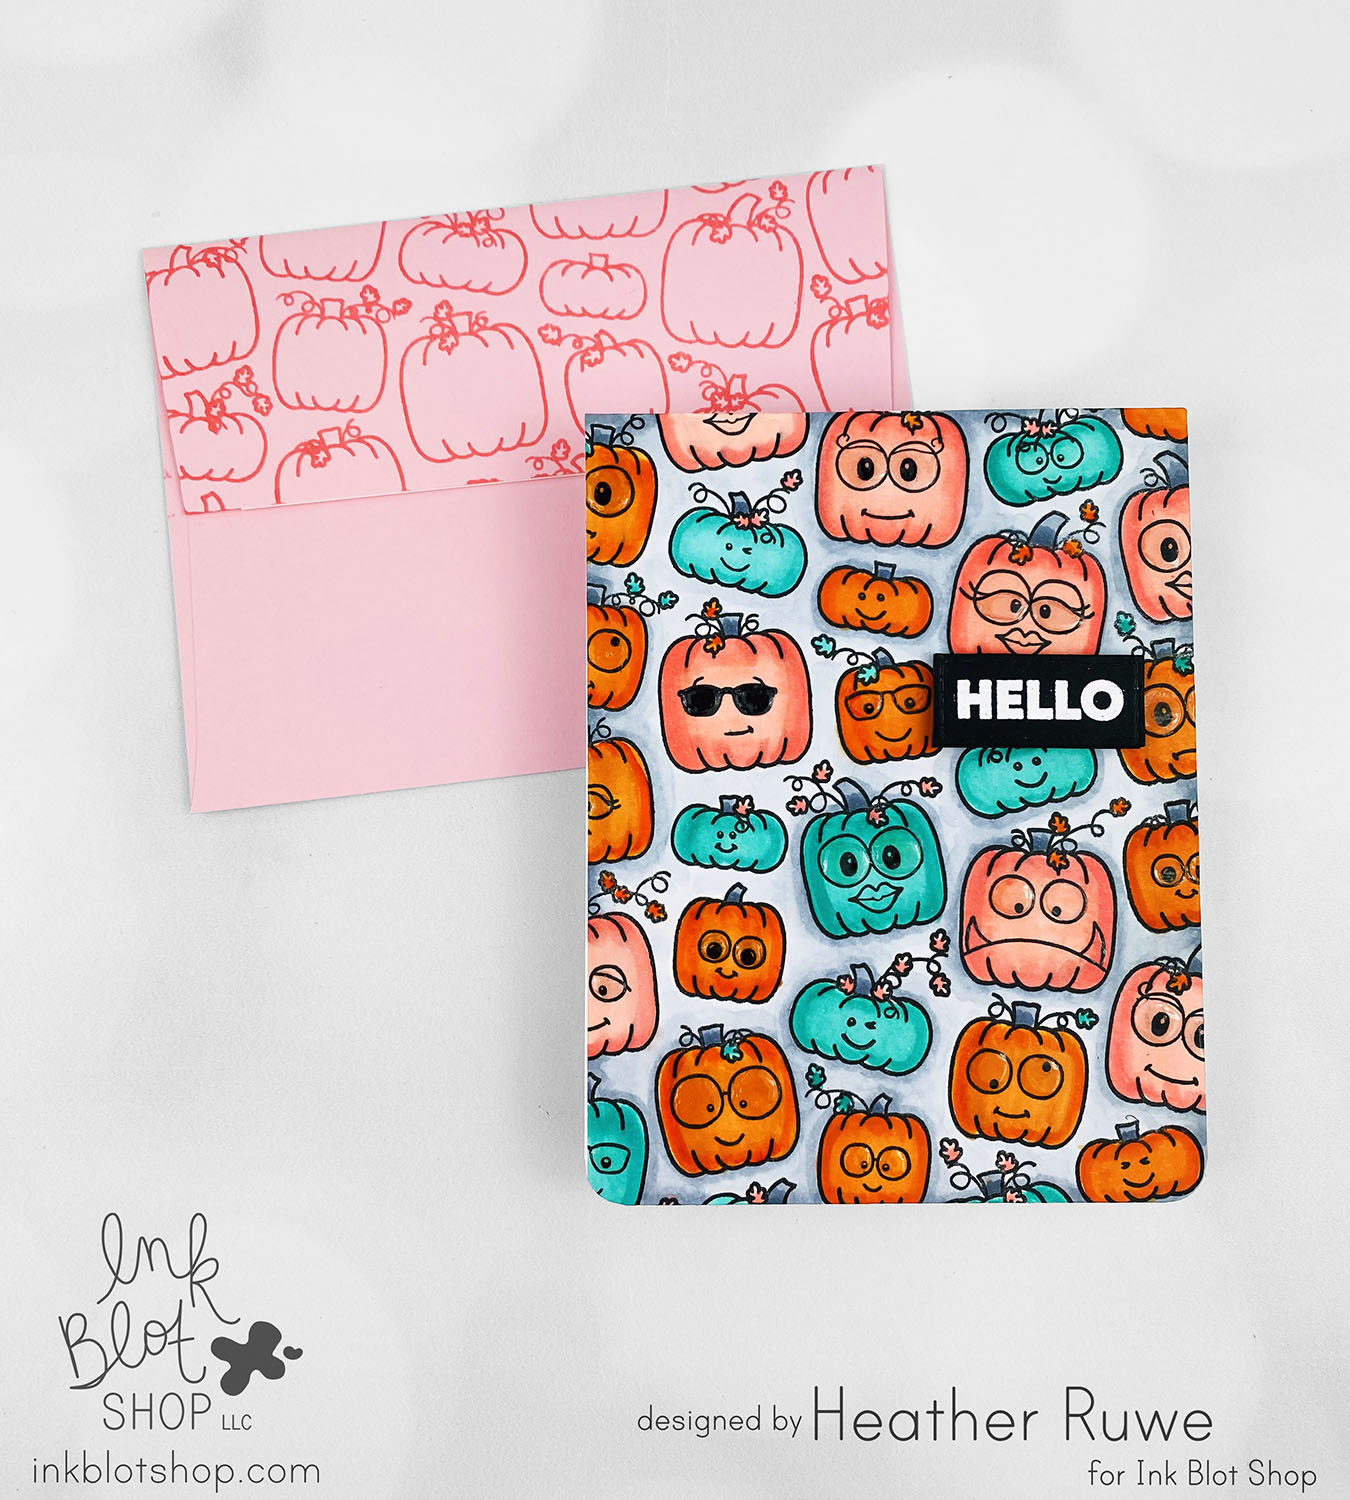
Plenty of Pumpkins Card
Hi, crafty friends. I have another card to share featuring THIS new release from the Ink Blot Shop… To create this card, I stamped THIS background stamp on a white A2 panel using black ink. I colored in the pumpkins with Copic Markers and stamped THESE faces on the pumpkins. I white heat embossed a sentiment from THIS stamp set and added THIS to the eyes. Here’s a closer look… I also stamped the...
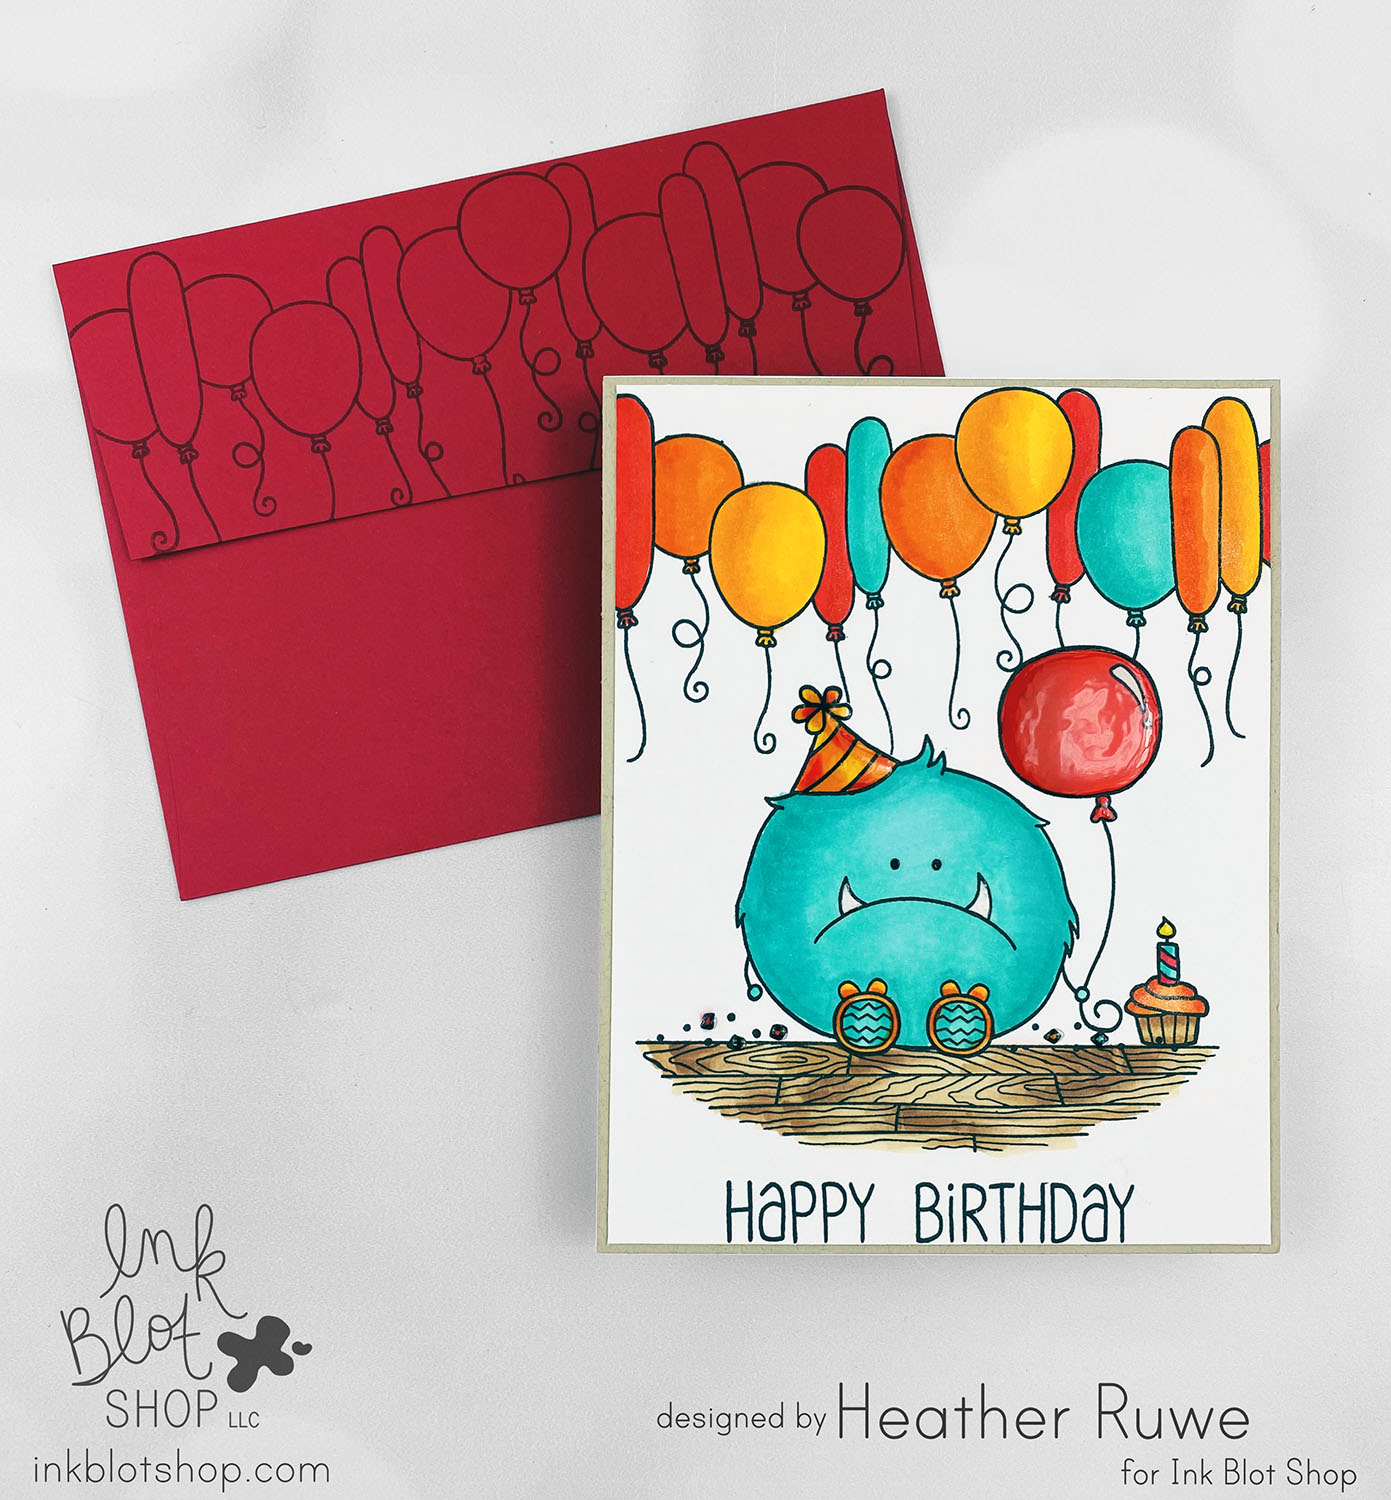
Party Monster Card
Hello again, crafty friends. I have a birthday card to share today… I started by stamping THIS monster image on an A2 white cardstock panel as well as some of THIS masking paper. I cut out the mask for the monster image and balloon and applied it over the stamped image to mask it from THIS balloon border stamp that I stamped on top as well as THIS floor image under the monster’s feet....
STAMPtember 2023 Blog Party
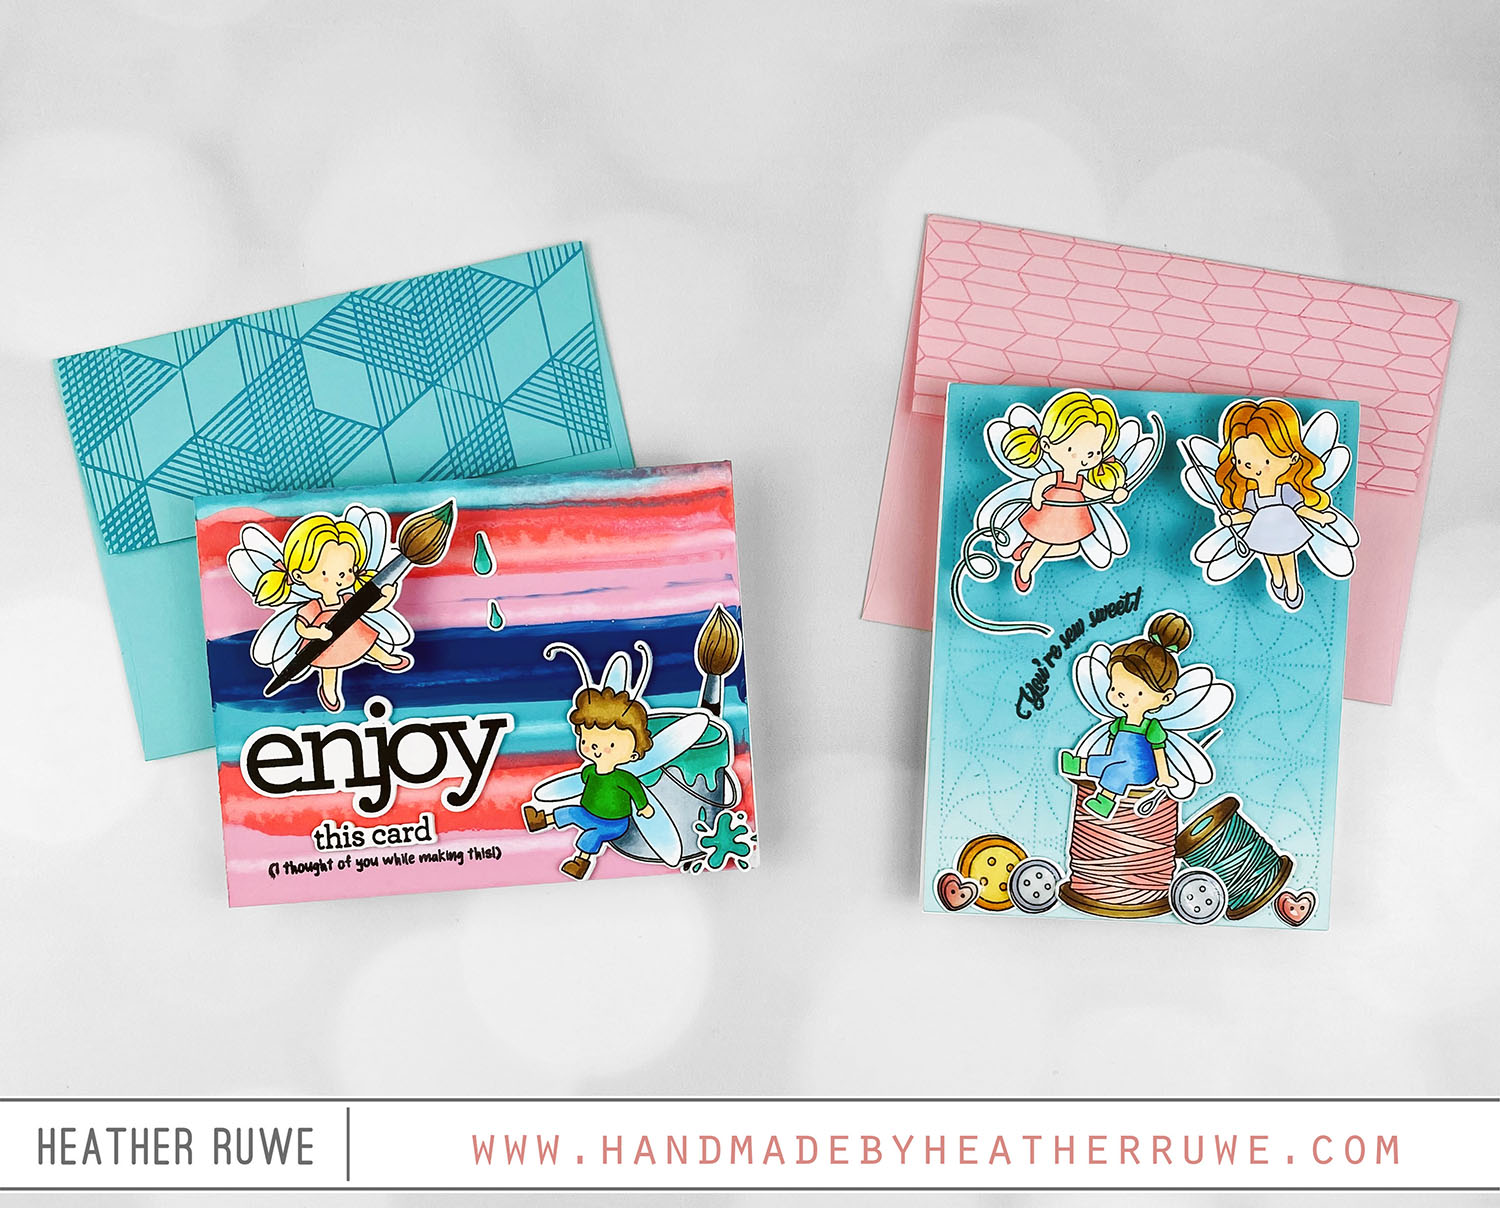
Happy STAMPtember, crafty friends! The STAMPtember fun continues with a blog party! I’m thrilled to be part of it and I’m sharing a couple of cards celebrating THIS new STAMPtember release from Simon Says Stamp… For the first card… I applied drops of Distress Paint along the side of an A2 white panel. Using THIS tool, I drug the paint across the paper creating a fun background. I stamped THIS sentiment and used THESE...
Teacher Card
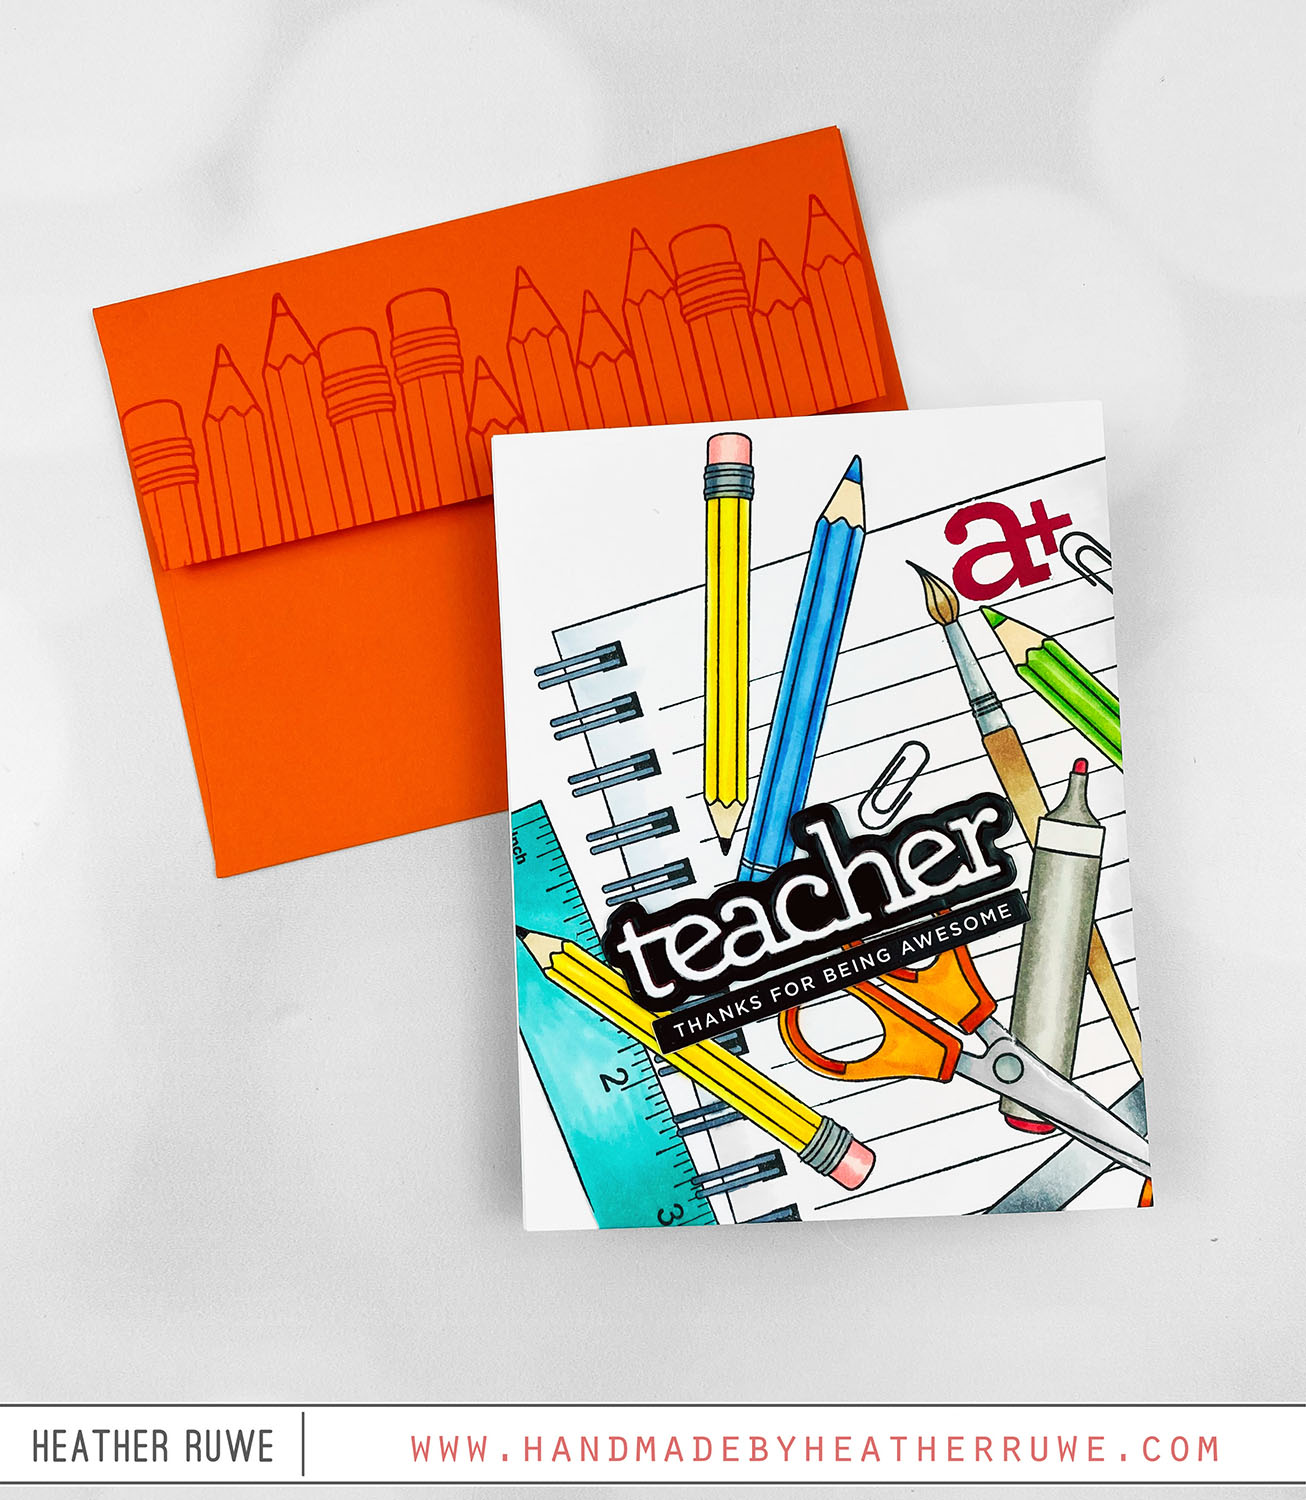
Howdy, crafty friends. I’m a HUGE fan of teachers so I like to create a bunch of cards for them before the school year starts to have them on hand and ready to pass out frequently through the school year. To create this card, I started by stamping THIS background stamp on a white A2 panel and coloring it with Copic Markers. I stamped the a+ image in the top right from THIS stamp...
Mini Slimline Scene Card
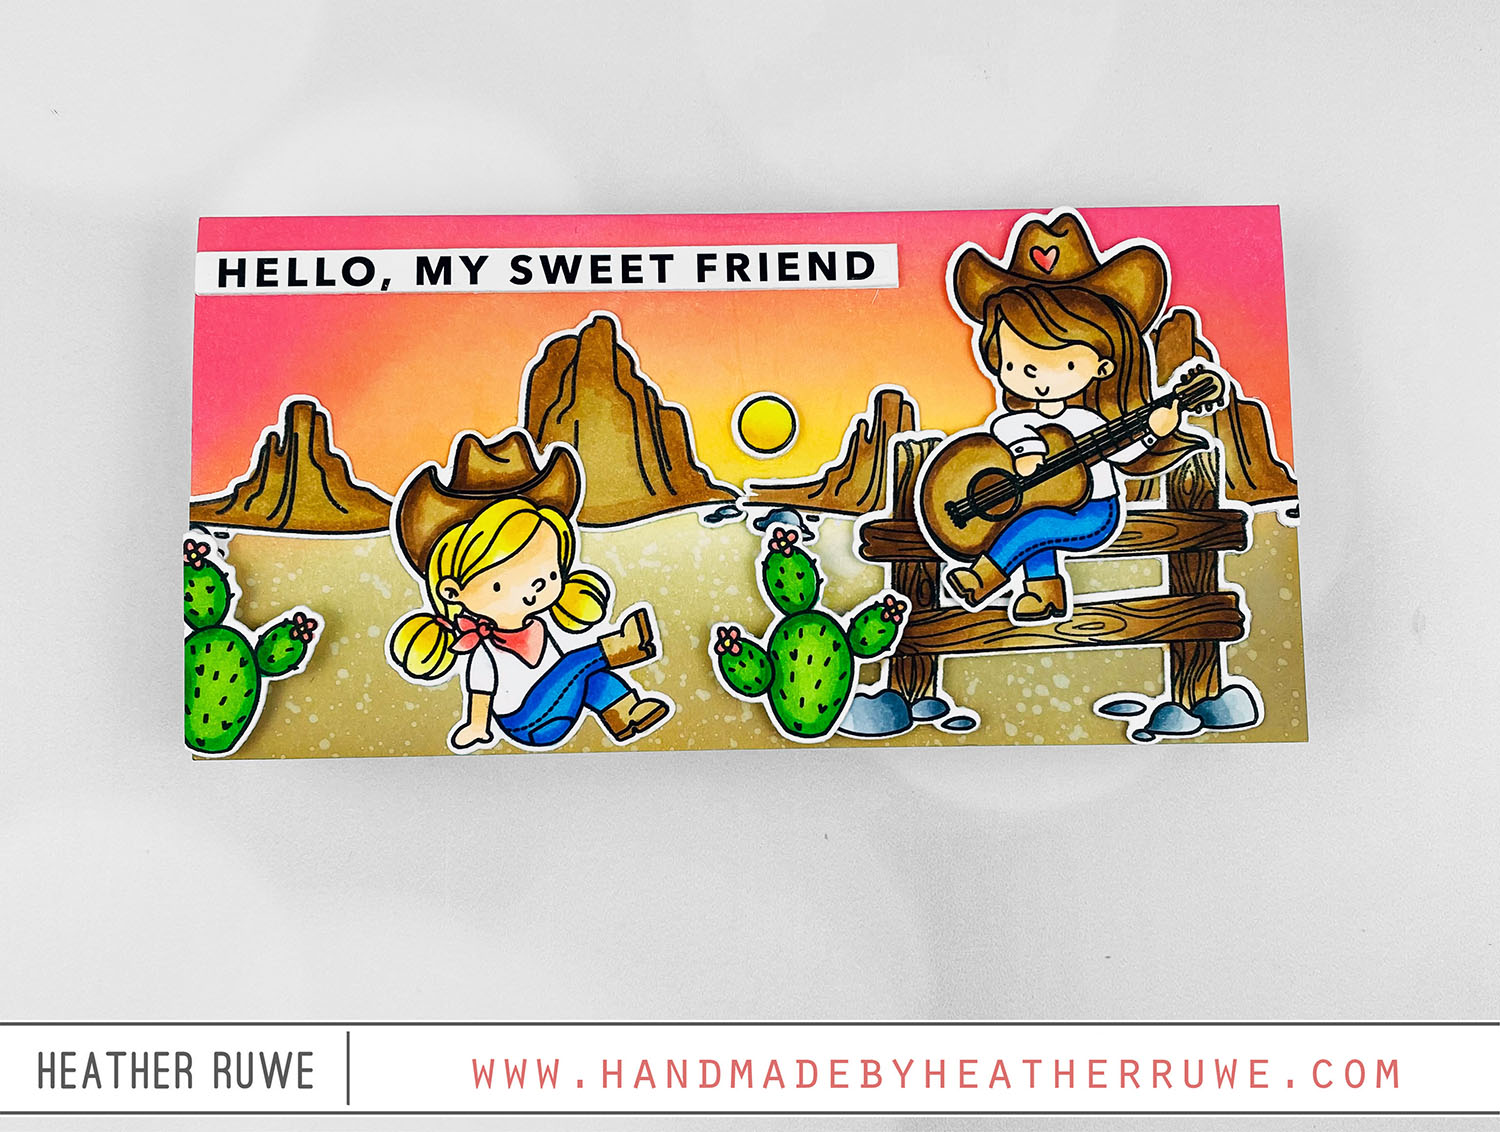
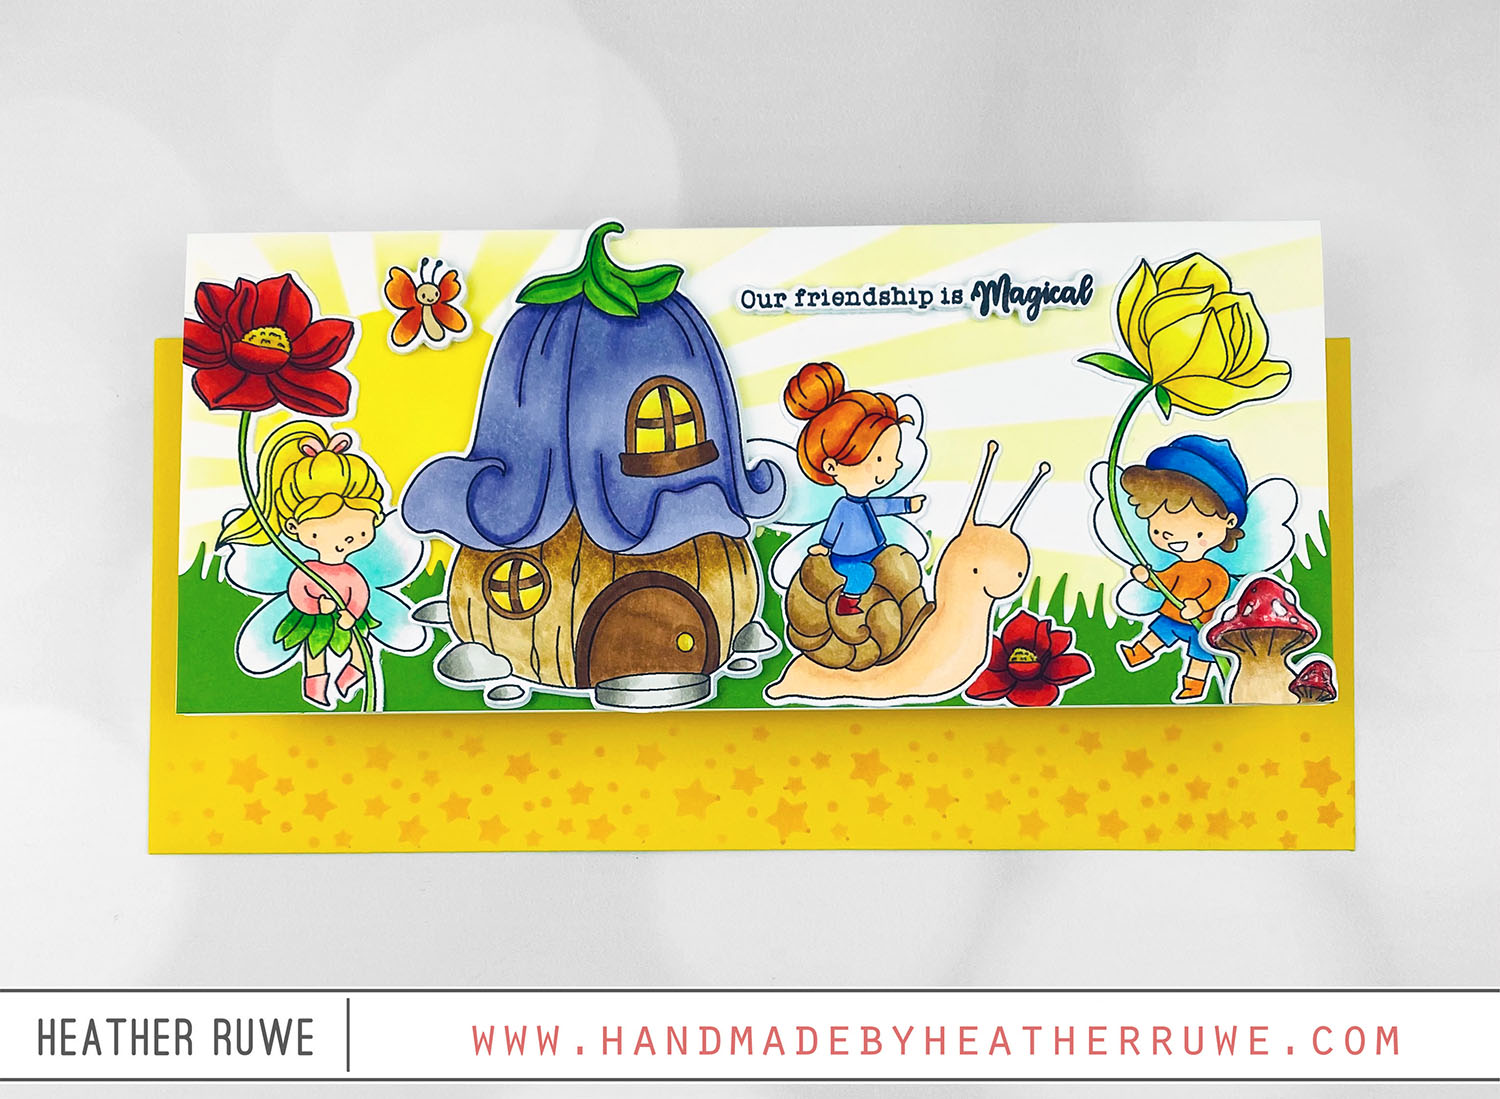
Howdy, crafty friends. I’m back today with a mini slimline scene card featuring products from THIS new release… I started by stamping the images from THIS stamp set and coloring them with Copic Markers. I used THESE coordinating dies to cut them out. Next, I ink blended on the front of a mini slimline card base. A mini slimline card base measures 3.5 inches x 6 inches. I used Distress Oxide inks and ink...
More Dear Friend Release Inspiration
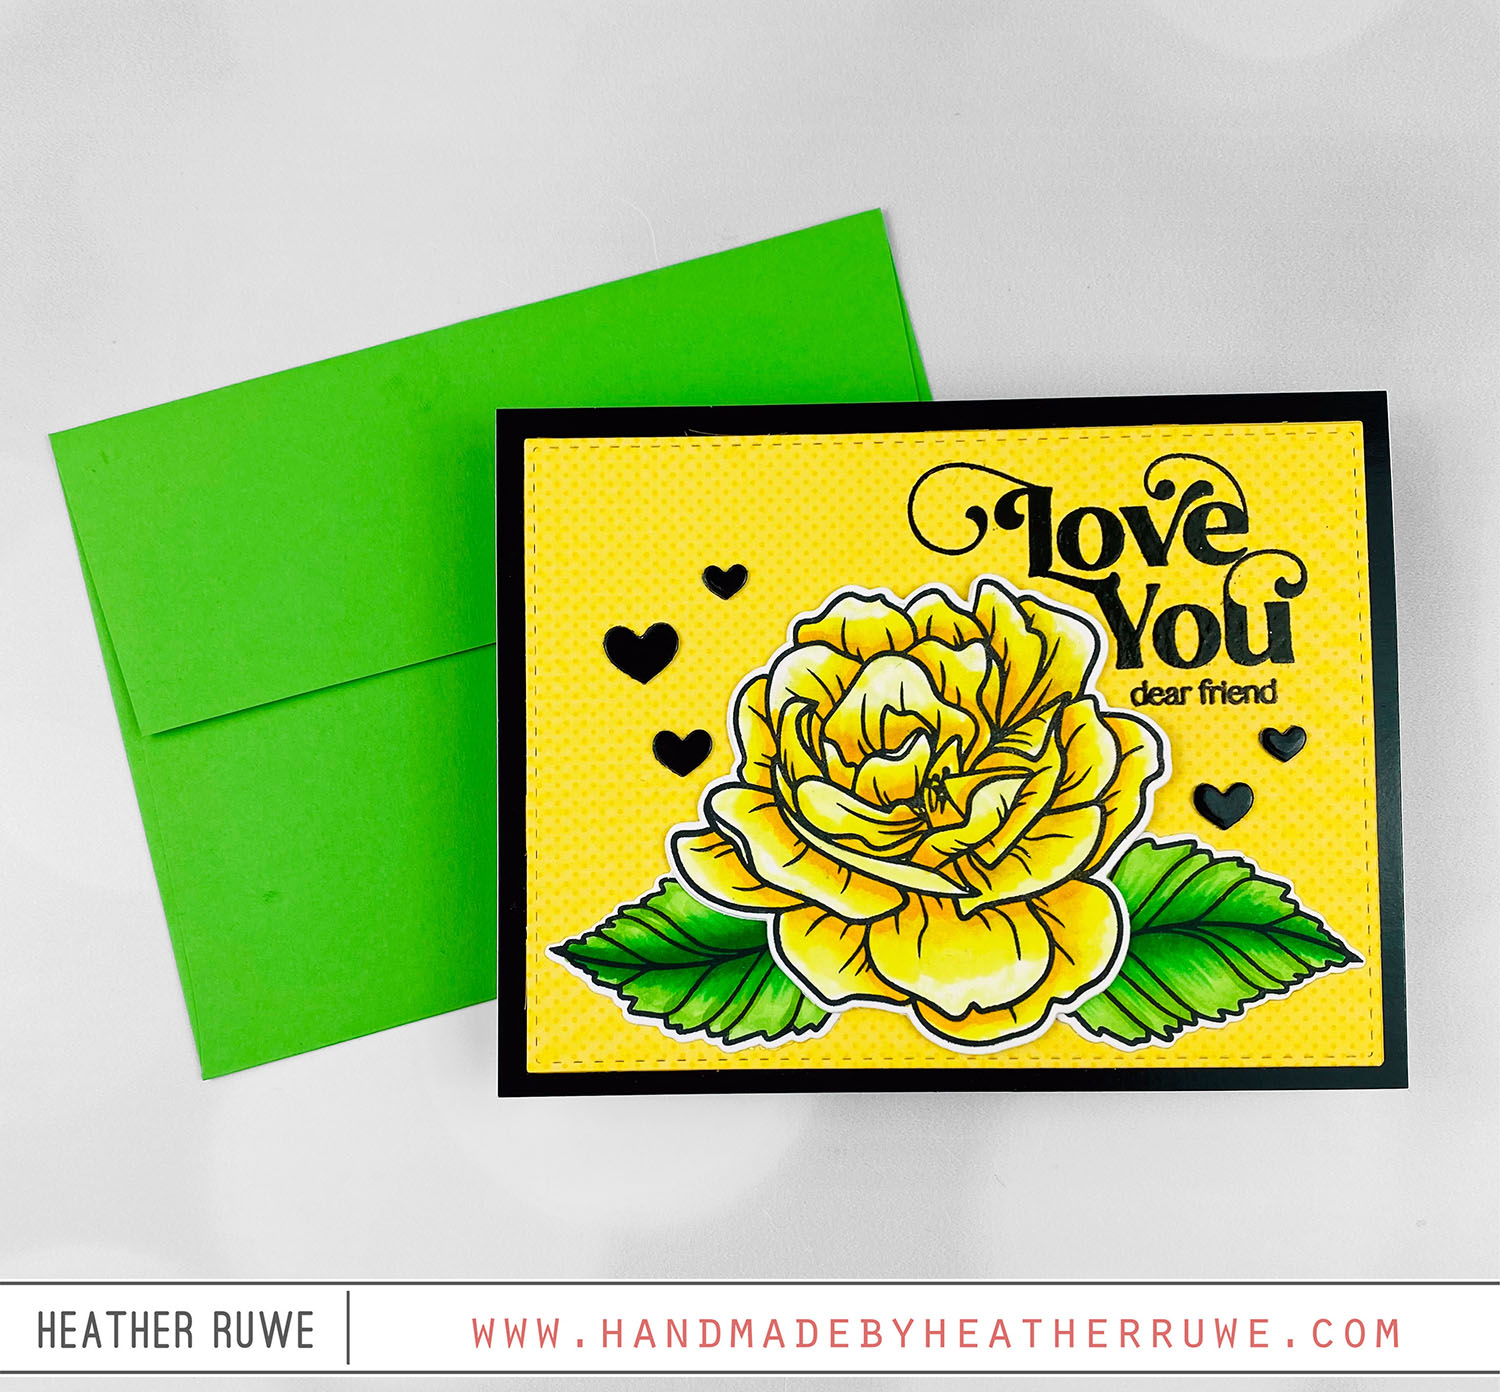
Howdy, crafty friends. I’m back with more inspiration from THIS new Dear Friend Release… To create this card, I started by stamping THIS flower and leaf images and coloring them with Copic Markers. I used THESE coordinating dies to cut them out. I cut a piece of patterned paper using THIS die. I adhered the piece to a piece of black glossy cardstock cut to A2 size. I also cut THESE hearts from the...
Best Year Yet Card Kit
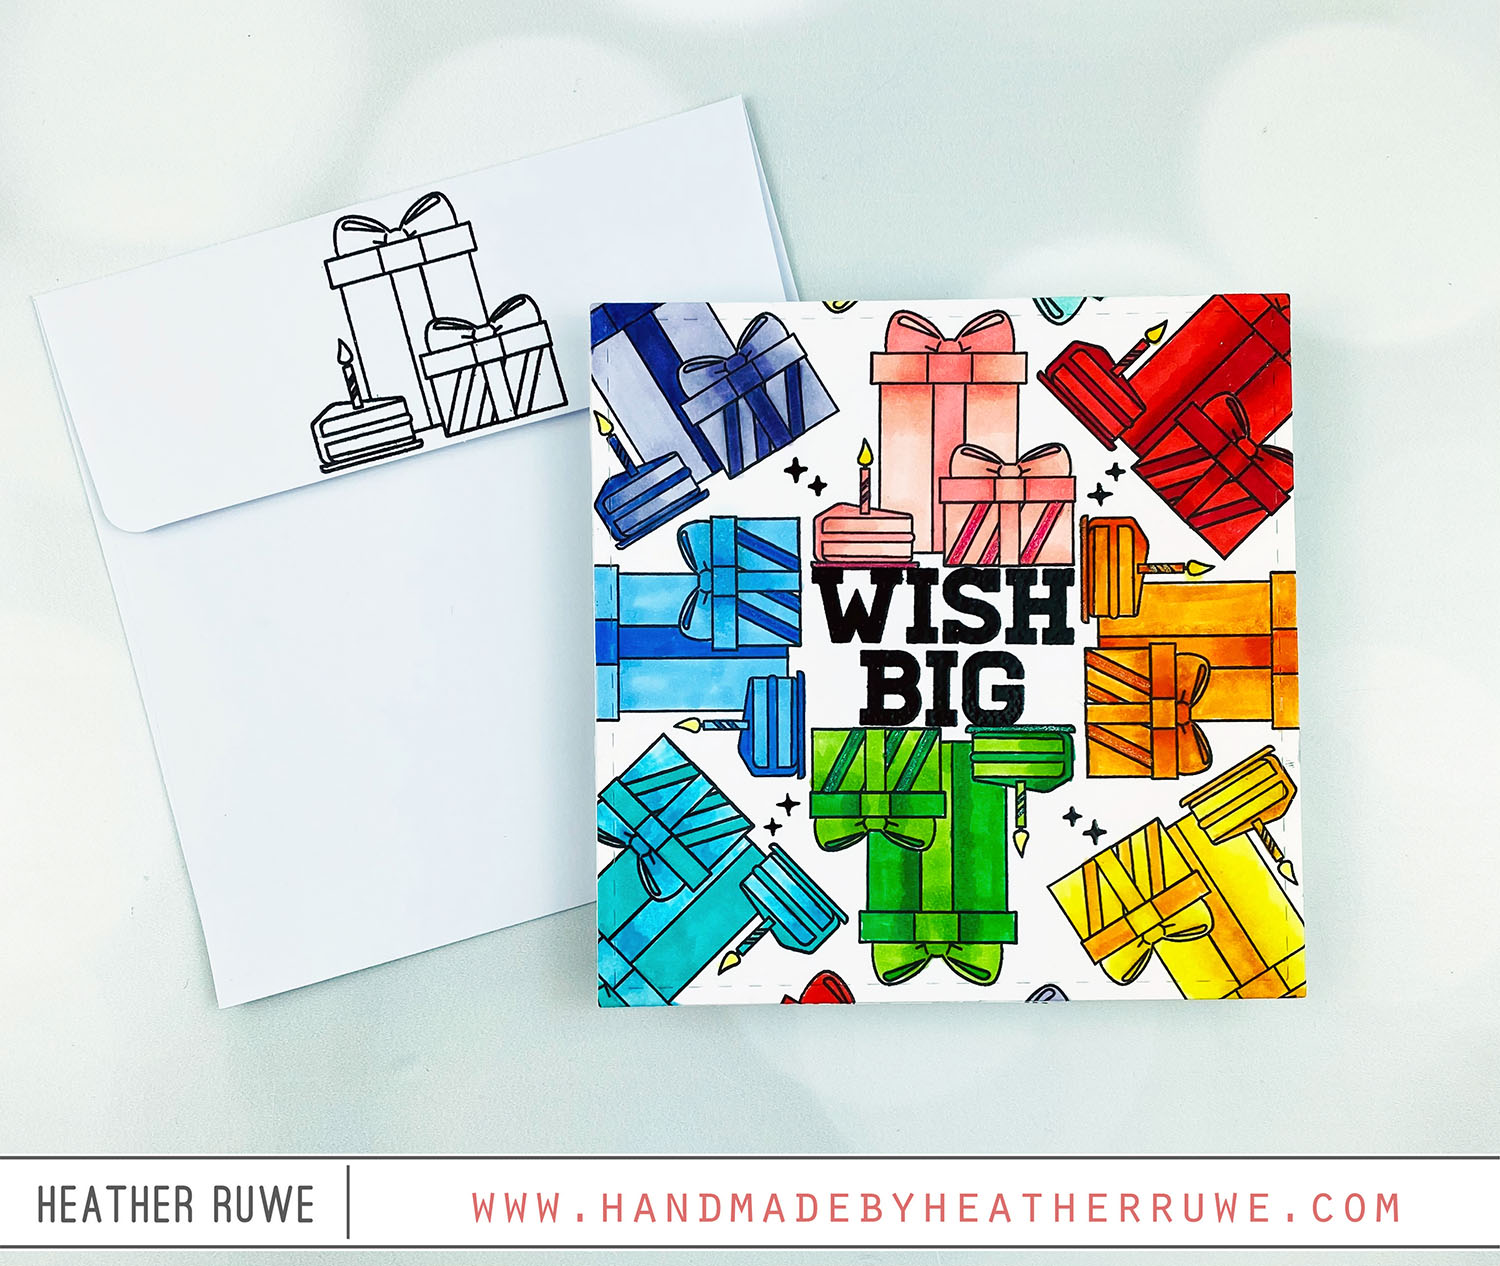
Hi, crafty friends. I have a Birthday card to share today featuring THIS new card kit… To create this card, I started with a 6×6 piece of white cardstock and stamped an image from THIS stamp set (included in the kit) towards the top center. I rotated the cardstock 180 degrees in my MISTI and stamped again. I did the same process for the image on the right and left. I continued in the corners...
More Just For You Release Inspiration
Hello there, crafty friends. I’m back with more inspiration from THIS new release from Simon Says Stamp… I started by stamping the images from THIS set and coloring them in with Copic Markers. I used THESE coordinating dies to cut them out. I applied ink through THIS stencil on to a slimline panel to create a background. I die cut grass using THIS die and adhered it along the bottom of the card. I...

