Hello, crafty friends. I have a card to share today using THIS die, which is my all time favorite interactive die. I love the design and how simple it is to put together.
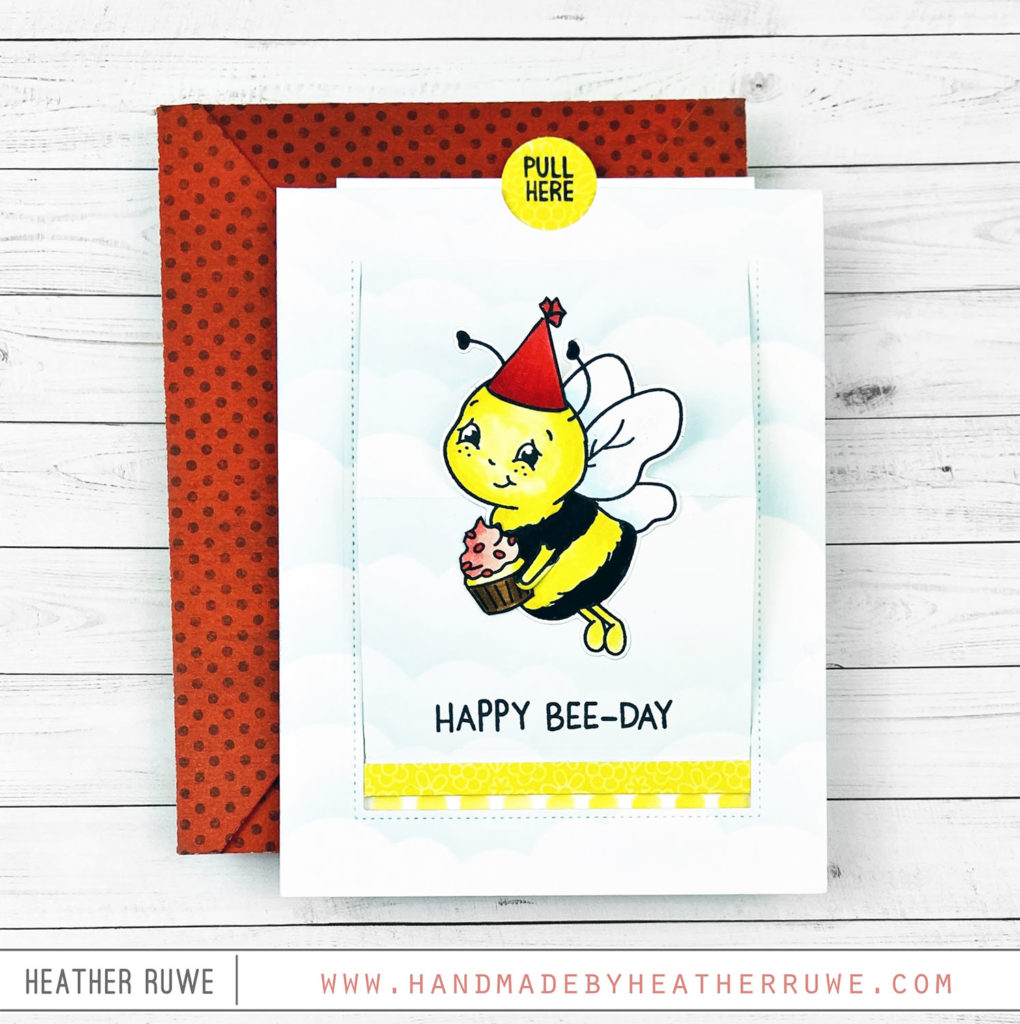
I started by stenciling clouds using THIS stencil with THIS ink. I cut the panel with THIS die and adhered the sliding piece to the back of the panel. I stenciled the front of the card with a honeycomb stencil and adhered the cloud panel on top using THIS foam tape. I cut one of THESE circles for the pull tab using THIS patterned paper and stamped a sentiment from THIS stamp set.
I stamped the bee from THIS stamp set and colored the image with Copic markers. I cut it out using THESE coordinating dies. I adhered him only on the bottom half of the moving slider piece so he would stand up freely when the tab was pulled. I finished off the card by adding a patterned paper piece strip along the bottom of the panel as well as a stamped sentiment from an older MFT bee set.
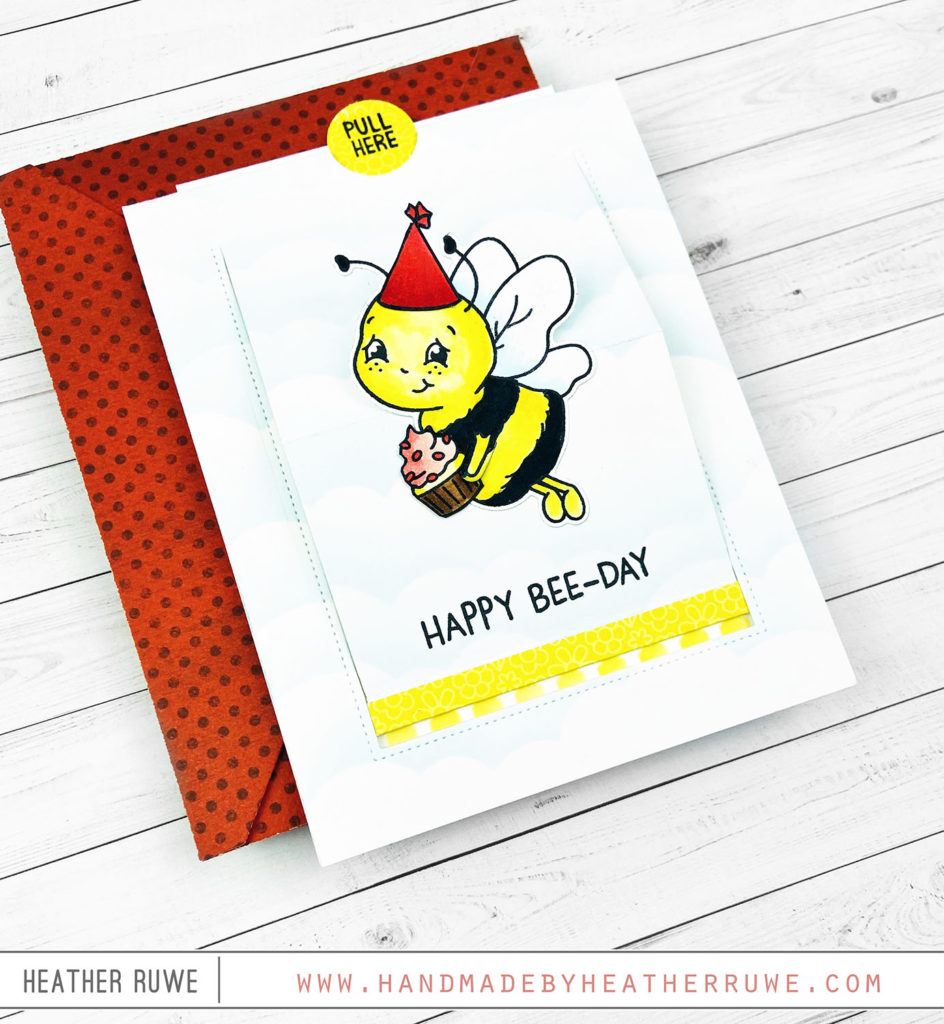
When the recipient pulls the tab, the honeycomb pattern is revealed. I plan on putting a gift card here to a local restaurant, called the Sleepy Bee. 🙂 You could also just write a message in the spot if you prefer.
![]()
I hope this inspires you to try a sliding window on your next card design. If you’re looking for a simple interactive die, I highly recommend THIS one.
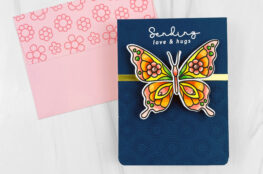
If you’re looking for more information about the envelope pictured with the card, visit THIS blog post.
Thanks for visiting today. I appreciate your support.
LINKS TO SUPPLIES USED: