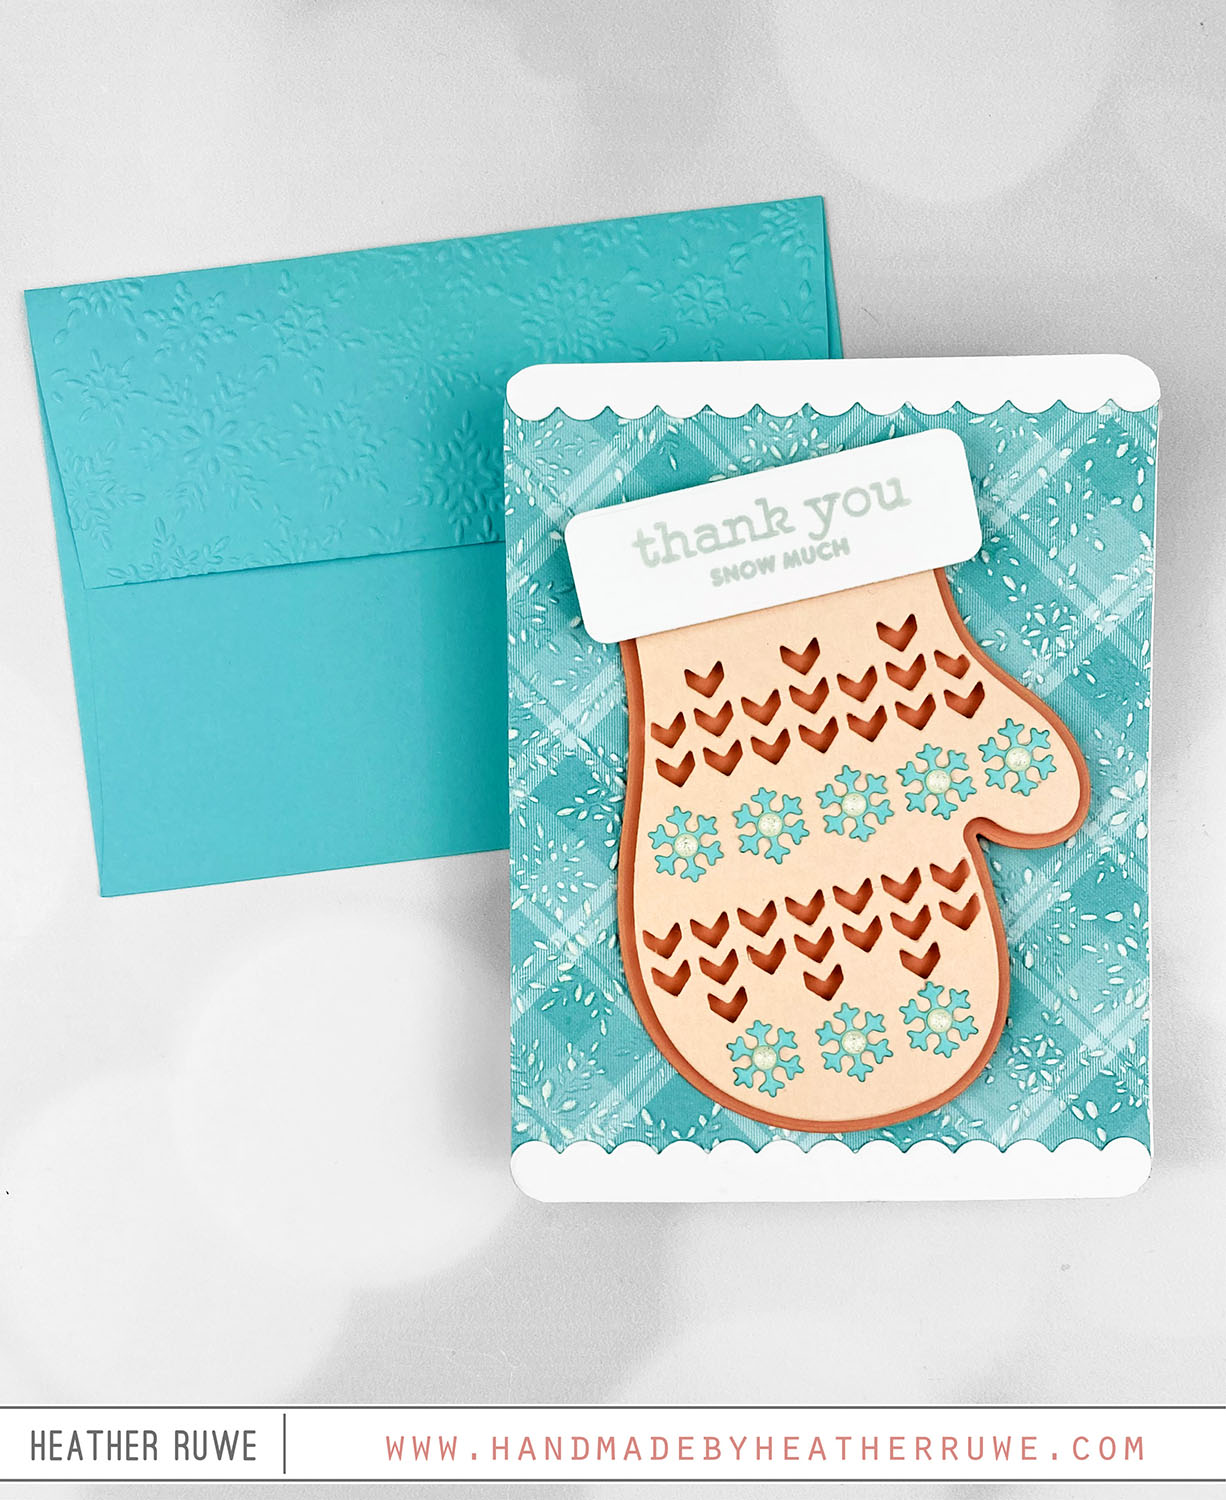
Hey there, crafty friends. I’m not a fan of winter but I am a fan of THIS mitten die. I used it to create a gift card holder… To create this card, I die cut THIS mitten die from shades of peach cardstock. I cut the top of the mitten using white cardstock and added snowflakes cut from THIS die. I stamped a sentiment from THIS stamp set on the top part of the...
Mix and Match Butterflies Card Kit
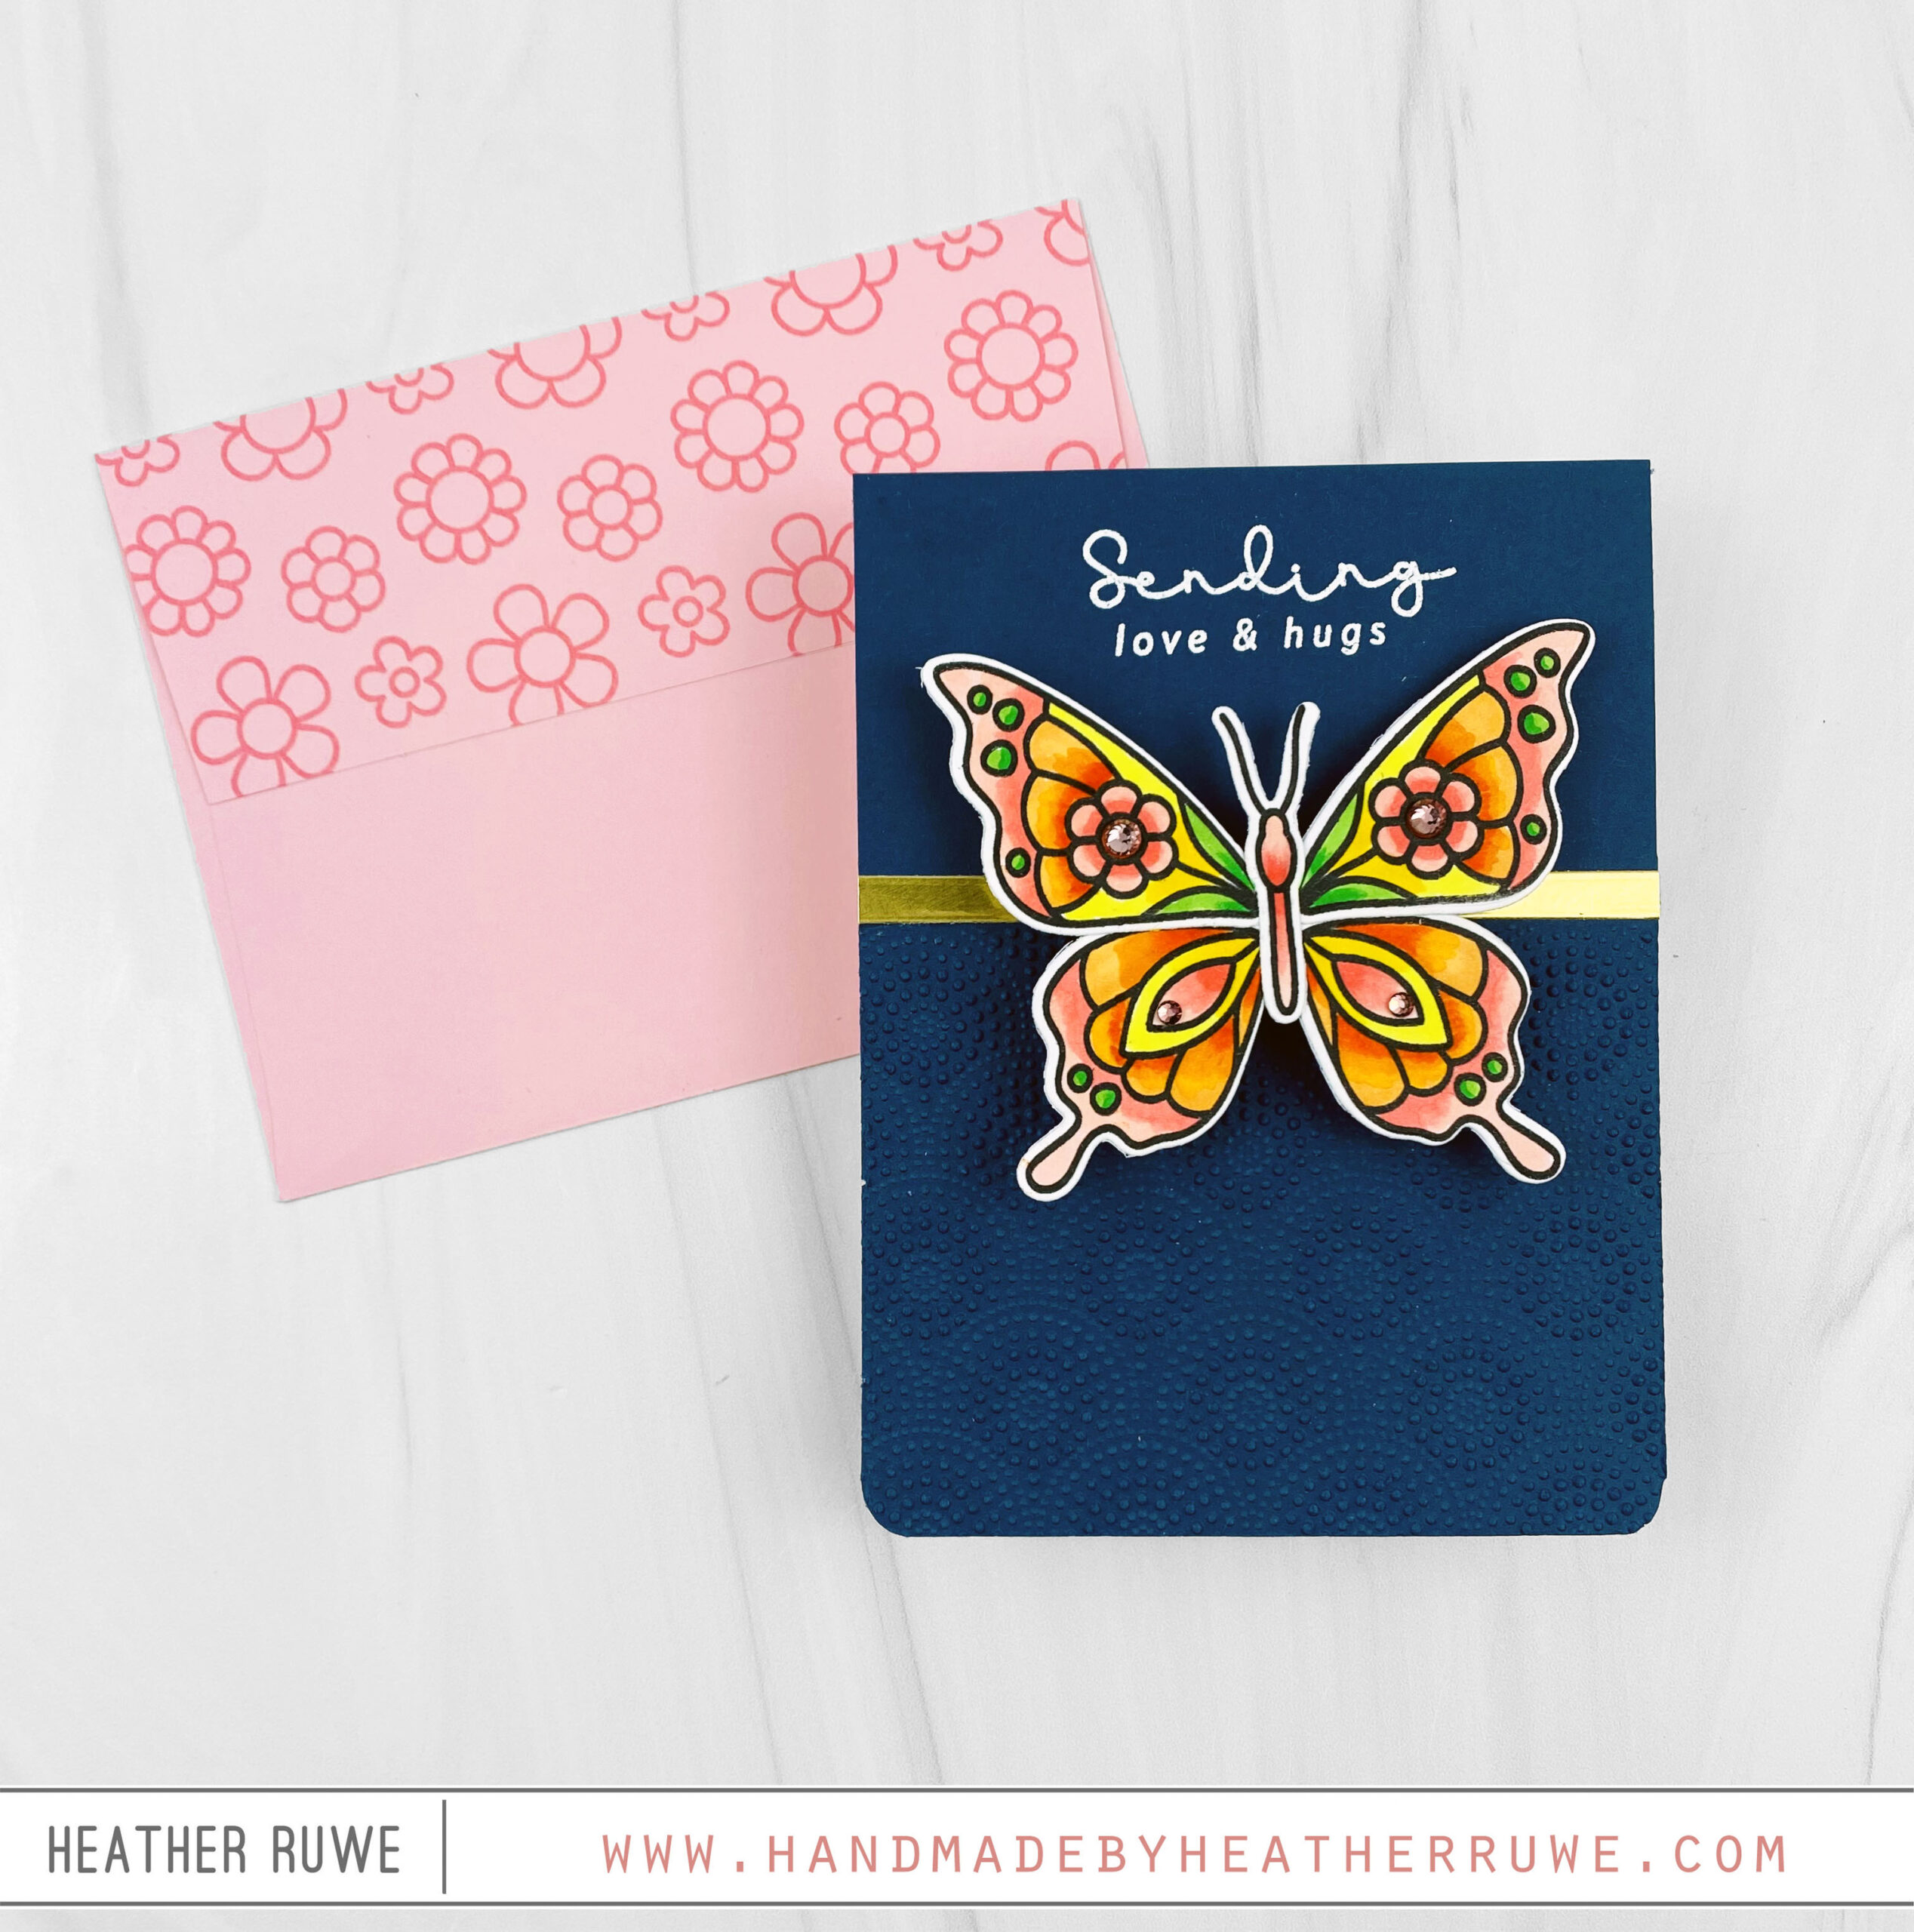
Hi, crafty friends. Today’s card features THIS new card kit… I started by stamping the butterfly image from the kit’s stamp set. I colored it with Copic Markers and used the coordinating dies to cut it out. I added a few gems from the kit to the butterfly design to add some sparkle and shine. For the background I embossed the kit’s embossing folder on the bottom half of a navy A2 panel. I...
Money Holder Santa Tag
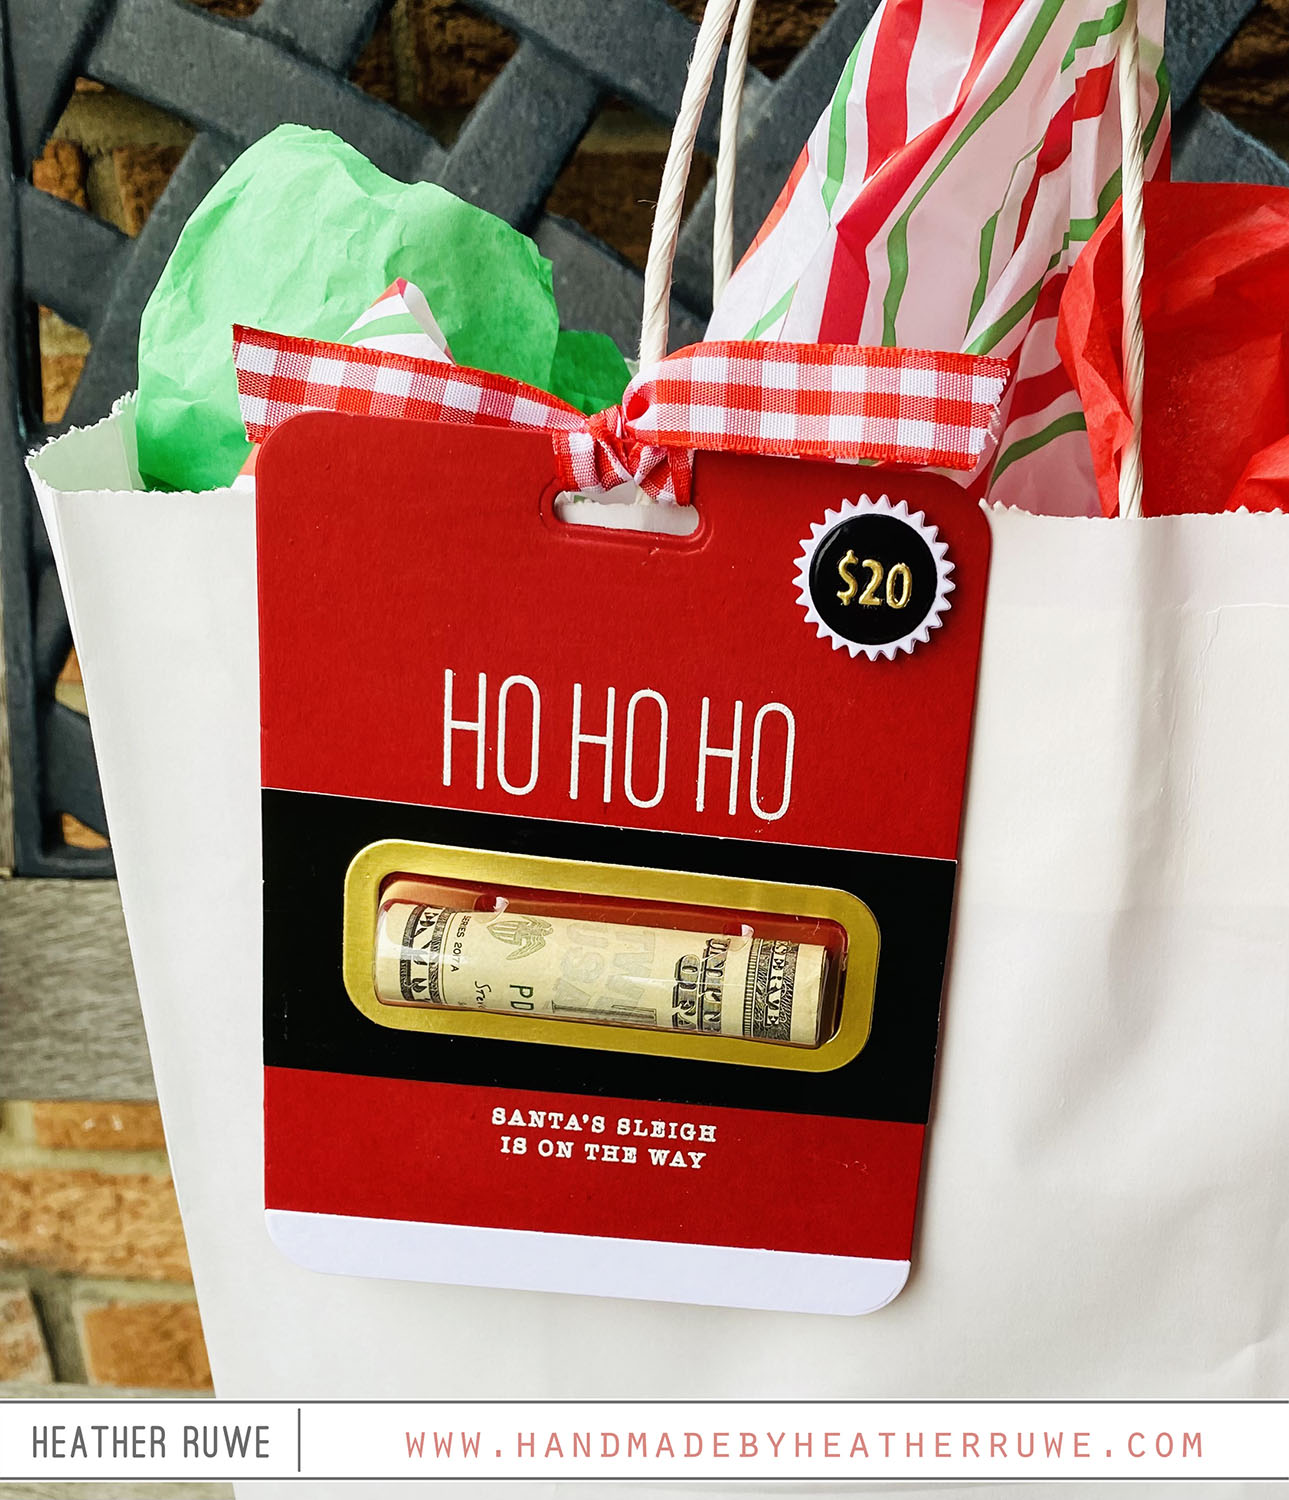
Hey, crafty friends. I have last minute Christmas tag to share today that features how to put a handmade touch on a gift of money… To create this tag, I cut the pieces from THIS die set from colored cardstock and specialty cardstock. I wanted to replicate the look of santa’s belt. I white heat embossed sentiments from THIS and THIS stamp set. After die cutting the hole for the lip balm pouch, I...
Christmas Gift Card Holder
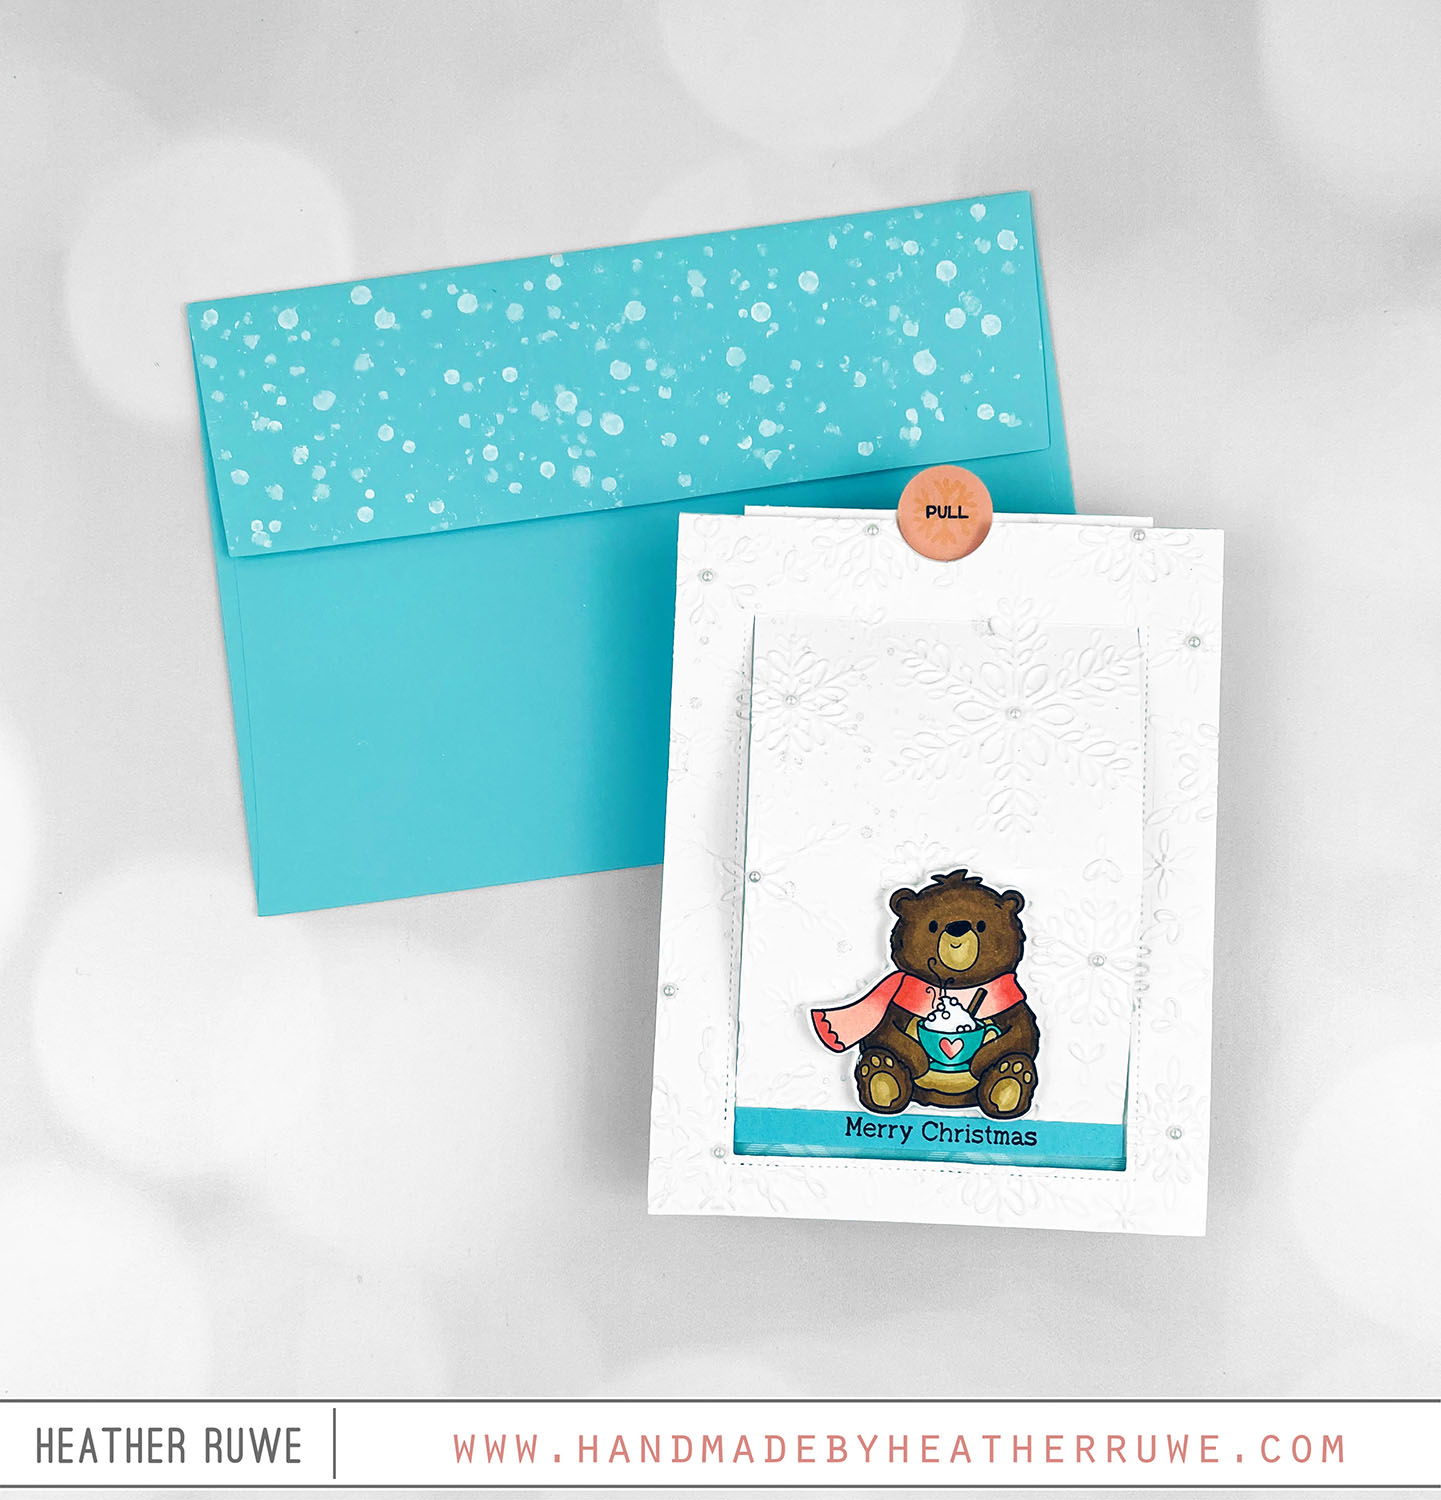
Hello again, crafty friends. I have a Christmas card to share today that holds a gift card… To create this card, I embossed a white A2 panel of cardstock with THIS embossing folder. I die-cut THIS die from the center and cut a white panel of card stock to 3.25 x 5 inches. I adhered the white panel to the back of the embossed panel at the bottom crease line only using THIS strong...
Gina K. Designs STAMPtember 2023 Collaboration
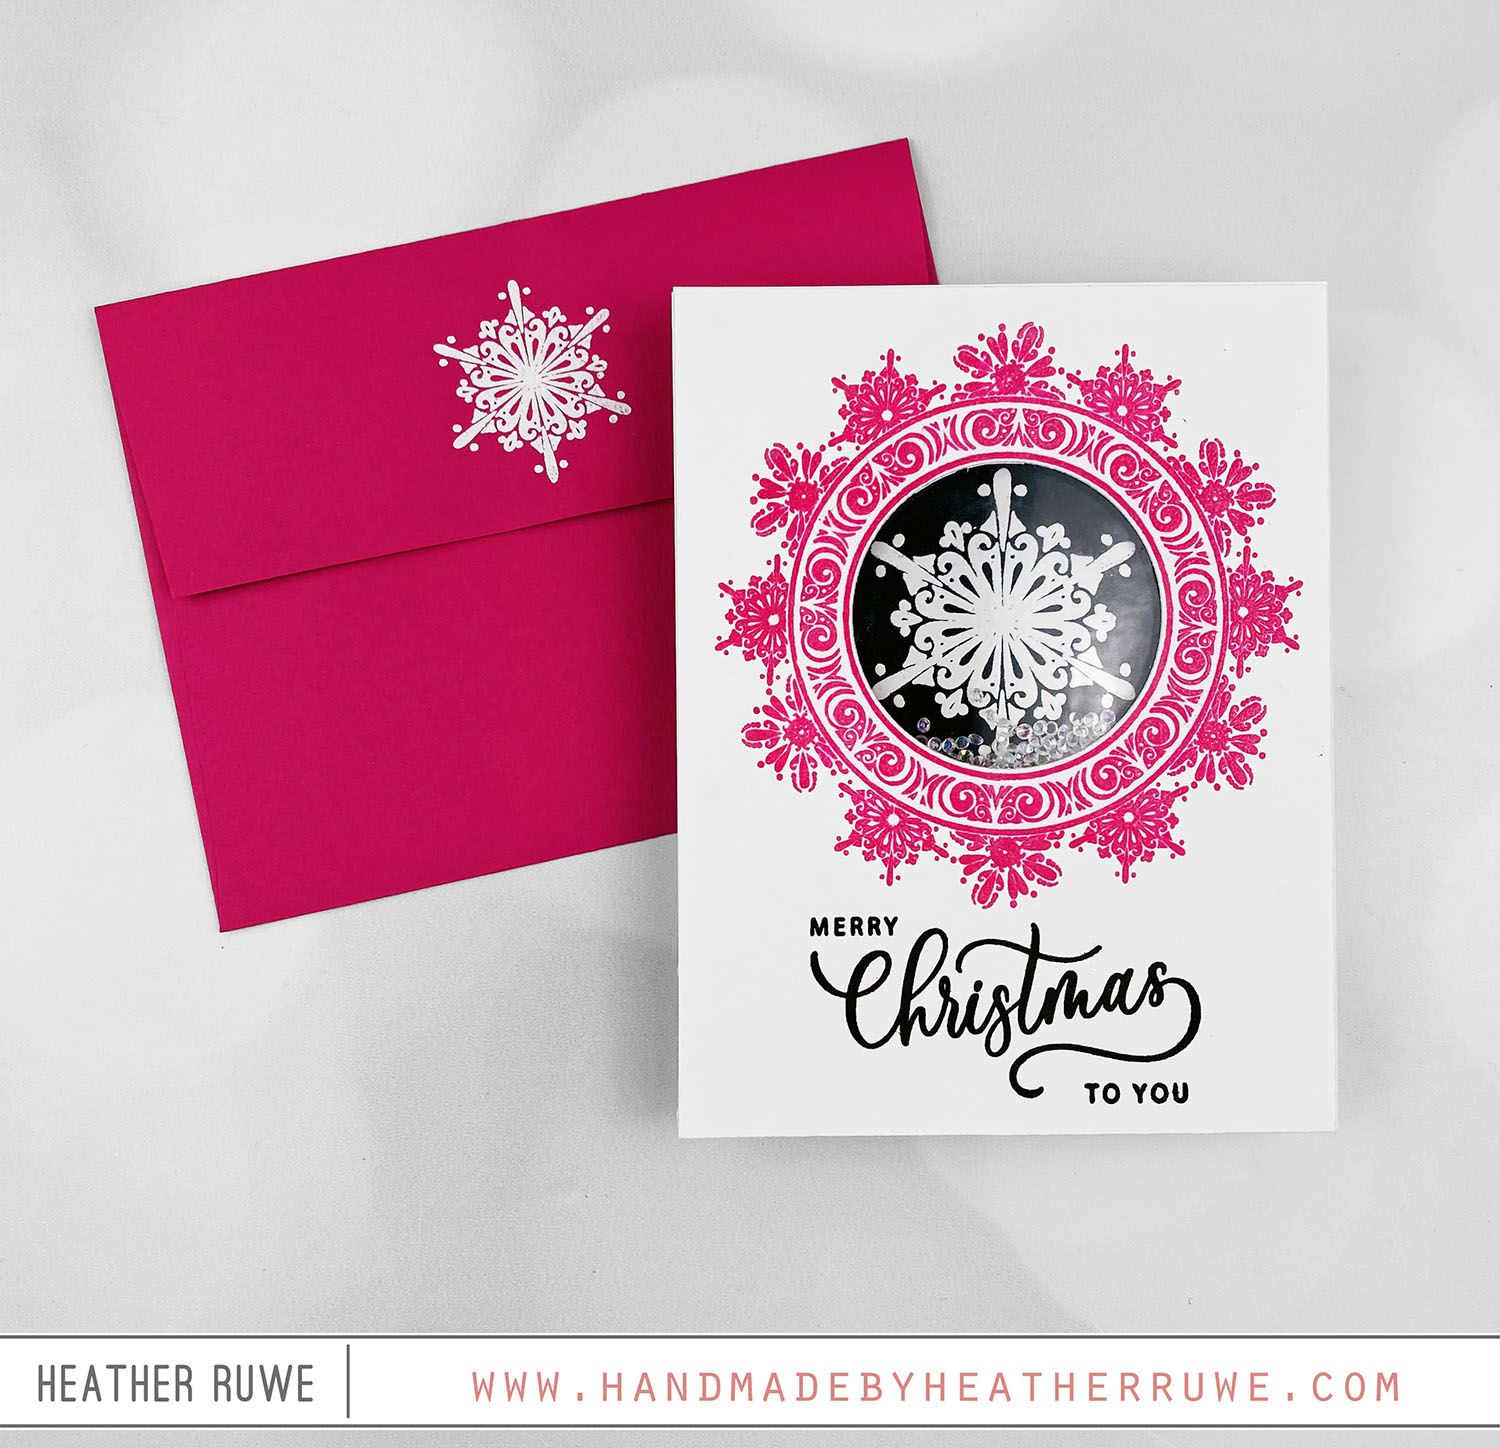
Hello there, crafty friends. Today’s STAMPtember collaboration stamp set is THIS one with Gina K. Designs… To create this card, I started by stamping the main image from THIS stamp set on an A2 white panel using pink ink. I stamped a sentiment from the stamp set under the image and cut a circle from the center of the main image. I adhered acetate behind the opening. I white heat embossed one of the...
STAMPtember 2023 Blog Party
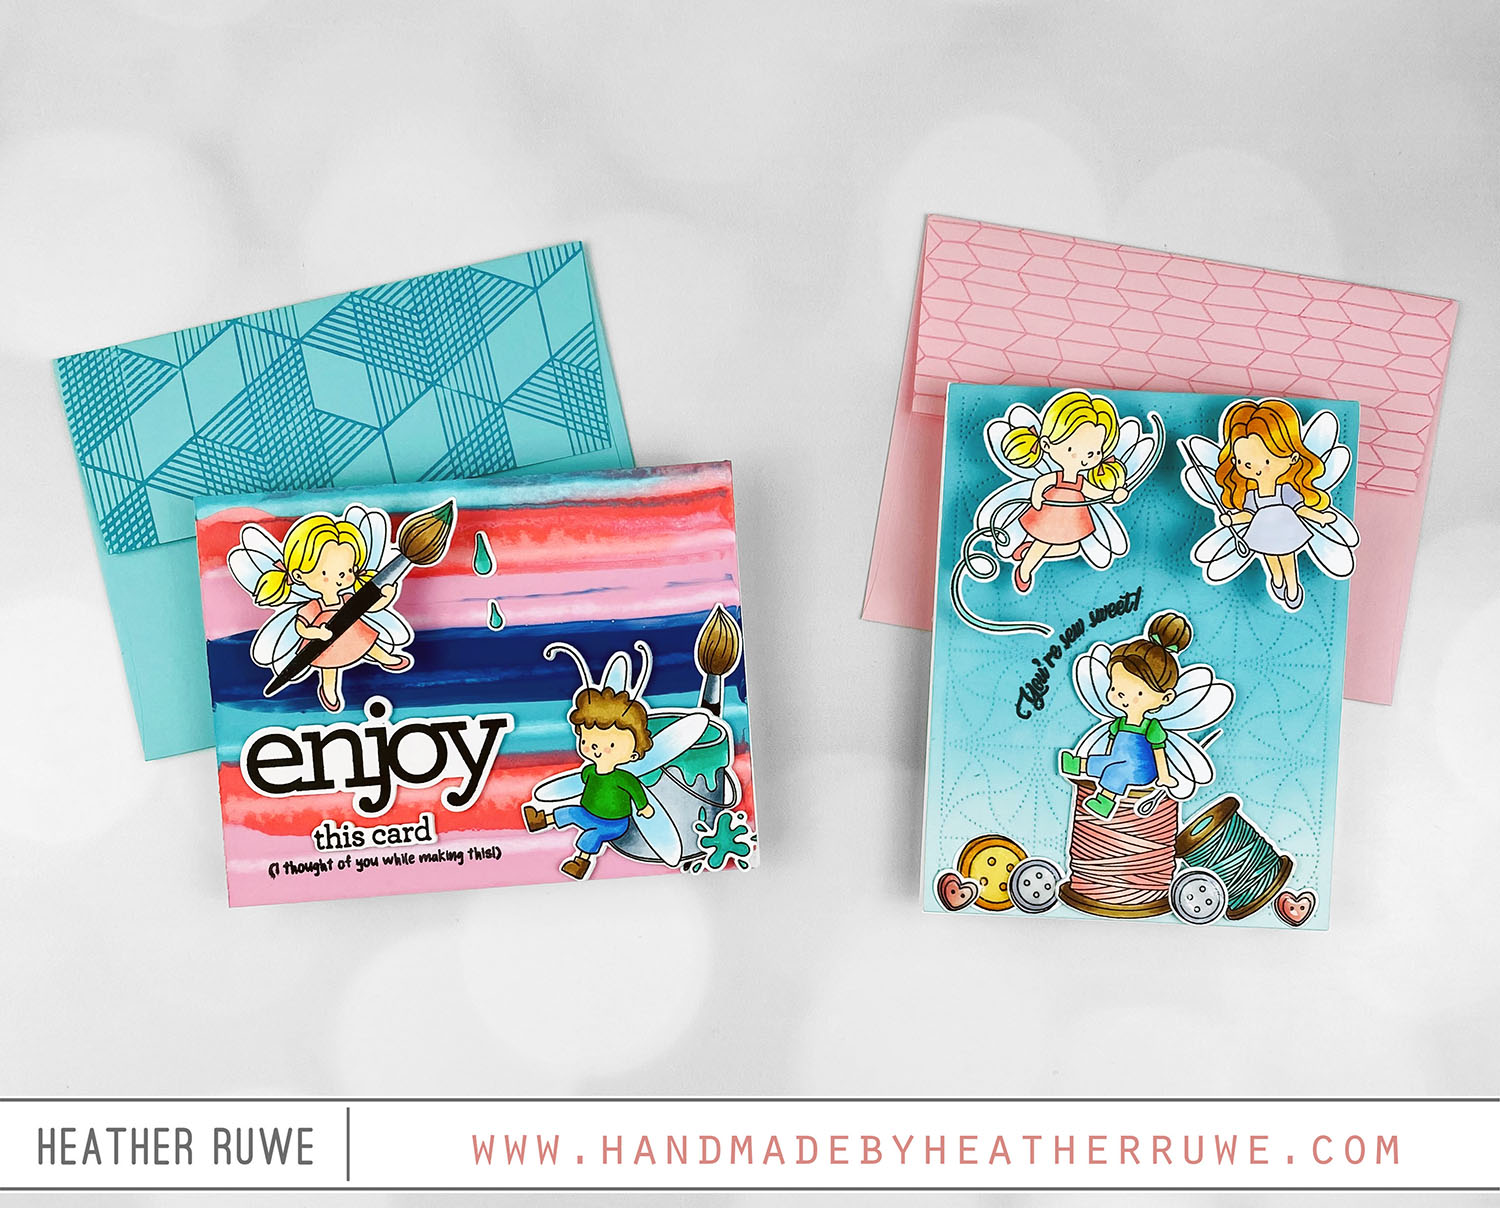
Happy STAMPtember, crafty friends! The STAMPtember fun continues with a blog party! I’m thrilled to be part of it and I’m sharing a couple of cards celebrating THIS new STAMPtember release from Simon Says Stamp… For the first card… I applied drops of Distress Paint along the side of an A2 white panel. Using THIS tool, I drug the paint across the paper creating a fun background. I stamped THIS sentiment and used THESE...
New 2023 Distress Halloween
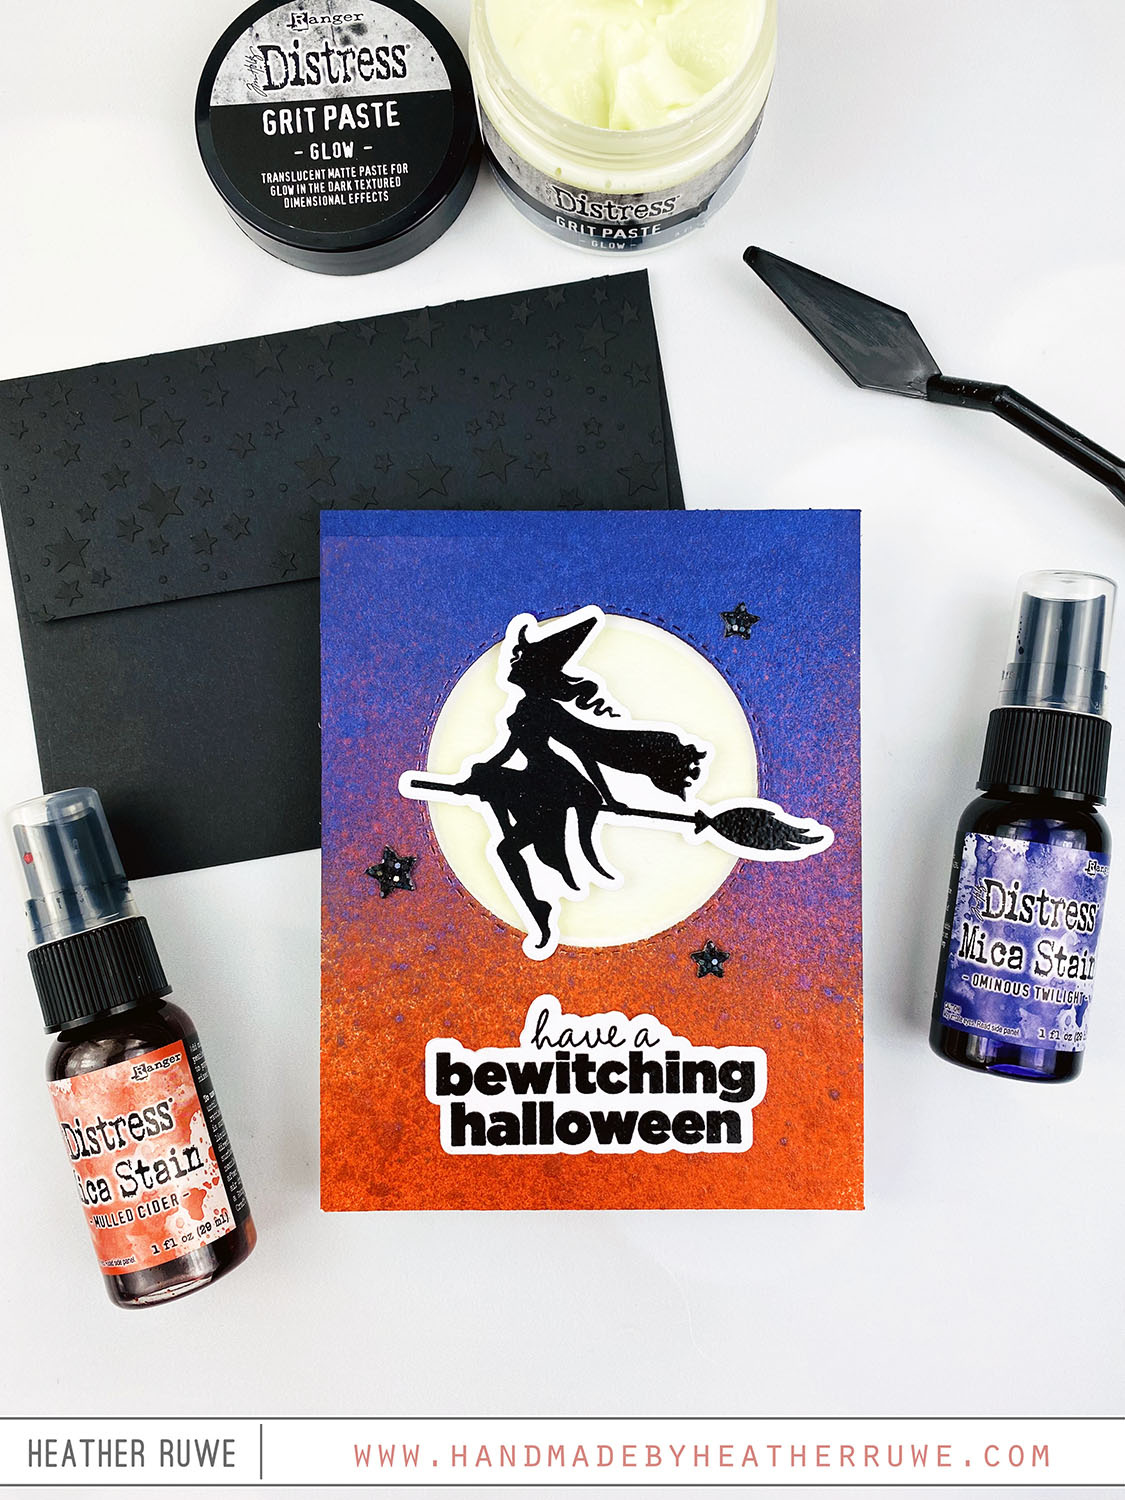
Hello there, crafty friends. Today’s card share features THESE new products from the 2023 Distress Halloween Release… To create this card, I started by die cutting THIS stitched circle in the center of an A2 card panel. I cut the same die in the center of a white card base to create a window. I laid the panel in a box and sprayed the Mulled Cider Distress Mica Stain along the bottom of the...
Beautiful Days Release
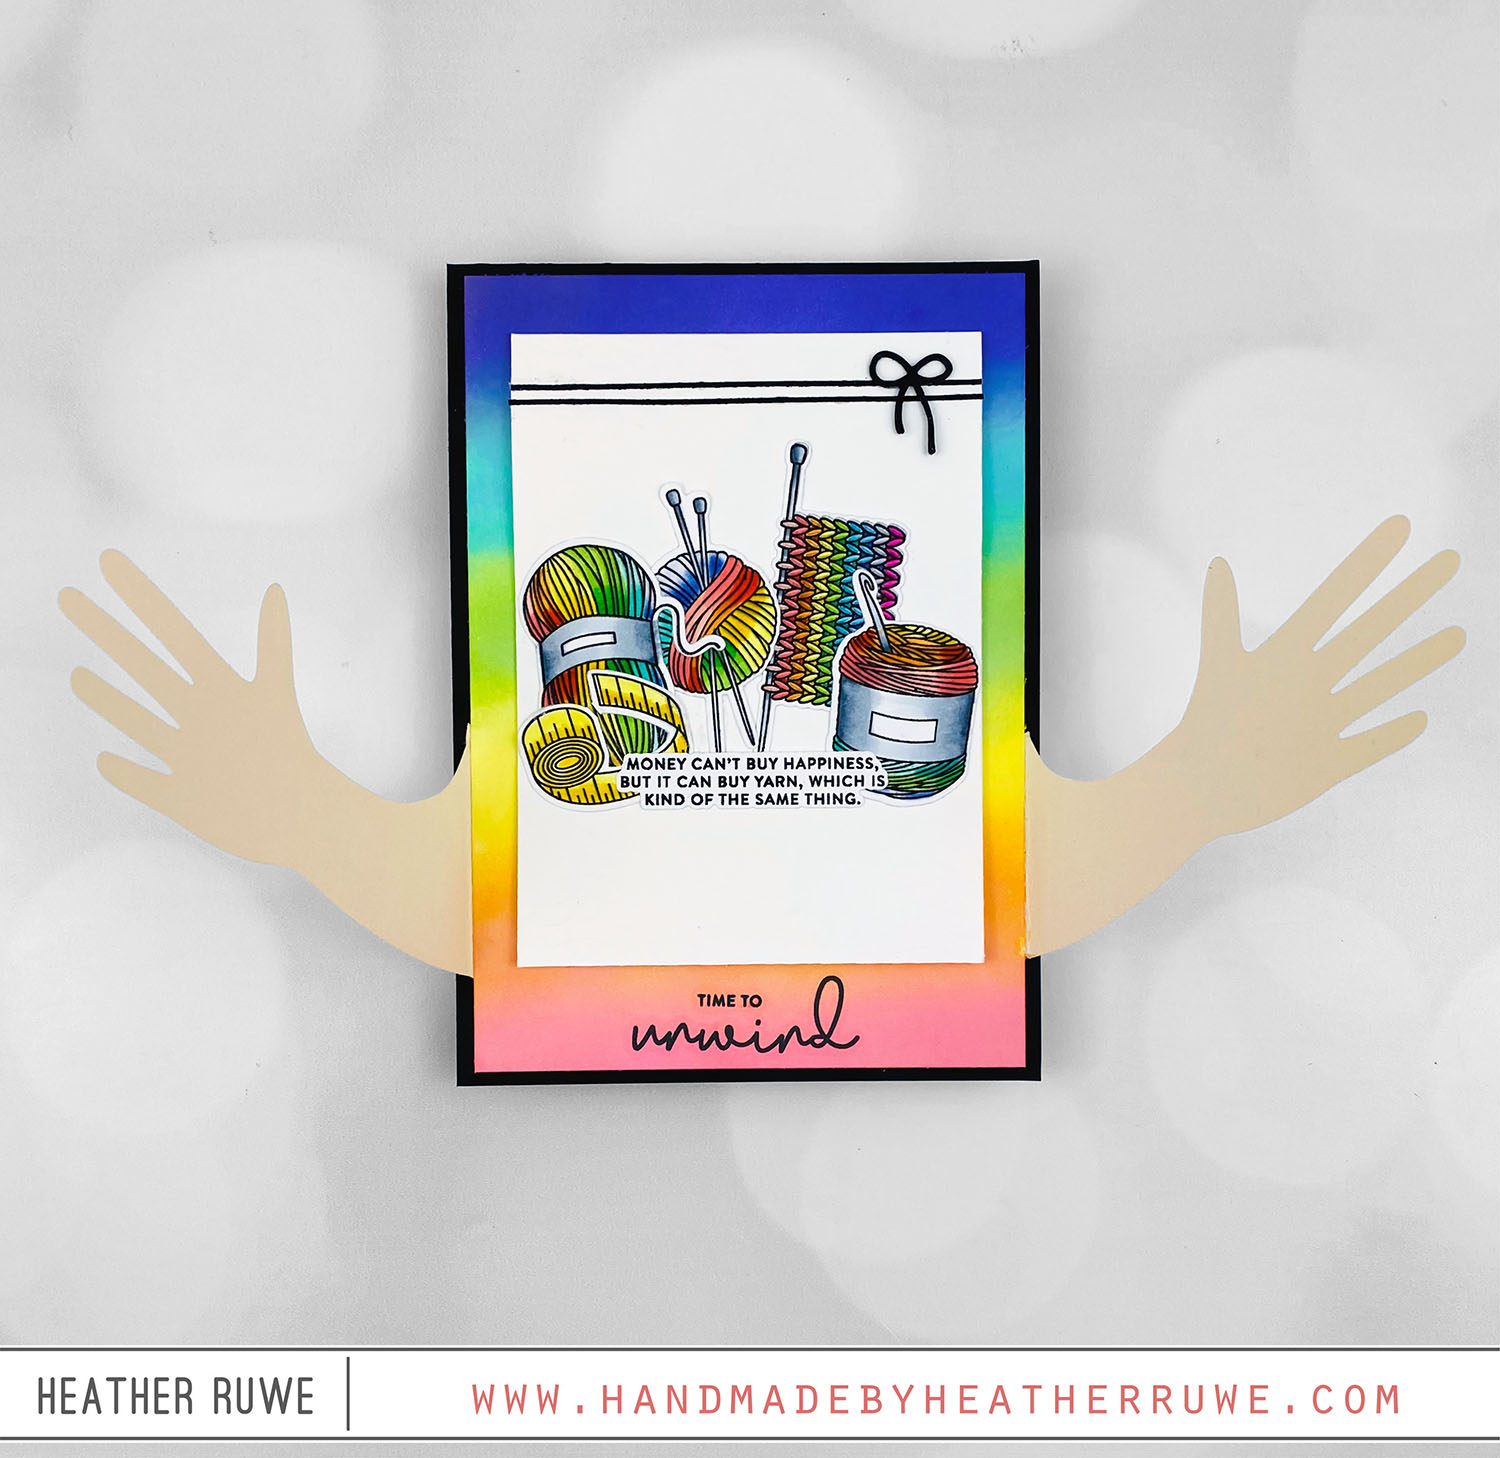
Hello there, crafty friends. Today’s card features products from THIS new release… To create this card, I started by ink blending the background. I used a rainbow of Distress Oxide Inks. I die cut THIS die and adhered the hands to each side of the rainbow background. I adhered the entire piece to a black panel. I created a smaller white card and used THIS stencil to dry emboss the pattern on the front...
More Sweet Days Card Kit Inspiration
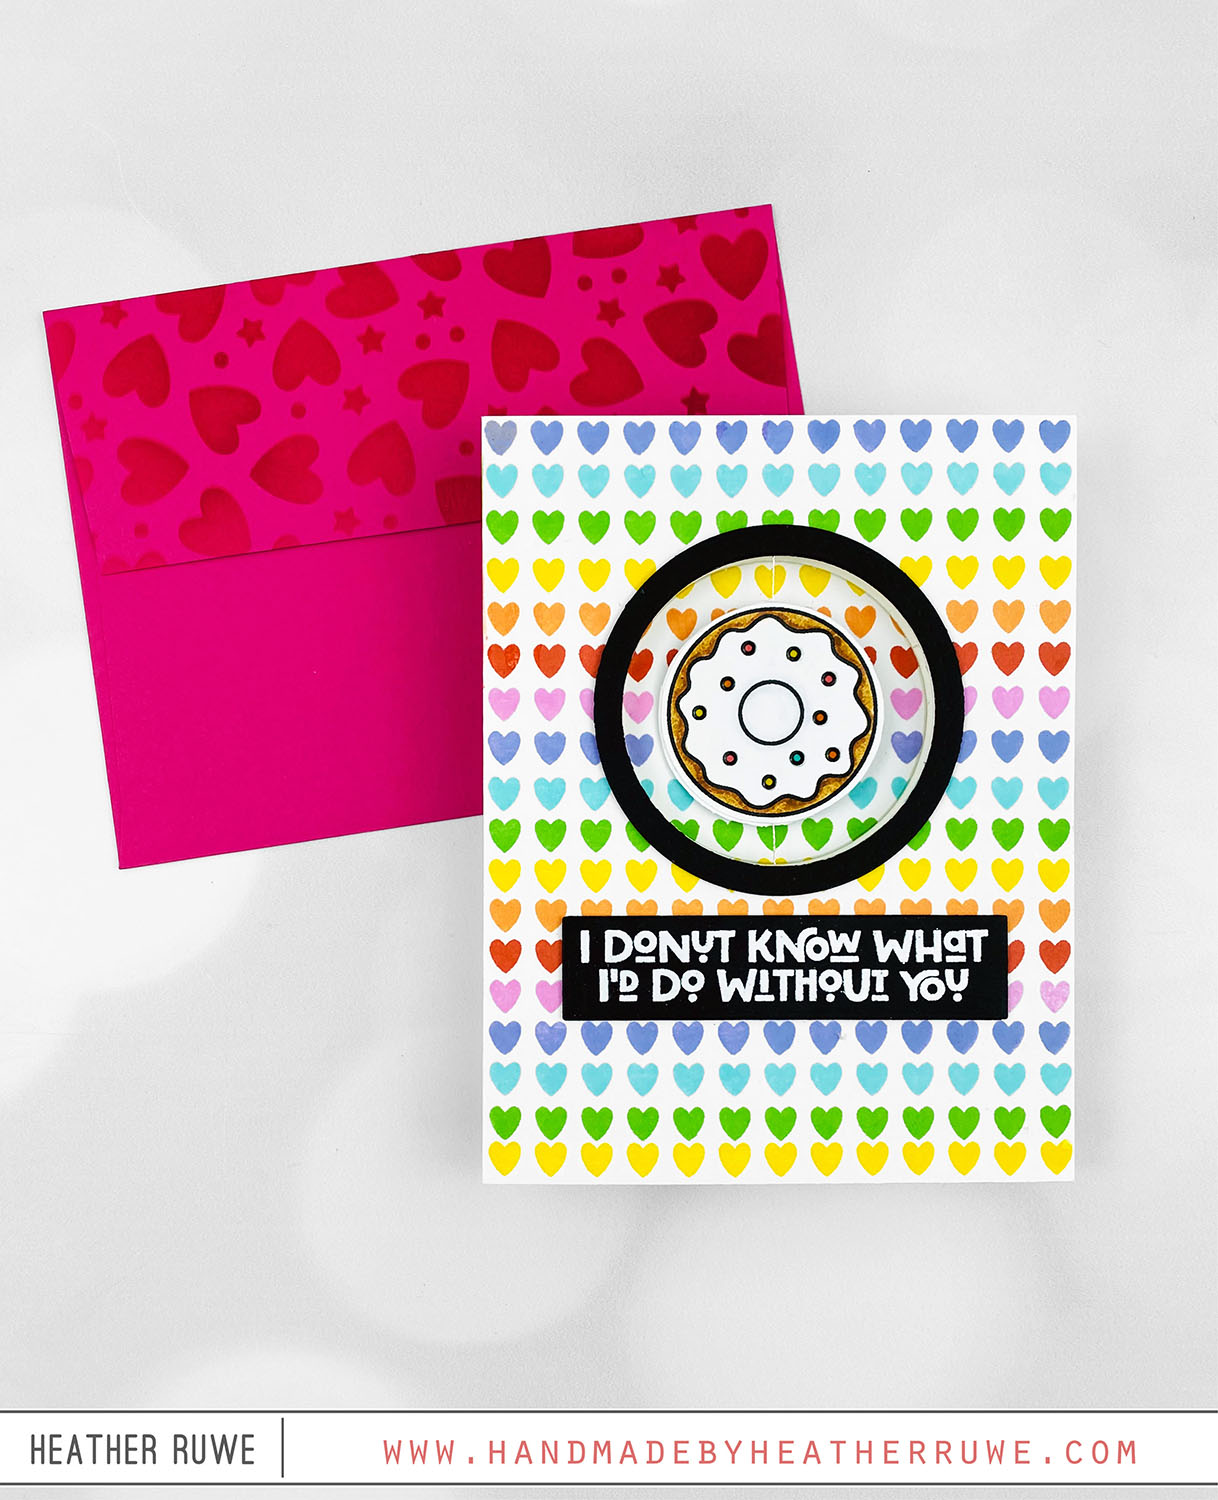
Hi, crafty friends. I recently shared THIS card using THIS new card kit. I’m back today with more inspiration using the same card kit… I started by stamping the row of hearts image from the kit’s stamp set repeatedly on a white A2 panel. I went in rainbow order and filled the entire panel creating a background. I die-cut a circle from the panel as well as the front of a side fold card...
More Hugs Release Inspiration
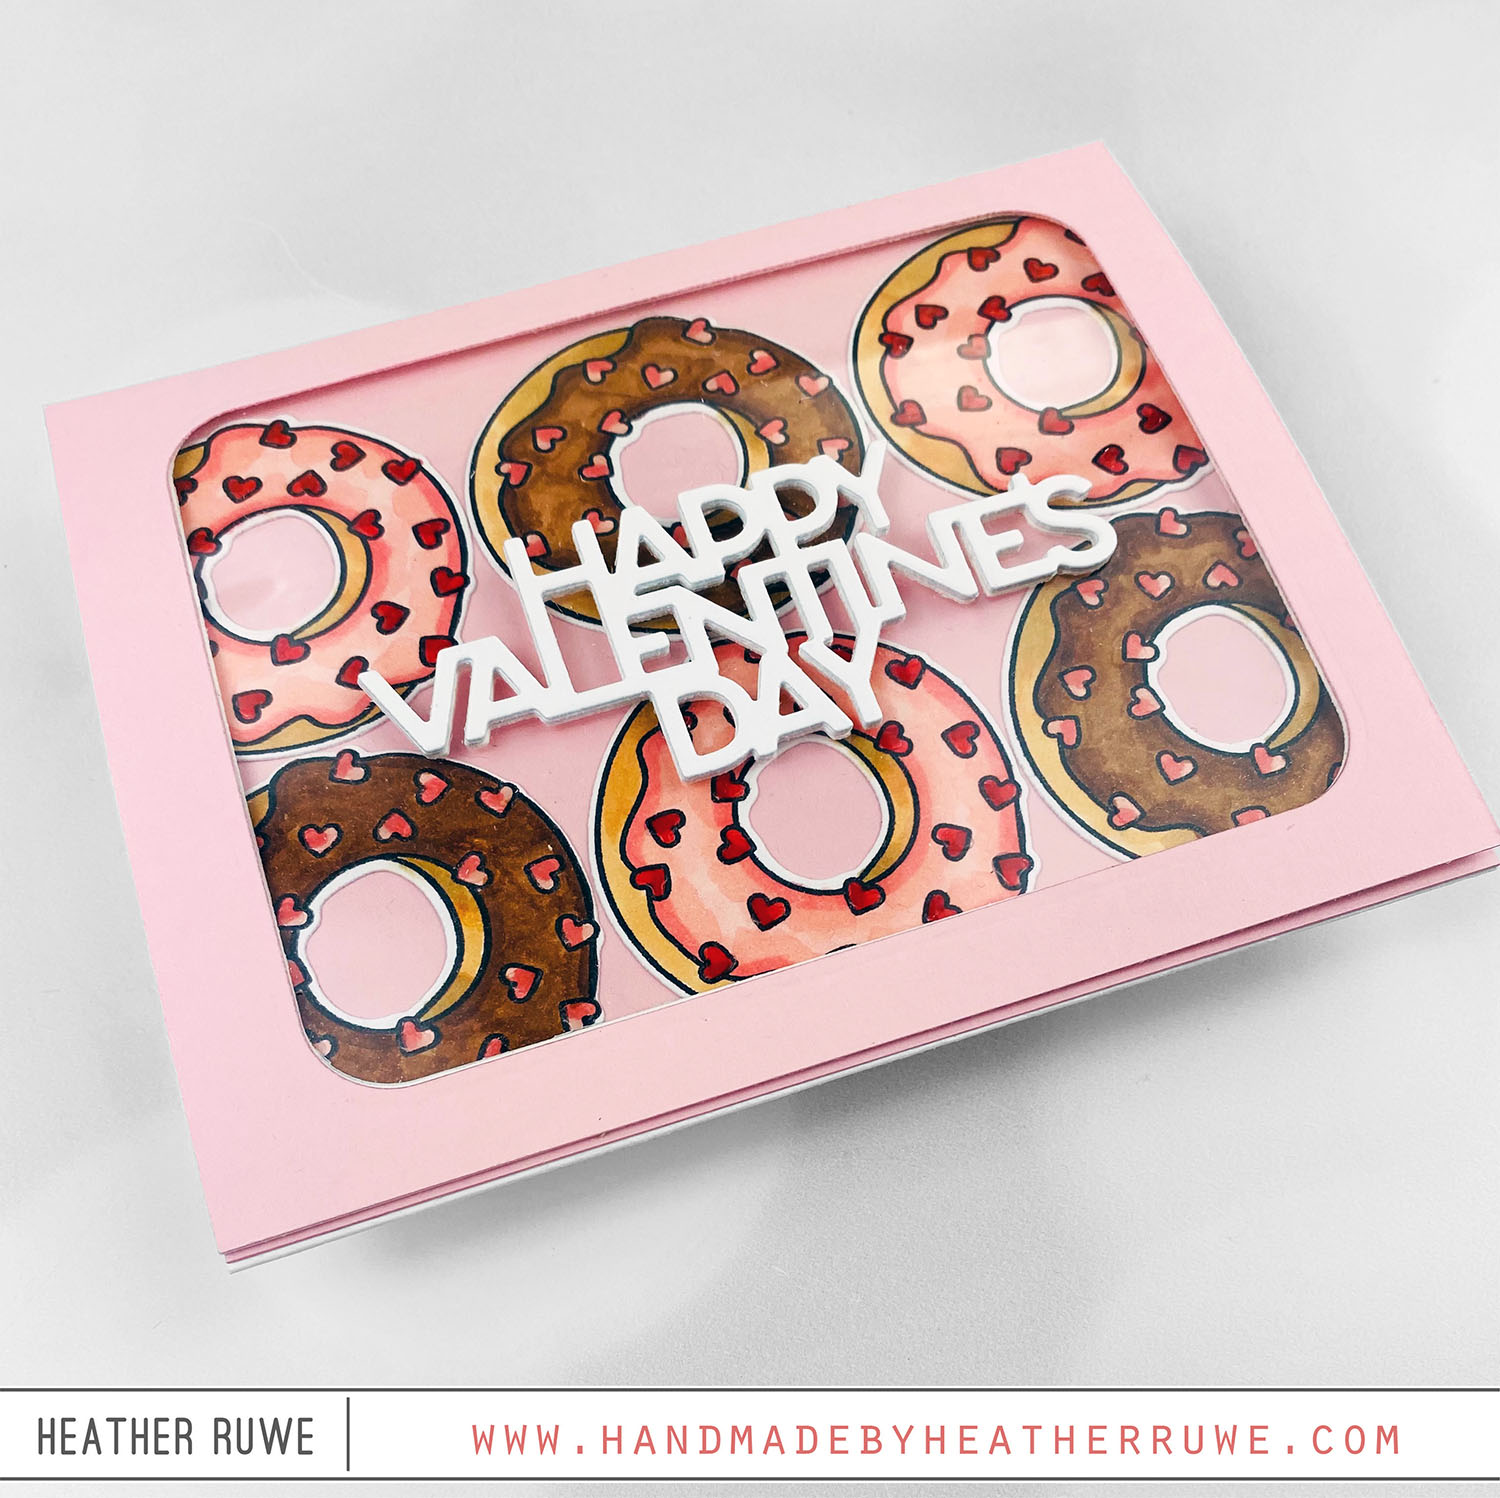
Hi there, crafty friends. I’m back with more inspiration from THIS new Hugs Release by Simon Says Stamp. I have a tri fold donut box card to share today that was so fun to make… To create this card, I started by die-cutting a window with THIS die from the front panel of a side folding note card. I also cut a window in a pink A2 size panel. Next, I sandwiched a piece...

