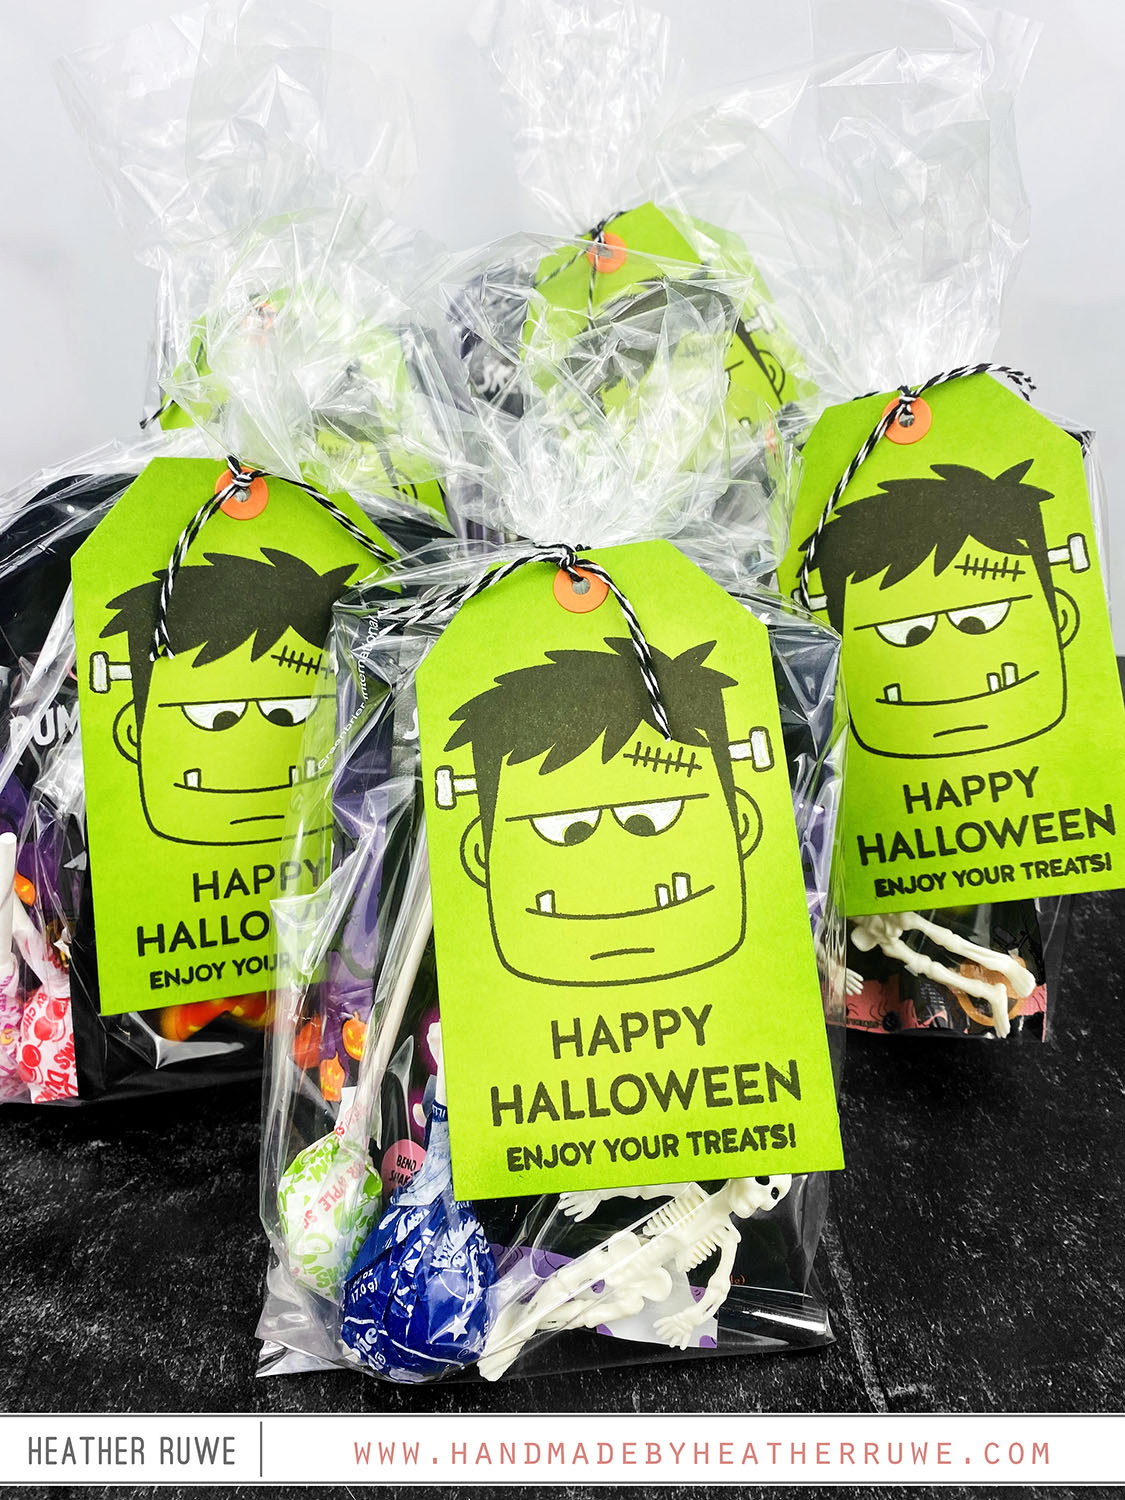
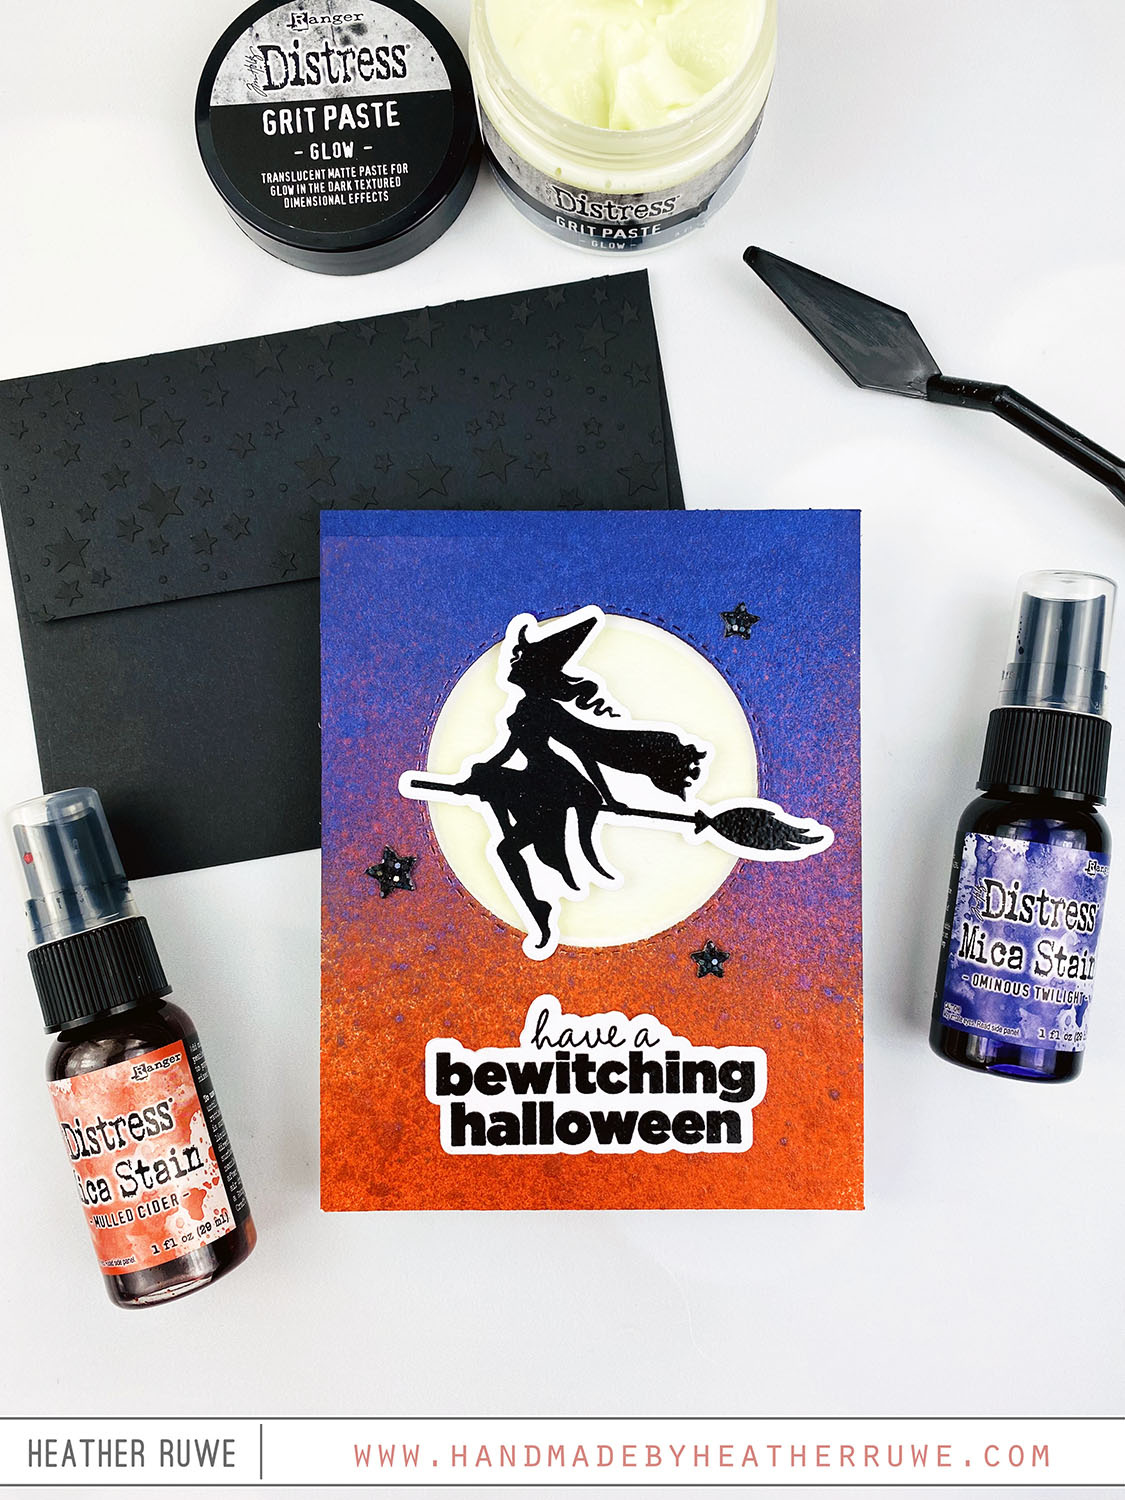
Hello again, crafty friends. Today’s STAMPtember collaboration is THIS one with Brutus Monroe… To create these cards, I started by die cuttoing two panels using THIS stitched rectangle die. I stamped two of the cupcake images from THIS new stamp set in the center as well as a coordinating sentiment. I masked off the images using THIS masking paper. For the first card… I applied gray ink through THESE layering stencils to add some...
Happy Happy Halloween Slimline Card
Howdy, crafty friends. I have a Halloween Slimline Card to share today… I started by creating the background. I inked up THIS cloud stencil using black ink. Once all the clouds were stenciled on, I went back with a gray ink and colored in the white clouds for a spooky look. I added black ink through a grass stencil along the bottom of the card and die cut THIS sentiment die from black glossy...
Whimsy Stamps STAMPtember 2023 Collaboration
Hello, crafty friends. Today’s STAMPtember collaboration stamp set is THIS one with Whimsy Stamps… I started by stamping the images and sentiments from THIS stamp set on die cut squares. I colored them in with Copic Makers and added glossy accents to the eyes. I stamped a slimline gray panel using all the small images in the stamp set to create a tone on tone background. I finished it off with a strip of...
STAMPtember 2023
Happy STAMPtember, crafty friends! If you are unfamiliar with STAMPtember, it’s a month long celebration of stamping and crafting hosted by Simon Says Stamp. There is so much fun in store for this month but let’s start with a Halloween card I created with THIS STAMPtember release… To create this card, I started by die cutting THESE strips from black glossy and white cardstock. I used the back side of each strip that picks...
New 2023 Distress Halloween
Hello there, crafty friends. Today’s card share features THESE new products from the 2023 Distress Halloween Release… To create this card, I started by die cutting THIS stitched circle in the center of an A2 card panel. I cut the same die in the center of a white card base to create a window. I laid the panel in a box and sprayed the Mulled Cider Distress Mica Stain along the bottom of the...
Slimline Halloween Card
Hello there, crafty friends. Happy Halloween! I thought I’d share a Halloween card today to celebrate… I started by ink blending a night scene using Distress Oxide inks on the front of a slimline card base. I spritzed THIS on top for some texture and shine. Next, I cut THIS pumpkin house and accessories from colored cardstock and the door from THIS woodgrain cardstock. I added ink to the edges of the die cuts...
Cozy Hugs Release Blog Hop
Hello there, crafty friends. I’m back with an interactive card featuring products from THIS new release… First, I created a quick background by doing some marble painting with paints. You can see a previous I did on this that explains the process HERE. As that was drying, I stamped THIS bat and used THESE dies to cut it out. I wanted him to be interactive so here are the instructions I followed to assemble...
Witch Silhouette Card
Hello there, crafty friends. I’m back with even more Halloween inspiration… To create the background, I started by applying Distress Oxide ink with THIS stencil to create some colorful clouds. I stamped the images and sentiment from THIS stamp set using THIS black pigment ink. I finished off the design by adding gold stars cut with THIS die, a favorite of mine for creating embellishments. I also decorated the flap of the envelope with...
BOO Halloween Wreath Card
Hello, crafty friends. I’m back with another Halloween card… First, I applied green ink through THESE stencils to create a background. I die-cut the background using THIS die to add some stitching details. I added a black mat behind it and adhered it to a green top folding note card. I die cut THIS die using THIS black glossy cardstock twice and adhered them down to the background. I did not line them up...
Frankenstein Halloween Card
Hello, crafty friends. I have a Halloween card to share today featuring THIS stamp set… I started by die-cutting THIS strip from white and black glossy paper. I adhered the strips to the front of a white side folding card base and stamped a sentiment from THIS stamp set on one of the white strips using black pigment ink. I added clear embossing on top and heat set. Next, I die-cut a stitched circle...