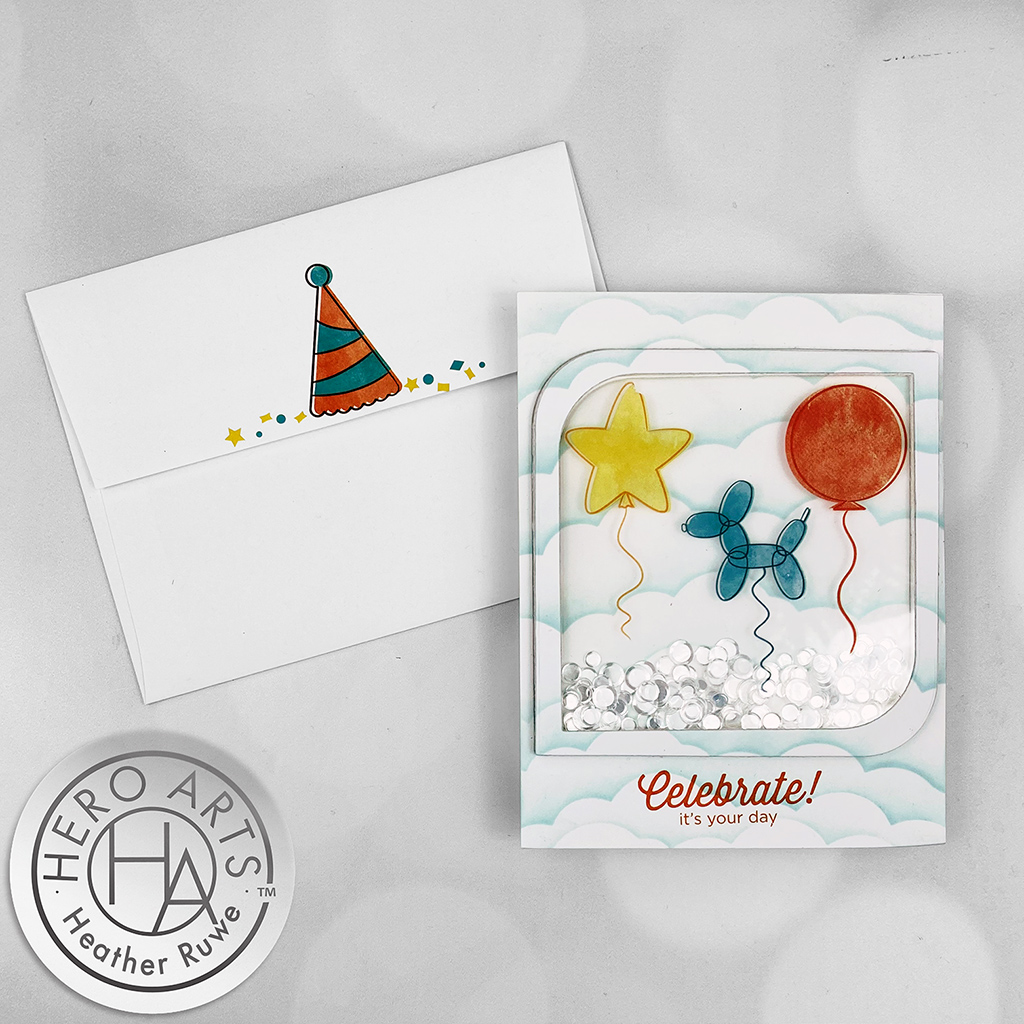
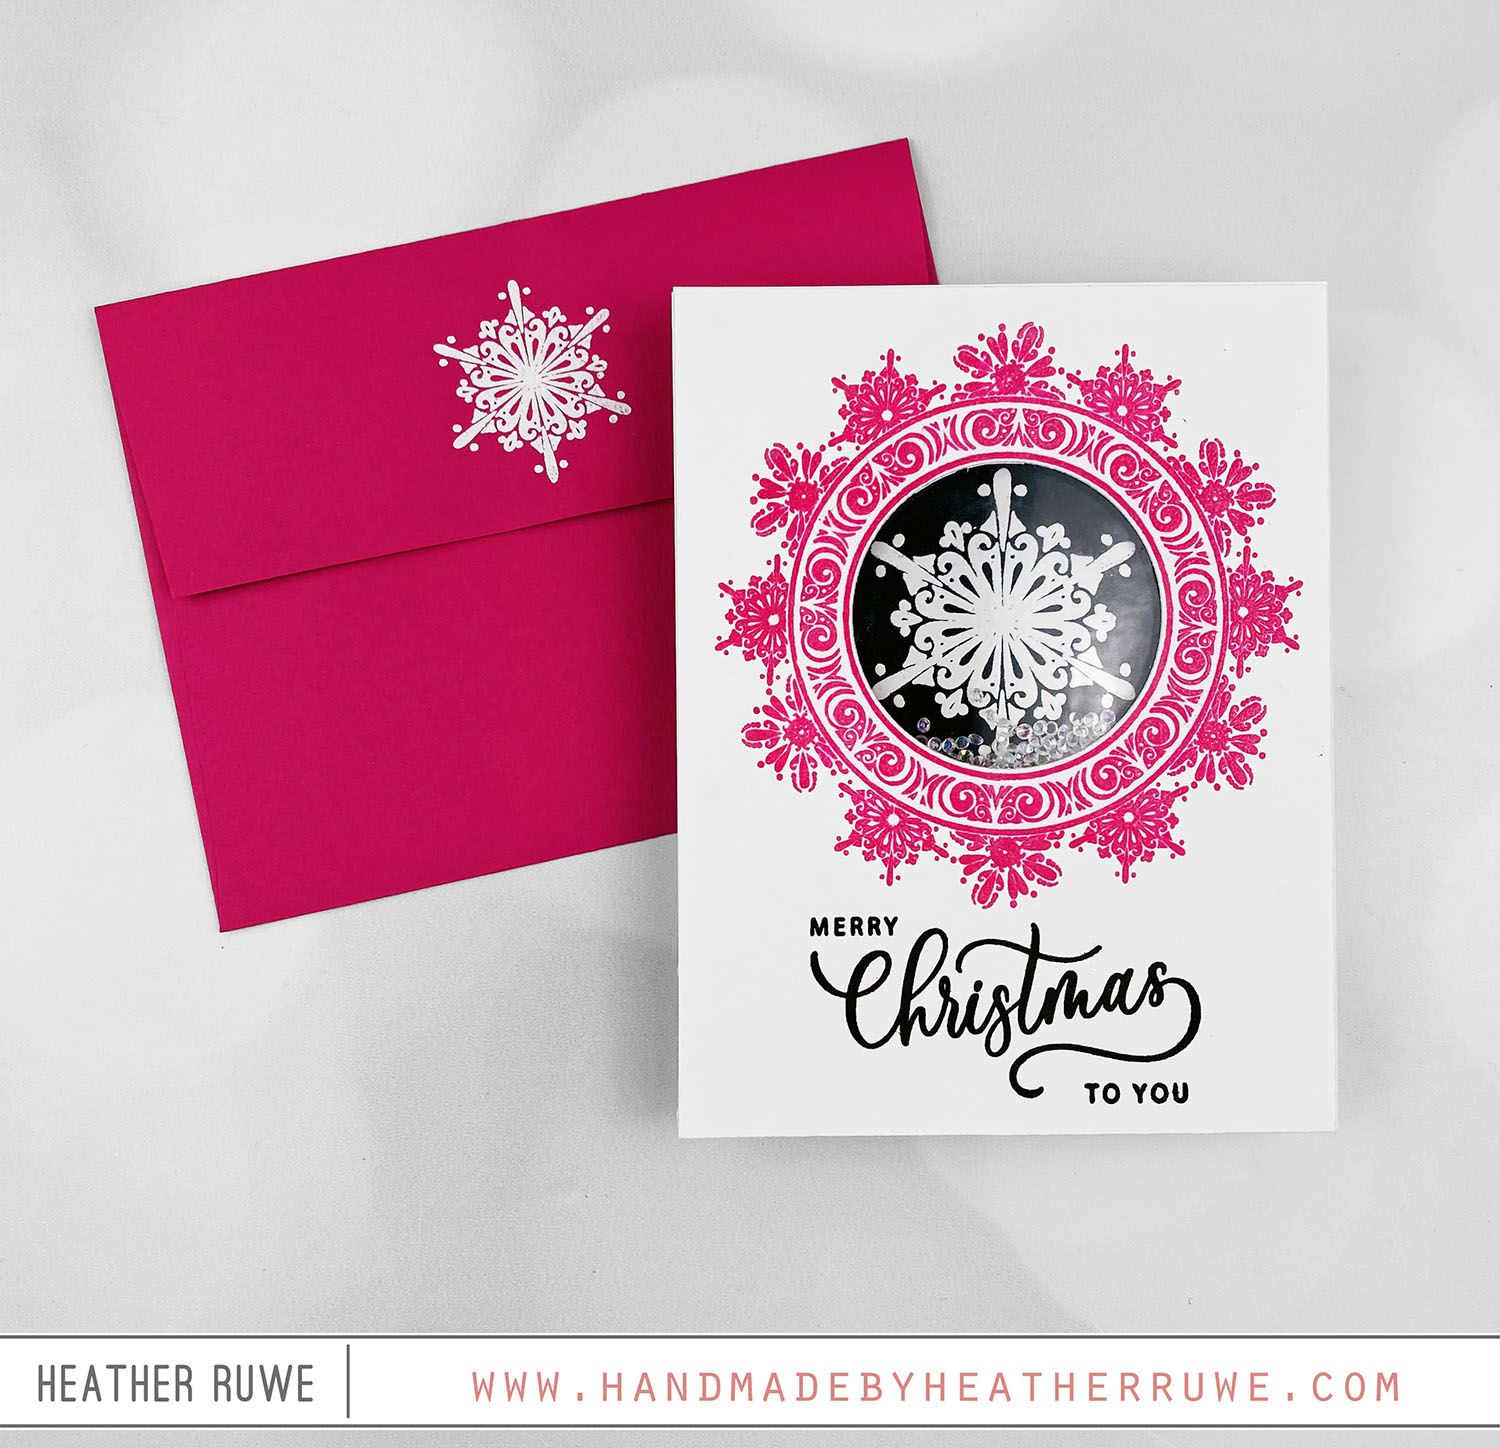
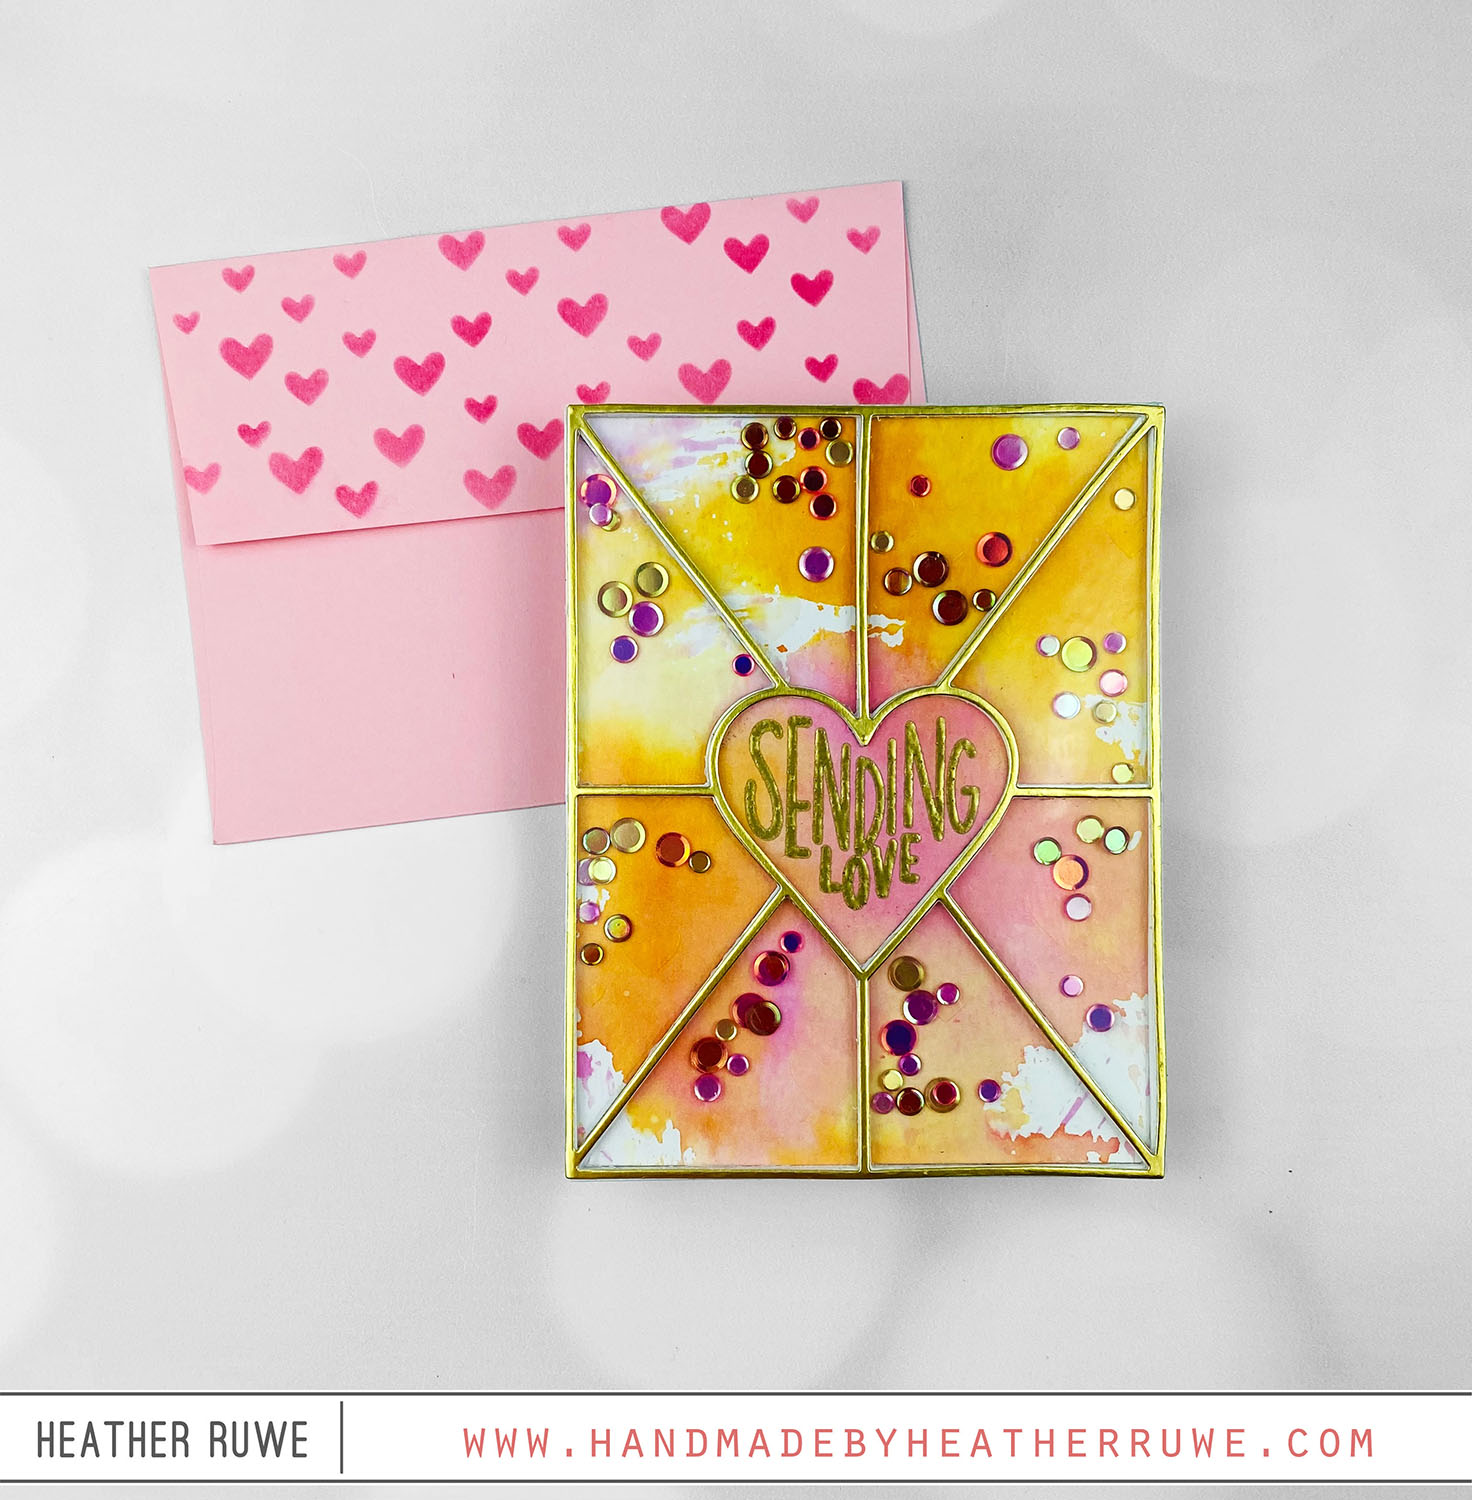
Hero Arts Spring 2024 Catalog Blog Hop

Hello, crafty friends. The Spring 2024 Catalog is now available HERE at Hero Arts! I have two cards to share today featuring some of the new products… For the first card… I used products from THIS co-branded product line with Ralph Tyndall. I applied ink through a ray stencil for the background to create some show lights. I adhered a strip of gray cardstock along the bottom of the panel and stamped the images...

Valentine’s Day Shaker Tags

Hi, crafty friends. I thought I’d share the Valentine’s Day tags I created to attach to gifts for my son’s teachers… To create these tags, I die cut the tags from a few colors of cardstock. I cut two for each color, one for the front and one for the back. On the front tag, I applied a coordinating ink color through THIS stencil. I die cut THIS die from the tag. I adhered...

Warm Wishes Shaker Card

Hi there, crafty friends. I have a shaker card to share today using a few Ink Blot Shop products… To create this card, I started by white heat embossing THIS background stamp on white cardstock. I ink blended three blue Distress Oxide inks on top creating an ombre effect. I die cut five rectangle fames and adhered them together sandwiching a piece of acetate under the first rectangle layer. Before adhering the piece down...

Gina K. Designs STAMPtember 2023 Collaboration

Hello there, crafty friends. Today’s STAMPtember collaboration stamp set is THIS one with Gina K. Designs… To create this card, I started by stamping the main image from THIS stamp set on an A2 white panel using pink ink. I stamped a sentiment from the stamp set under the image and cut a circle from the center of the main image. I adhered acetate behind the opening. I white heat embossed one of the...

Happy Summer Shaker Card

Howdy, crafty friends. I have a summer themed shaker card to share today… To create this card, I started by creating the background. I smooshed some Distress Ink on my glass mat and spritzed with water. I swiped my cardstock through the ink to create an abstract background. I die cut it with THIS stitched rectangle die and die cut a circle from the center using one of THESE dies. I stamped Happy Summer...

Shaped and Shaker Cards

Hi, crafty friends. I have two cards to share today that were so fun to create. One is a shaped card and one is a shaker card… For both cards, I applied six different colors of ink through THESE stencils to create a rainbow pattern. I like to start off with a 6×6 piece of white cardstock (the same size as the stencil). That way, I can cut out the section I want and...

Out of This World Release Blog Hop

Hello again, crafty friends. I’m so excited to be part of THIS Blog Hop celebrating THIS new release. I have two cards to share today where I created shaker cards from cover plate die cuts… To create these cards, I cut THIS and THIS cover plate from white cardstock several times (6 times for each card). I adhered each layer together on top of a white card base. For the last (top) layer, I...

Sending Love Shaker Card

Hi, crafty friends. I have a fun shaker card to share today… To create this card, I started by applying a few colors of Distress Ink on a piece of acetate. I spritzed it with water and laid it down on a watercolor piece of cardstock. I die-cut THIS die several times from white and adhered them together. I gold heat embossed one of THESE sentiments inside the heart area directly on to the...

DieCember Release 2022

Happy DieCember, crafty friends! If you’re unfamiliar with DieCember, it’s a month long party hosted by Simon Says Stamp celebrating dies and die-cutting. Today’s project features a few ways to use a die… I started by creating the background. I did some hot foiling on glossy black cardstock using THIS opaque white glimmer foil along with THIS cover plate die. I shared a previous video HERE that goes into more detail on hot foiling...

STAMPtember 2022 Tim Holtz Collaboration

Hi there, crafty friends. Today’s STAMPtember collaboration stamp set is THIS one from Tim Holtz… I started by stamping the main image and sentiment from THIS stamp set with black pigment ink and clear heat embossing it for some shine. I masked off the Santa scene and ink blended the night sky. Once it was dry, I masked off the sentiment area and applied white pigment ink over the ink blended sky to create...