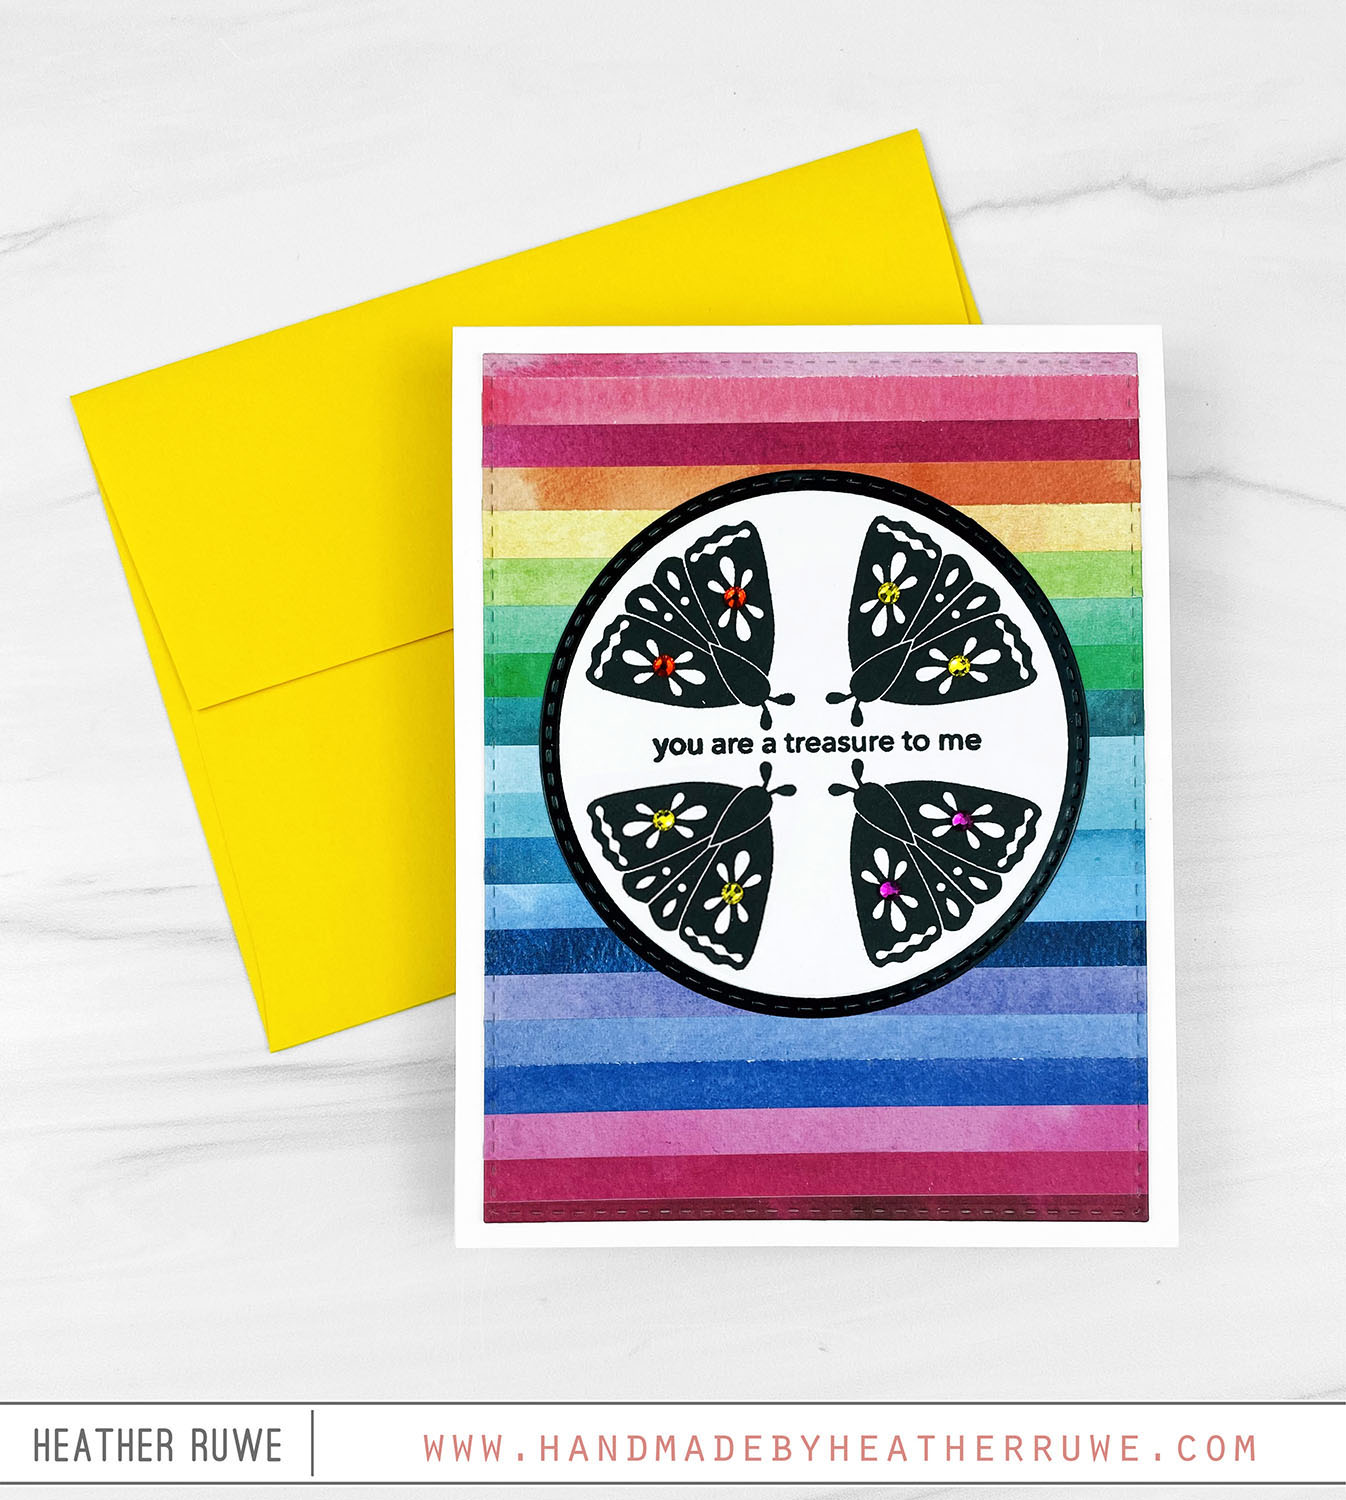
Hello there, crafty friend. Today’s card features THIS new card kit… To create this card, I cut the kit’s patterned paper into strips. I adhered the strips to a panel, creating a rainbow background. I die cut it with THIS stitched rectangle die and adhered it to a white top folding note card. I stamped an image and sentiment from the kit’s stamp set four times on one of THESE circles. I cut one...
Wild and Free Flowers Card Kit
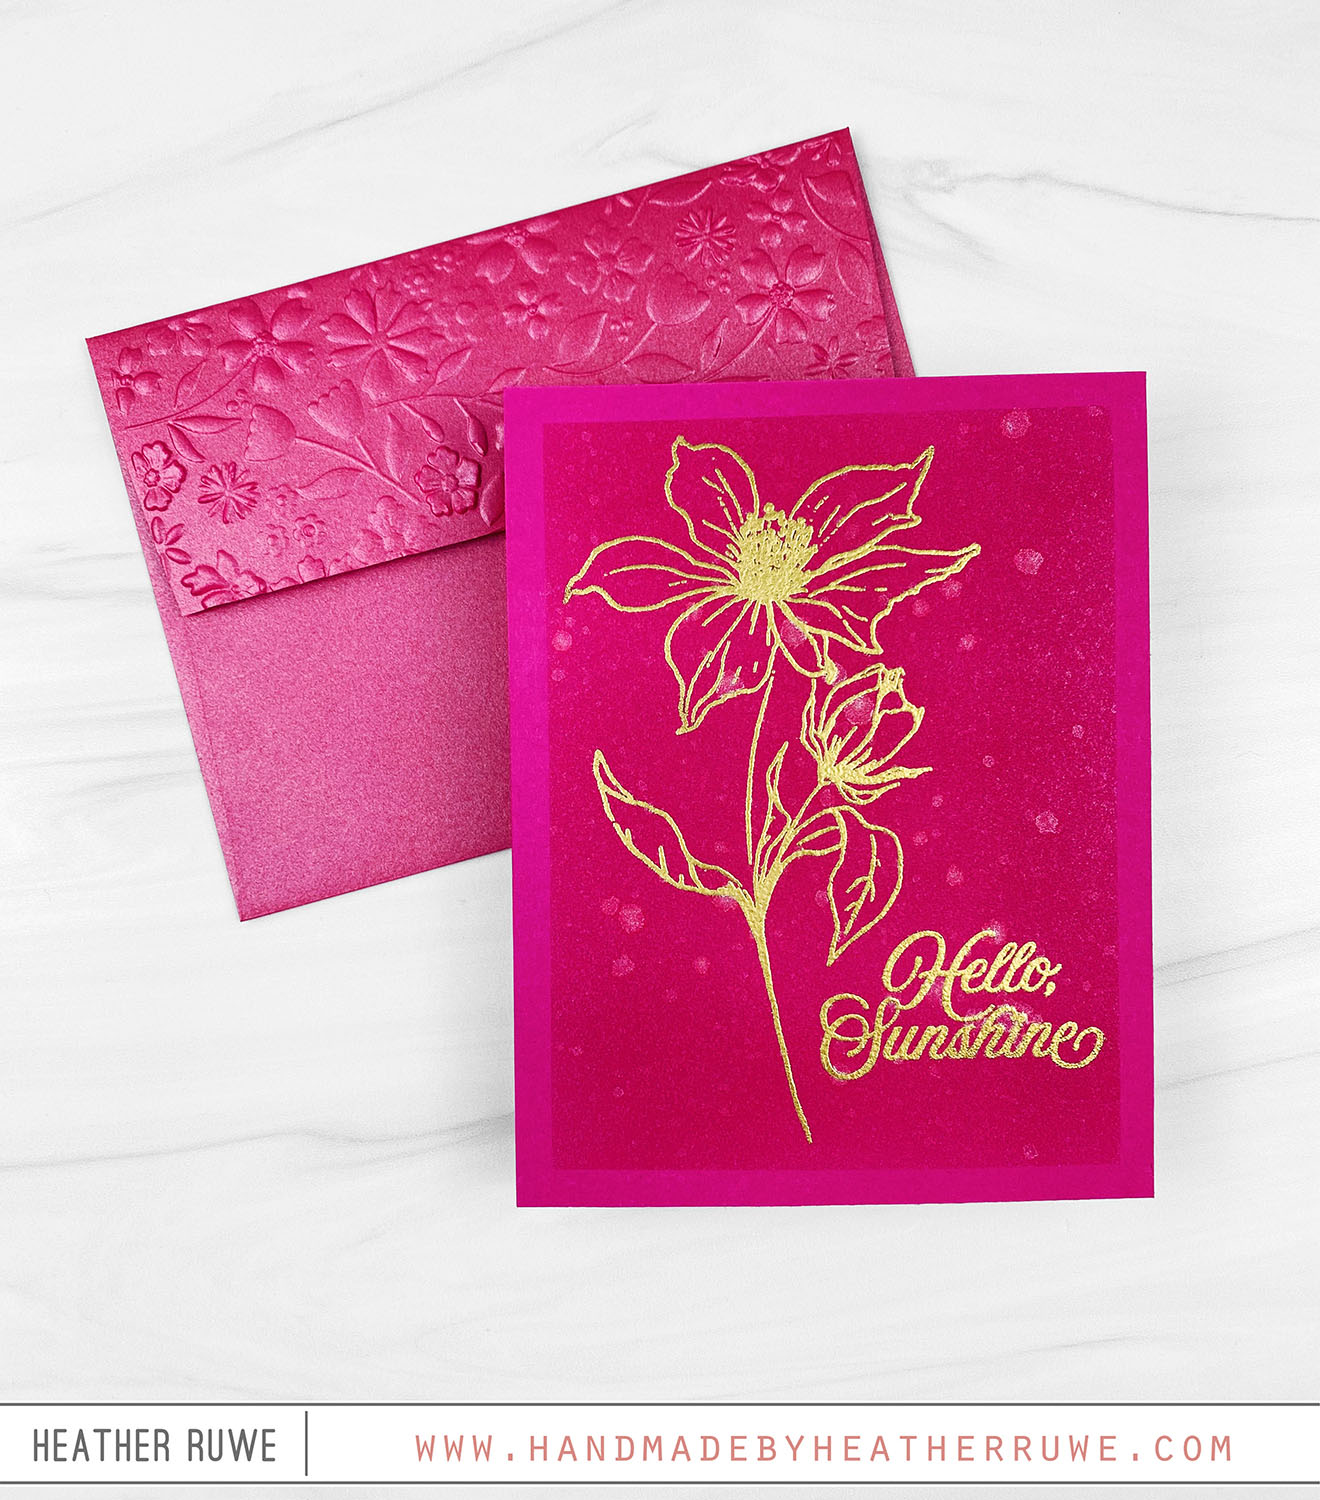
Hi there, crafty friends. Today’s card share features THIS new card kit from Simon Says Stamp…. To create this card, I started by gold heat embossing the flower image from THIS stamp set (which is included in the card kit) on to a piece of the kit’s pink cardstock. I masked off the edges of the panel with THIS masking paper and applied a darker pink ink in the center to create a focal...
Mix and Match Butterflies Card Kit
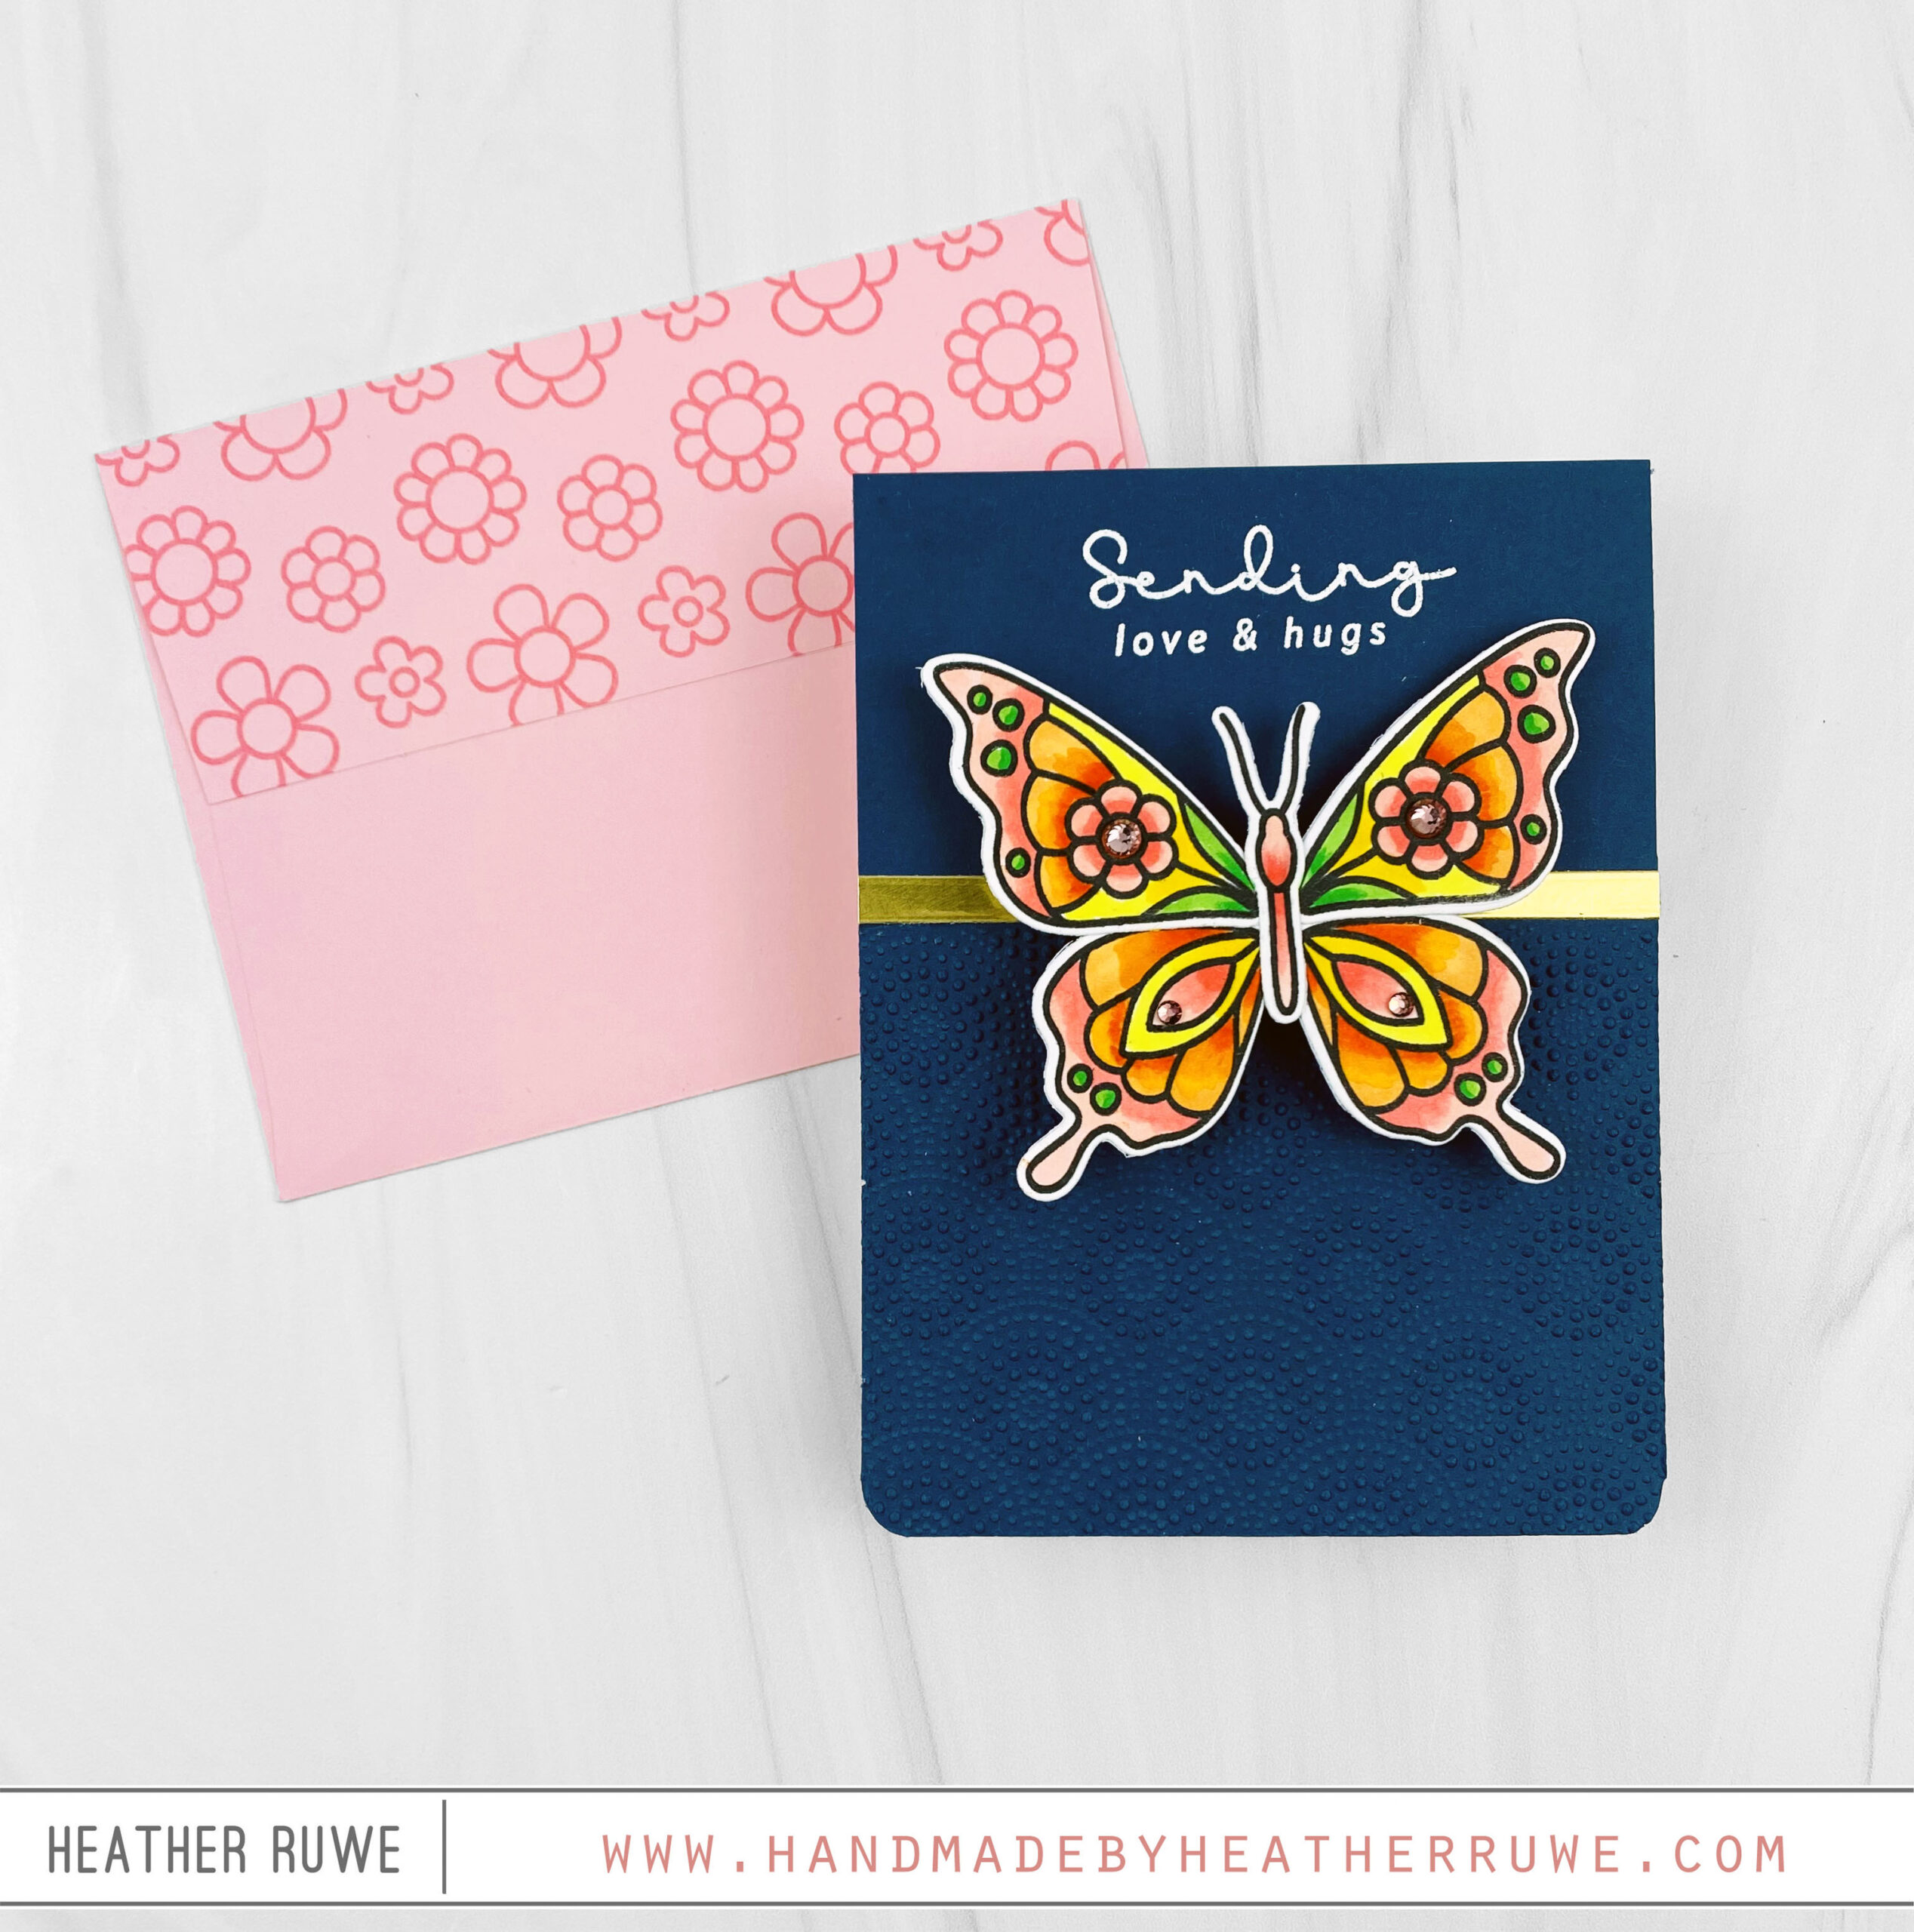
Hi, crafty friends. Today’s card features THIS new card kit… I started by stamping the butterfly image from the kit’s stamp set. I colored it with Copic Markers and used the coordinating dies to cut it out. I added a few gems from the kit to the butterfly design to add some sparkle and shine. For the background I embossed the kit’s embossing folder on the bottom half of a navy A2 panel. I...
Love Story Card Kit
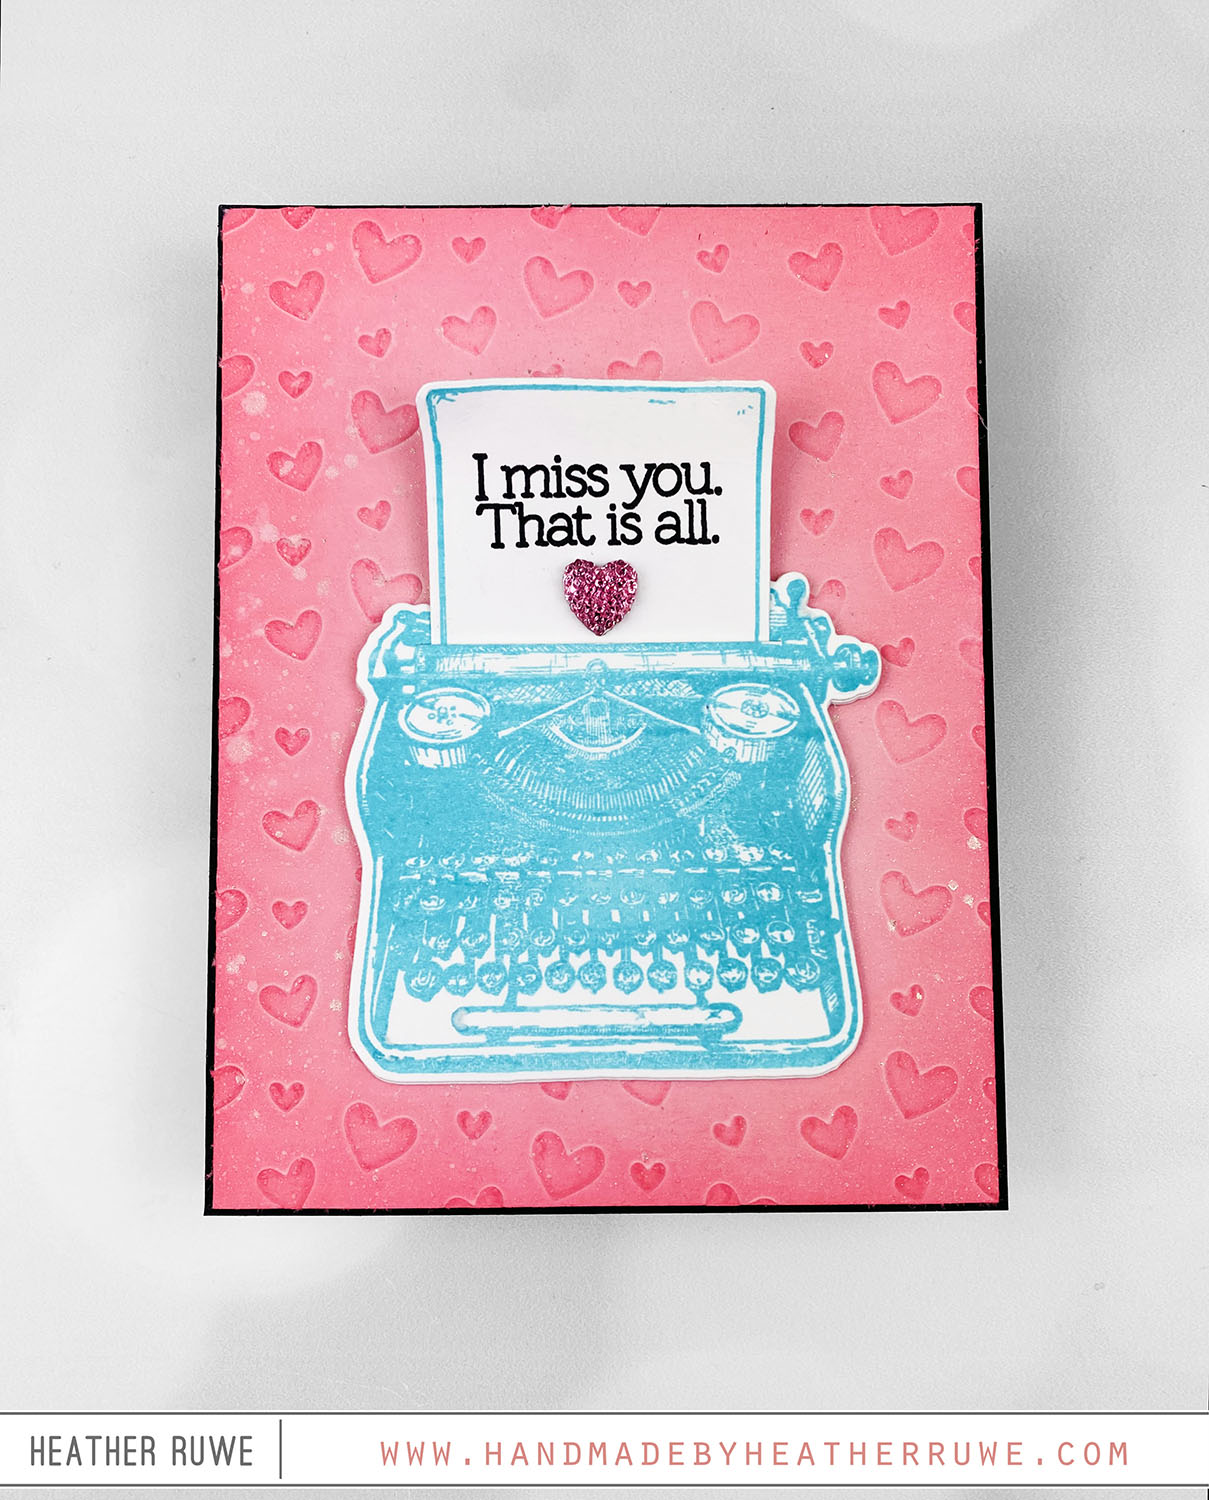
Hi, crafty friends. Today’s card features THIS card kit from Simon Says Stamp… To create this card, I trimmed down the pink cardstock from the kit and embossed it with the kit’s embossing folder. I ink blended on top using Worn Lipstick Distress Oxide Ink and sprayed it with THIS for some sparkle and shine. I adhered it down to a piece of A2 black cardstock. I stamped the typewriter image and paper from...
Don’t Flurry, Be Happy Card Kit
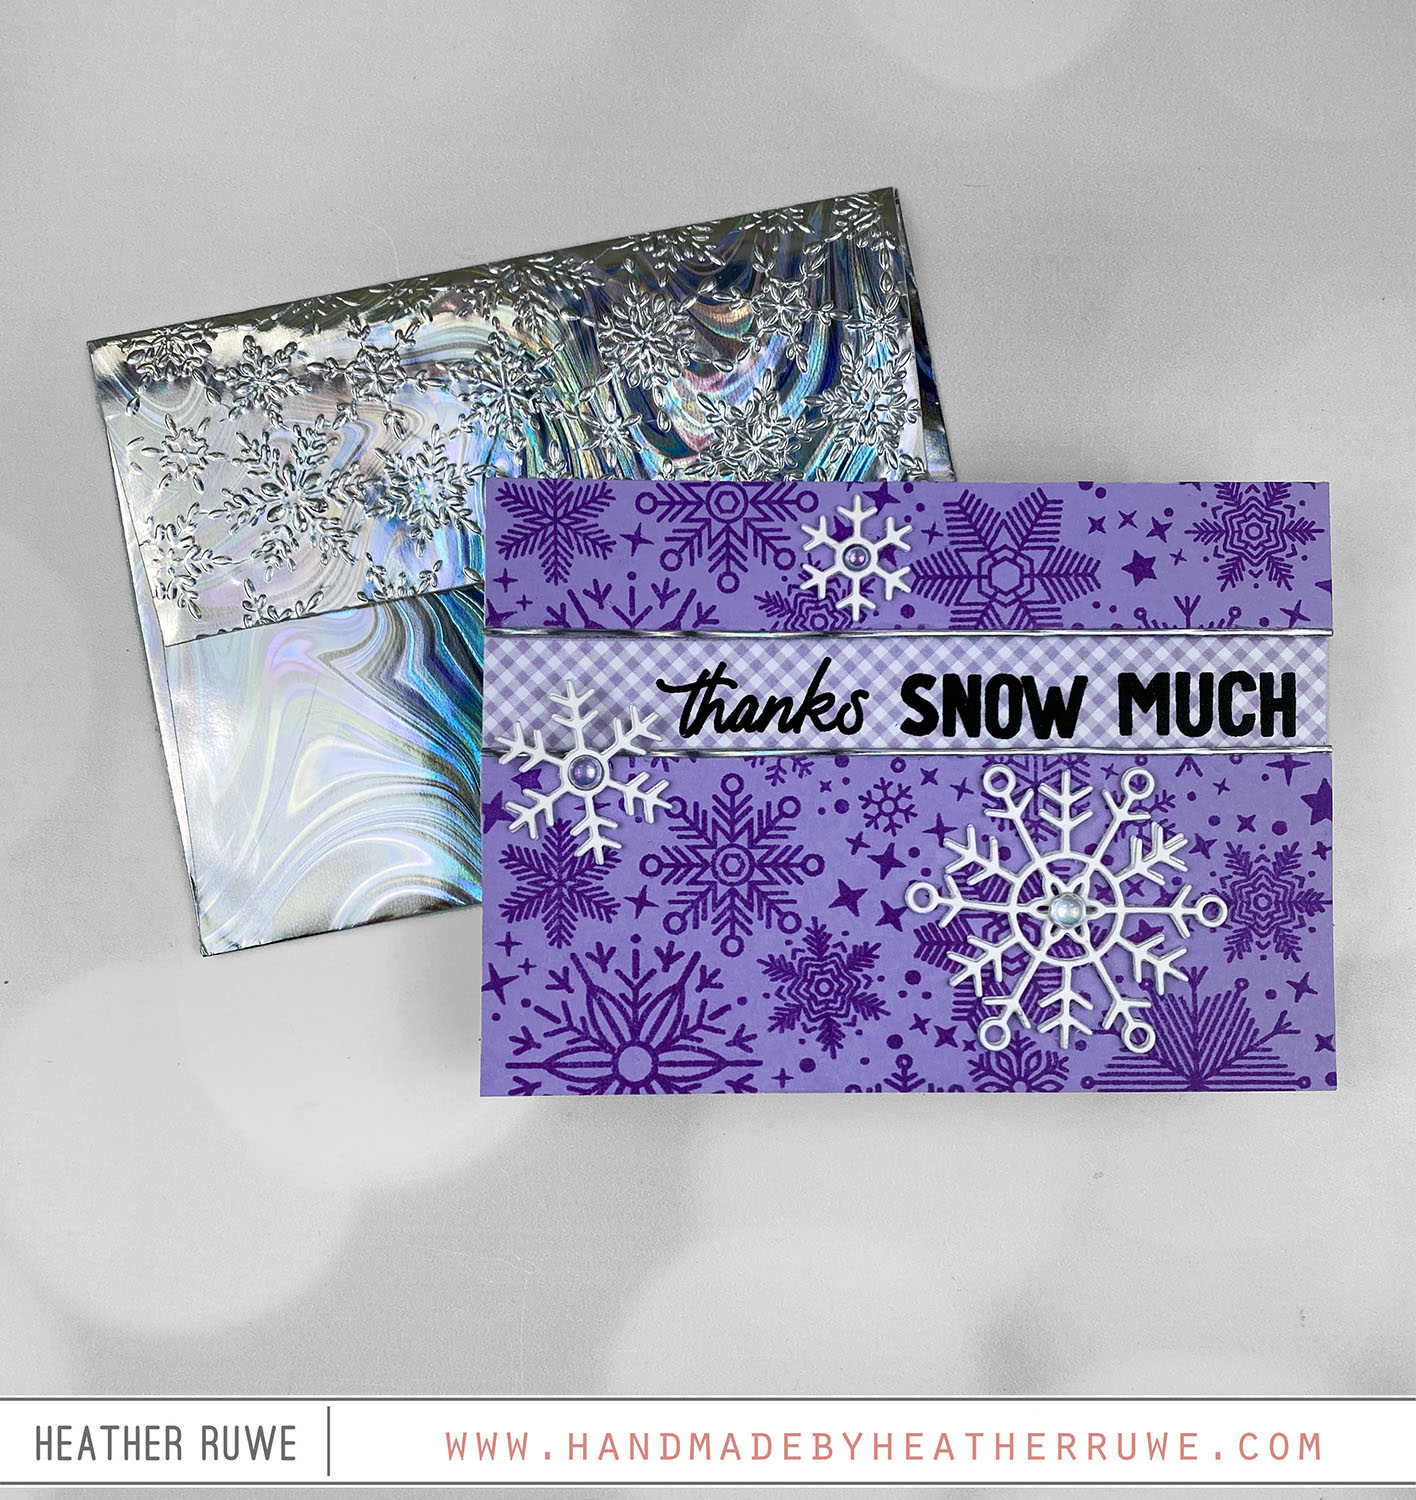
Hey there, crafty friends. Today’s card features THIS new card kit from Simon Says Stamp… To create this card, I started by stamping the snowflakes image from the kit’s stamp set on purple cardstock with purple ink. I added two layers under each strip to add some dimension and adhered it on top of a piece of the kit’s patterned paper that was stamped with a sentiment from the same stamp set. I finished...
Making Spirits Bright Card Kit
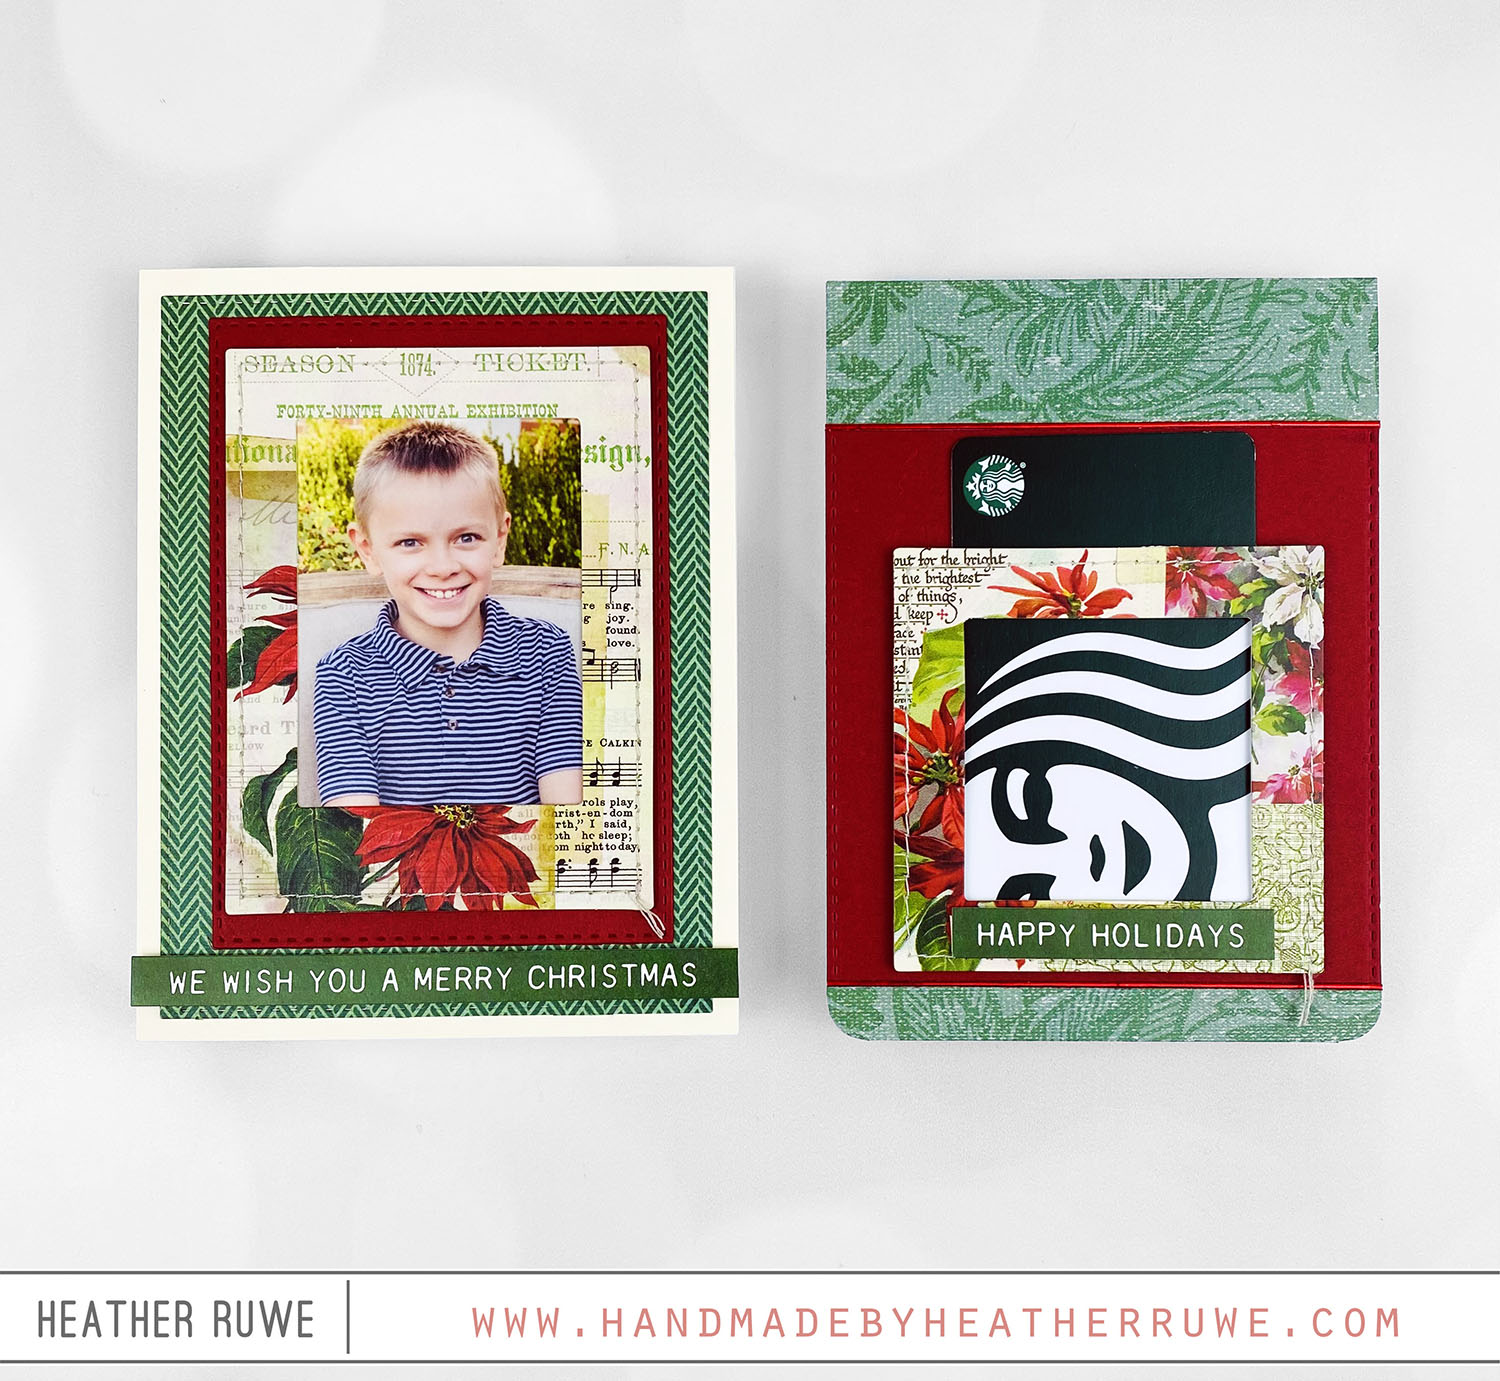
Hello, crafty friends. I have two cards to share featuring THIS new card kit… I decided to use the frames in the kit. For the fist card, I used it to frame a picture of my son… I love to include a photo in my Holiday cards and his school photo fit perfectly inside some of the frames. I cut the patterned paper and red cardstock with THESE stitched rectangle dies to mat behind...
Cozy Autumn Hugs Card Kit Inspiration
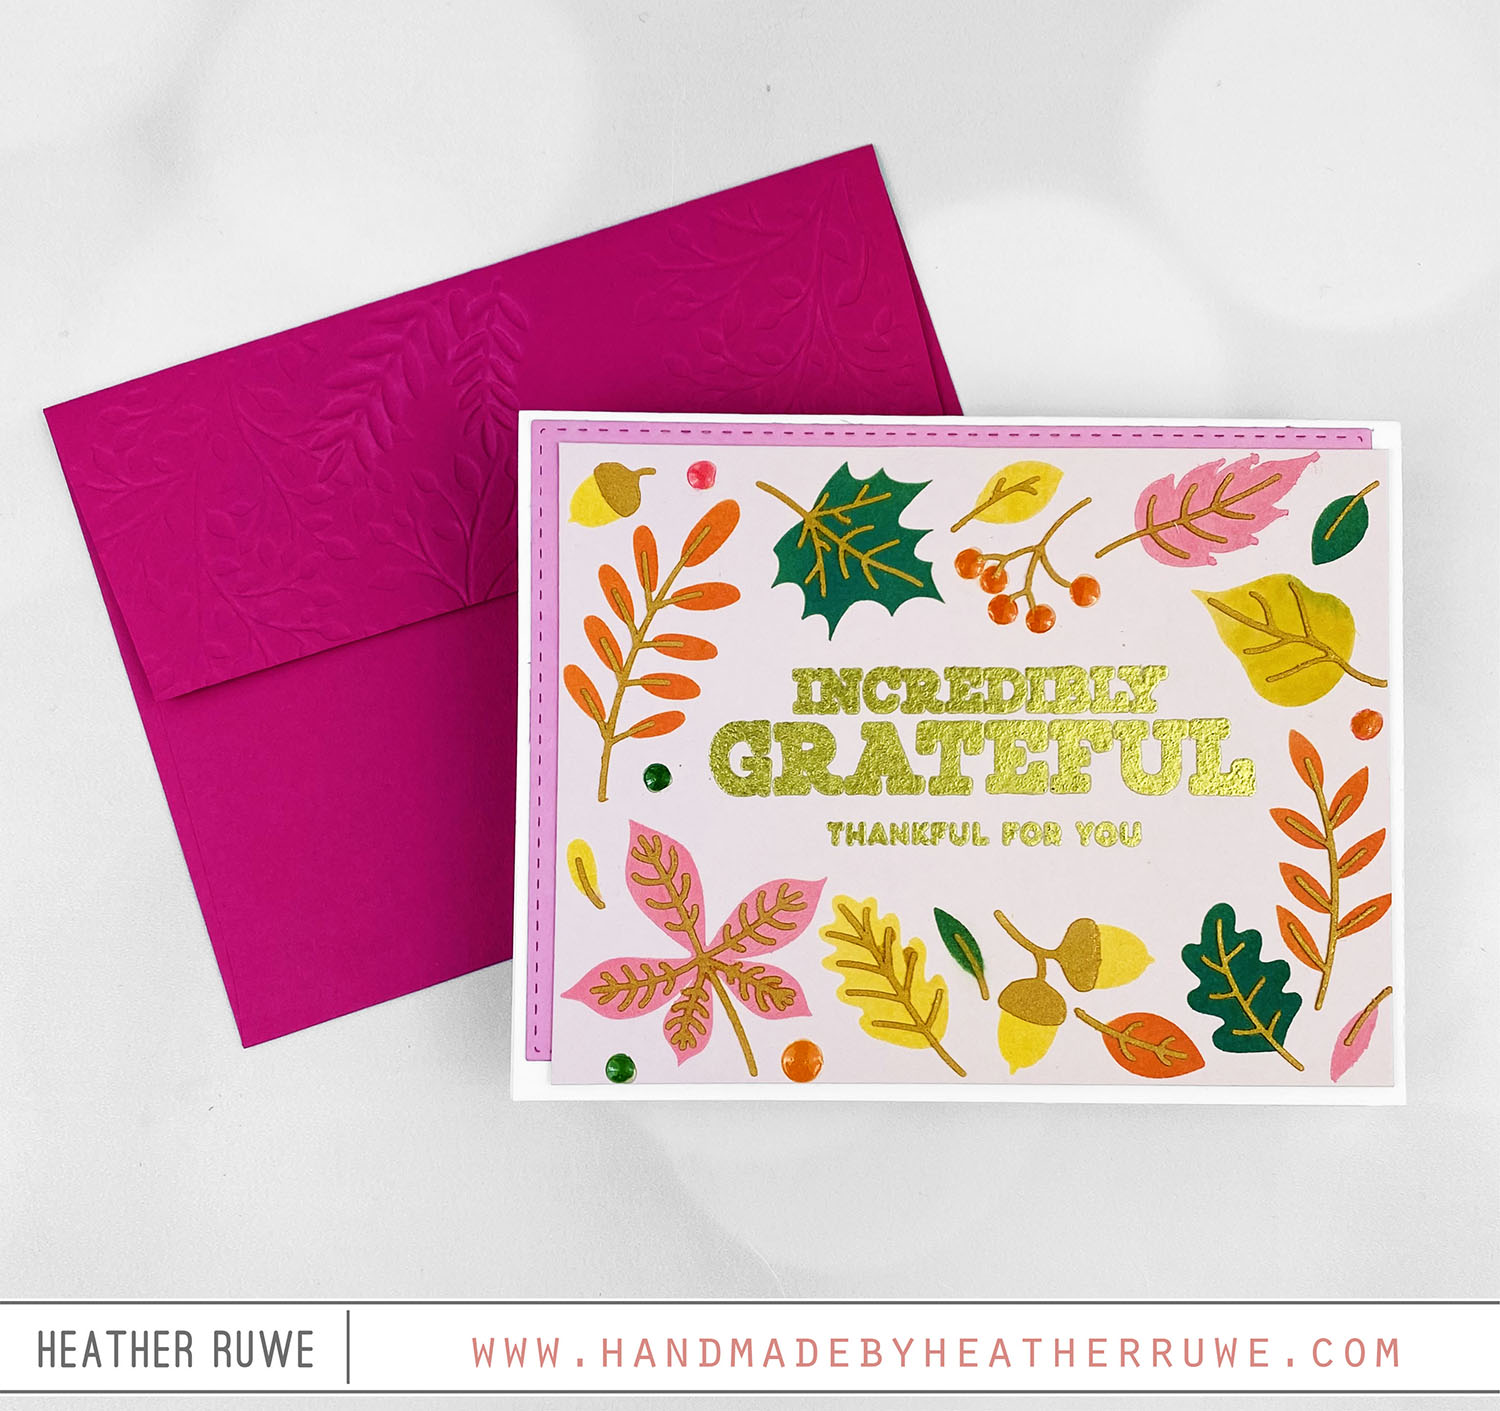
Hello there, crafty friends. I’m back with more inspiration using THIS card kit from Simon Says Stamp… To create this card, I applied Distress Oxide ink through the kit’s layering stencils to create a fall frame on a piece of light pink cardstock. For the second layer, I applied THIS texture paste to add some dimension. I gold heat embossed the sentiment from the kit’s stamp set in the center. I adhered down the...
Cozy Autumn Hugs Card Kit
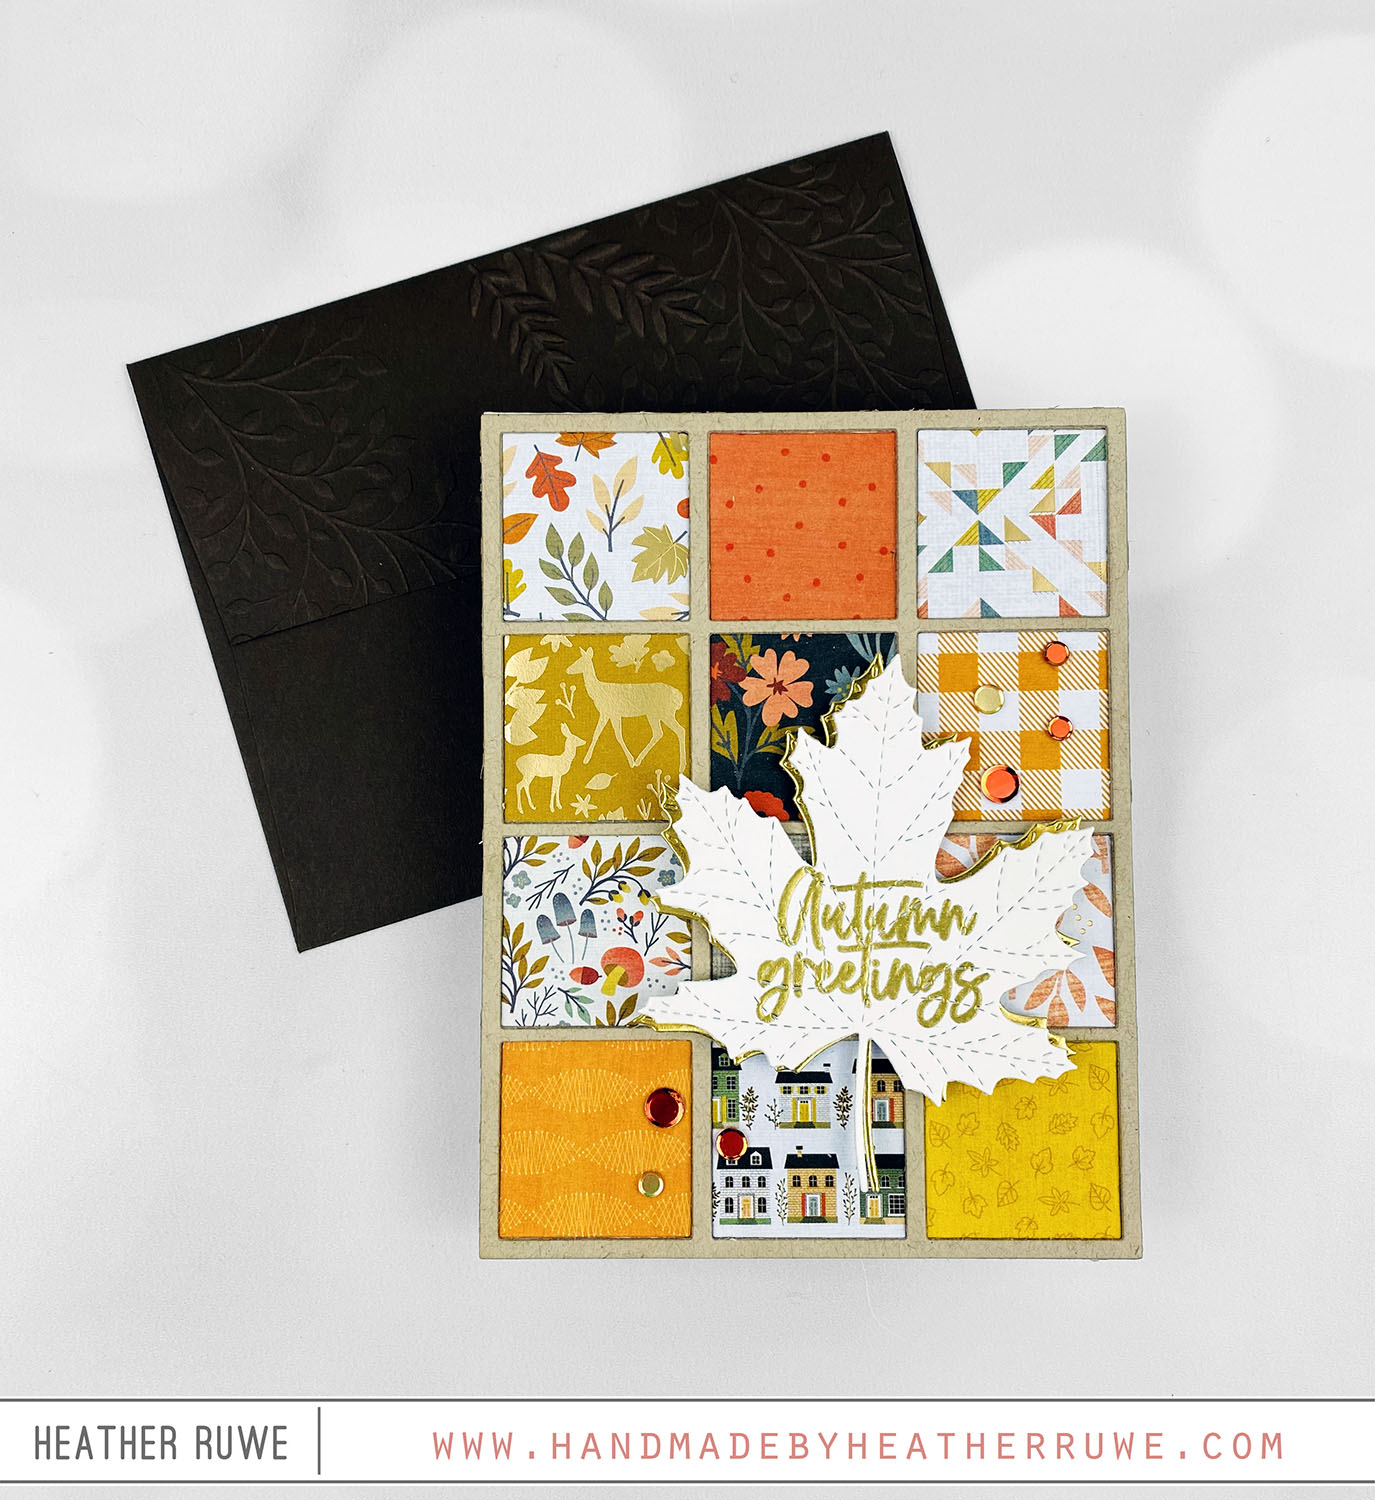
Hello there, crafty friend. Today’s card features THIS new card kit from Simon Says Stamp… I started by die cutting THIS die three times from kraft cardstock and adhered the layers together. I adhered the entire piece to a top folding note card. I die cut the pattern paper from the kit using the same die and adhered the patterned papers inside the squares. I love the quilt look it gives… I gold heat...
Put Your Party Hats On Card Kit
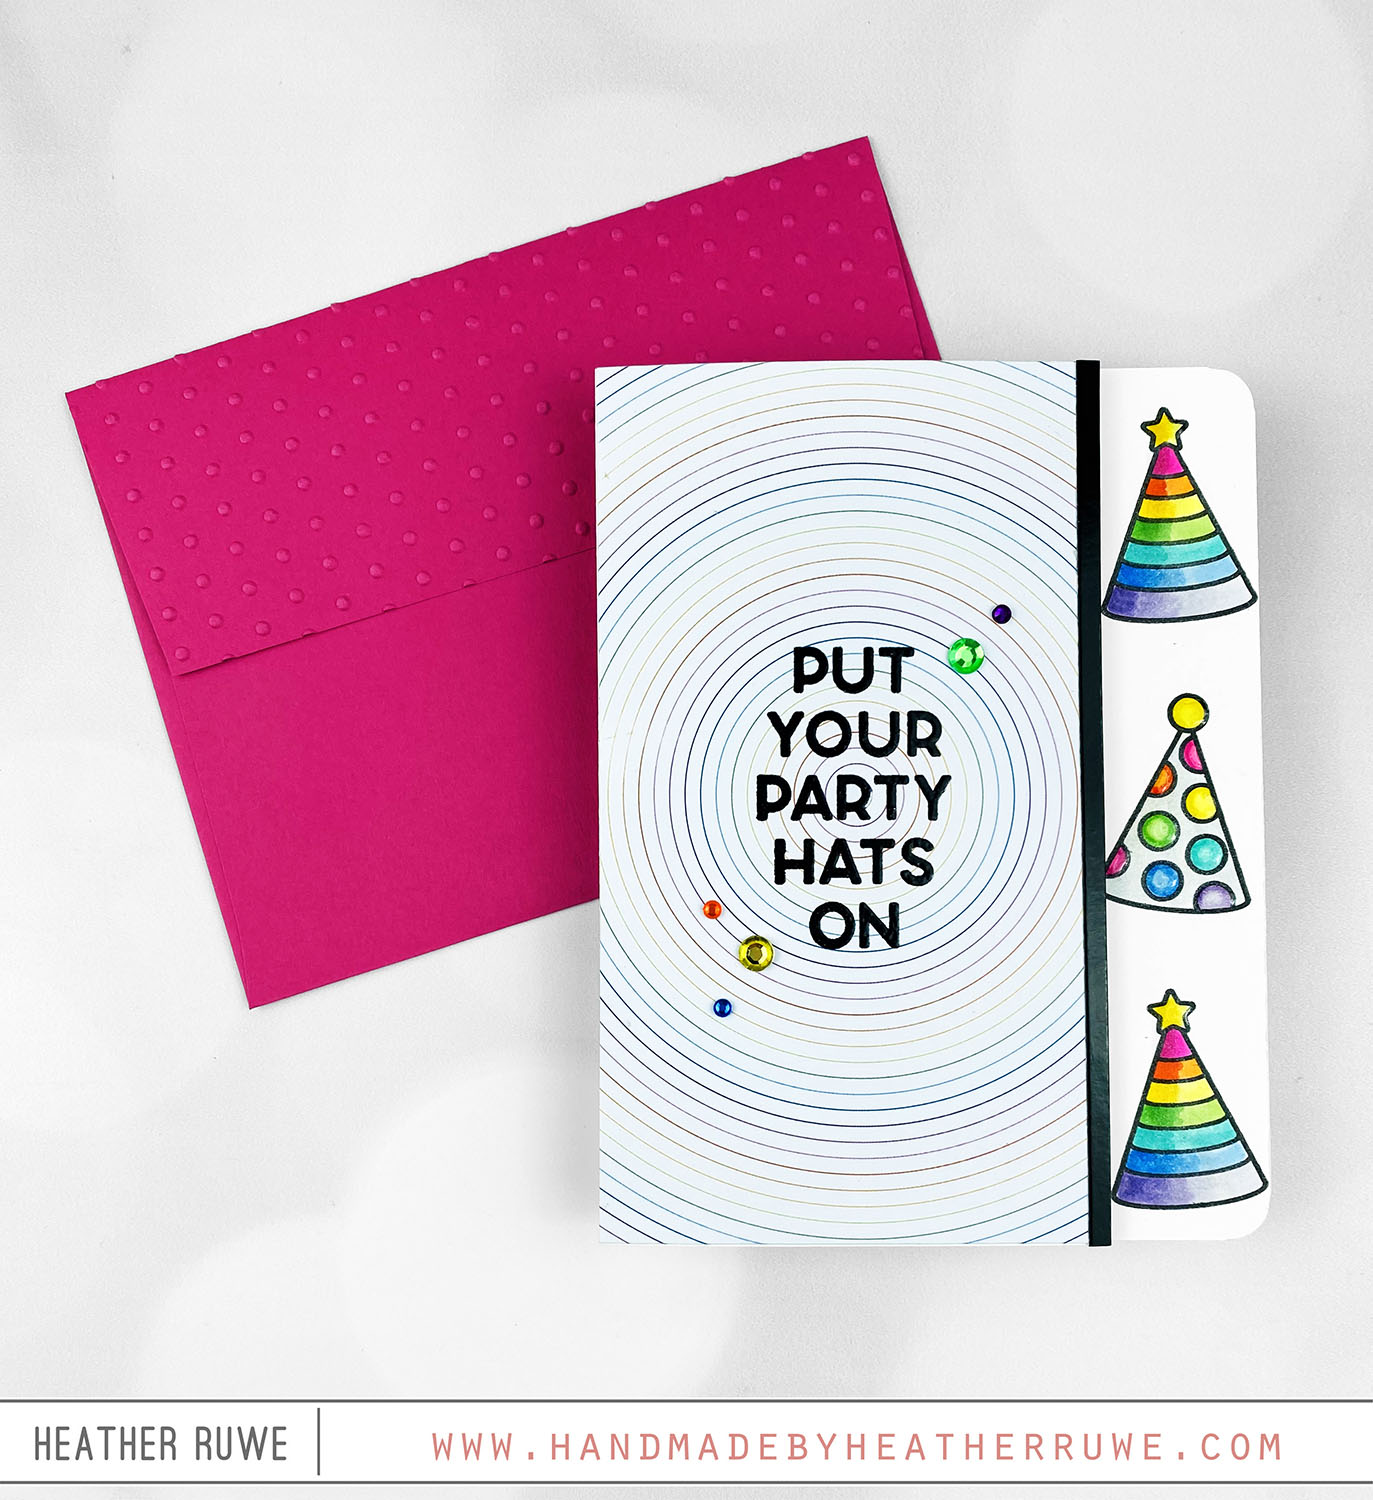
Hi, crafty friends. Today’s card features THIS new card kit… I started by trimming 1 inch off the right side of a side folding note card. I stamped the party hat images from the kit’s stamp set on the inside of the card in the portion that I cut from the side of the card. I colored the images in with Copic Markers and added some shimmer and shine with THIS and THIS. I...
Bee Happy Card Kit
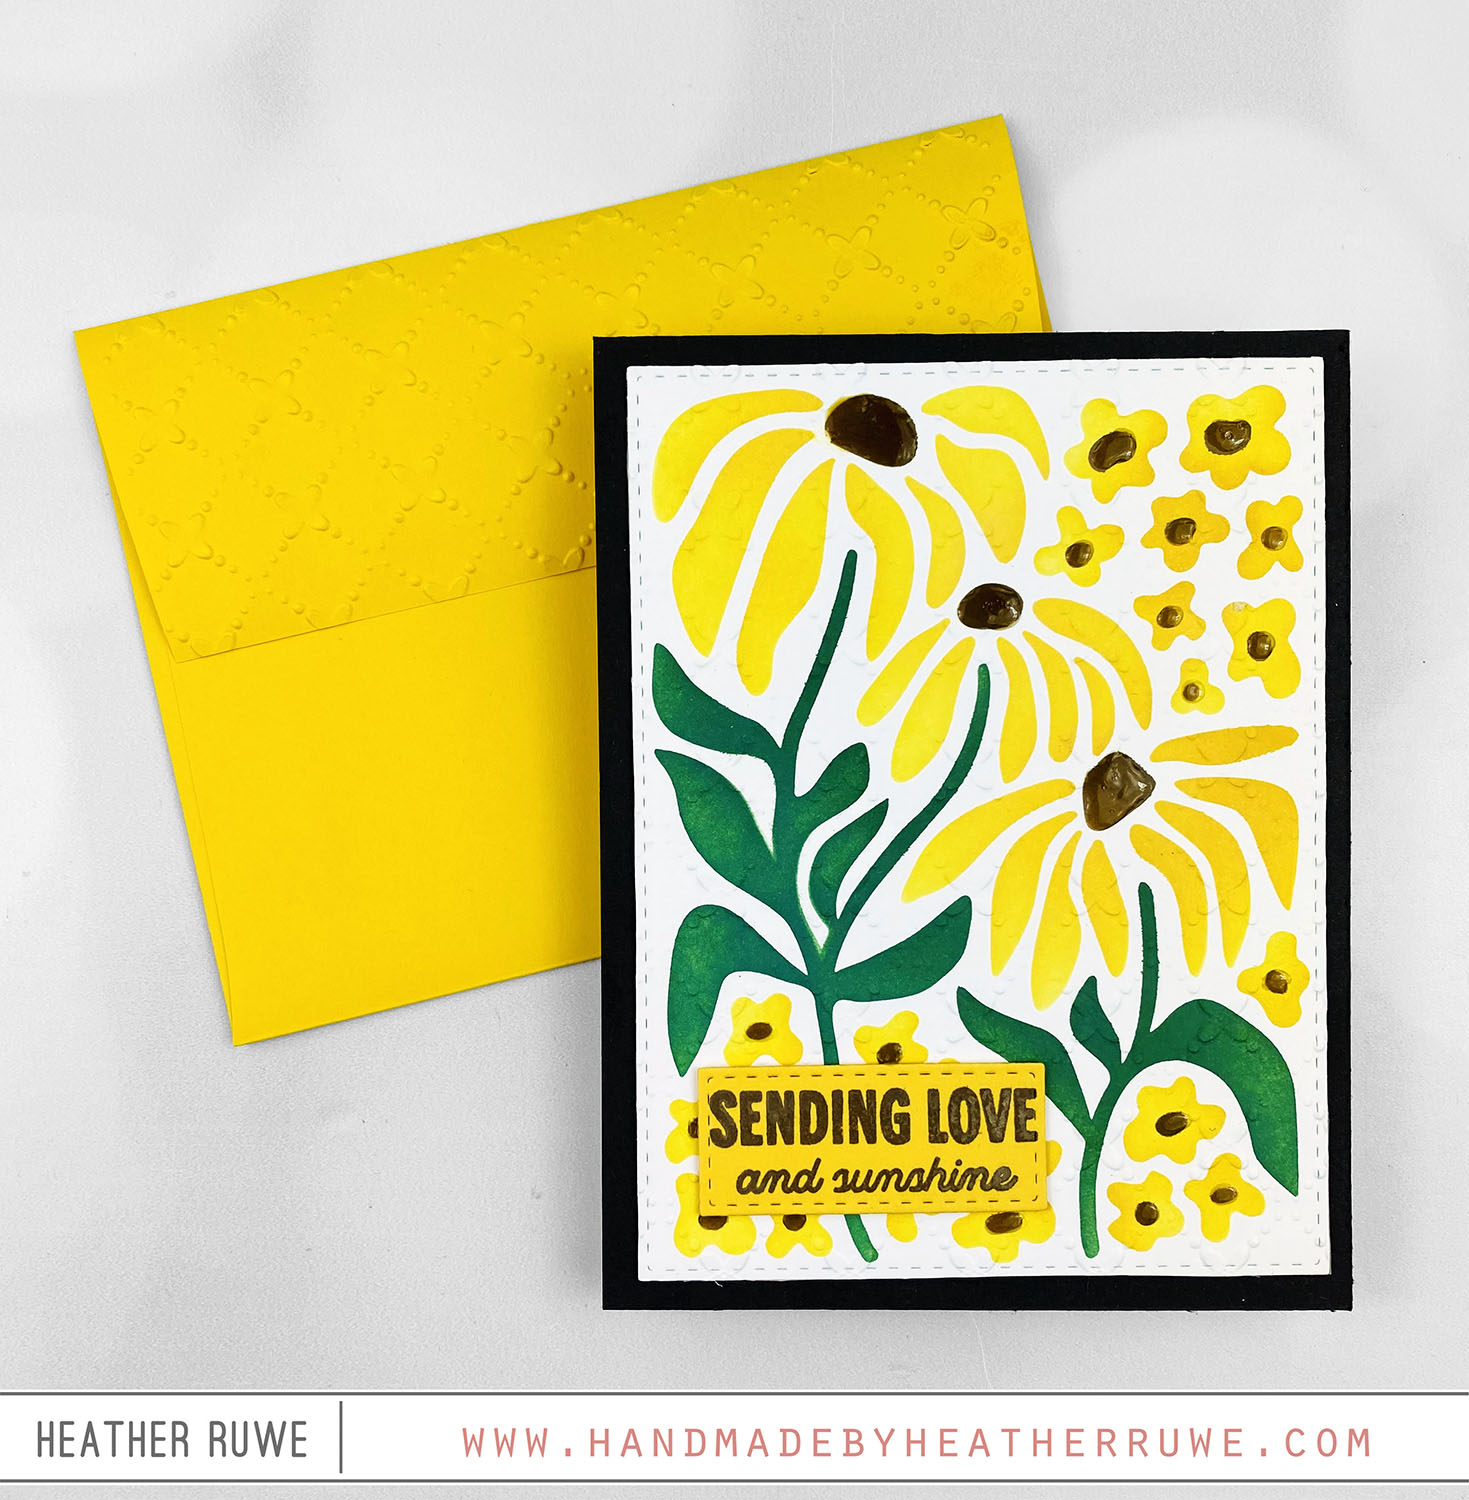
Hello there, crafty friends. Today’s card features THIS new card kit… I started by applying ink through the kit’s layering stencil to create the main focal image. I die cut it using THIS stitched rectangle die and then added dry embossing on top using the kit’s embossing folder. I love adding texture to an inked background! Next, I added a brown mat behind the panel and adhered it to a top folding white card...

