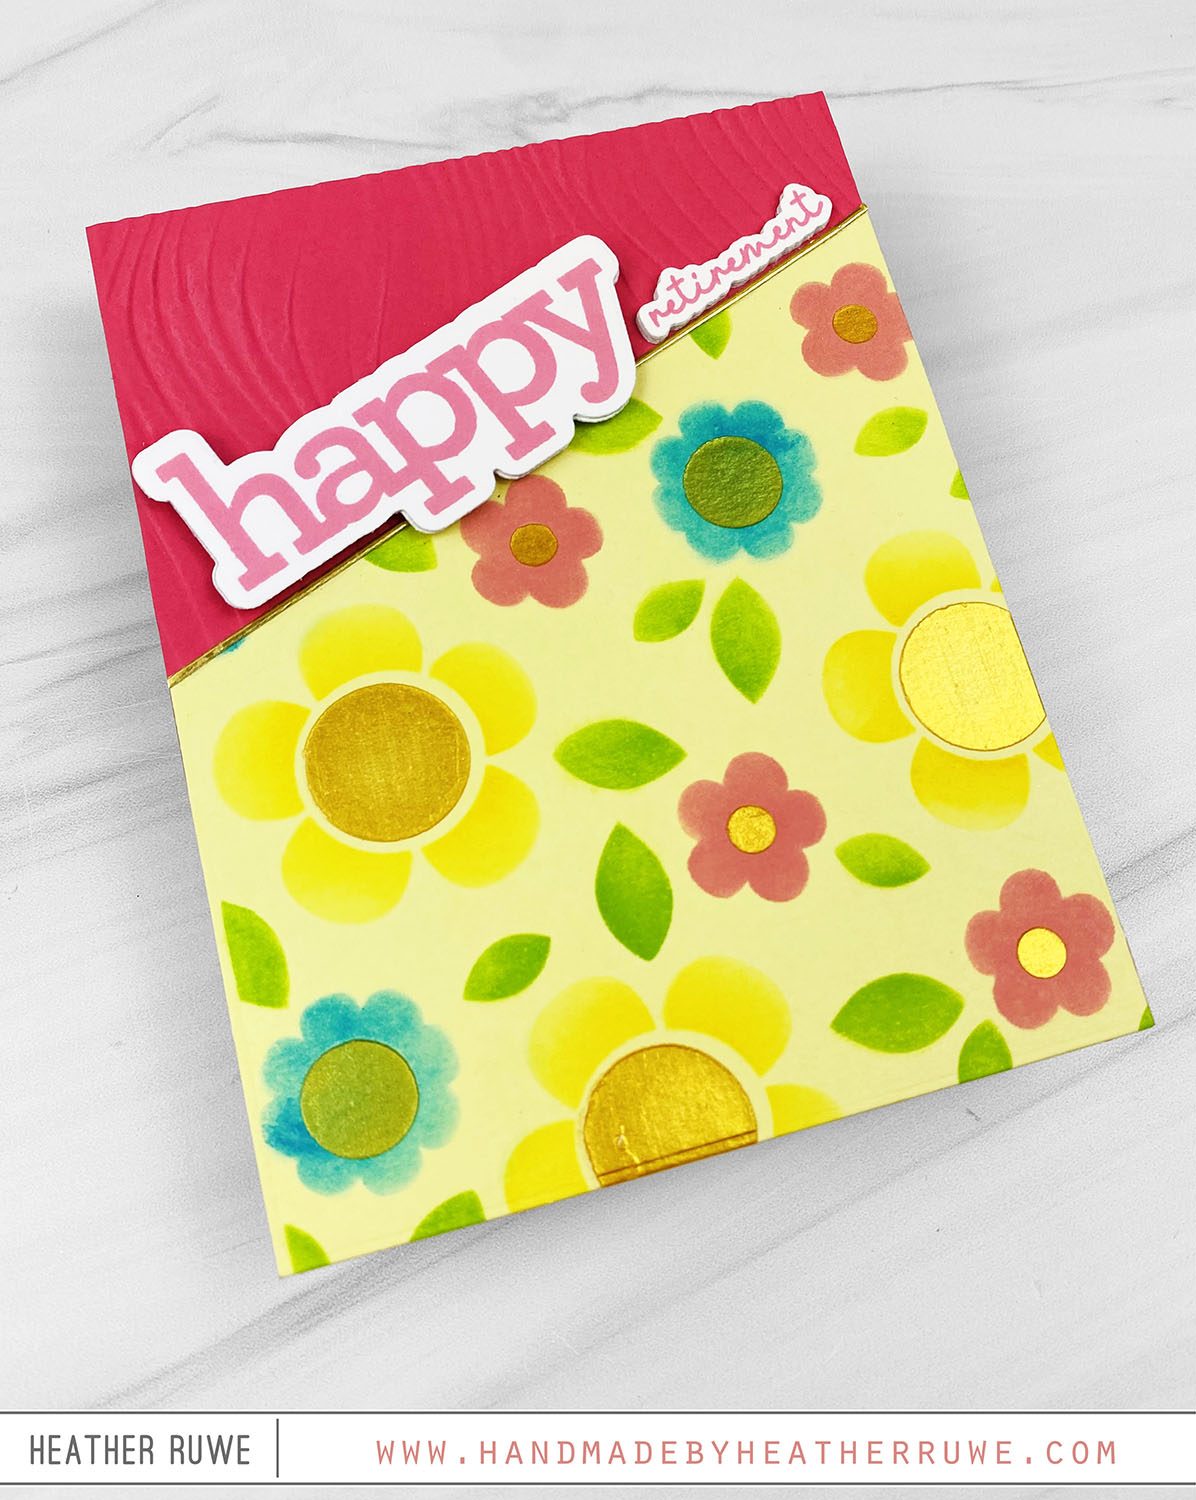
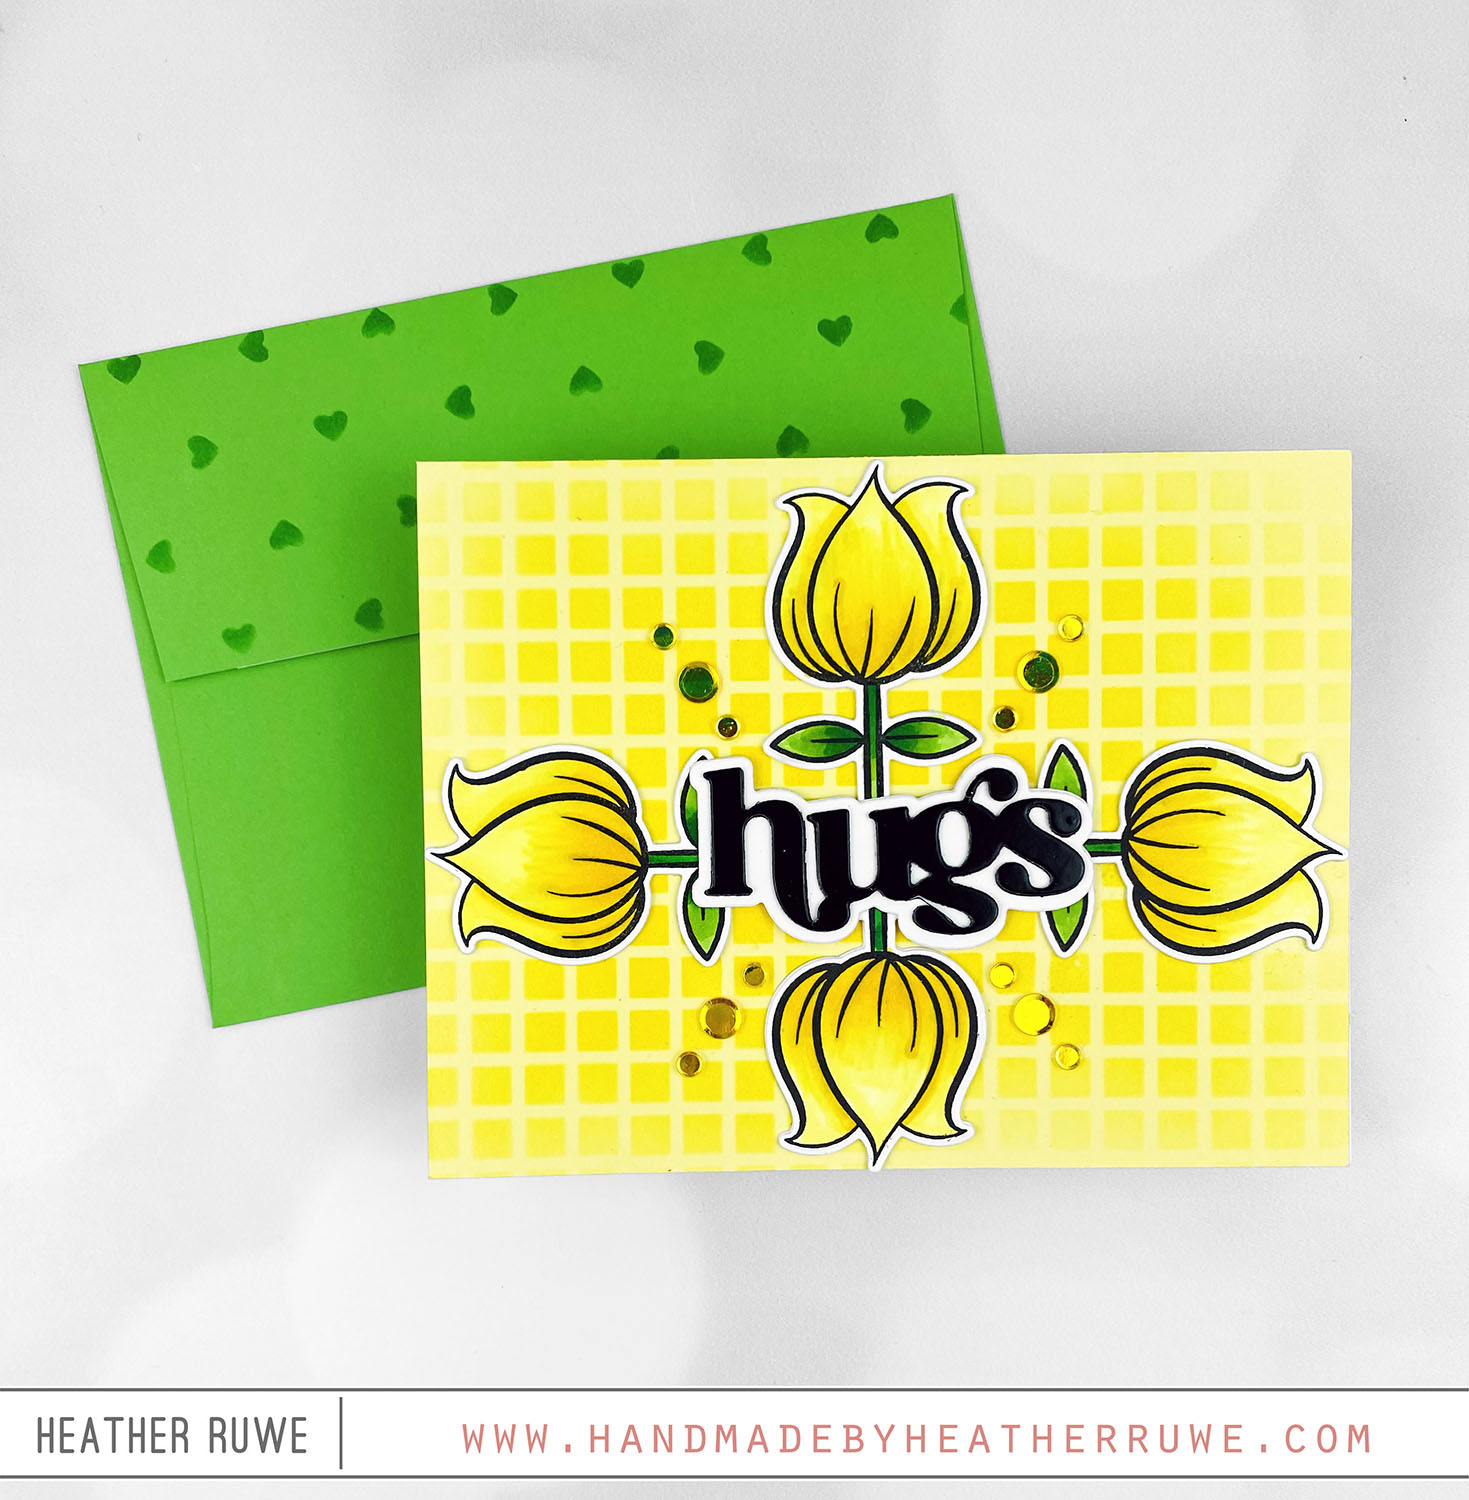
May Your Holiday Be Bright Card

Hi there, crafty friends. Today’s card creates a scene out of a large die cut cover plate word… To create this card, I started by die cutting THIS cover plate from white cardstock three times and adhered them together. I also cut it from THIS masking paper. I applied the mask of the center of the O in Joy on a white A2 panel. I ink blended on top with blue Distress Oxide inks....

Jenn Shurkus Inspiration Party

Hi there, crafty friends. I have two cards to share today as part of THIS fun celebration of my sweet friend’s 20th year of blogging and sharing crafty inspiration… If you’re unfamiliar with Jenn Shurkus, you have to go check out her website HERE. Not only does she share a ton of amazing crafty inspiration but she also sells crafty gear HERE and offers classes HERE. She is one of the hardest working crafters...

Pinkfresh STAMPtember 2025 Collaboration

Howdy, crafty friends. Today’s card features products from THIS STAMPtember collaboration from Pinkfresh Studios. I love that Pinkfresh offers so many options for looks including coordinating stencils to add color like I used on today’s project.. To create this card, I started by stamping THIS background stamp on a piece of A2 purple cardstock using purple ink. I also lightly ink blended the edges with the same purple ink to create a bright highlight...

More Happy Camper Release Inspiration

Hello, crafty friends. I have more inspiration to share featuring THIS new release from Simon Says Stamp… To create this card, I started by die cutting THIS background die from colored cardstock (I used Concord & 9th colors…Sprout, Aqua Sky, Fig, and Lilac) and white cardstock. I adhered the white main piece to the front of a note card and then filled in each triangle and diamond shape with the colored cardstock pieces. I...

Peace & Joy Gatefold Card + Create Together Class

Hello, crafty friends. THIS Create Together class is happening today with Heidi Crowl and Cathy Zielske. I wanted to share a card I created using some of the same products they are featuring in class. These products are so well designed. To create this card, I started by stamping THIS background with light blue ink on an A2 sized piece of blue cardstock. Next, I applied Distress Oxide Inks through THESE layering stencils on...

You’re Going Places Card

Hi there, crafty friends. Today’s card features products from THIS release from Simon Says Stamp… To create this card, I swiped Blue Distress Oxide Ink on the flat part of THIS embossing folder and spritzed it with water. I placed a piece of white cardstock on top and ran it through the die cut machine. I like the watercolor look it gives to the background. Next, I die cut the coordinating hot air balloon...

Friend Like You Release Inspiration-Undersea Friends

Hi there, crafty friends. I have a scene square card to share today featuring products from THIS new release… To create this card, I started by applying Distress Oxide inks through THESE stencils and sprayed it heavily with THIS shimmer spritz for some sparkle and shine. I did this on a white 6×6 piece of cardstock. Anytime I stamp a background stamp or use a stencil, I cut it to the size of the...

Friend Like You Release Blog Hop-Day 2

Hi there, crafty friends. I have two cards to share today in THIS Blog Hop featuring THIS new release from Simon Says Stamp. I was so inspired by THIS background stamp and wanted to do some color blocking with it. For the first card… I stamped THIS background on three pieces of 6×6 colored cardstock using coordinating colors of cardstock for a tone on tone look. I like to cut my paper down to...

Welcome Baby Card

Hello there, crafty friends. I have a welcome baby card to share today… To create this card, I started by die cutting THIS heart from the center of an A2 pink panel of cardstock. I ink blended around the edges and spritzed THIS on top for some sparkle and shine. I adhered the piece over another A2 piece of pink cardstock where I adhered THESE die cuts to creating a pattern and adding some...

Tips for Masculine Cards

Hello, crafty friends. It’s Father’s Day so I thought it would be a good time to share some tips when creating cards for guys. First, let me tell you how I created today’s card… To create this card, I started by stamping an older background stamp ( on gray cardstock with gray ink for a tone on tone look. I stamped the rock border from THIS stamp set along the bottom to complete the...