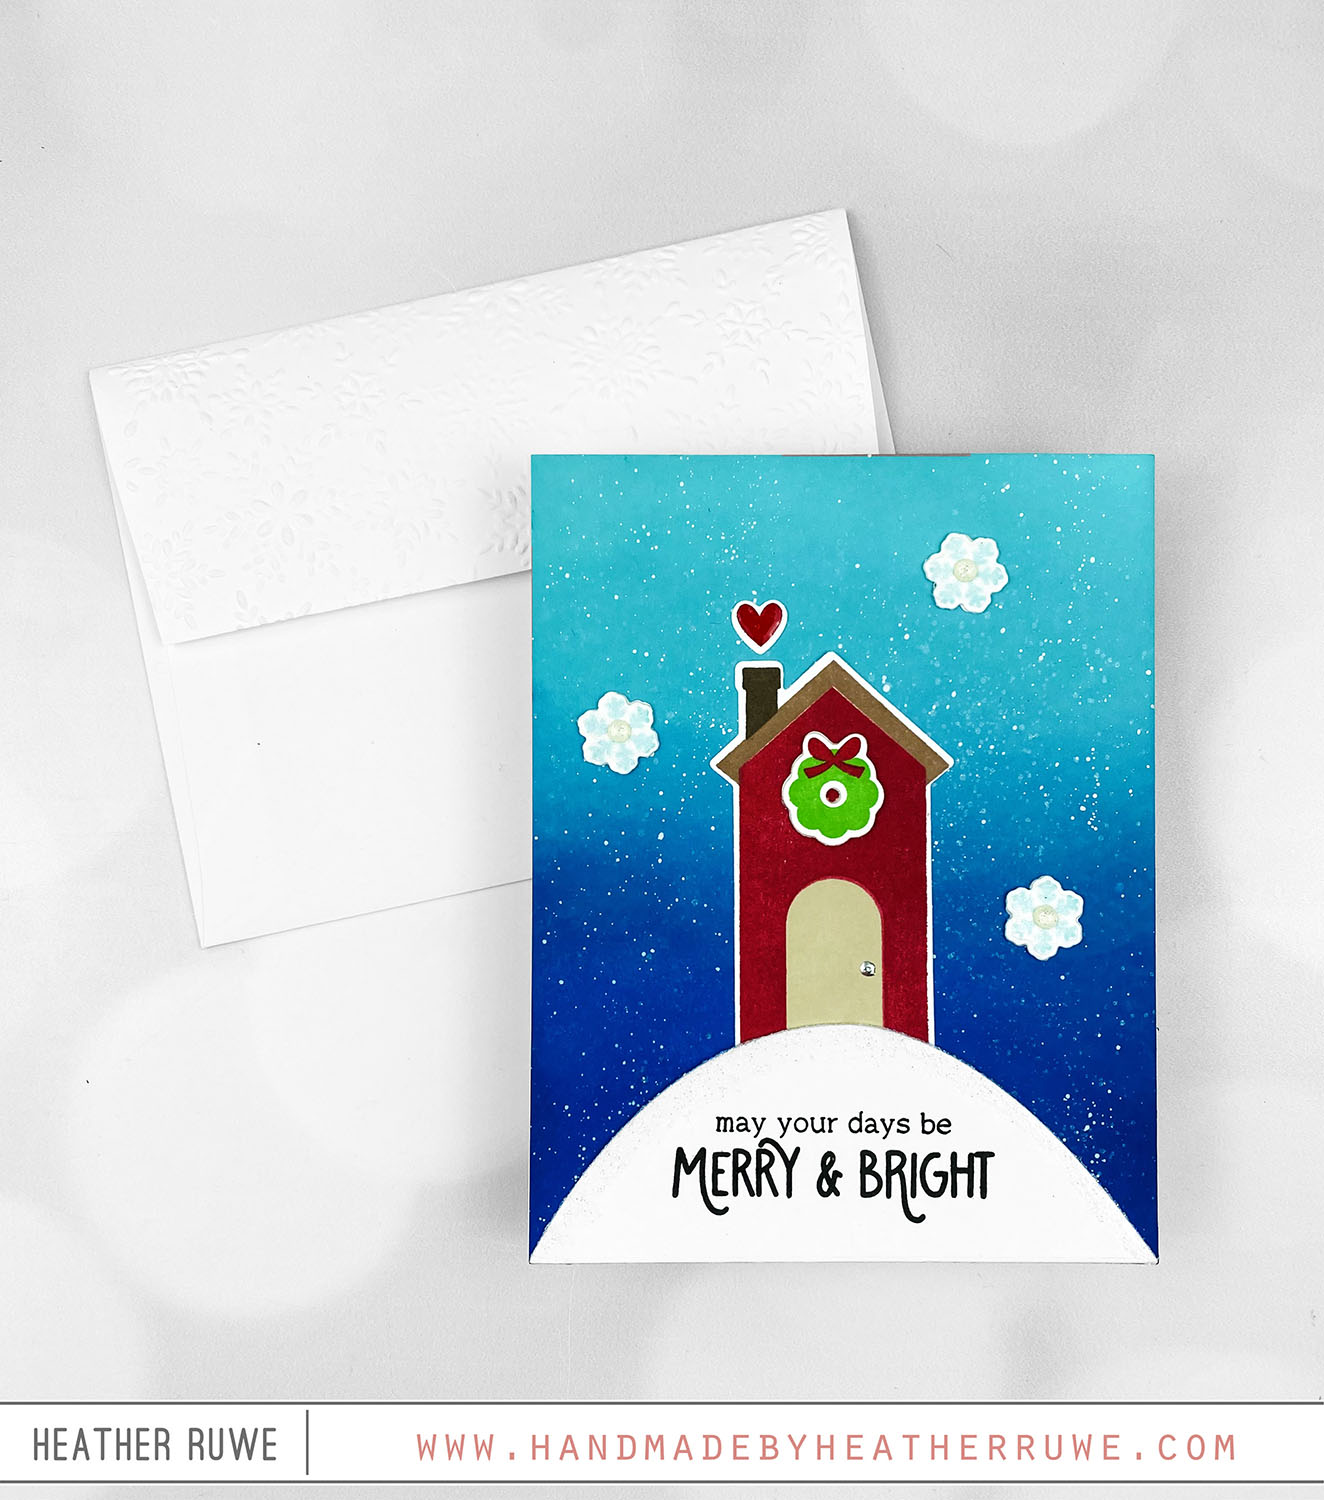
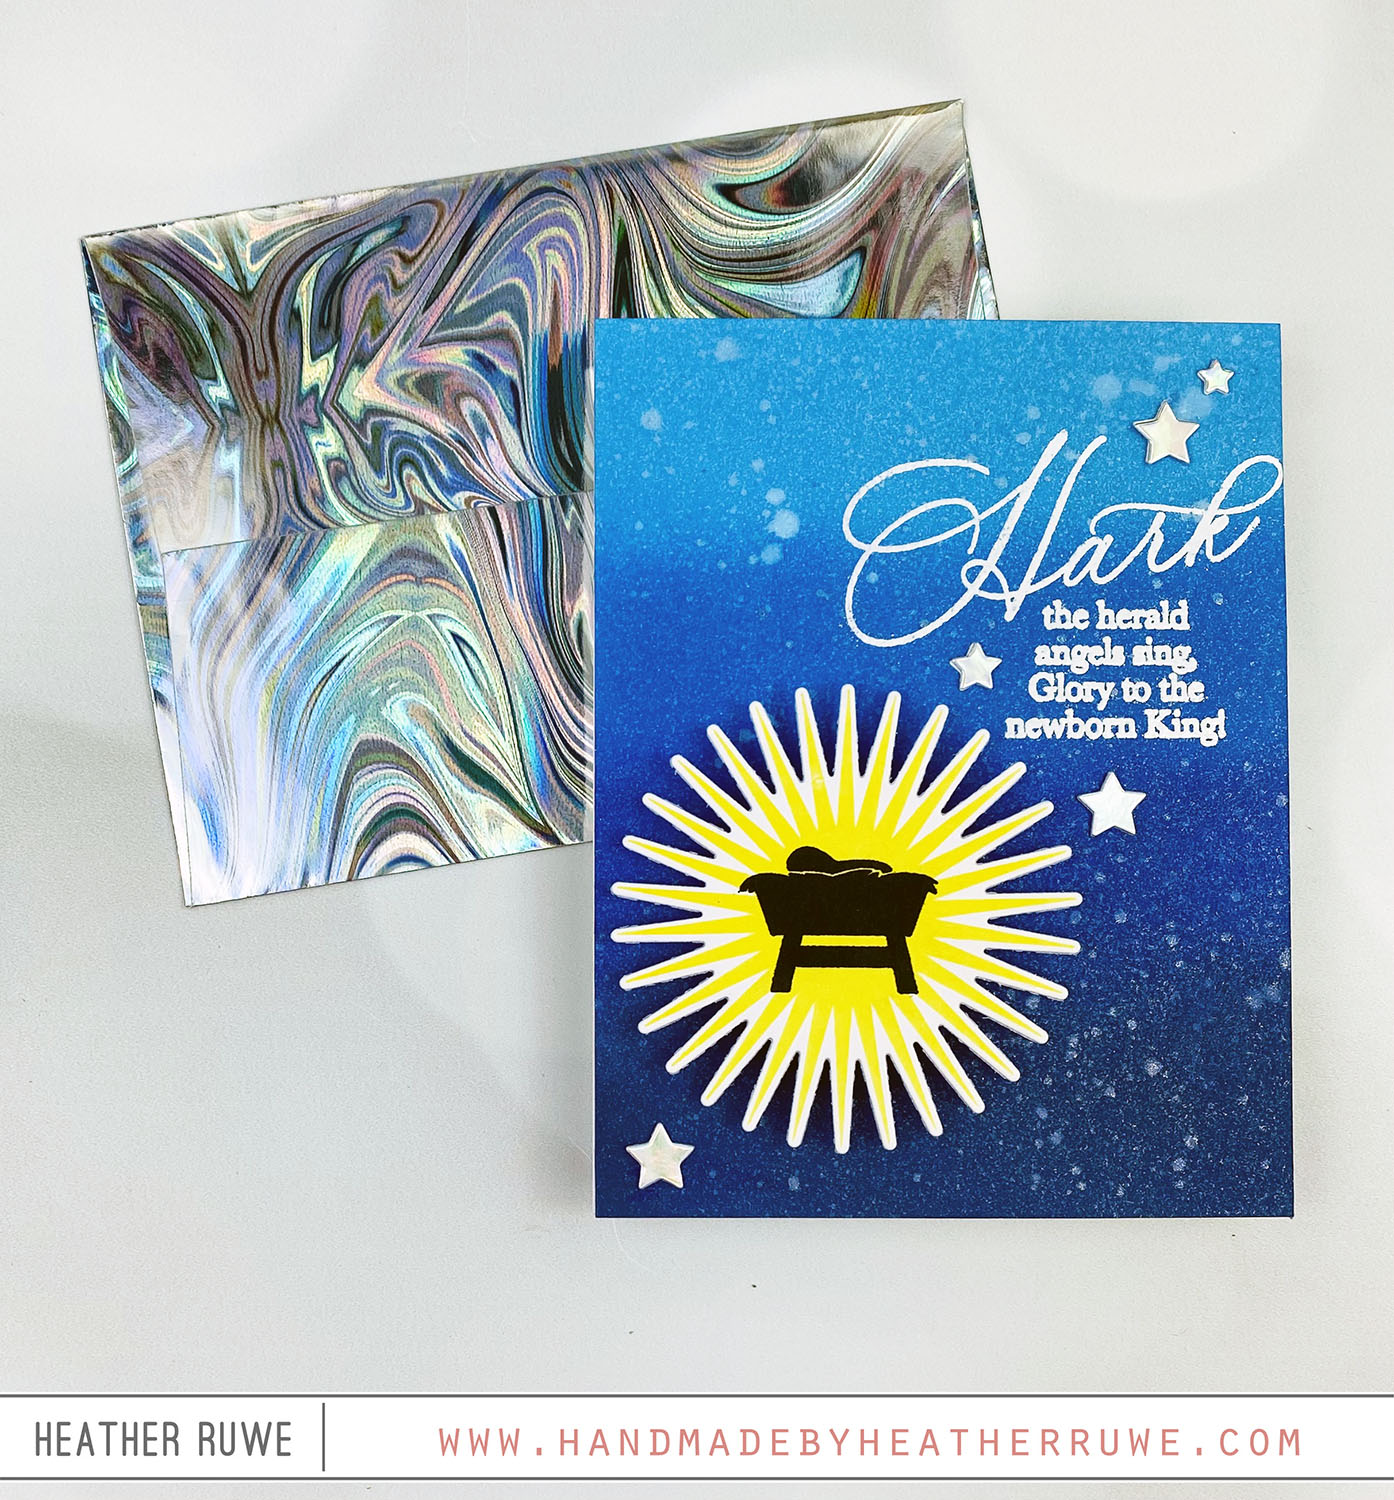
Merry Christmas, crafty friends! I have clean and simple Christmas card to share today… To create this card, I started by ink blending blue Distress Oxides on a white A2 panel. I did three shades of one color for an ombre look. Next, I added some white splatter using white acrylic paint, a bit of water mixed in, and a paintbrush. I adhered it to a top folding white note card. I added the...
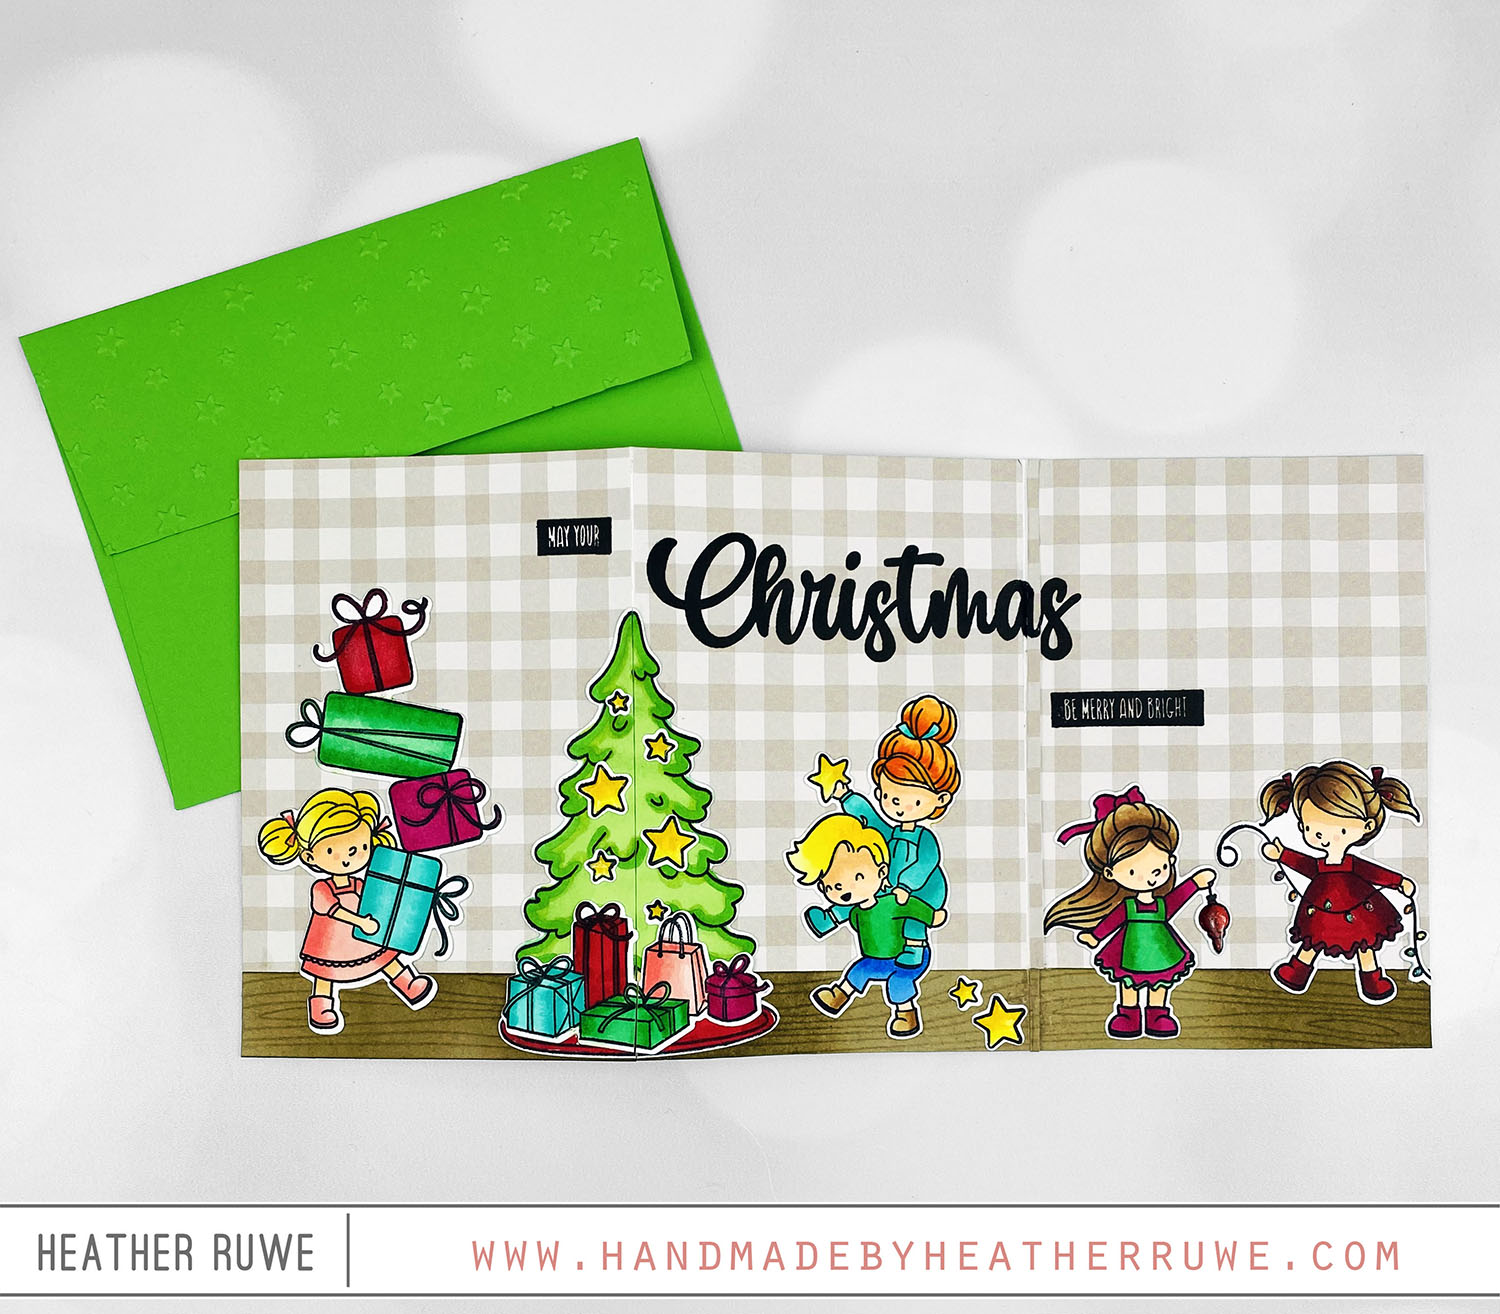
Merry and Bright Card