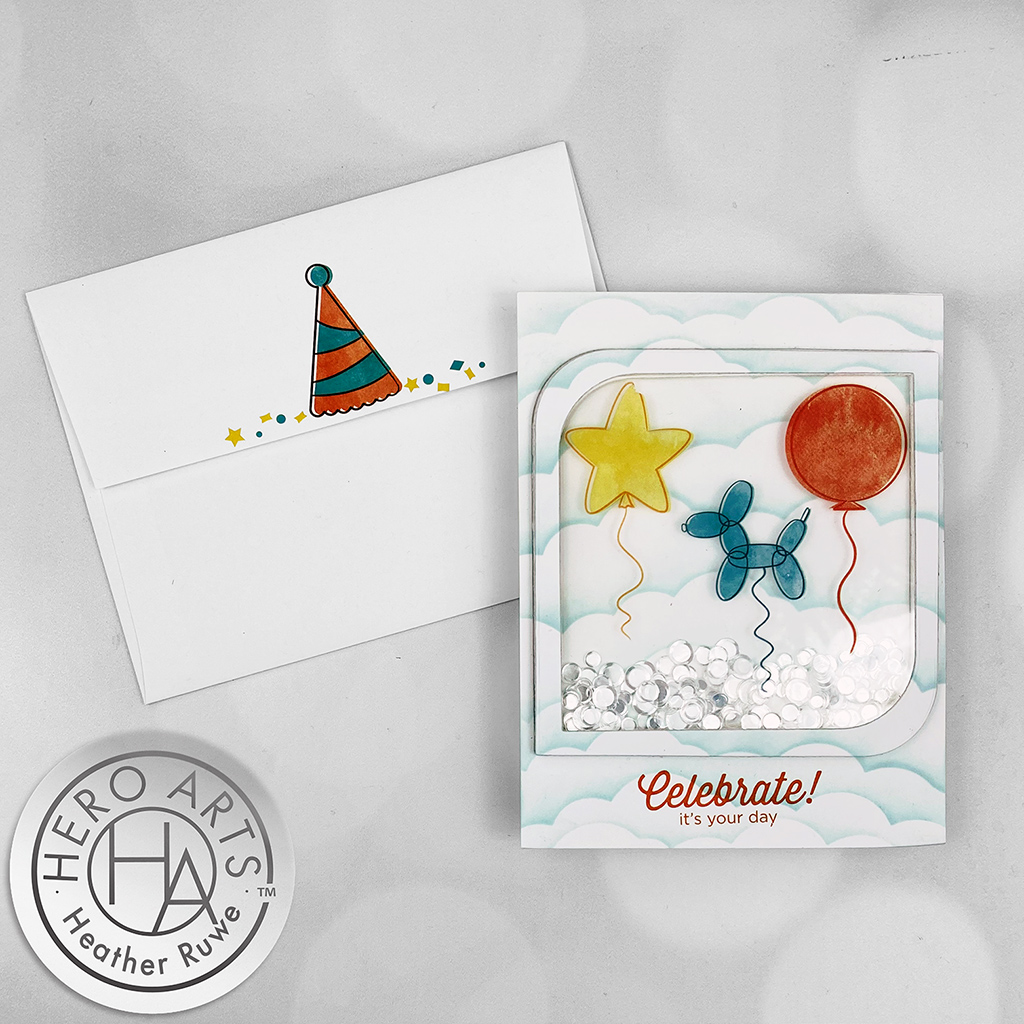
Hi, crafty friends. Today’s card features how to create a shaker card with Nesting Dies… You can watch the video on how this cards came together HERE or click on the video below… Let’s jump right in and start with the background. I placed an A2 sized piece of Deluxe Smooth White cardstock on a grip mat to hold it in place while stenciling. I used arctic ink with a hero arts blending brush...
Celebrate Release Blog Hop
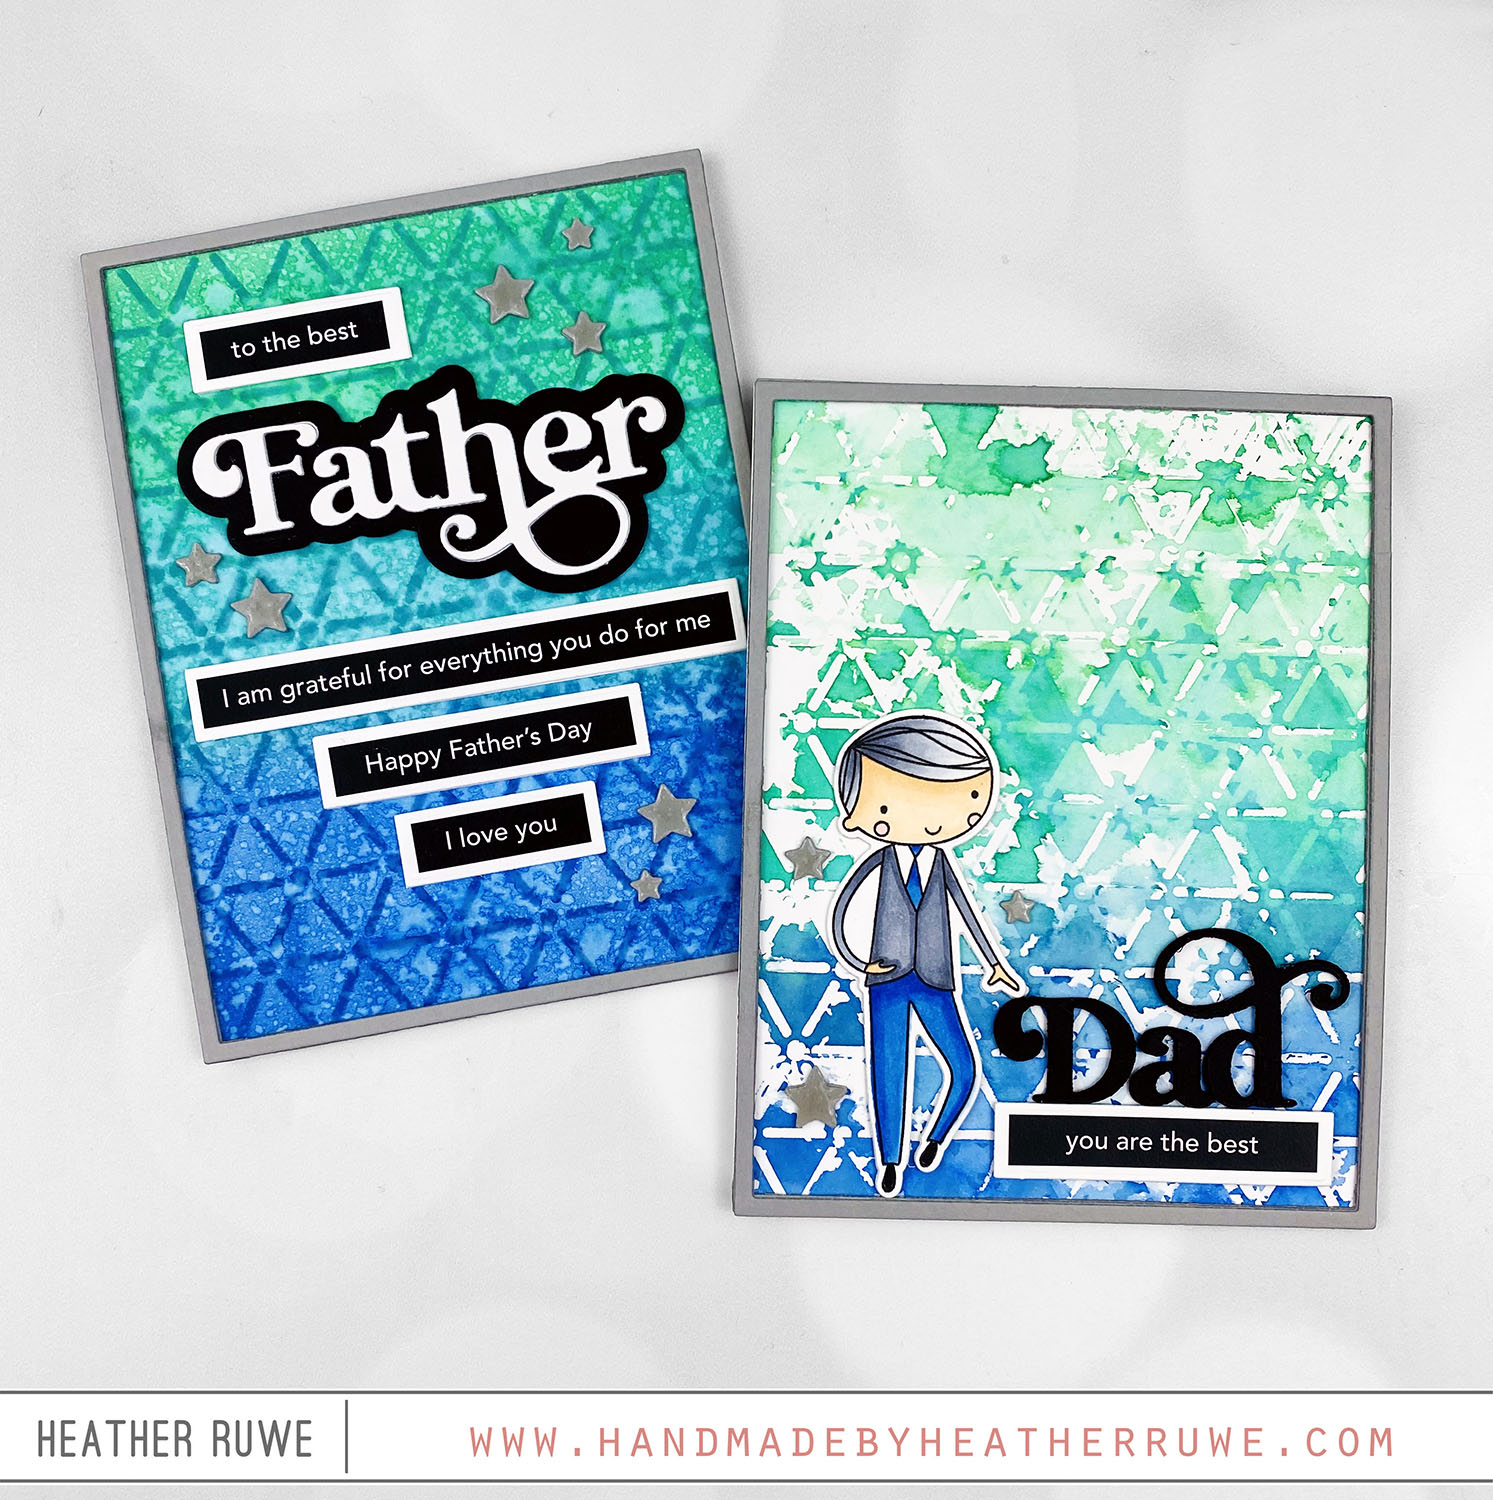
Hi there, crafty friends. Today’s cards are part of THIS Blog Hop celebrating THIS new release… For the first card…. …I started with the background. I applied three colors of Distress ink through THIS stencil on a piece of THIS watercolor paper. I went over the design with the same colors to add color to the entire background. I spritzed it with water to create some texture… I added THIS die cut sentiment along...
Celebrate Release-Taco Tuesday Card
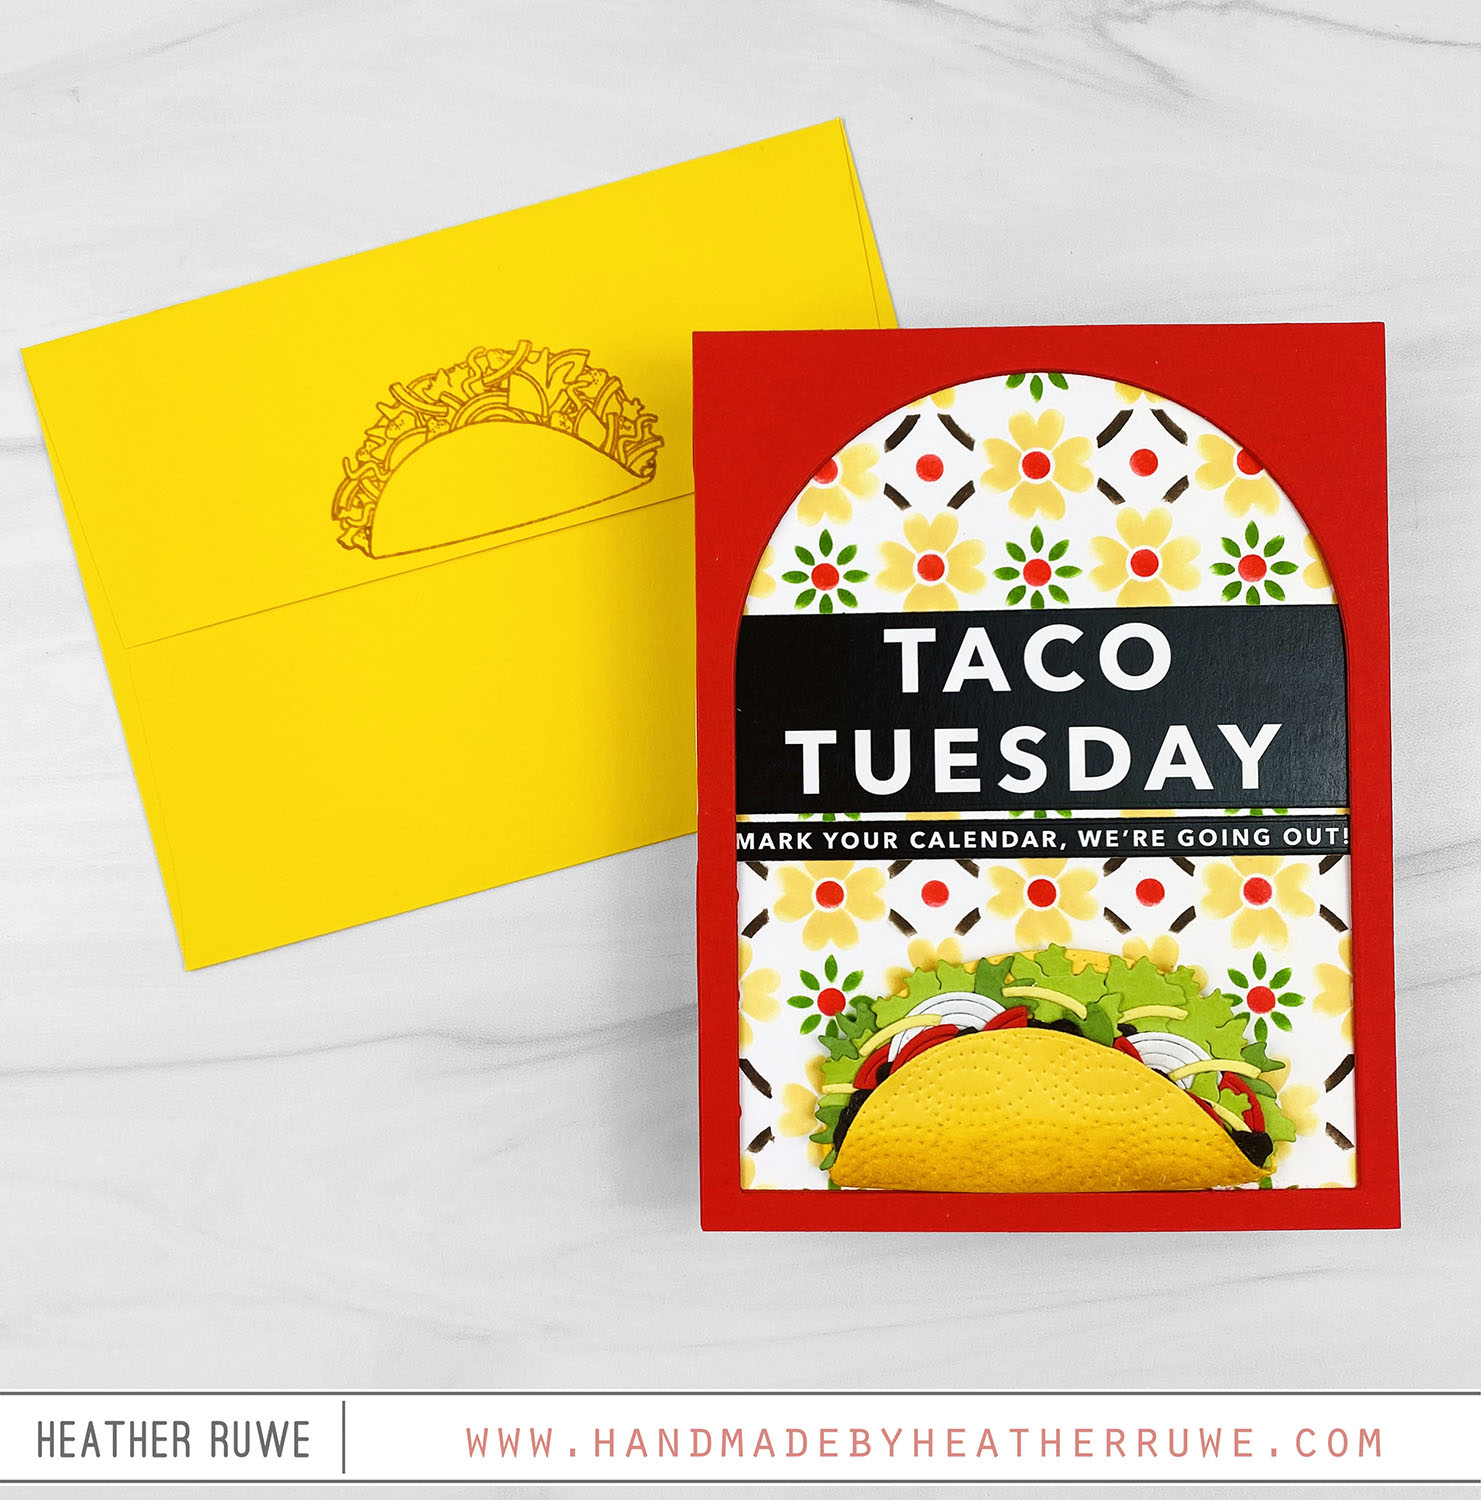
Hello, crafty friends. Today’s card features THIS new release from Simon Says Stamp… We are huge taco lovers in my household and my son never allows us to miss a Taco Tuesday so I was so excited to see these products in this release! To create this card, I started with the background. I applied a few different colors through THESE layering stencils. I was going for a tiled look at a Mexican Restaurant....
Happy Retirement Card
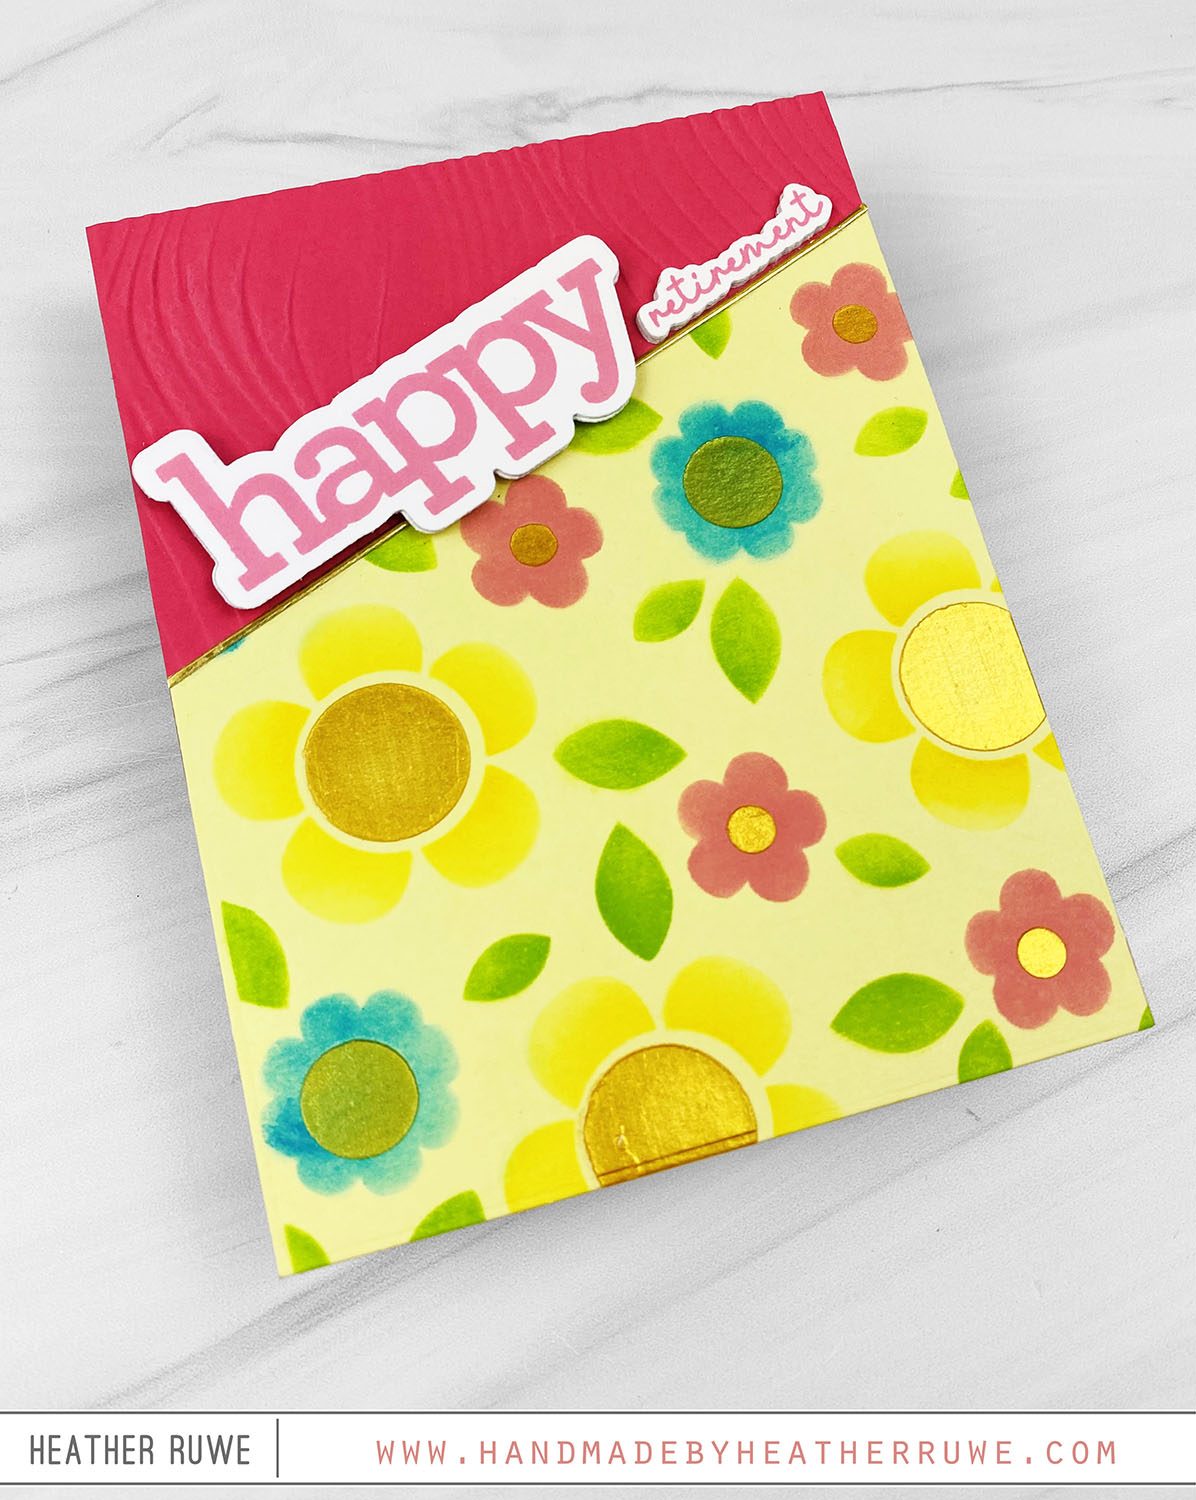
Hello, crafty friends. I have a retirement card to share today featuring THESE layering stencils, THIS embossing folder, and THIS sentiment set… To create this card, I applied ink through THESE layering stencils on a yellow A2 sized panel. On the last layer, I applied THIS gold paste for the flower centers to give some shine and dimension. Next, I embossed a piece of pink cardstock with THIS embossing folder. I cut it and...
Celestial Wishes Card Kit
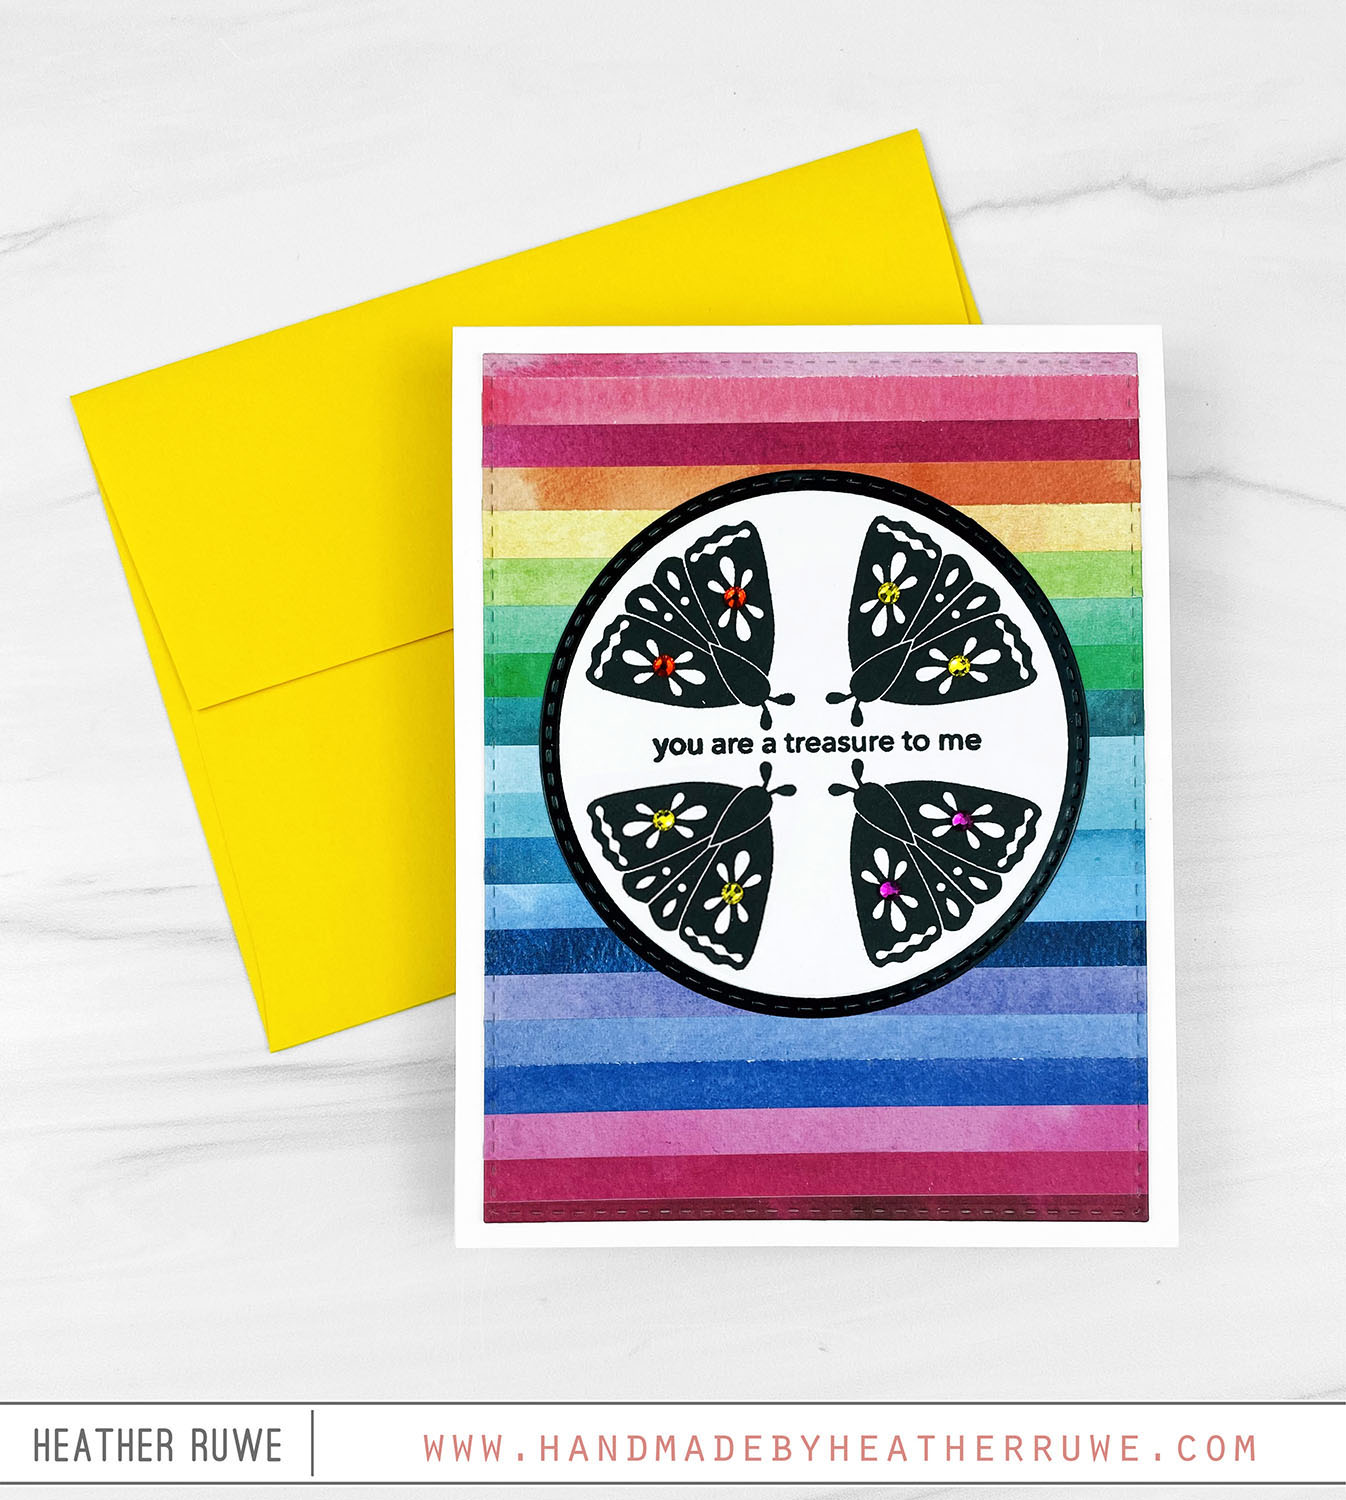
Hello there, crafty friend. Today’s card features THIS new card kit… To create this card, I cut the kit’s patterned paper into strips. I adhered the strips to a panel, creating a rainbow background. I die cut it with THIS stitched rectangle die and adhered it to a white top folding note card. I stamped an image and sentiment from the kit’s stamp set four times on one of THESE circles. I cut one...
Foil Transfer Mother’s Day Card
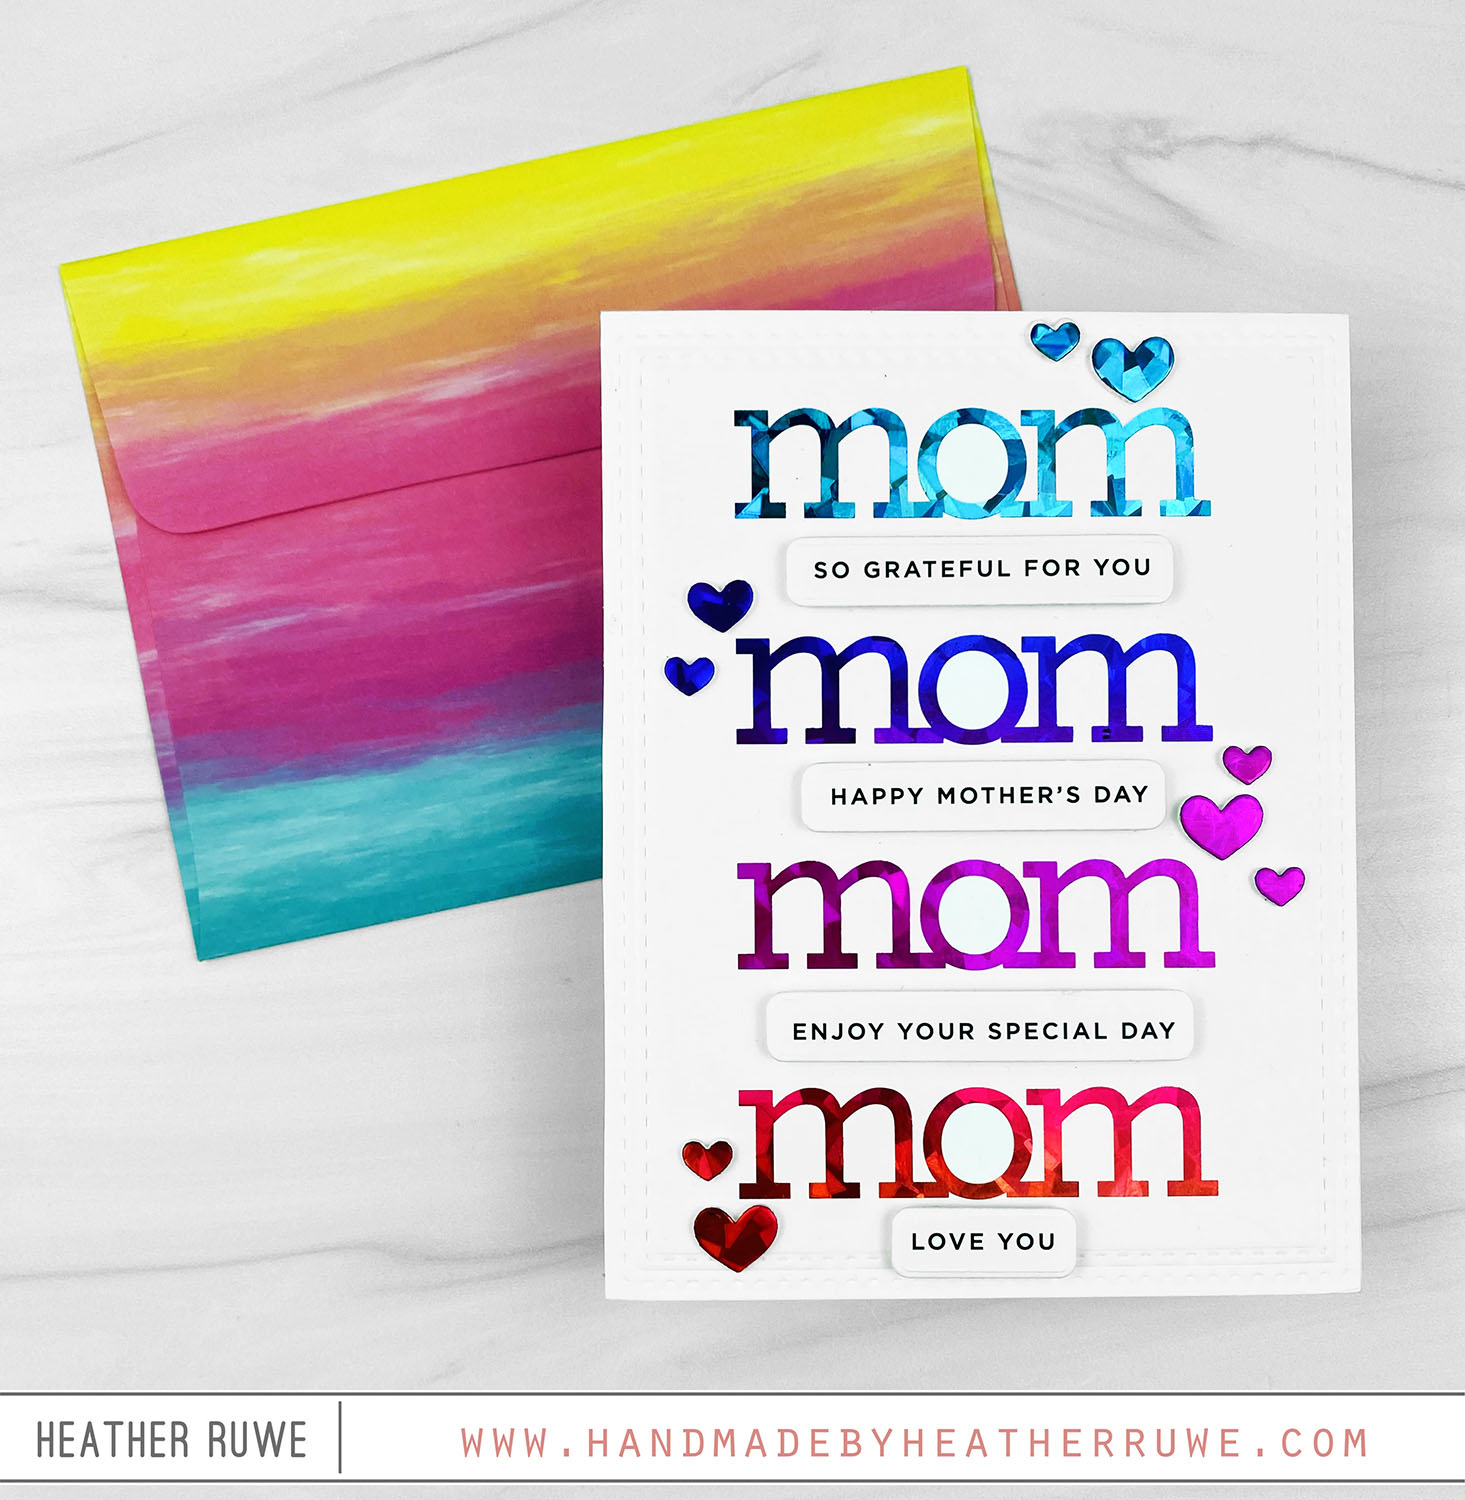
Hi, crafty friends. I have a Mother’s Day Card to share today featuring foil transfer cards… To create this card, I dry embossed THIS rectangle die on THIS mom foil card to create a border. I foiled the mom words with four different colors of deco foil. I cut THESE hearts from THIS toner paper and foiled those as well in my MINC machine. I adhered them along with the sentiments from THIS same...
Splendid Birthday Card
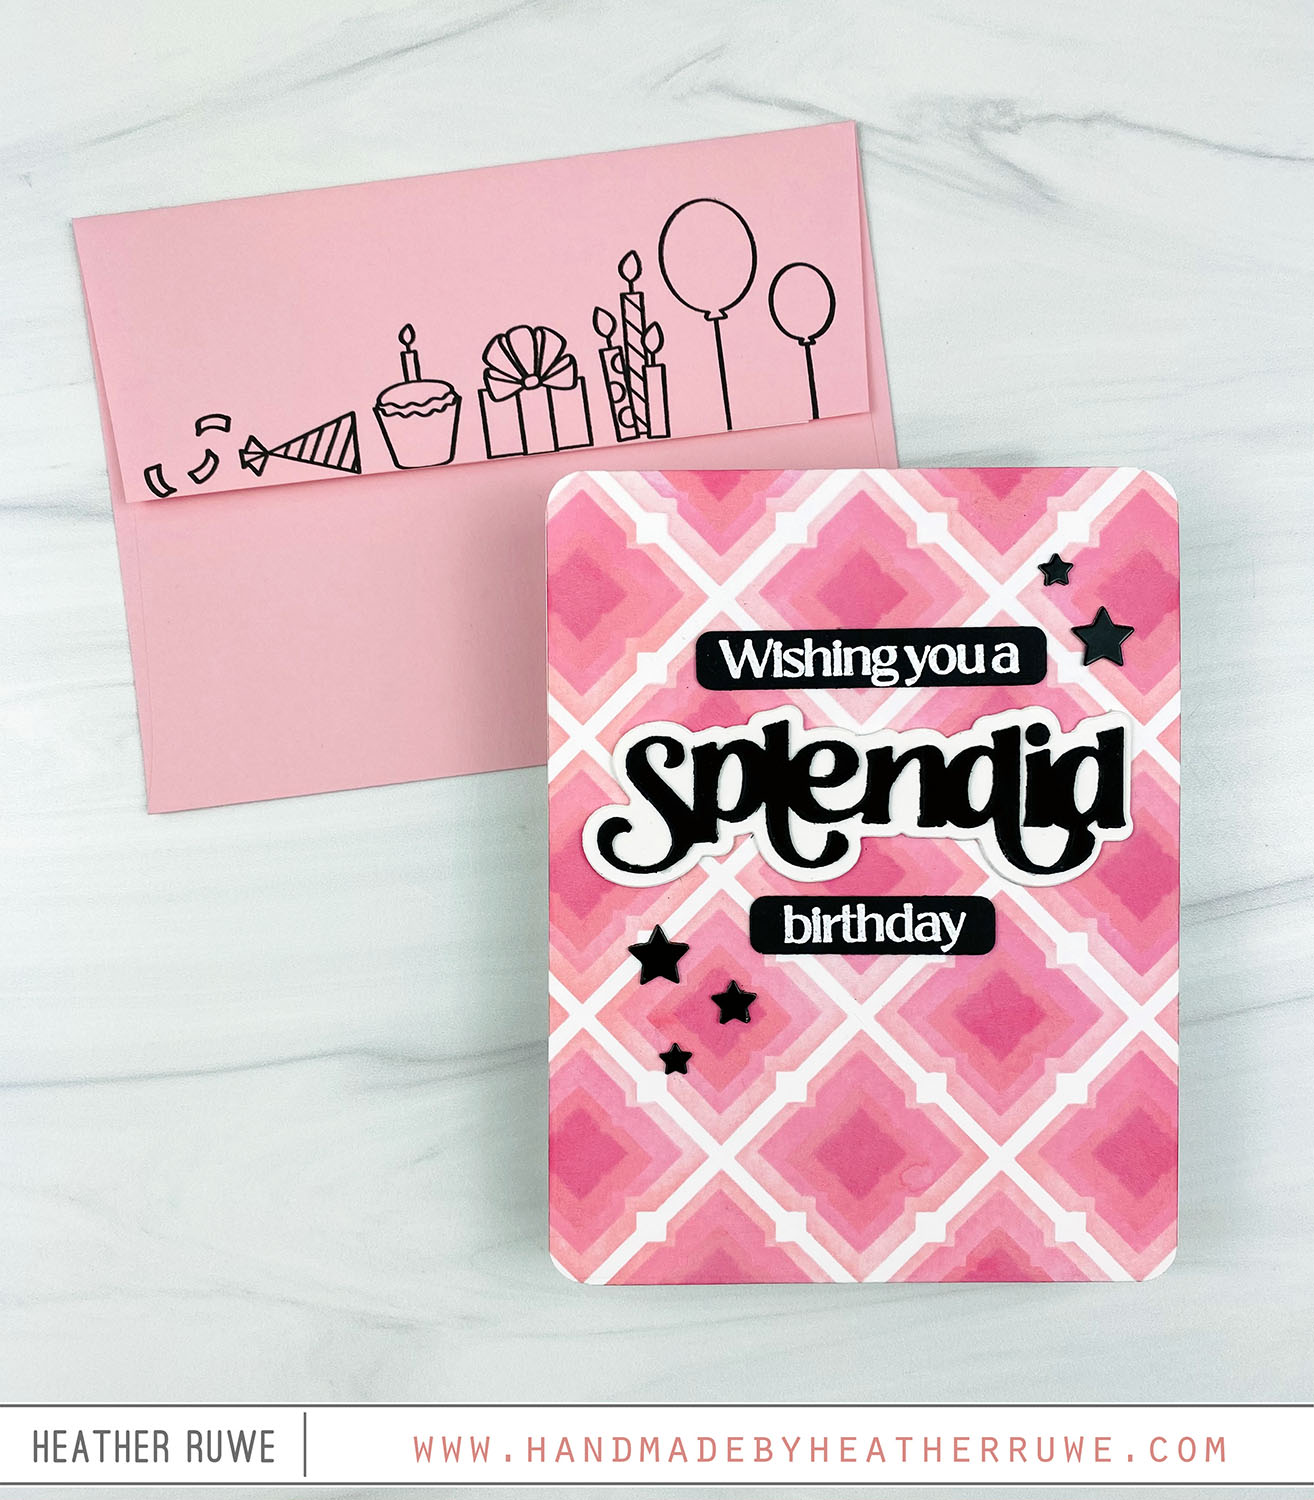
Hi again, crafty friends. Today’s card features more inspiration from THIS new release… To create this card, I started by applying four different shades of Distress Oxide ink through THESE layering stencils to create a background. I adhered it to a top folding white note card and rounded all four corners of the card. I white heat embossed sentiments from THIS stamp set and adhered them to the card along with THIS word die...
Tim Holtz Watercolor Stamp Set Bundle
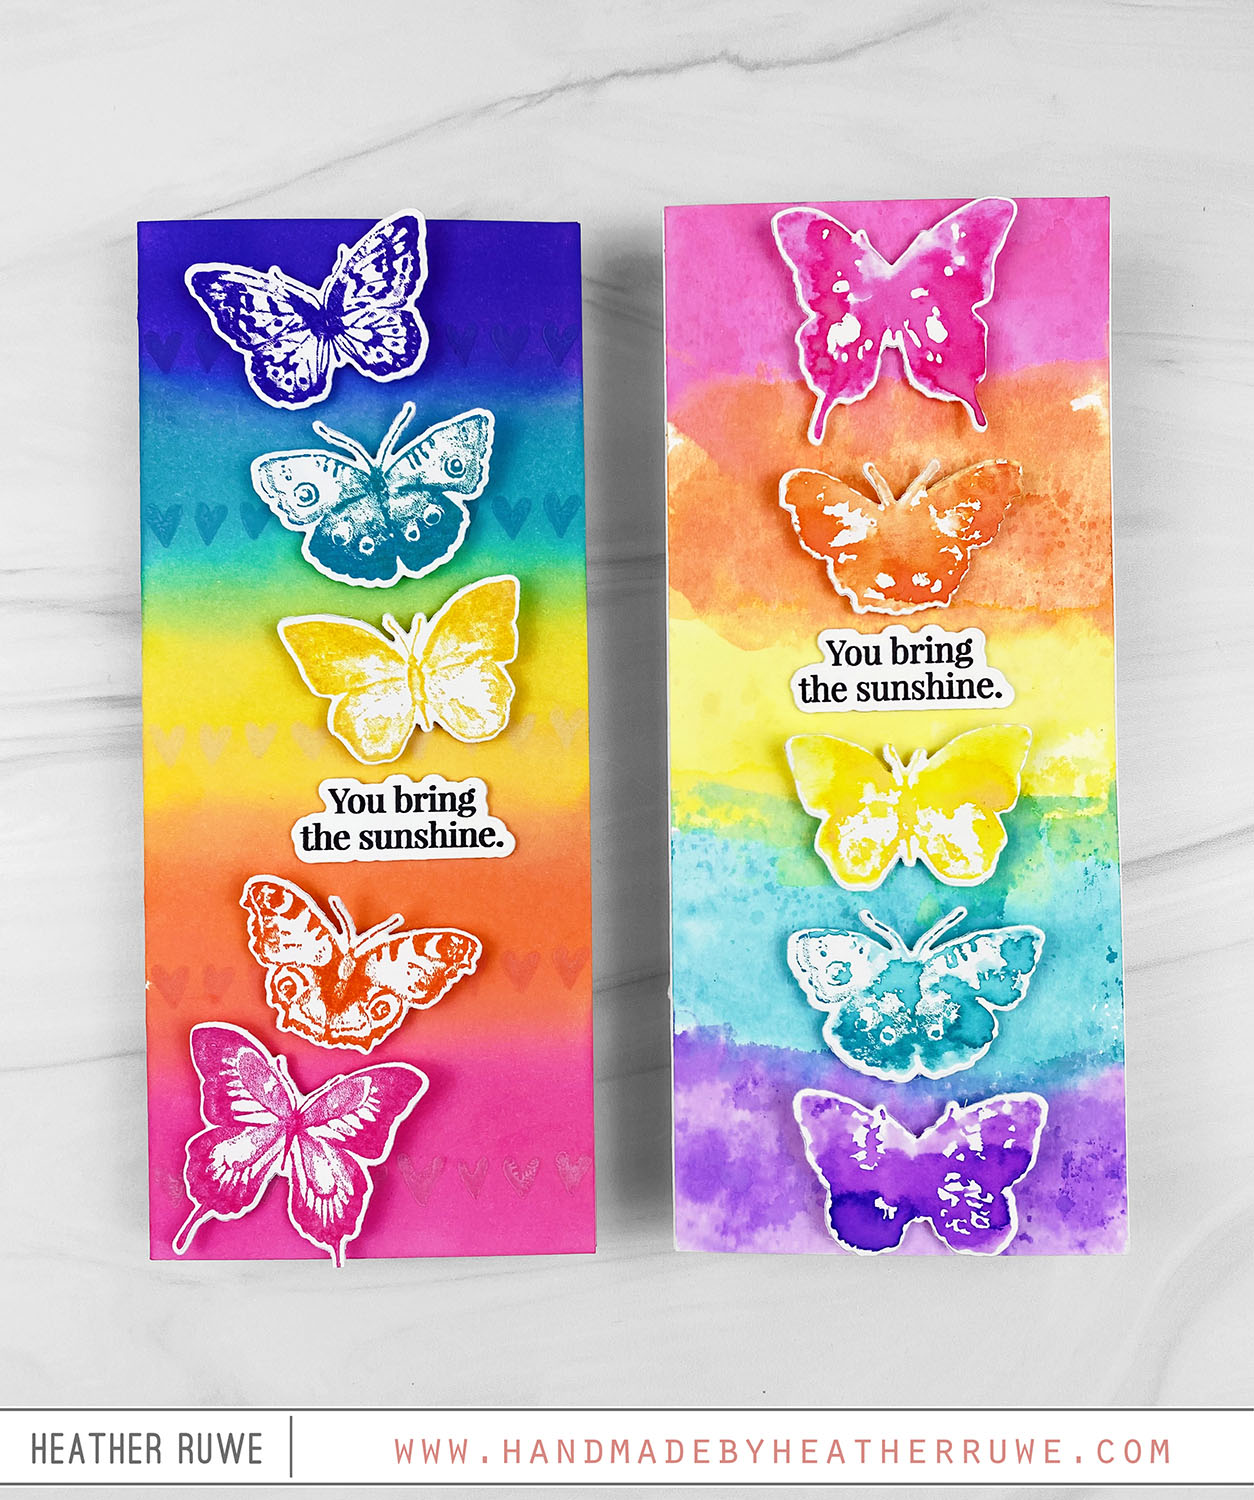
Howdy, crafty friends. I have two cards to share featuring THIS stamp set and coordinating dies… For the first card… I started by ink blending a rainbow of Distress Inks on the front of a saline card base. I stamped the row of hearts image from THIS stamp set on top of each color using the same color to add some interest to the background. I stamped the butterflies from the same stamp set...
April 2024 My Monthly Hero Release Blog Hop
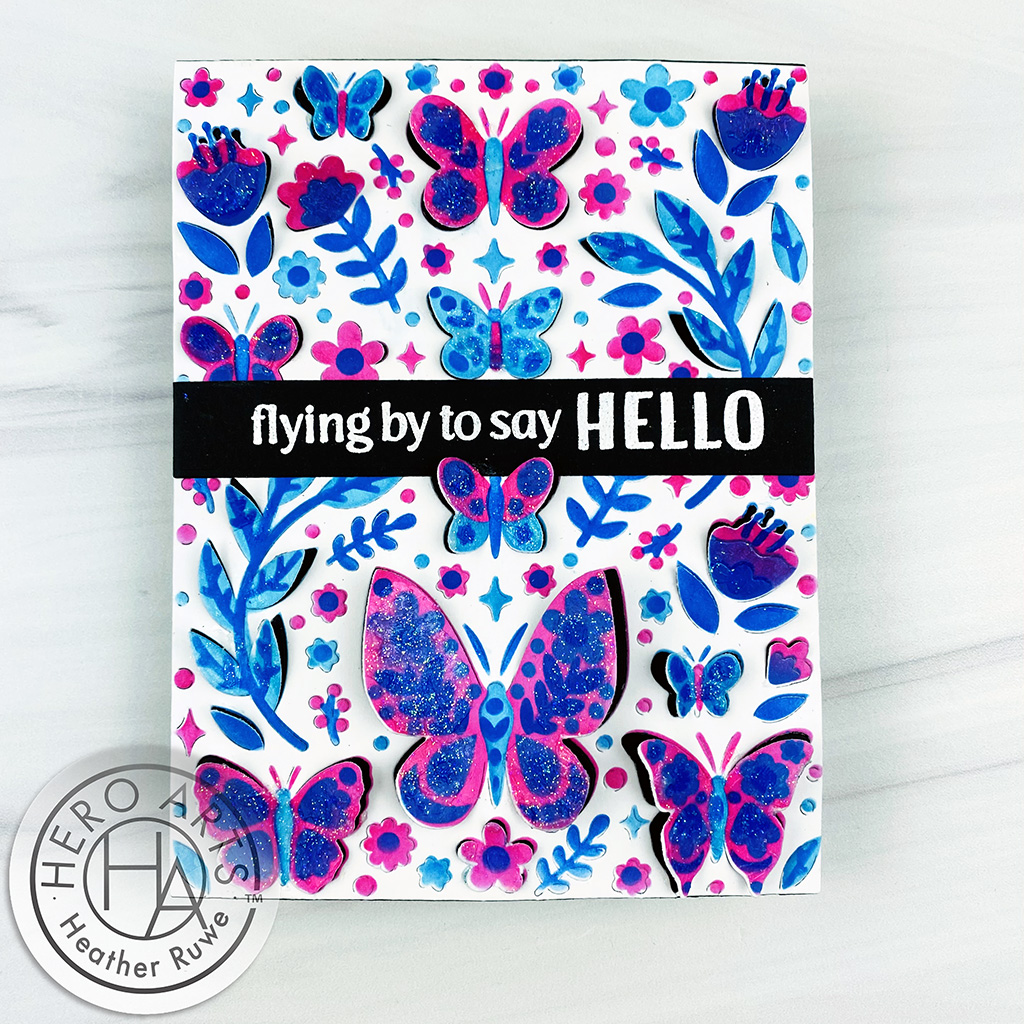
Hello again, crafty friends. I have two cards to share today featuring new products from Hero Arts as part of THIS Blog Hop. Before we get to the projects, let’s take a look at the kits available… CLASSIC KIT: Classic Kit Contents: 3 Color Layering Floral Butterfly Stencils, 5.25″ x 6.5″ Coordinating Cover Plate Die 16 Coordinating Frame Cuts Clear Stamp Message Set, 4″ x 6″ 3 Reactive Ink Cubes (Blue Hawaii, Splash, Taffy)...
My Monthly Hero Countdown April 2024
Hi, crafty friends. Today’s card is part of the My Monthly Hero Countdown to the April 1st Kit release. My card features THIS Classic Kit… To create this card, I applied the kit’s inks through the kit’s layering stencils to create a quick background. Next, I used the kit’s die to “cut” out the image. I love that the die doesn’t cut the background out entirely. It just cuts certain parts of the images...

