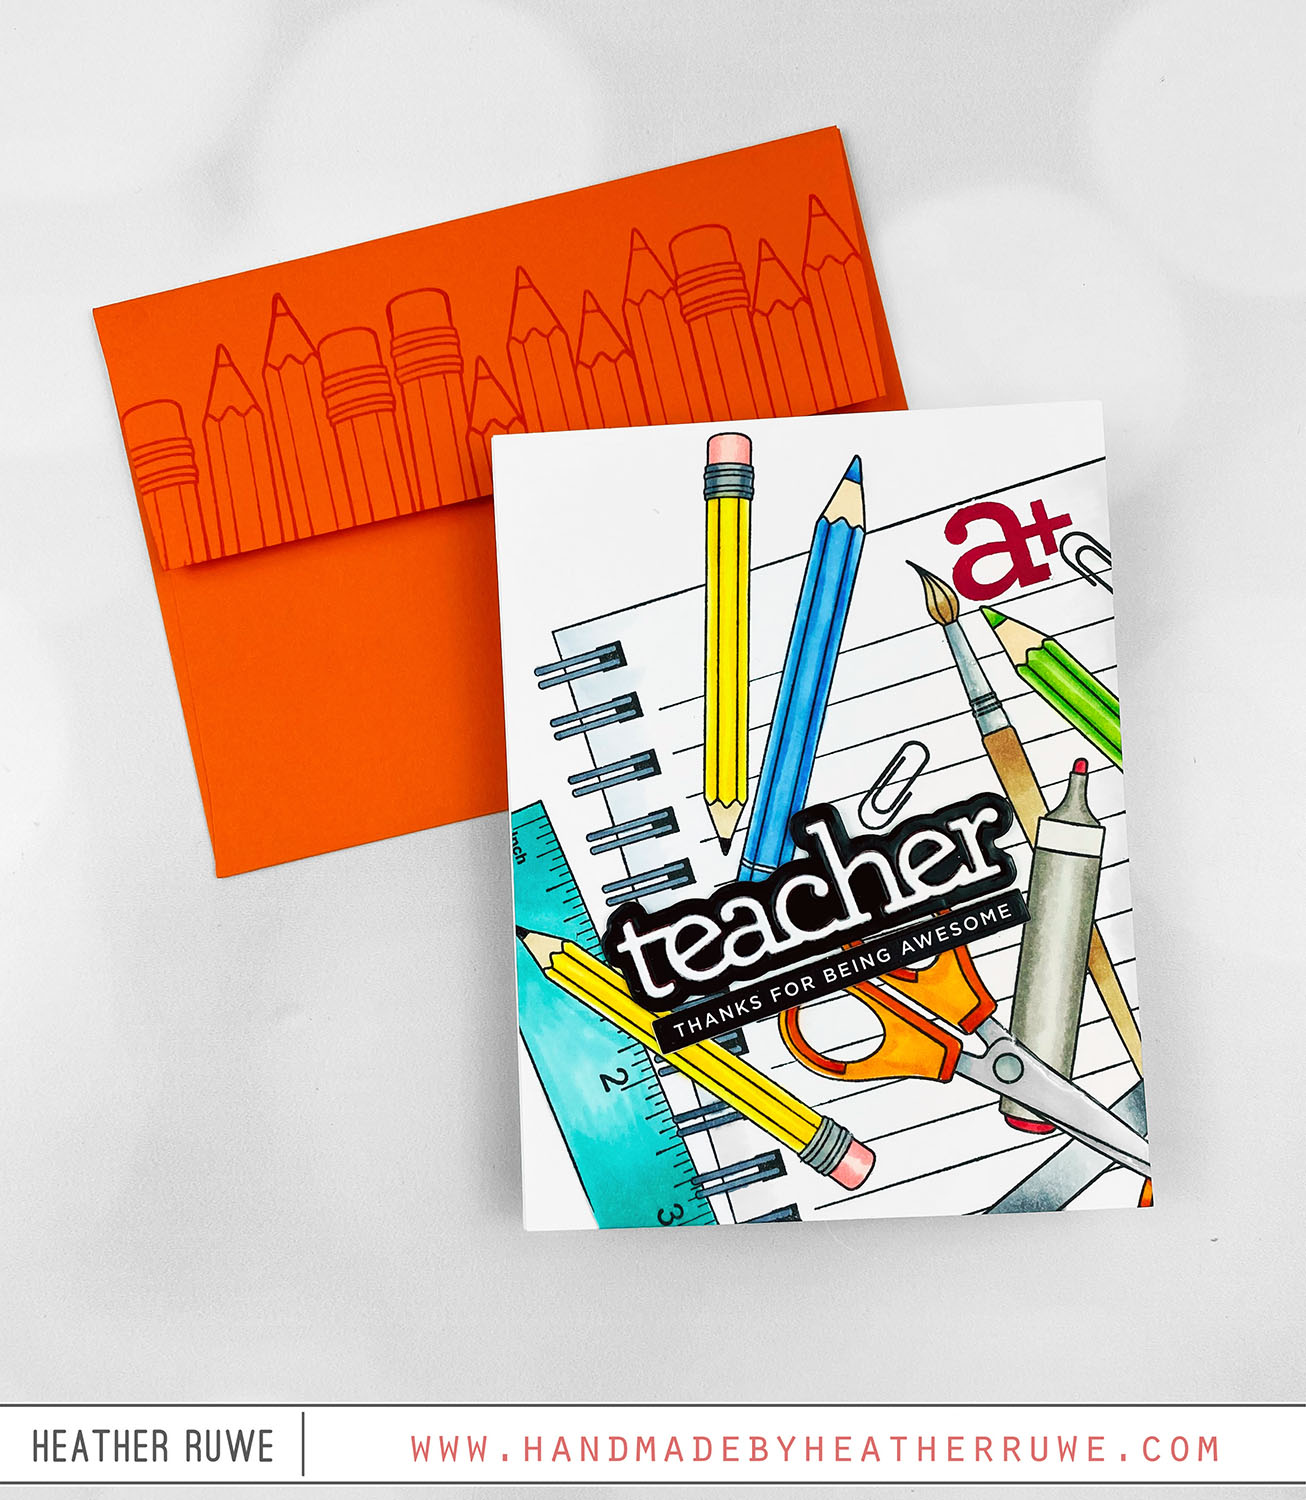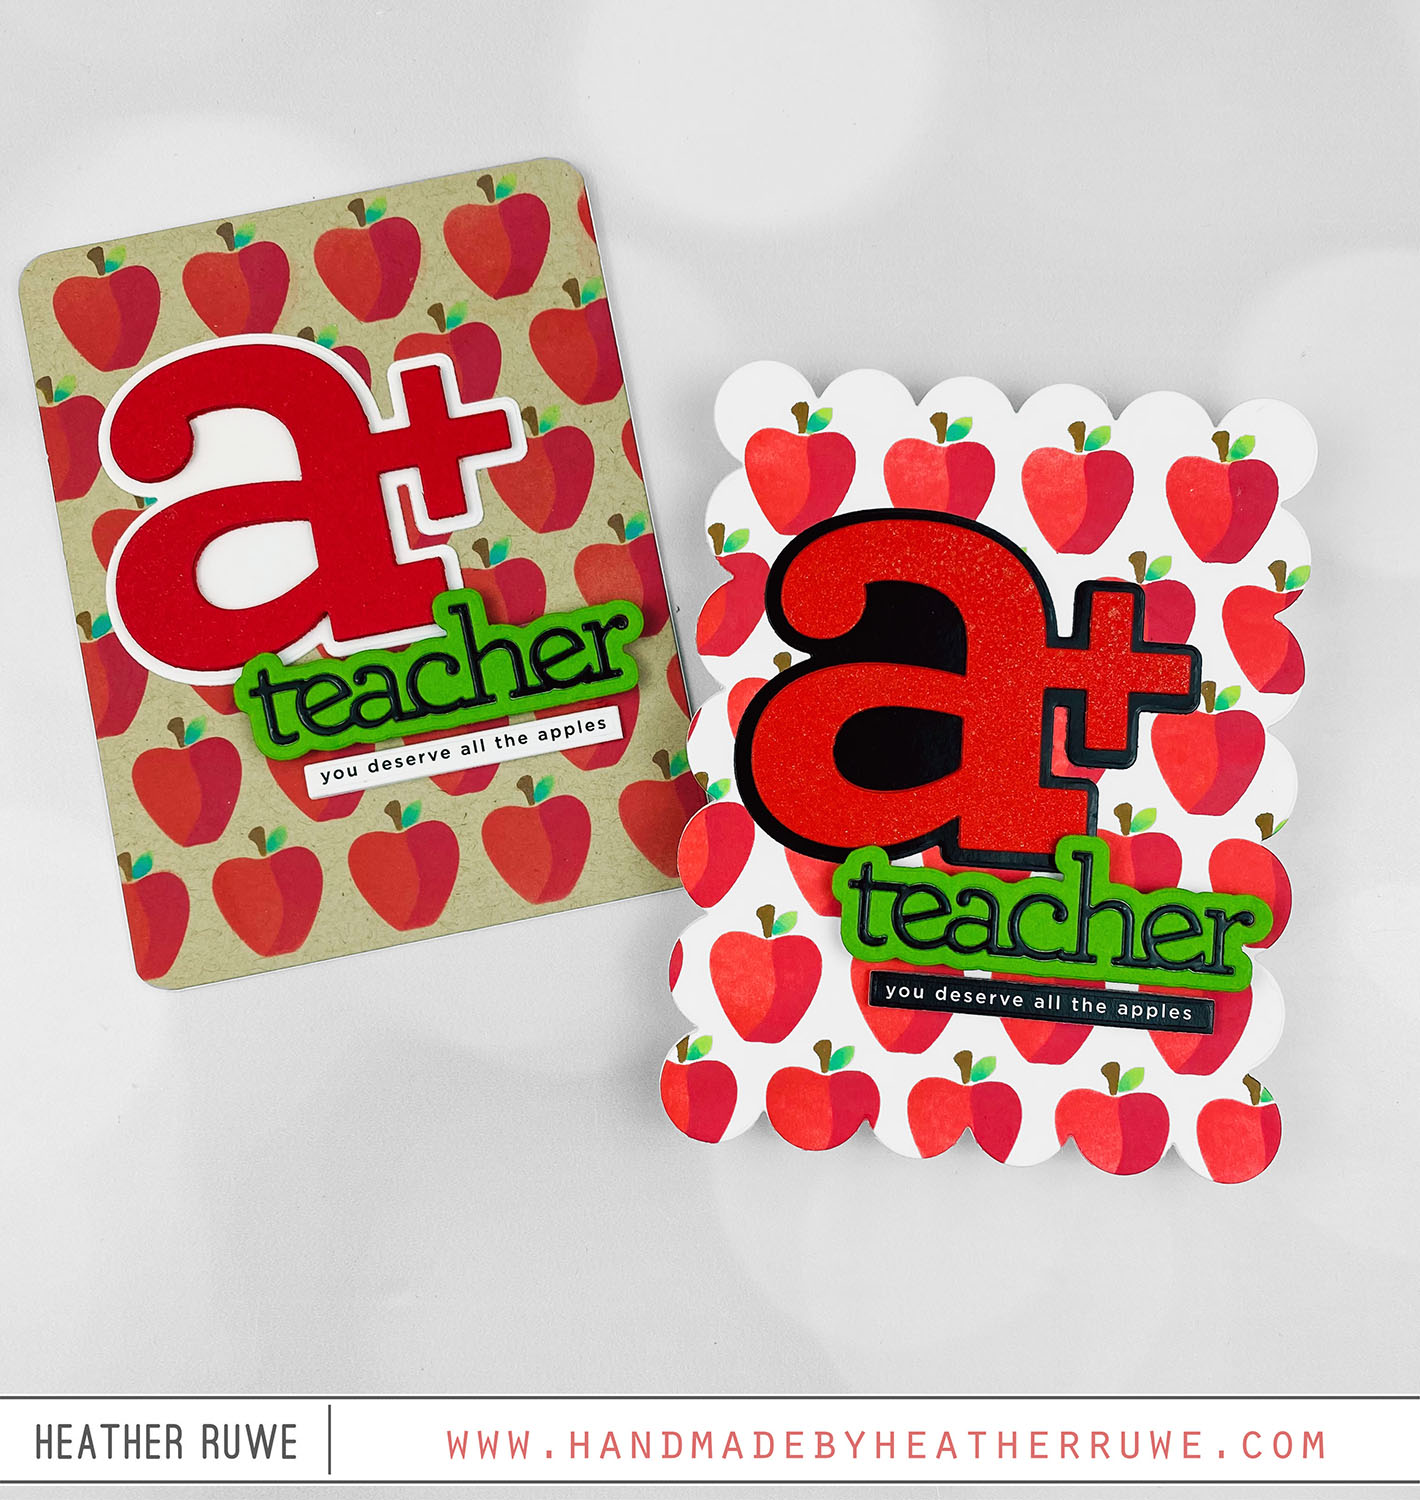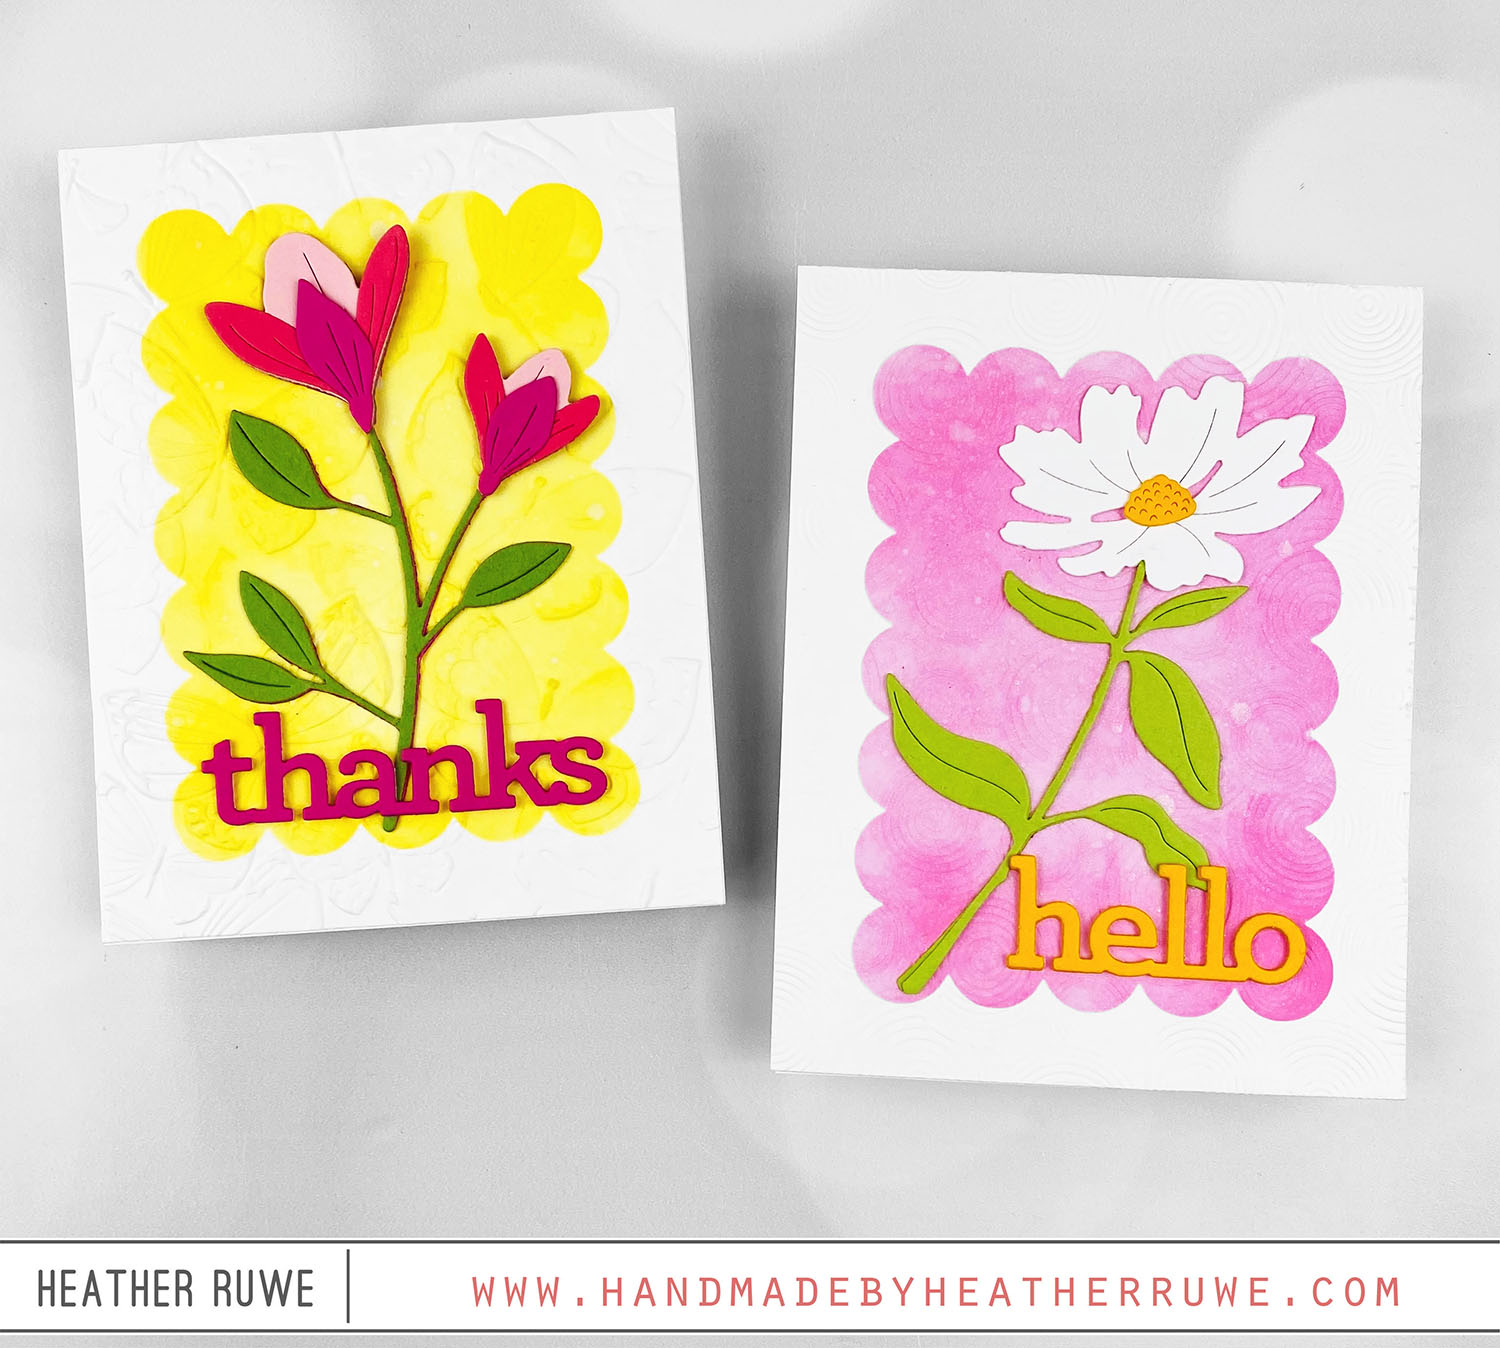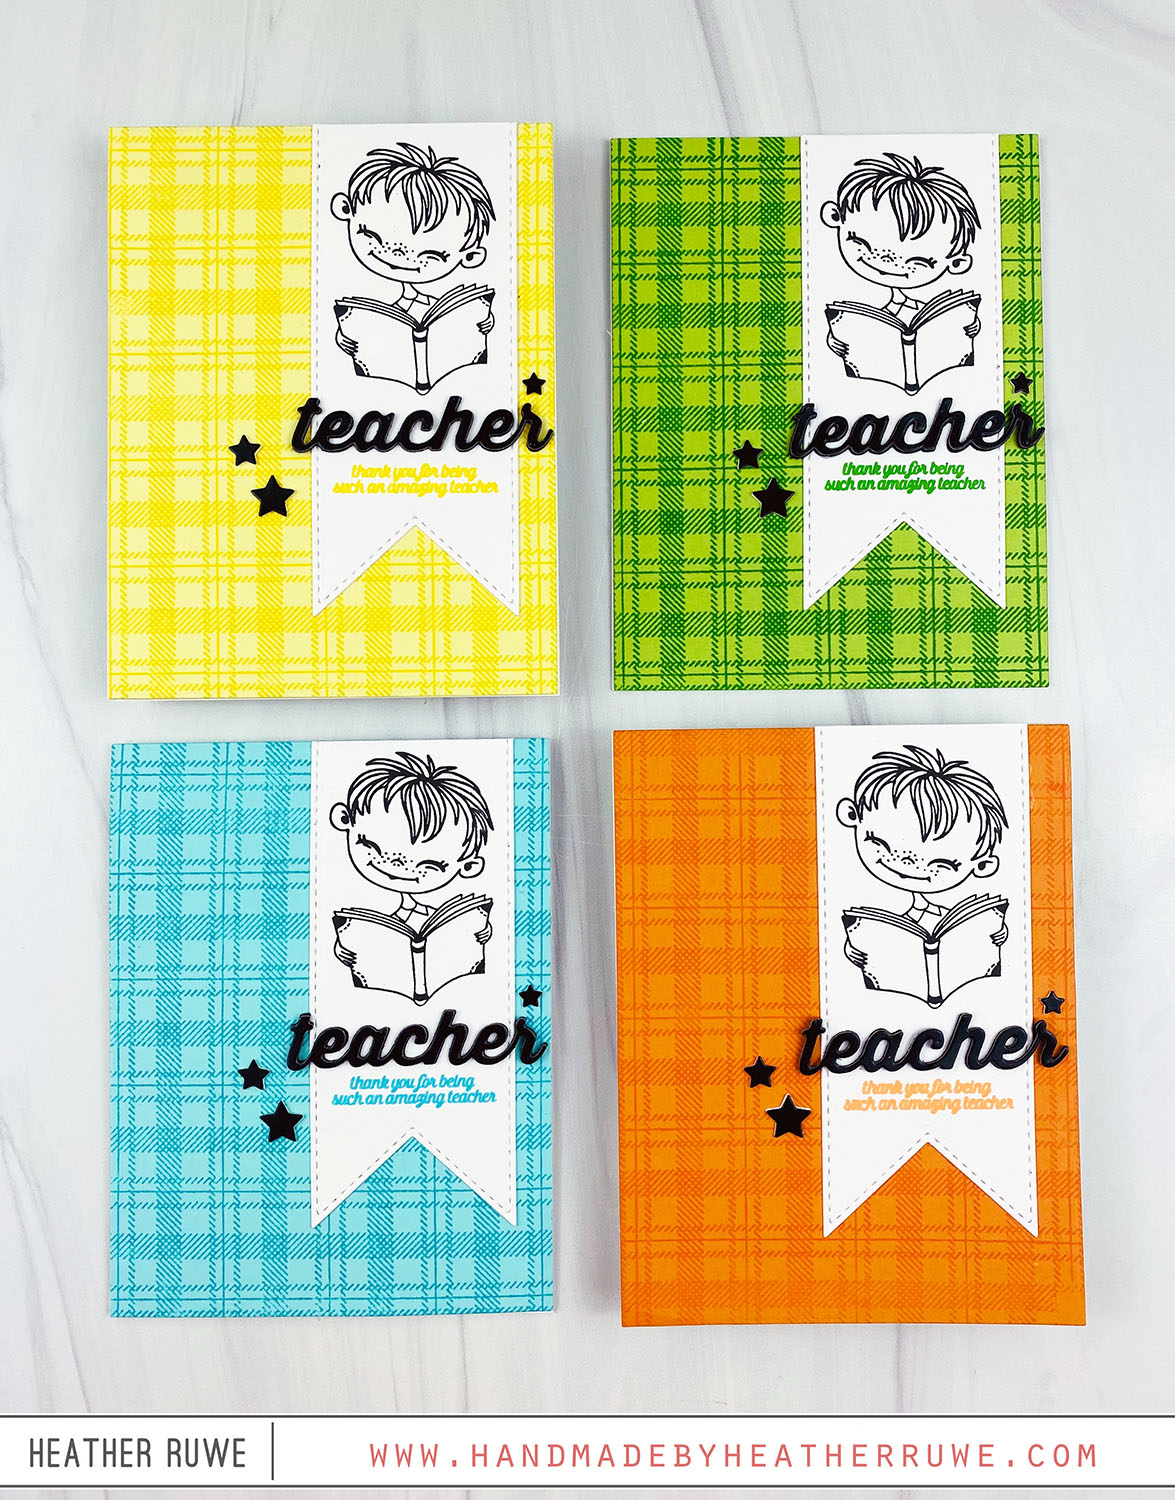
Cards for Teachers Week-Day Five

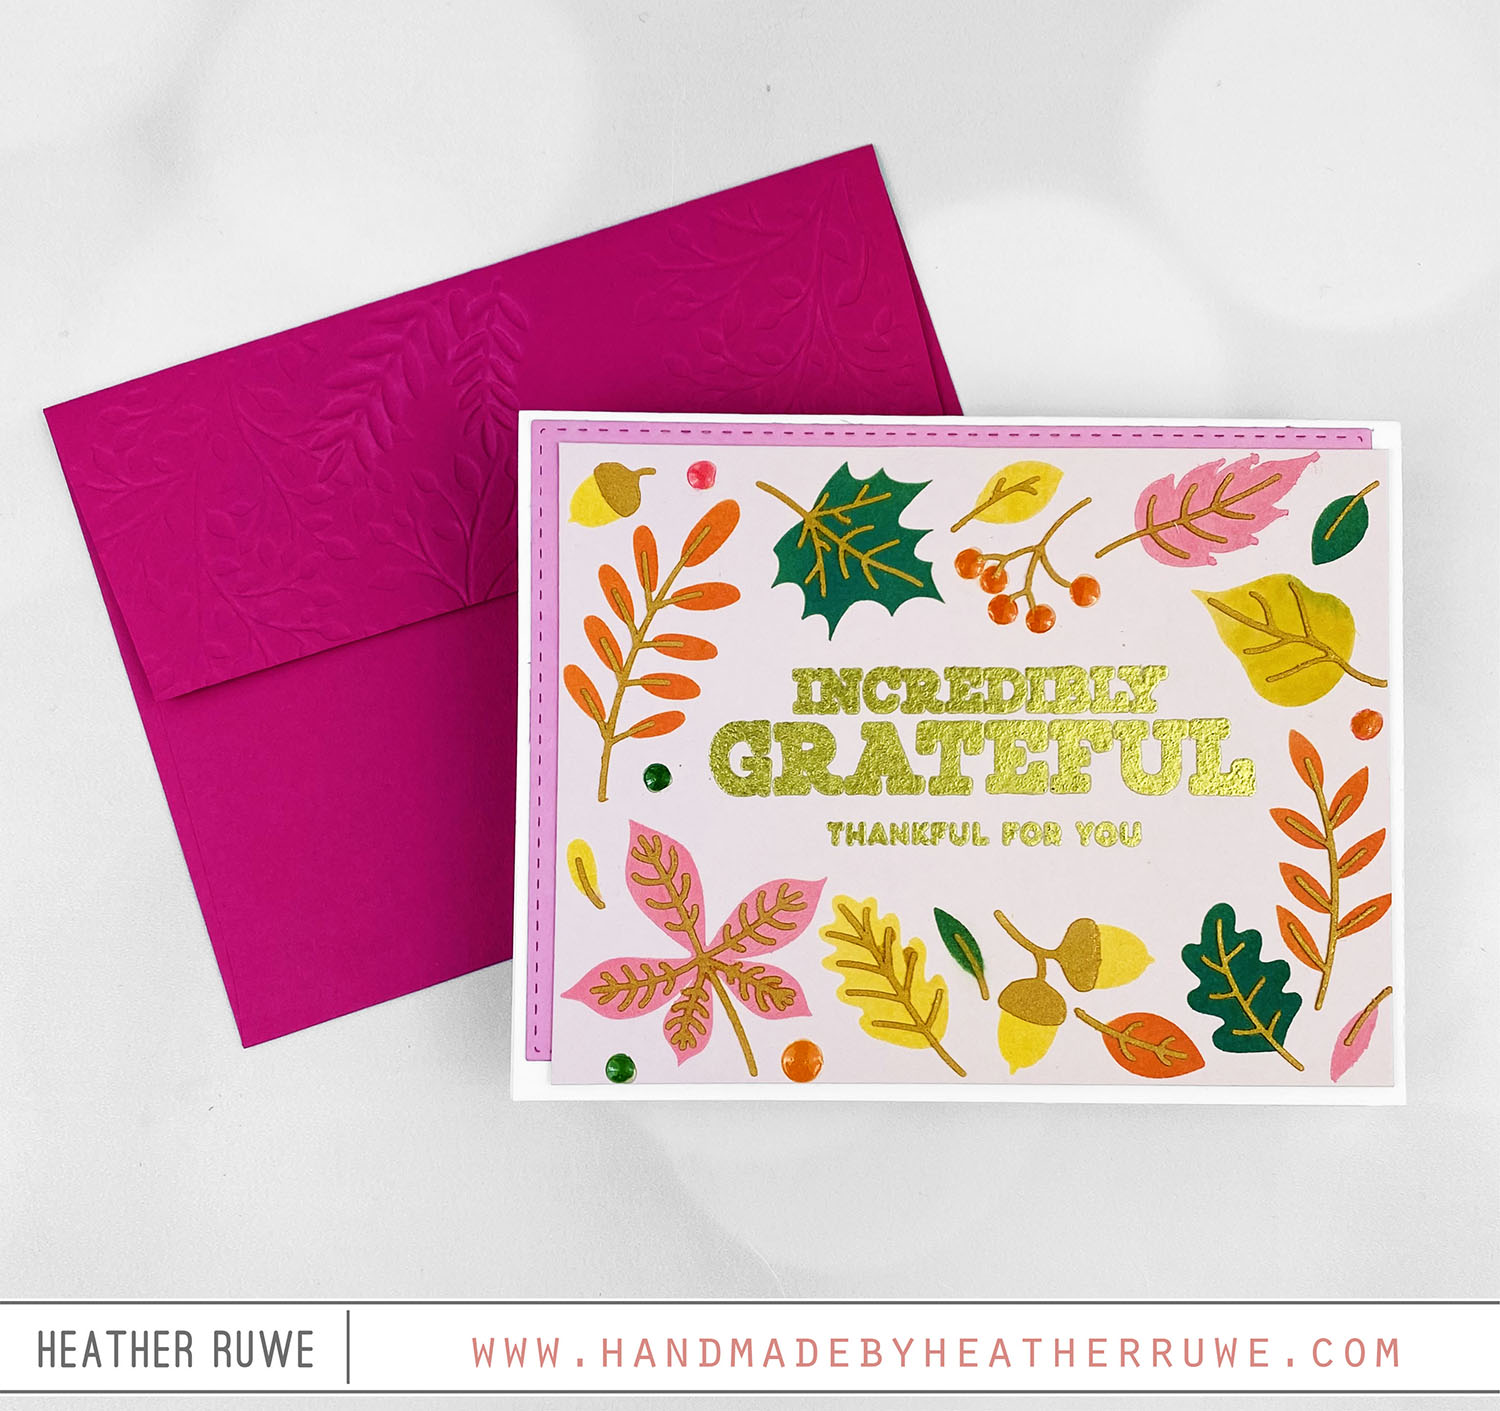
Hi, crafty friends. I’ve been sharing teacher appreciation cards all week and today’s project wraps up the week. If you missed any days, you can check them out here… DAY ONE DAY TWO DAY THREE DAY FOUR Today’s card is a gatefold card… To create this card, I started by creating the gatefold card base. I started with a half of sheet of cardstock (5.5 x 8.5). I scored each side at 2 1/8...

Cards for Teachers Week-Day Four

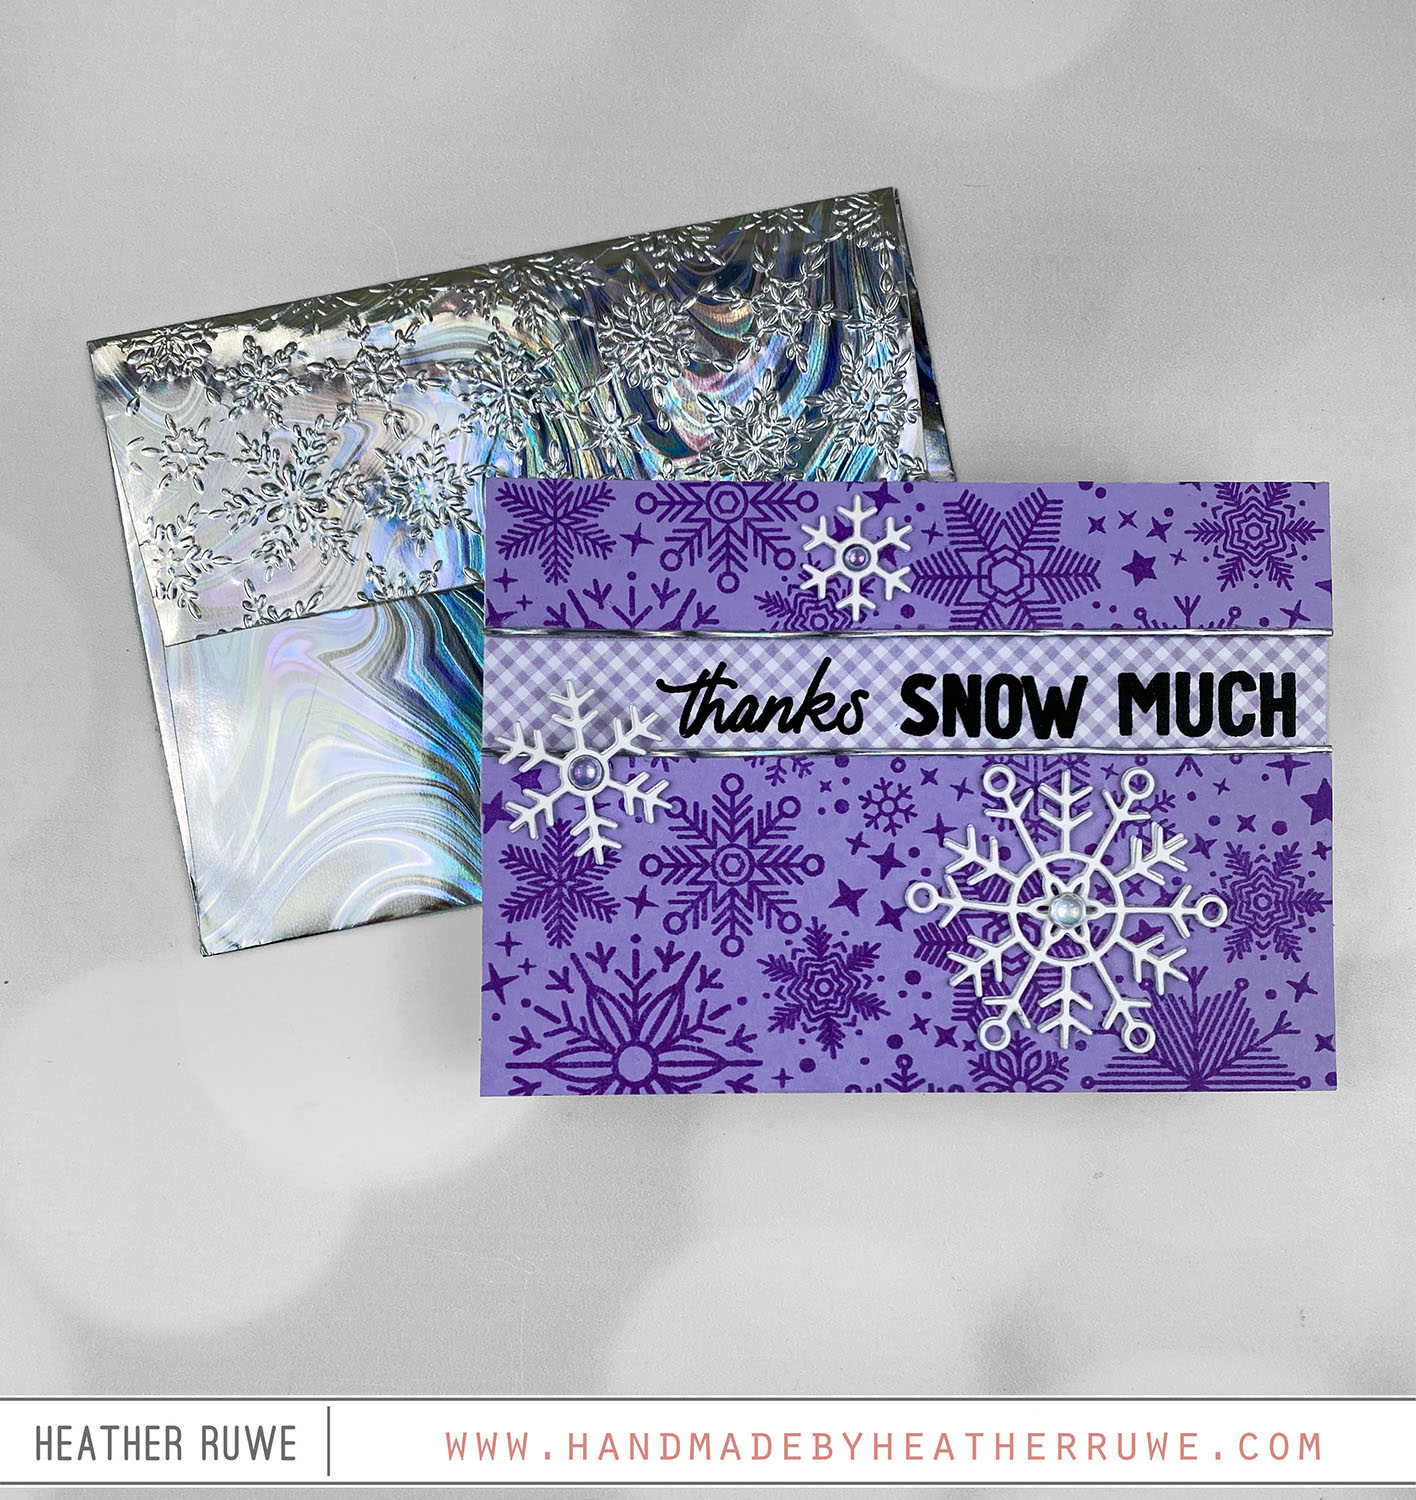
Hello, crafty friends. I’ve been sharing teacher appreciation cards all week on my blog. Today is day four… To create this card, I stamped the layers of THIS stamp set with different shades of purple on a panel cut with THIS scalloped die. I stamped the sentiment from the same stamp set and adhered it to a purple cardstock mat and then to a side folding card base. I also stamped the flap of...

Cards for Teachers Week-Day Three

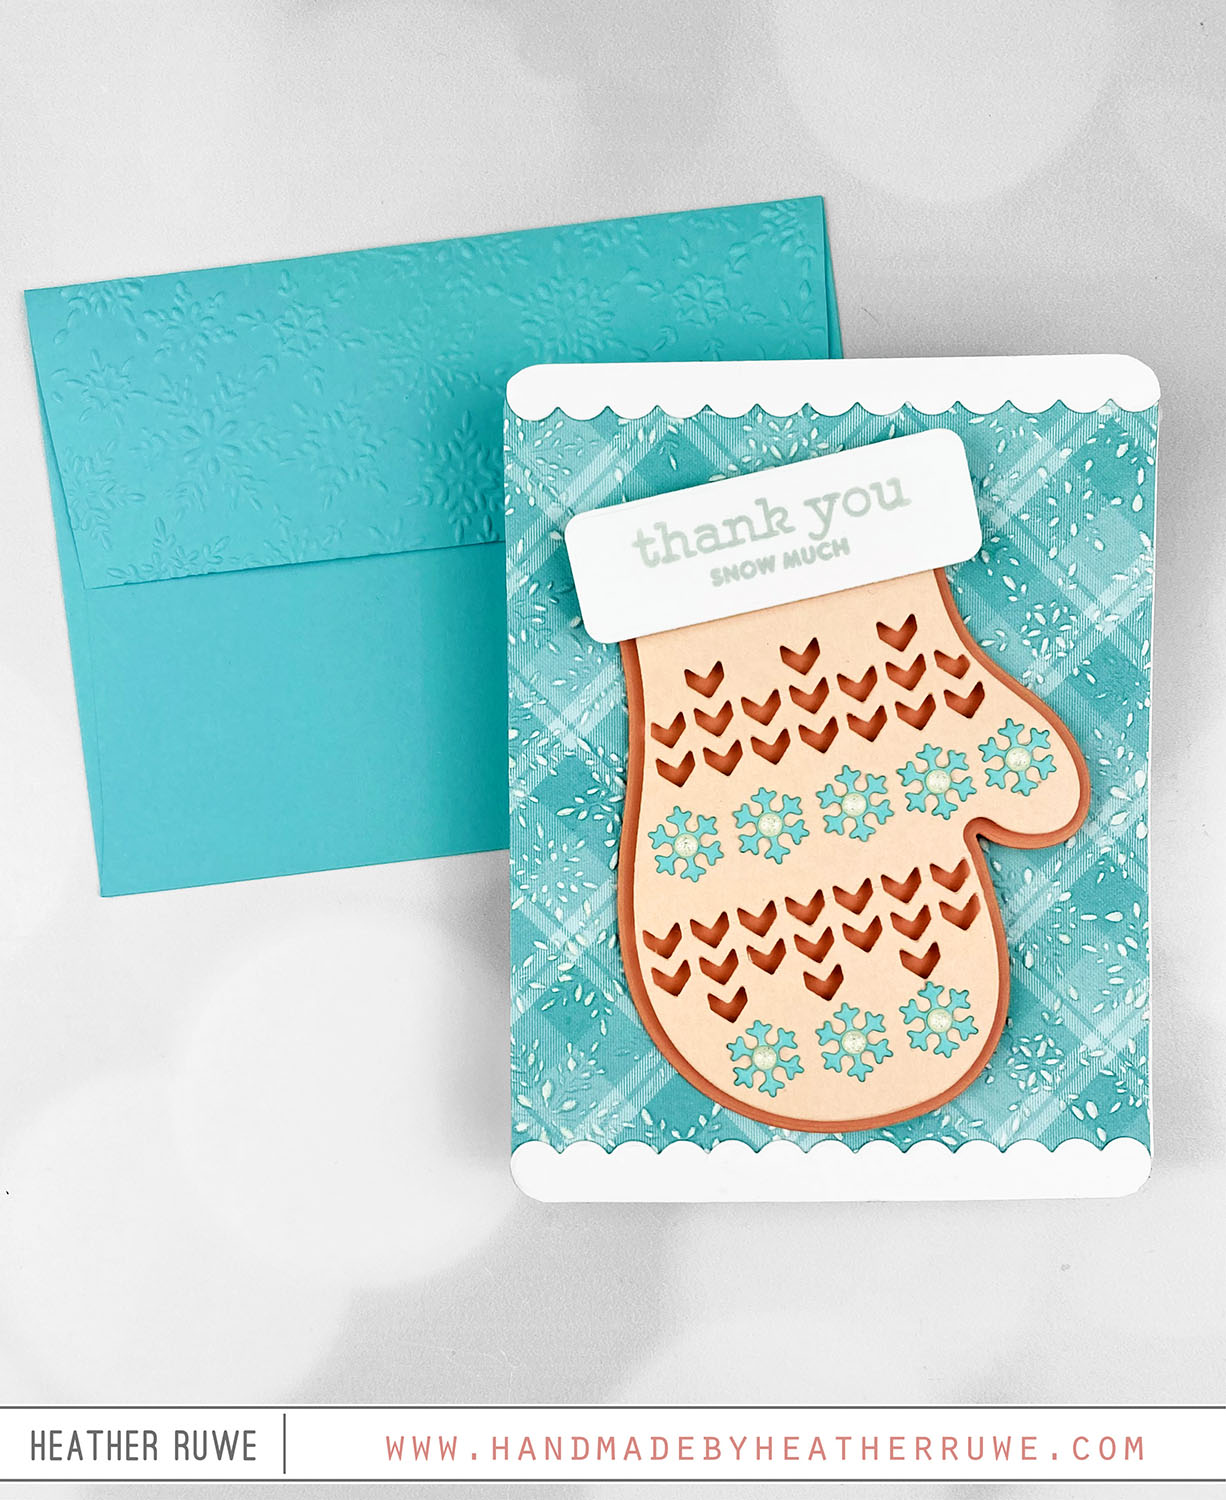
Hi, crafty friends. I’m sharing teacher appreciation cards all week because teachers are the best! Here is the card for Day Three… To create this card, I stamped THIS background stamp on a white piece of A2 sized cardstock using blue ink. I stamped THIS apple image and colored it with Copic Markers. I used THESE coordinating dies to cut it out. I die cut THIS word die from black and white cardstock. I...

Cards for Teachers Week-Day Two

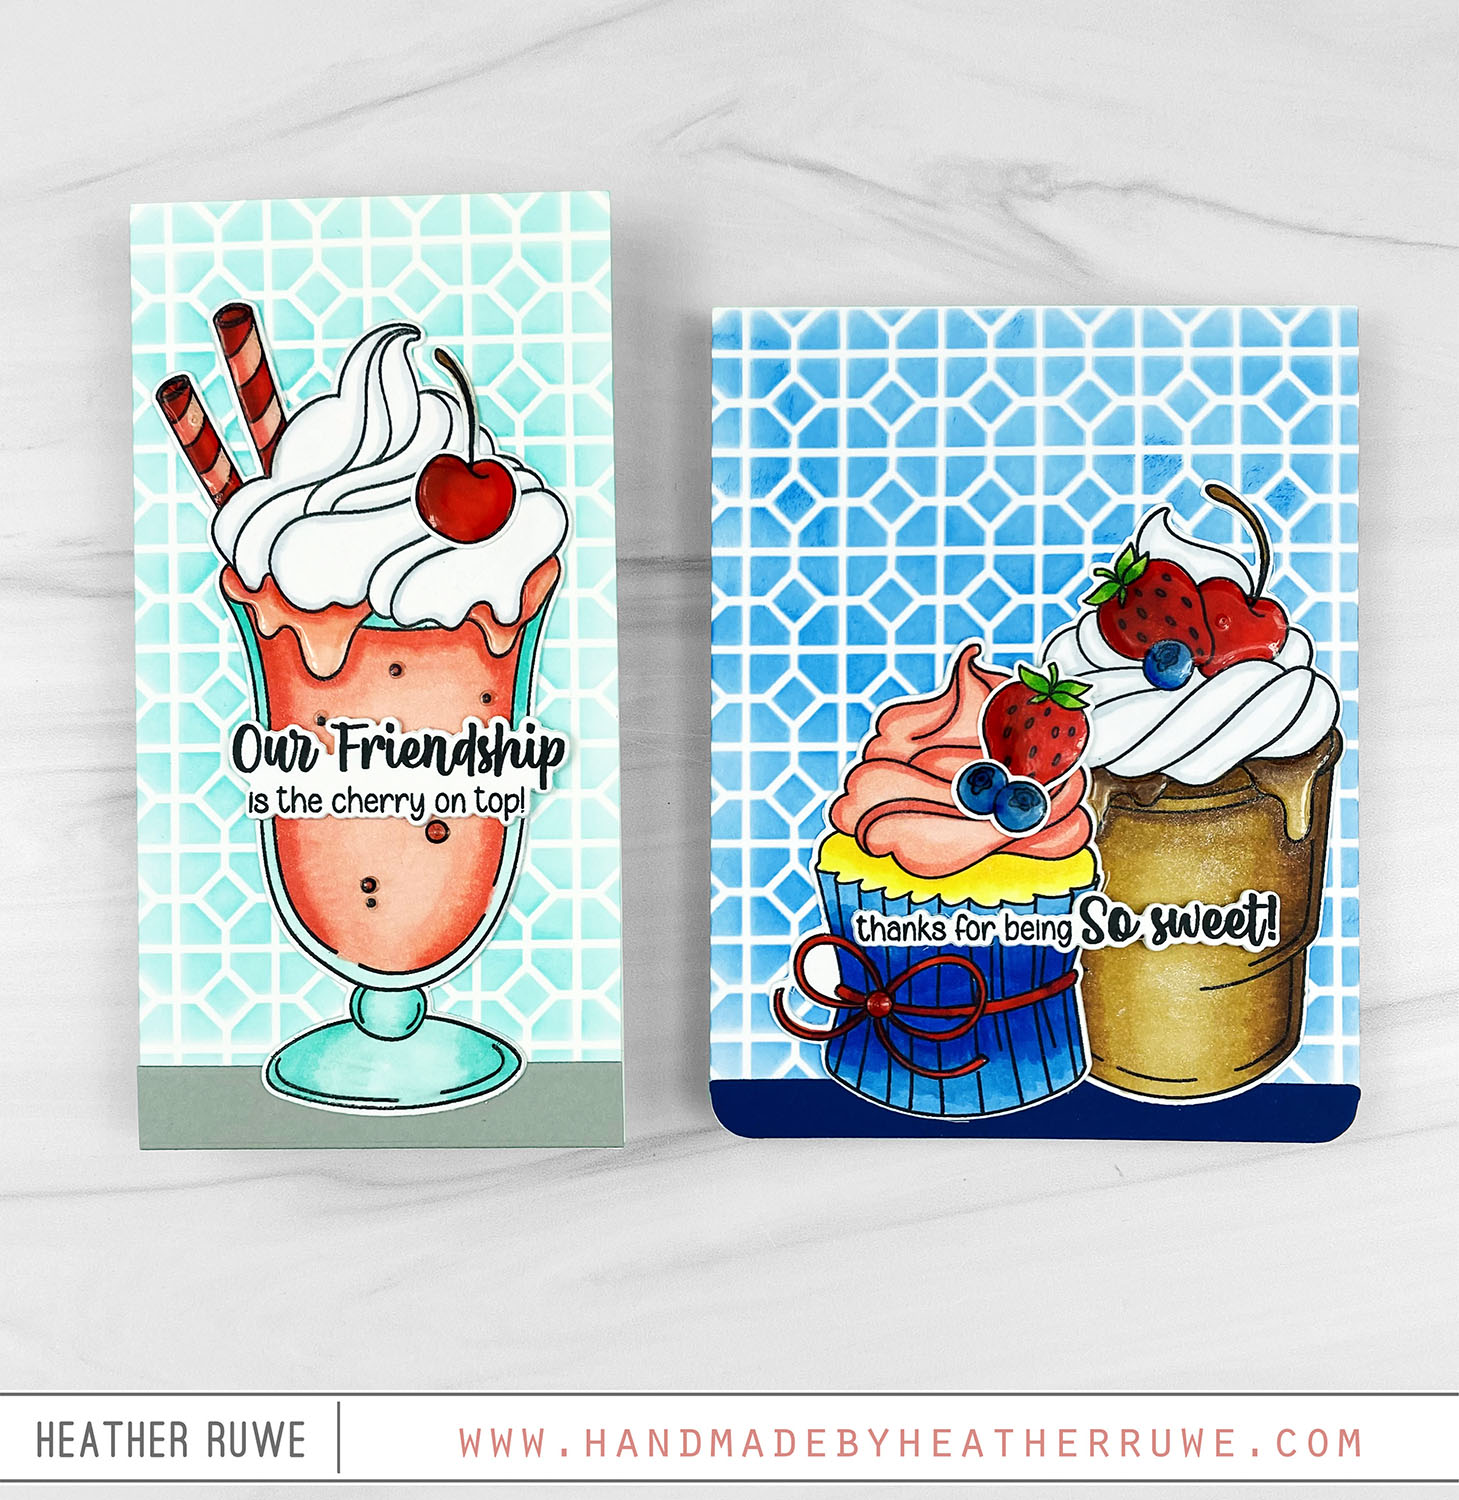
Hi, crafty friends. I’m back for Day Two of Cards for Teachers Week. I shared Day One HERE. To create this card, I stamped THIS background stamp on white cardstock and colored it in with Copic Markers. I adhered the piece to a side folding white note card and rounded the four corners. I cut about an inch from the end of the front flap and adhered it directly inside the note card for...

Impressionistic Flower Card

Hello, crafty friends. I have a monochromatic card to share today… To create this card, I started by stamping THIS background stamp on a piece of pink cardstock. I ink blended the edges and flicked on some of THIS with a paintbrush. I applied pink ink through THESE layering stencils on a white piece of cardstock. I sprayed it with THIS for some shine. I used THIS coordinating die to cut it out and...

In My Heart Release-Thank You Card Set

Hello, crafty friends. Today’s card set features THIS new release from Simon Says Stamp… To create these cards, I applied ink through THESE layering stencils on an A2 piece of white cardstock to create a background. I started with a heavy hand towards the center of the flower and got lighter towards the tips of the petals. For the flower centers, I used THIS gold gel pen. Next, I dry embossed THIS frame die...

A Little Artsy Card Kit

Hi there, crafty friends. Today’s card features THIS new card kit from Simon Says Stamp. Make sure you check out the bottom of this post for all the information on their new reinvented card kit subscription! To create this card, I started by ink blending a butterfly silhouette with the kit’s oxide ink. I stamped the butterfly image from the kit’s stamp set on top and then a sentiment underneath from THIS add on...

Beautiful Moments Release

Hi, crafty friends. Today’s card features THIS new release from Simon Says Stamp… To create this card, I started by embossing a piece of blue cardstock with THIS embossing folder. I inked up the bottom portion of the panel with blue ink to add some interest. I die cut THIS die from colored and specialty cardstock and adhered the pieces to the background. I finished it off with THIS sentiment. Here’s a closer look…...

Partial Die Cutting with Coordinating Dies

Happy New Year, crafty friends. I’m sharing a card featuring partial die cutting using coordinating dies to kick off the new year…. To create this card, I started by stamping THESE images and coloring them wit Copic Markers. I used THESE coordinating dies to cut out the main donut image and used the large image coordinating die to do some partial die cutting. I made sure that the portion of the die that I...

The Small Things Card Kit

Hi, crafty friends. Today’s card features THIS new card kit… To create this card, I started by applying ink through the layering stencils in the kit to create a snowflake. I spritzed it with THIS spray for some sparkle and shine. I used the coordinating die to cut it out. Next, I stamped a few snowflakes on a piece of A2 white cardstock using blue and purple ink. I used the kit’s embossing folder to...