Ink Blending on Colored Cardstock

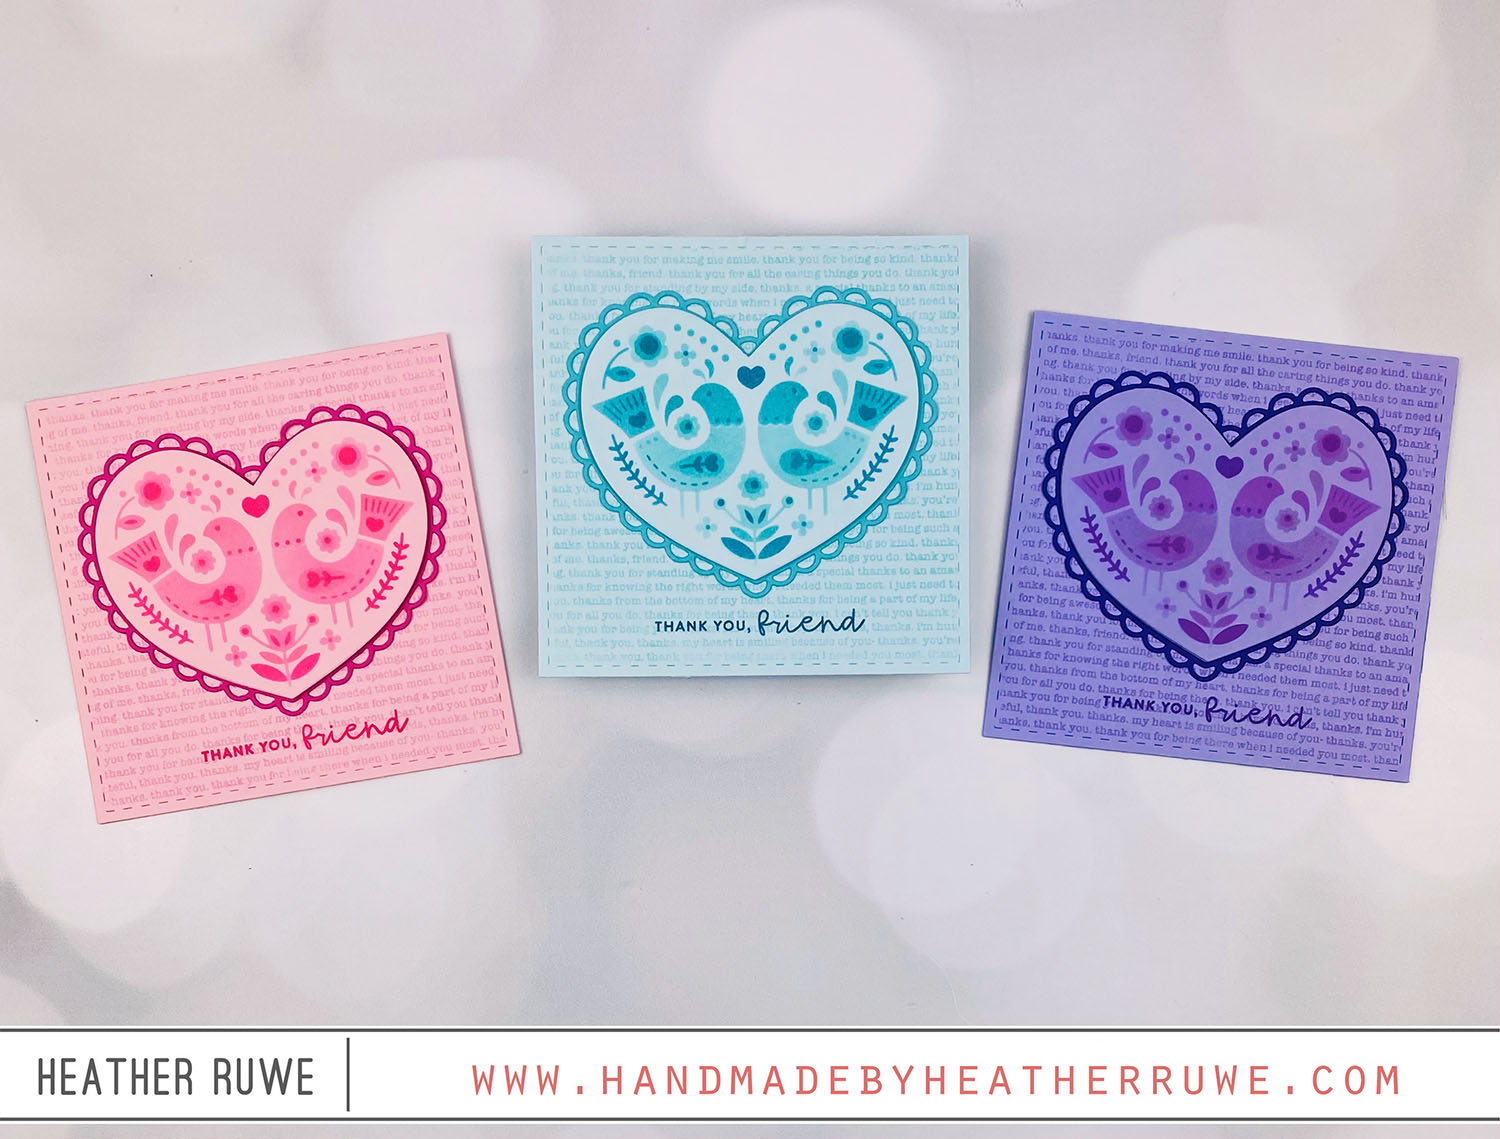
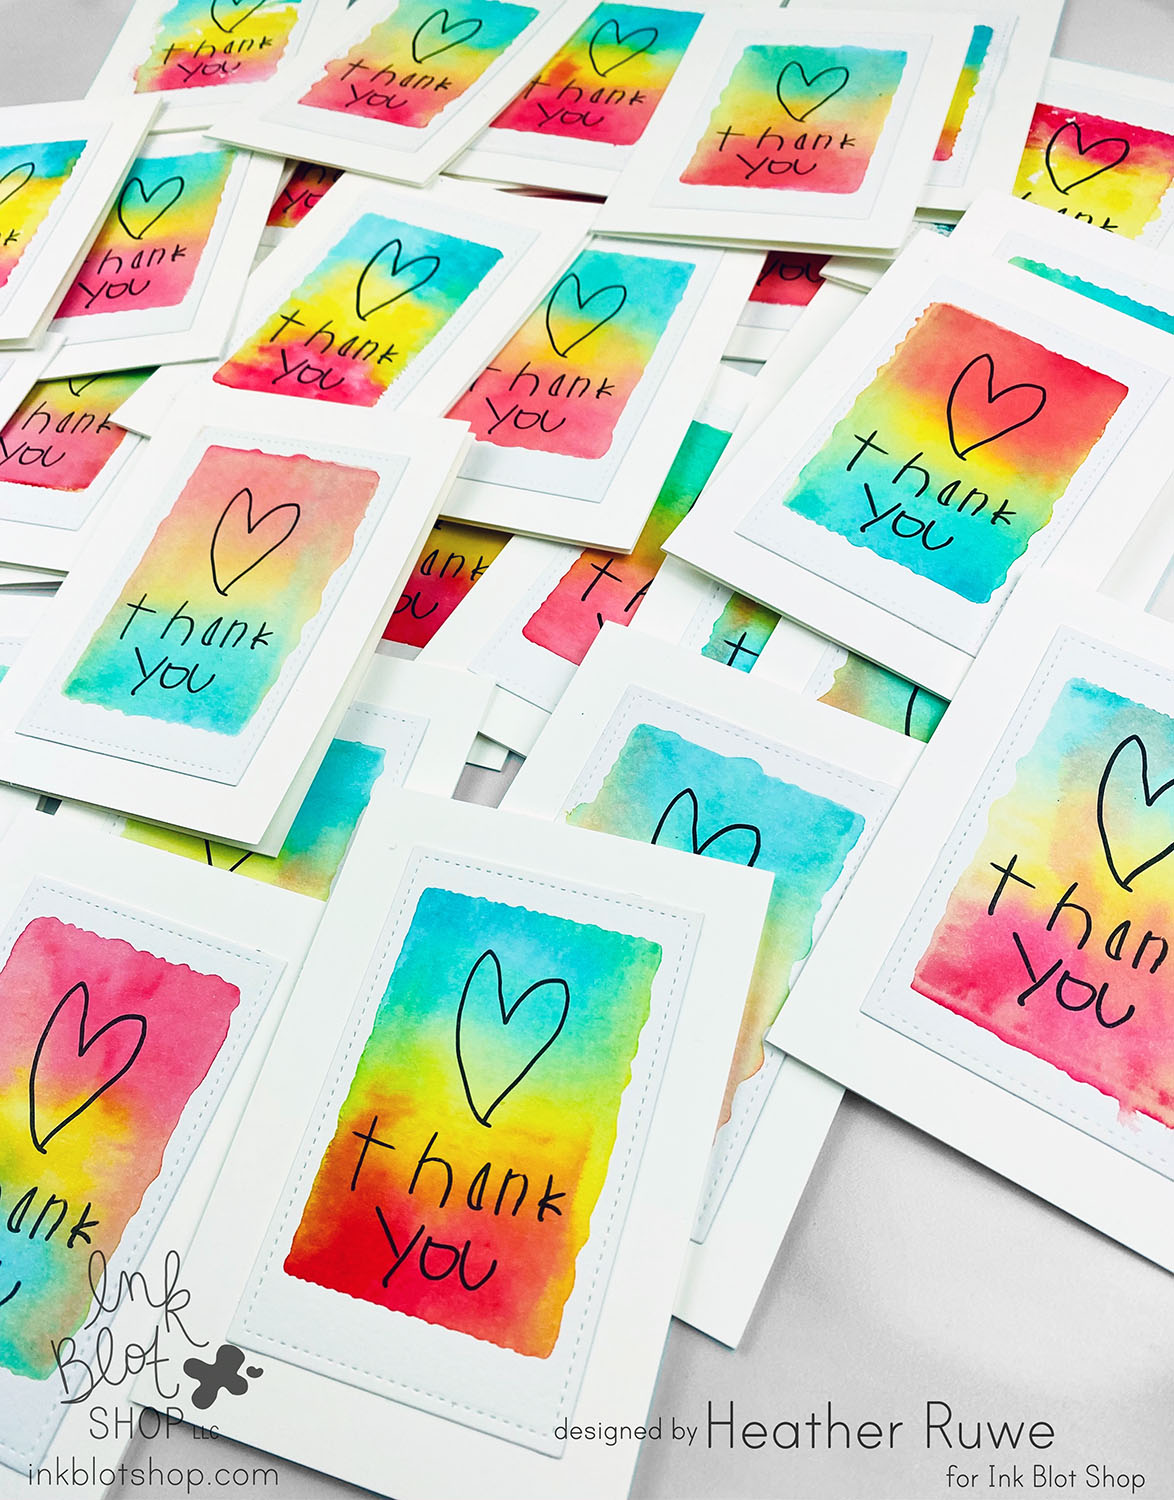
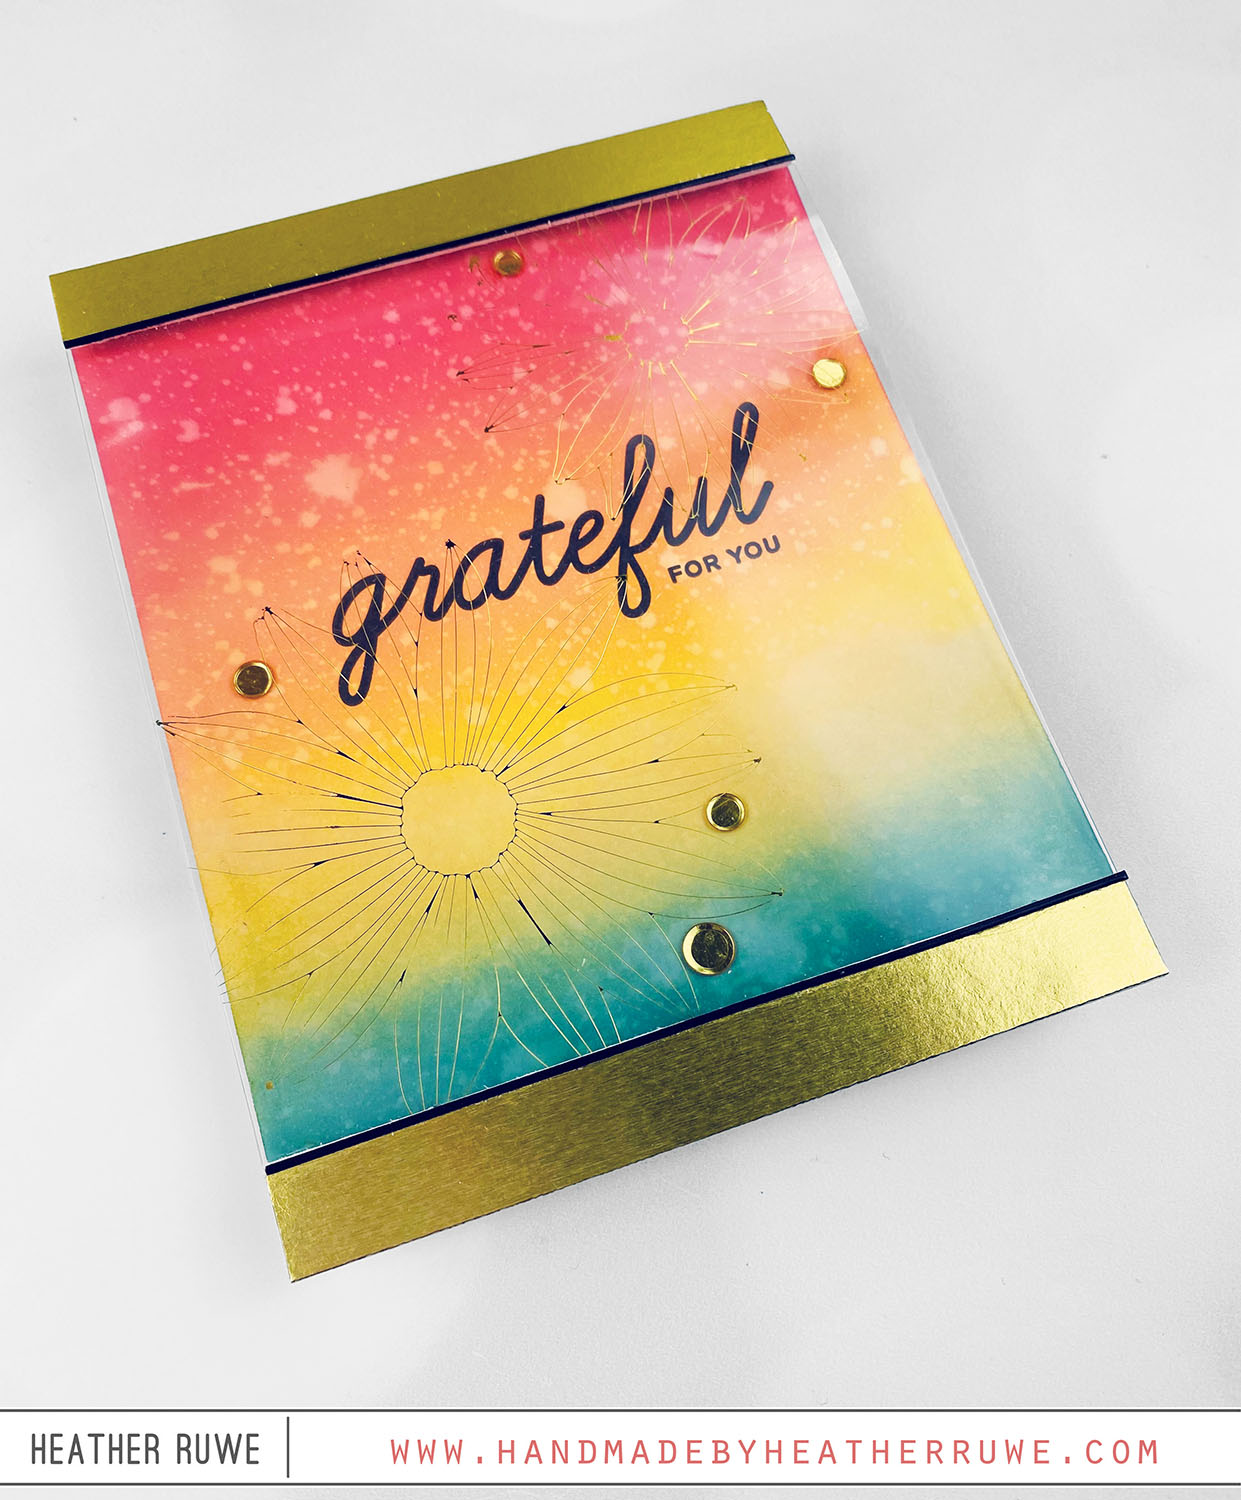
Hi there, crafty friends. Today’s cards features ink blending on colored cardstock… I always tend to reach for white cardstock when I ink blend so I thought I would switch it up and start with colored cardstock as the background. I find Distress Oxide inks work best for this. I started by applying Distress Oxide inks through THESE layering stencils, drying each layer in between. I chose Distress Oxide inks because they have a...

Scrappy Tails Crafts Heartfelt Wings Blog & Video Hop

Hi Scrappy Tails Crafters! Thank you so much for joining our Spring Inspiration blog and video hop! The Scrappy Tails design team members are using new products from our recent “Heartfelt Wings” collection. This release is inspired by beautiful butterflies, birds and blooms. Along the hop you’ll find lots of beautiful Easter, Mother’s Day and Spring themed cards. I have a butterfly shaped card set to share using THIS new release… Hop along and...

Teacher Thank You Card

Hello, crafty friends. I can’t believe it but school is close to wrapping up for the year and I wanted to get a head start on teacher thank you cards… I started by stamping THIS background on a white A2 panel. I stamped images from THIS stamp set in the bubbles as well as THIS thanks sentiment. I white heat embossed the teacher sentiment on a black strip from THIS stamp set and adhered...

4 Bar Thank You Cards

Hello, crafty friends. I was in need of thank you cards for an upcoming event so I mass produced some featuring an acrylic block background technique… VIDEO You can watch the video on this technique HERE or click on the video below… To create this card, I started by creating the background. I applied Distress Ink to an  acrylic block , spritzed with water, and laid it down on a slimline panel. I put something...

Kisses Release Blog Hop

Howdy, crafty friends. Today’s cards are part of THIS fun blog hop celebrating THIS new release… VIDEO You can watch the video on how I created these cards HERE or click on the video below… I started by die-cutting THIS heart chain die several times from colored cardstock. I chose to go with a rainbow pattern because that’s my jam, but you could use any colors you want. I think specialty cardstocks would be...

Thank You Card Set

Hi there, crafty friends. I have a Thank You Card Set to share today… For each card, I cut THIS cover plate die from THIS patterned paper and glitter cardstock. I also cut a coordinating colored cardstock from THIS die. I adhered that stitched piece first to the front of an A2 sized white note card at a slight angel. I stamped a sentiment from THIS stamp set in the right corner. I added the other...

Snow Love Card Kit

Hi, crafty friends. Today’s card share features THIS new card kit. I decided to create some rainbow snowflakes… I started by die-cutting the snowflake die (included in the kit) form the Kit’s Color Blend Cardstock. Next, I applied THIS paste through THIS stencil on one of THESE slimline card bases. After it was dry, I stamped snowflakes from the kit’s stamp set in rainbow colors. I adhered the snowflake die-cuts on top and stamped...

Full of Thanks Card Kit

Hi there, crafty friends. Today’s card share features THIS new card kit… To create this card, I applied THESE Adhesive Sheets to the background and ran it through my laminator with a carrier sheet. I peeled back the sheet to reveal the adhesive. I laid a sheet of foil from the kit on top of the exposed adhesive and ran in back through the laminator. This applies the foil to the leaf images. I...

Hot Foiling on Acetate

Hello again, crafty friends. Today’s card features hot foiling on acetate… I started by creating the clear acetate front panel. I hot foiled THIS plate using THIS gold foil on a piece of THIS heat resistant acetate. I trimmed down the piece to be 4.25 x 5.5 inches. Next, I trimmed down the front panel of the top folding card base. I cut the front panel so only 1/2 of an inch was left...