Never Too Cold for Ice Cream Cards

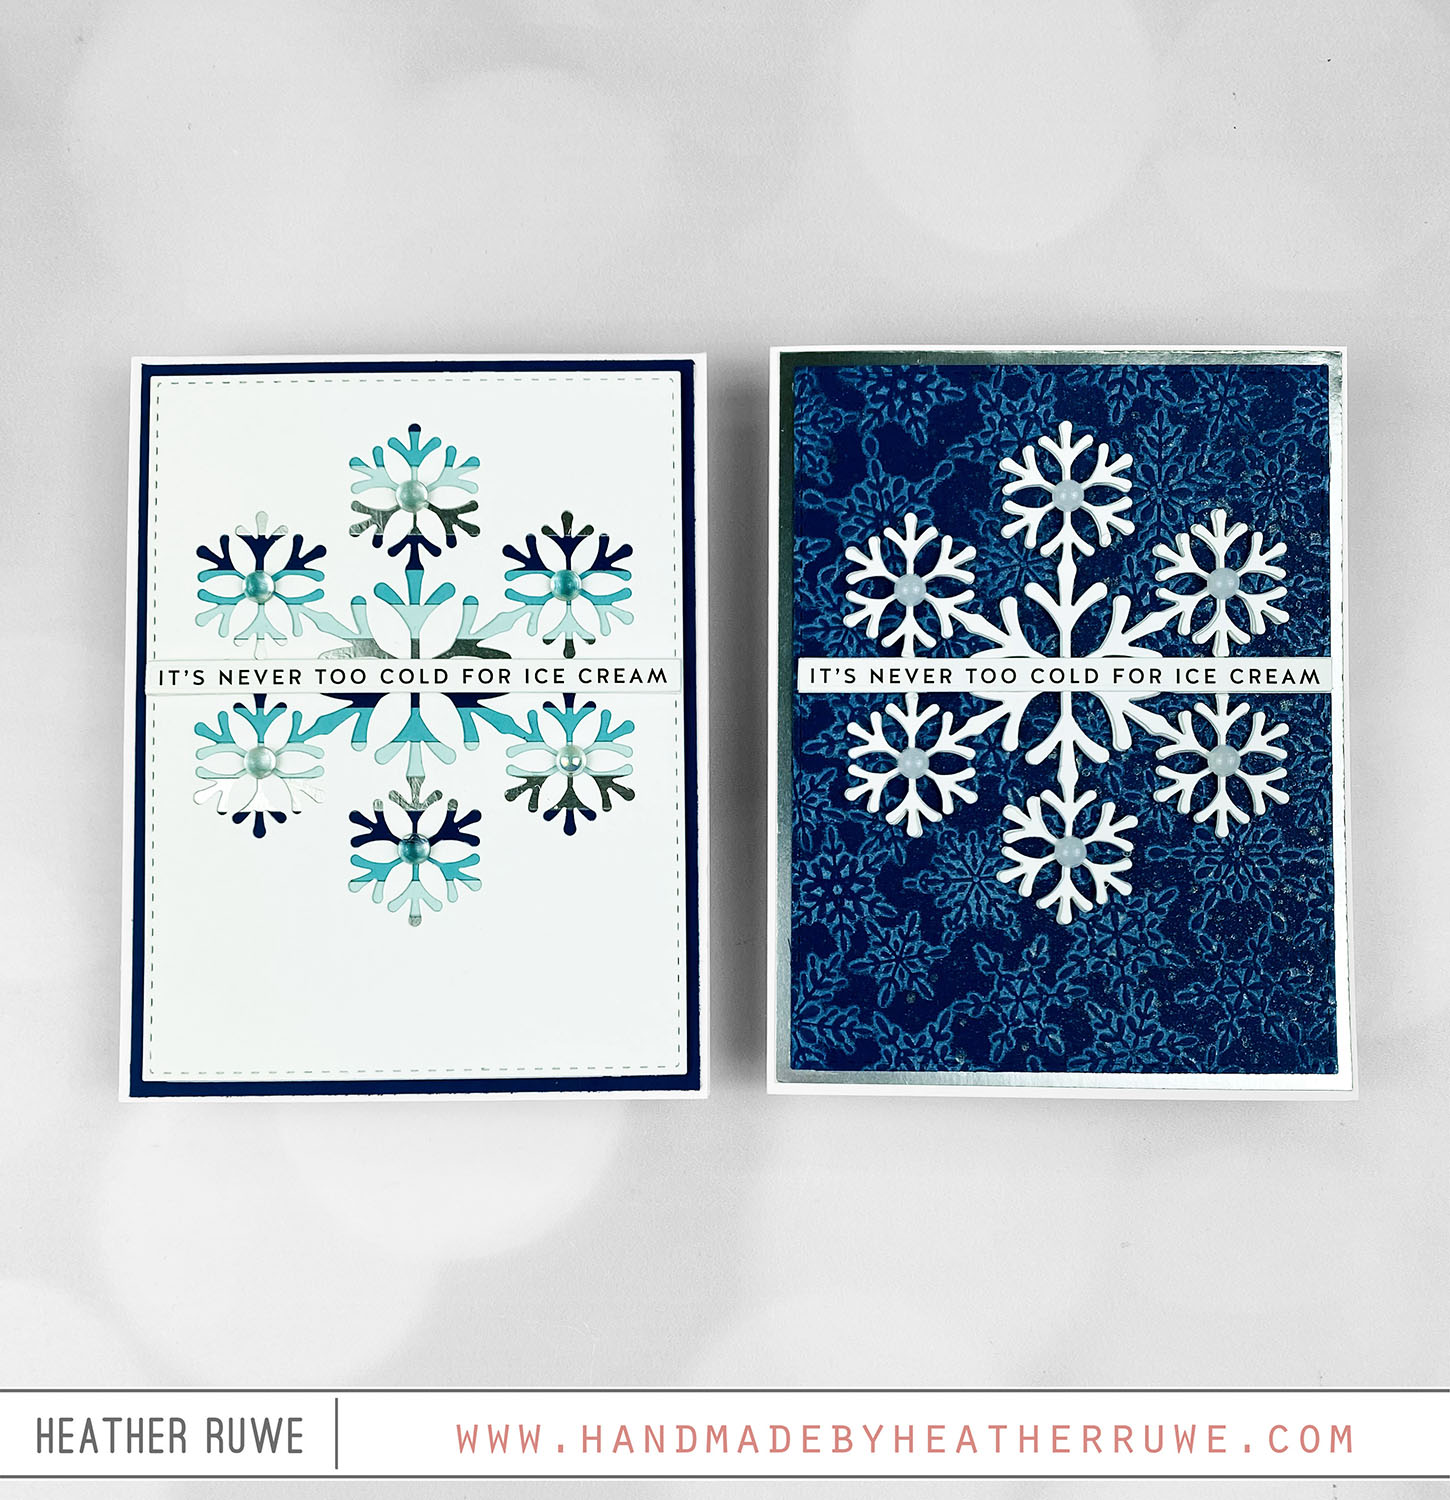
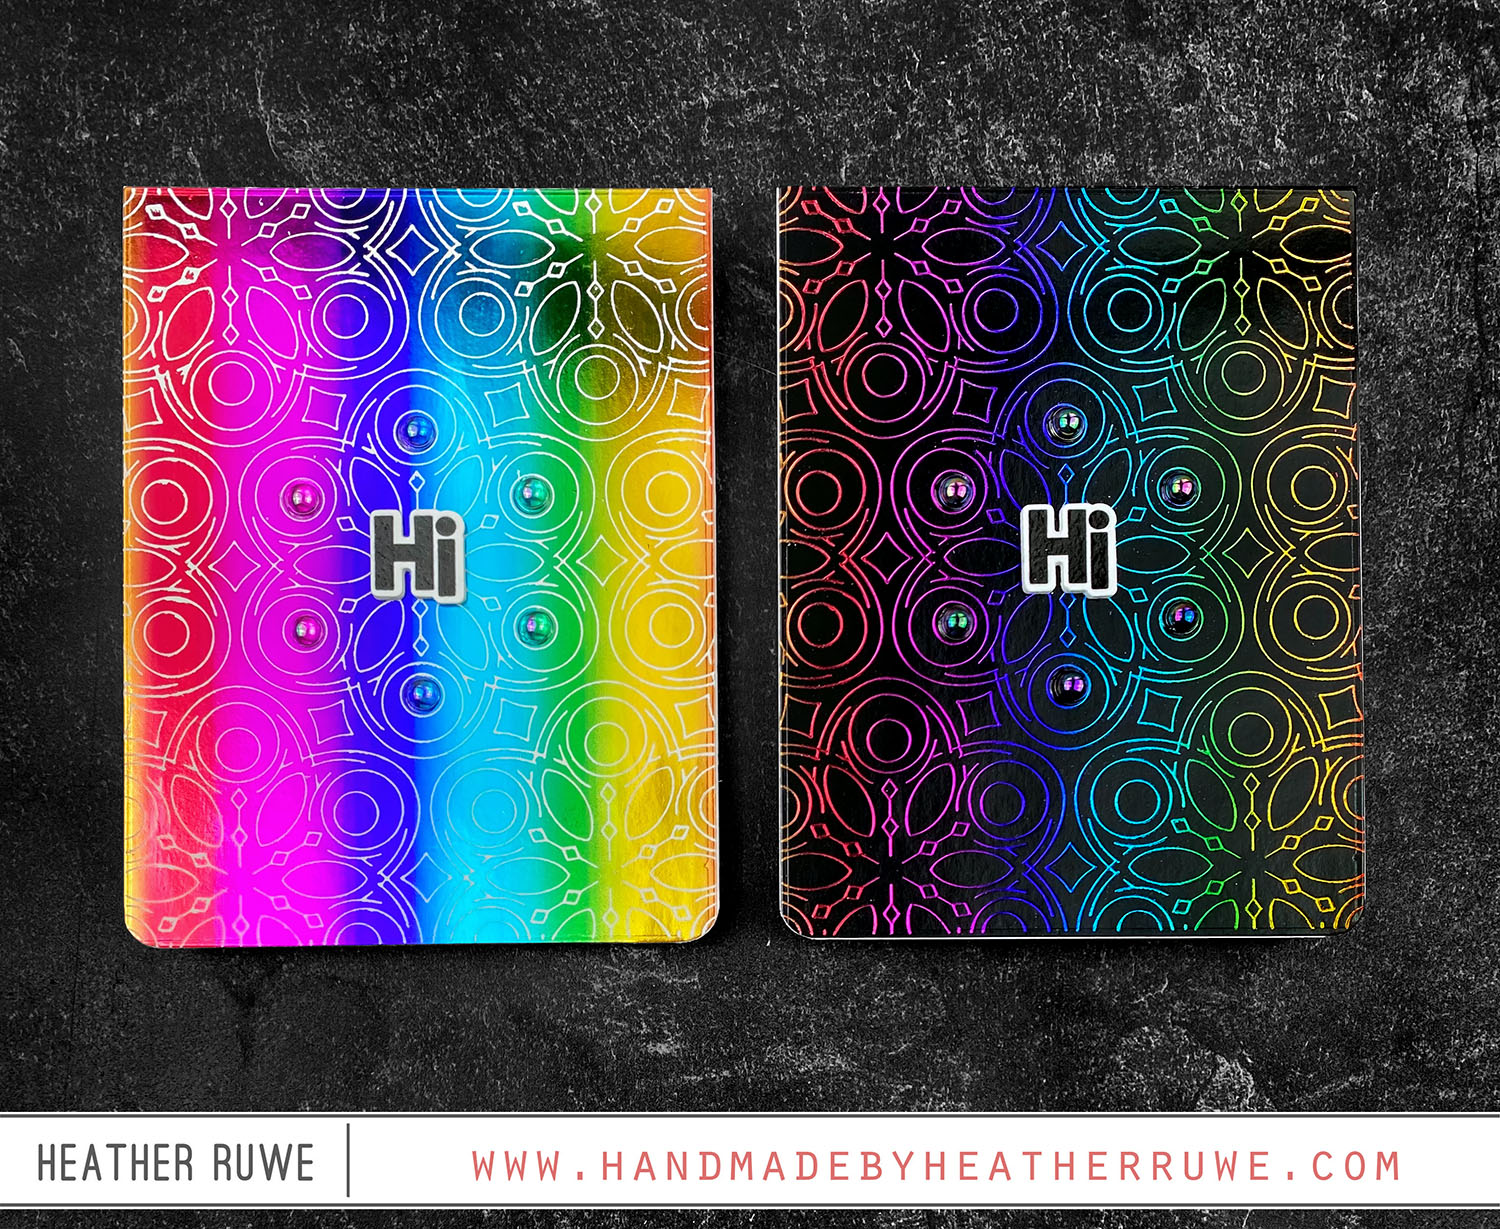
Howdy, crafty friends. Recently, I took THIS class from Online Card Classes and made a bunch of backgrounds. I put two of those backgrounds to use today. For the first card… I applied white ink to the smooth side of THIS embossing folder and embossed it on a piece of A2 navy cardstock. I spritzed it with THIS for some sparkle and shine and added a mat around it using THIS specialty paper. I...

Alcohol Ink Lift Technique

Hello, crafty friends. Happy New Year. I have two cards to share today that came from one Alcohol Lift technique. To create these cards, I started by applying blue alcohol ink to a piece of THIS Yupo paper. Once dry, I stamped it with THIS background stamp using THIS alcohol lift ink. After each stamping, I made sure to wipe in circular motions to intensify the image. I also stamped off the ink on...

Just a Note Release Blog Hop

Hello there, crafty friends. I’m thrilled to be part of THIS Blog Hop celebrating THIS new release. I have two teacher thank you cards to share today because I’m a big fan of teachers and want to have lots of them on hand for the upcoming school year… To create these cards, I applied ink through THESE layering stencils to create the background on each card. I used Distress Oxide inks on both. I...

Embossed Background Spotlight

Hello, crafty friends. I have two cards to share that spotlights an embossed background… For the first card… I die cut THIS flower die from four different colors of cardstock and adhered all the pieces together. I embossed THIS pattern on a piece of white cardstock and applied ink through THIS stencil in the center of the panel, highlighting a spot for the die cut to be adhered along with THIS die cut sentiment....

Shaped and Shaker Cards

Hi, crafty friends. I have two cards to share today that were so fun to create. One is a shaped card and one is a shaker card… For both cards, I applied six different colors of ink through THESE stencils to create a rainbow pattern. I like to start off with a 6×6 piece of white cardstock (the same size as the stencil). That way, I can cut out the section I want and...

Ink Blot Shop New Release (May 2023)

Hey, crafty friends. There is a new release HERE from the Ink Blot Shop and it is super cute. I used a couple of the new background stamps to create these cards… I love creating one background and getting two cards from it! For the first cards… I white heat embossed THIS new background stamp on white cardstock. I added a few shades of pink and red Distress Oxide inks to a piece of...

Ink Blending on Colored Cardstock

Hi there, crafty friends. Today’s cards features ink blending on colored cardstock… I always tend to reach for white cardstock when I ink blend so I thought I would switch it up and start with colored cardstock as the background. I find Distress Oxide inks work best for this. I started by applying Distress Oxide inks through THESE layering stencils, drying each layer in between. I chose Distress Oxide inks because they have a...

Kisses Release Blog Hop

Howdy, crafty friends. Today’s cards are part of THIS fun blog hop celebrating THIS new release… VIDEO You can watch the video on how I created these cards HERE or click on the video below… I started by die-cutting THIS heart chain die several times from colored cardstock. I chose to go with a rainbow pattern because that’s my jam, but you could use any colors you want. I think specialty cardstocks would be...

Kisses Release

Hi there, crafty friends. I have two cards today featuring new products from THIS new release… To create these cards, I started by stamping THIS background. To get a multi color stamping, I removed each layer of the background stamp before stamping. I love to use these peel apart background stamps because you can keep it connected and stamp the whole thing in one stamping or peel apart layers to get multiple colors. Since...

Rainbow Positive and Negative Hot Foiling

Hi, crafty friends. Today’s cards feature Positive and Negative Hot Foiling… I started by hot foiling THIS plate using THIS rainbow foil on a piece of THIS black glossy paper. I shared a video HERE explaining the hot foil process. I love the look of the rainbow foil on the black glossy card stock… I used the leftover, negative foil piece with THIS hot foil plate to create this card… I hot foiled the...