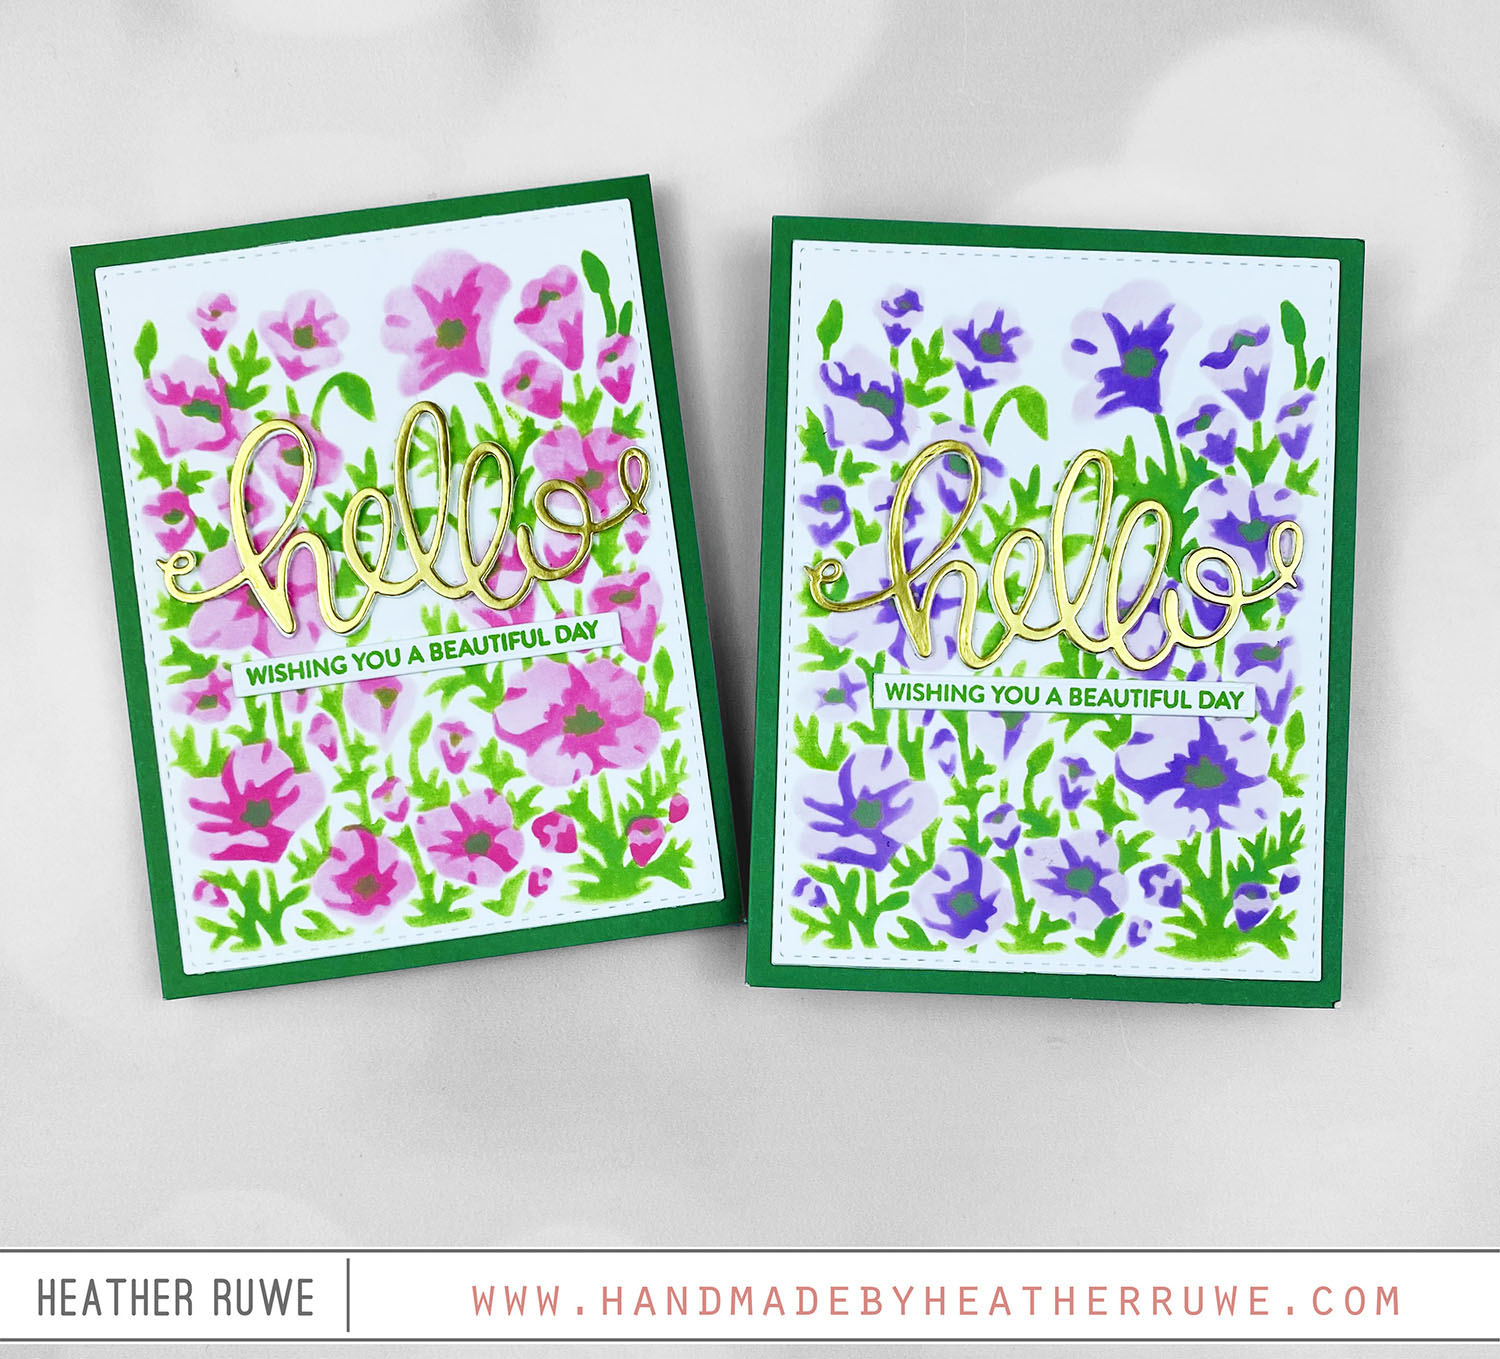
Hello there, crafty friends. Recently, I taught a card class for some of the teachers at Aiden’s school… …we had so much fun and I wanted to share the cards that we created. We made a total of four cards. For the first card… I started by covering the front of a 4bar card base with THIS patterned paper. Next, I stamped the images from THIS waffle stamp set and colored them with Copic...
Wild and Free Flowers Card Kit
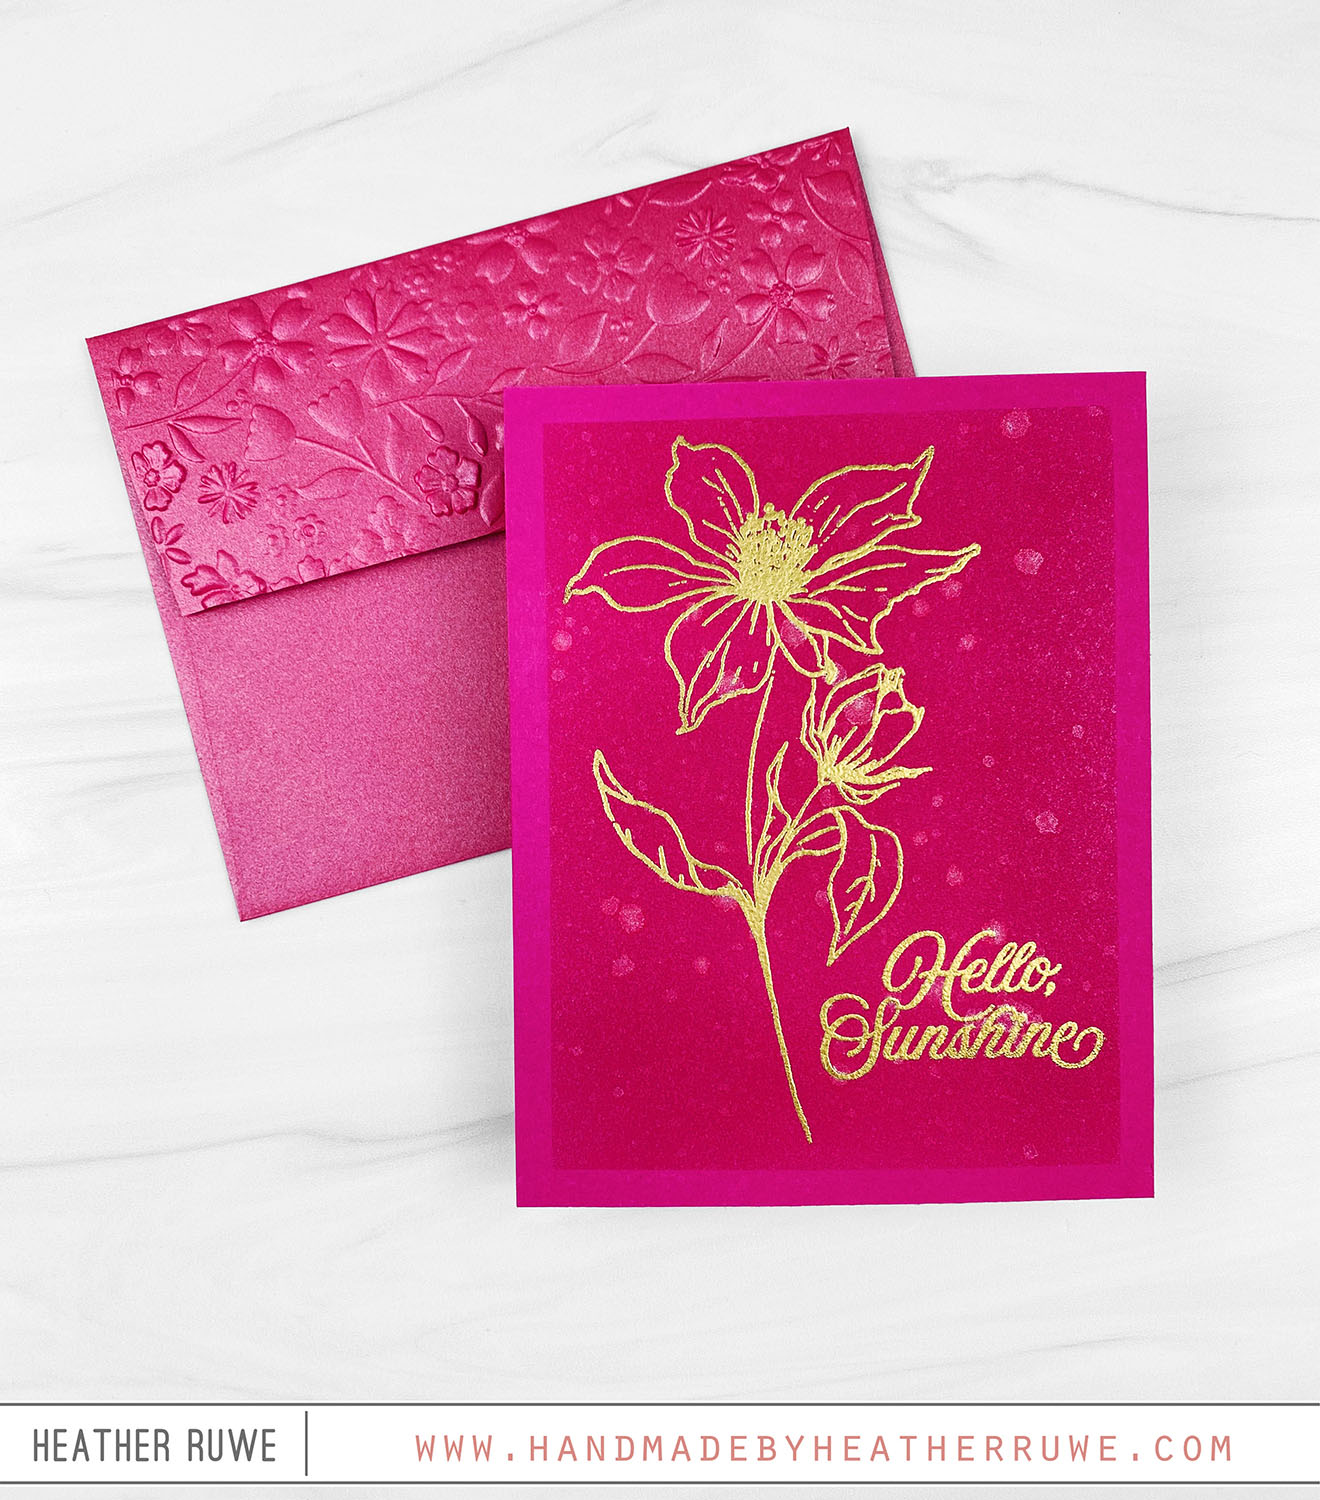
Hi there, crafty friends. Today’s card share features THIS new card kit from Simon Says Stamp…. To create this card, I started by gold heat embossing the flower image from THIS stamp set (which is included in the card kit) on to a piece of the kit’s pink cardstock. I masked off the edges of the panel with THIS masking paper and applied a darker pink ink in the center to create a focal...
Watercoloring with Karin Brushmarkers
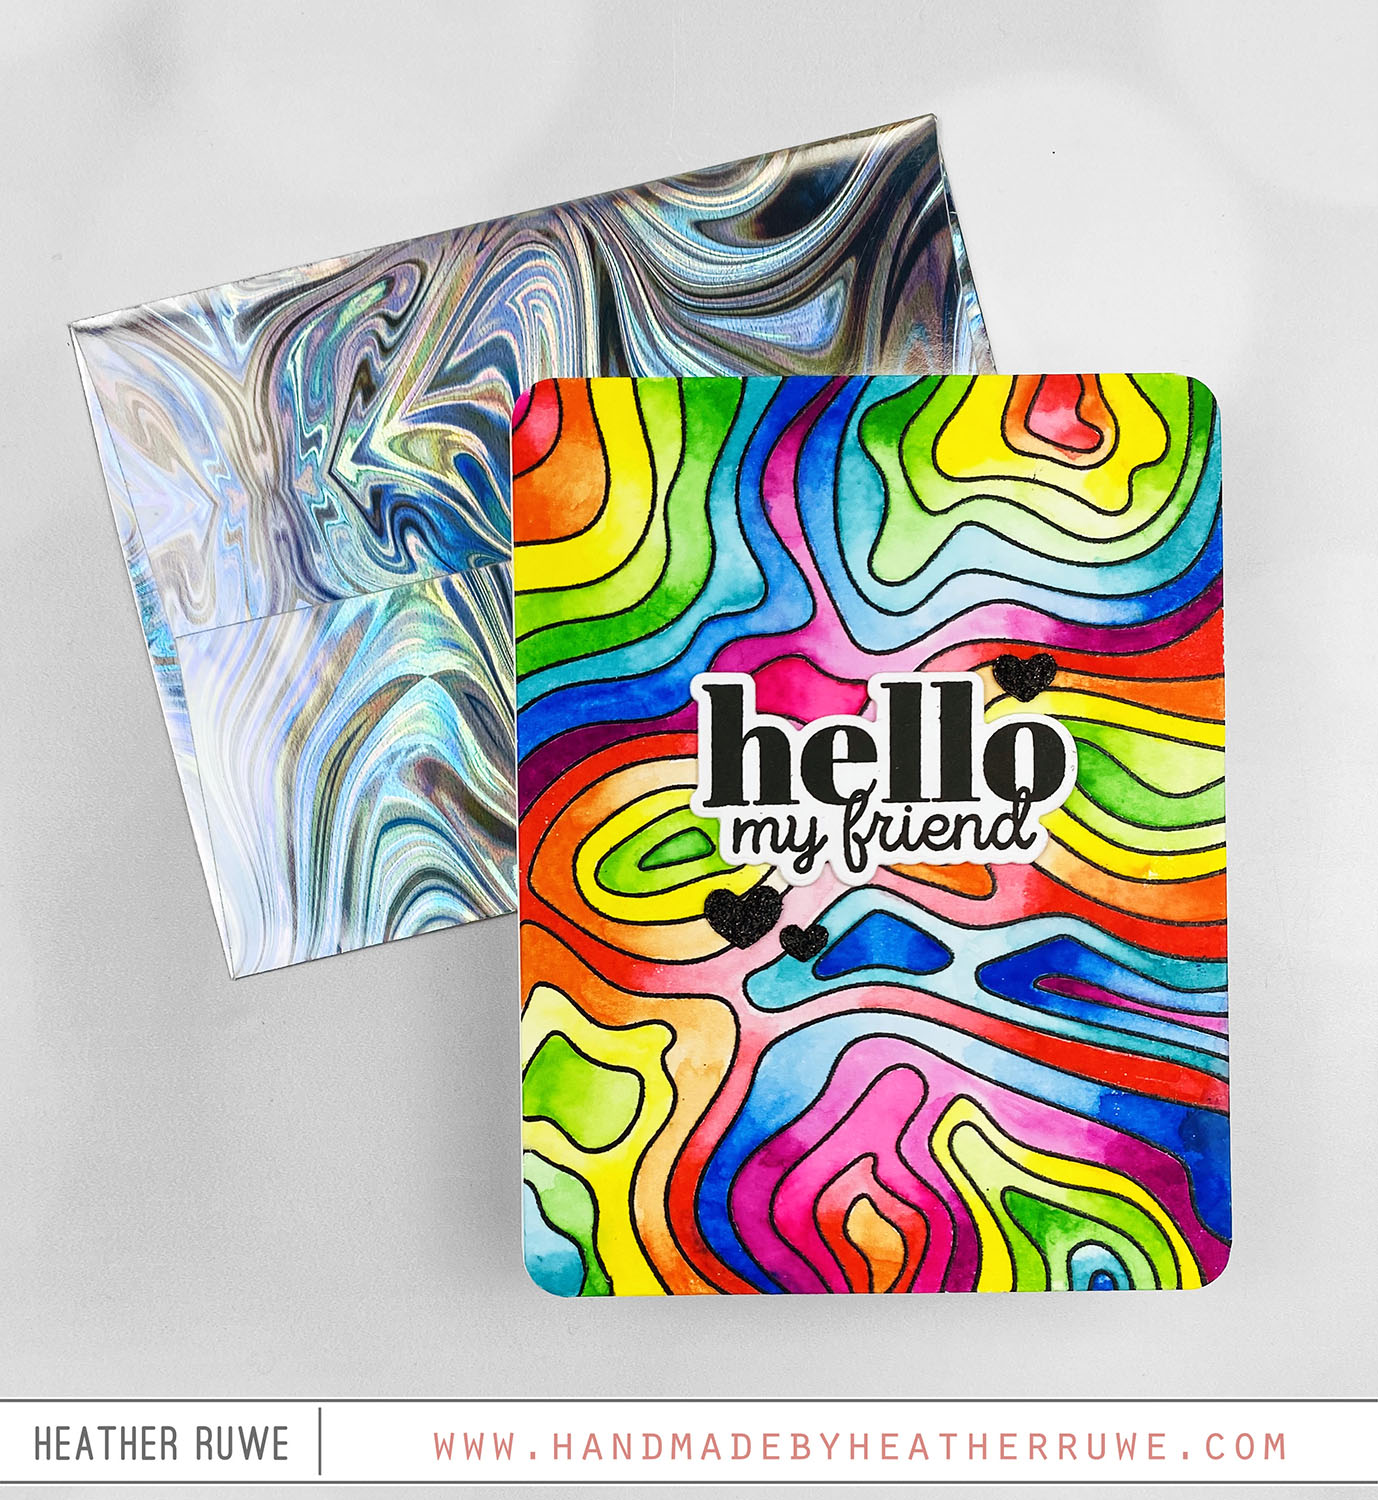
Howdy, crafty friends. I realized that I haven’t shared many watercolor projects lately so I thought I would break out my Karin Brushmarkers and color in THIS awesome background… To create this card, I started by stamping THIS background stamp using black pigment ink and then added clear heat embossing and heat set it. I added color to each corner of the pattern ring with THESE Karin Markers. I scribbled color on each side...
Plenty of Pumpkins Card
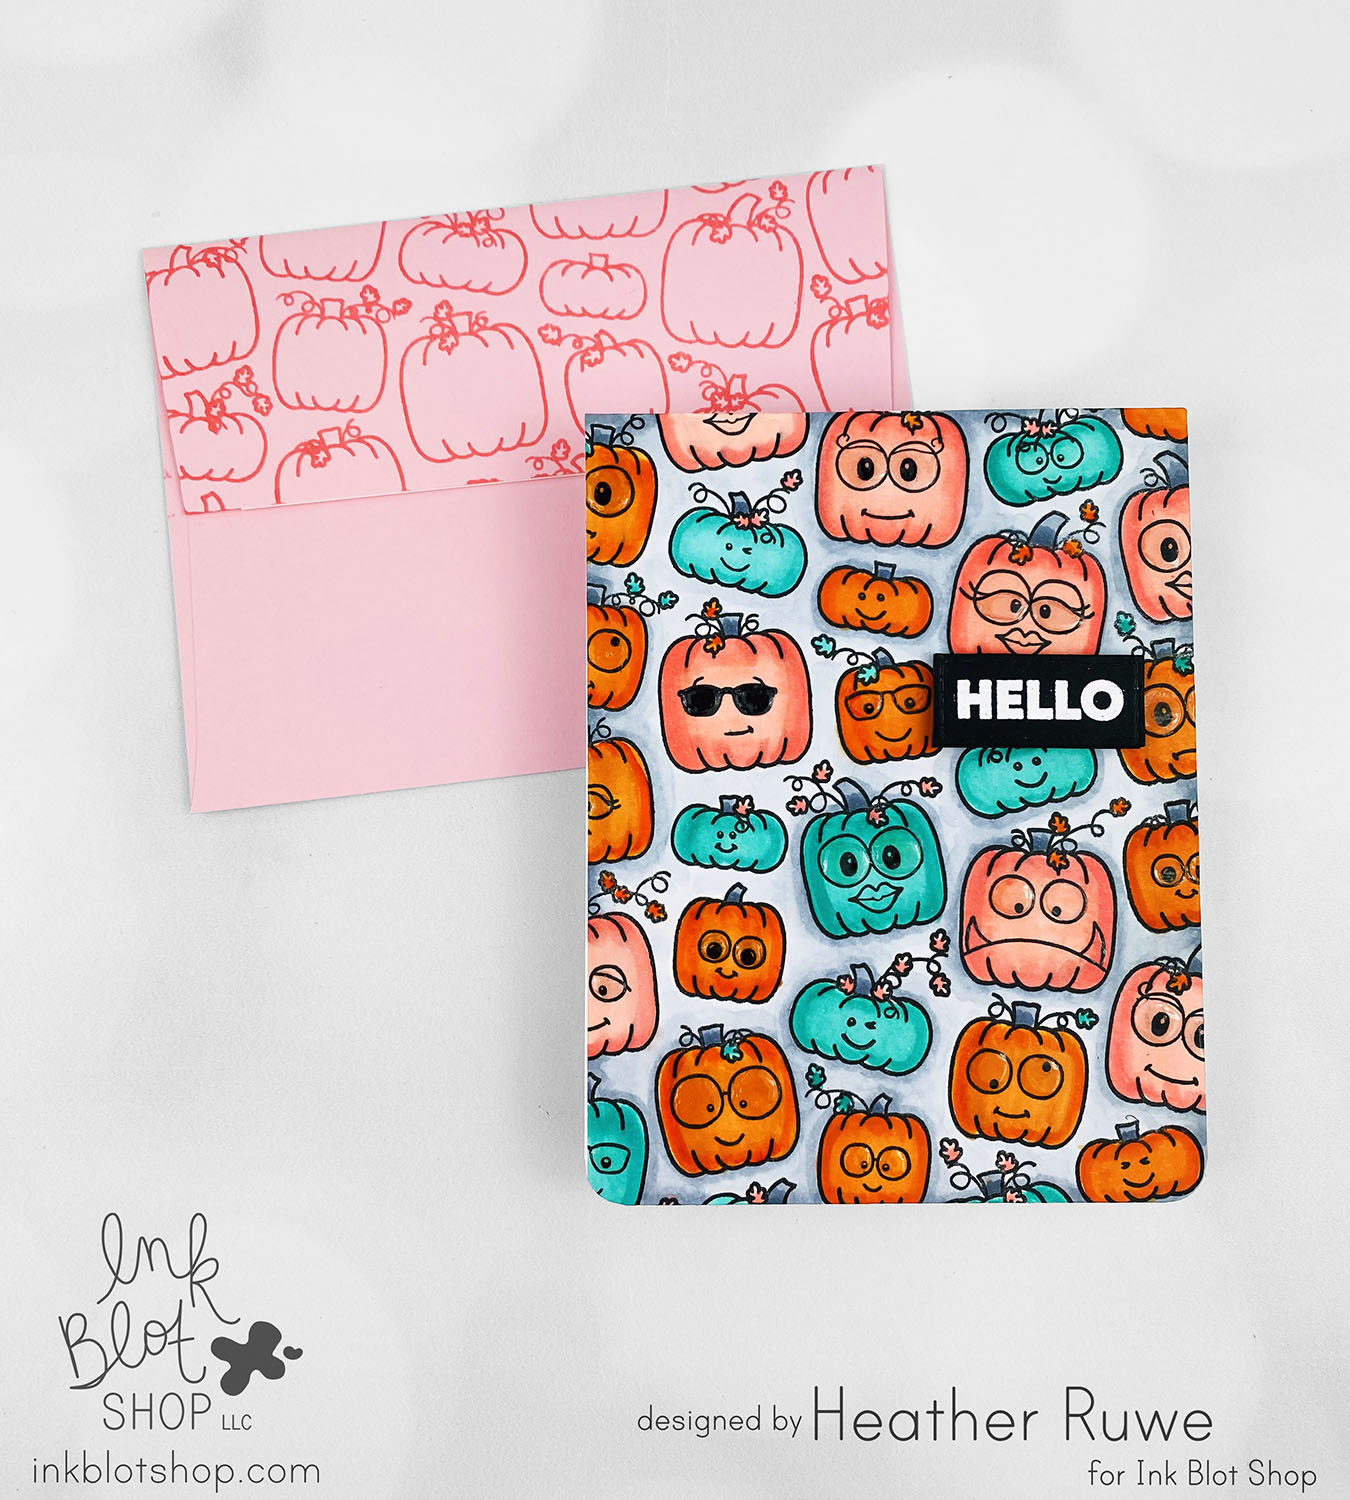
Hi, crafty friends. I have another card to share featuring THIS new release from the Ink Blot Shop… To create this card, I stamped THIS background stamp on a white A2 panel using black ink. I colored in the pumpkins with Copic Markers and stamped THESE faces on the pumpkins. I white heat embossed a sentiment from THIS stamp set and added THIS to the eyes. Here’s a closer look… I also stamped the...
Retro Wishes Card Kit
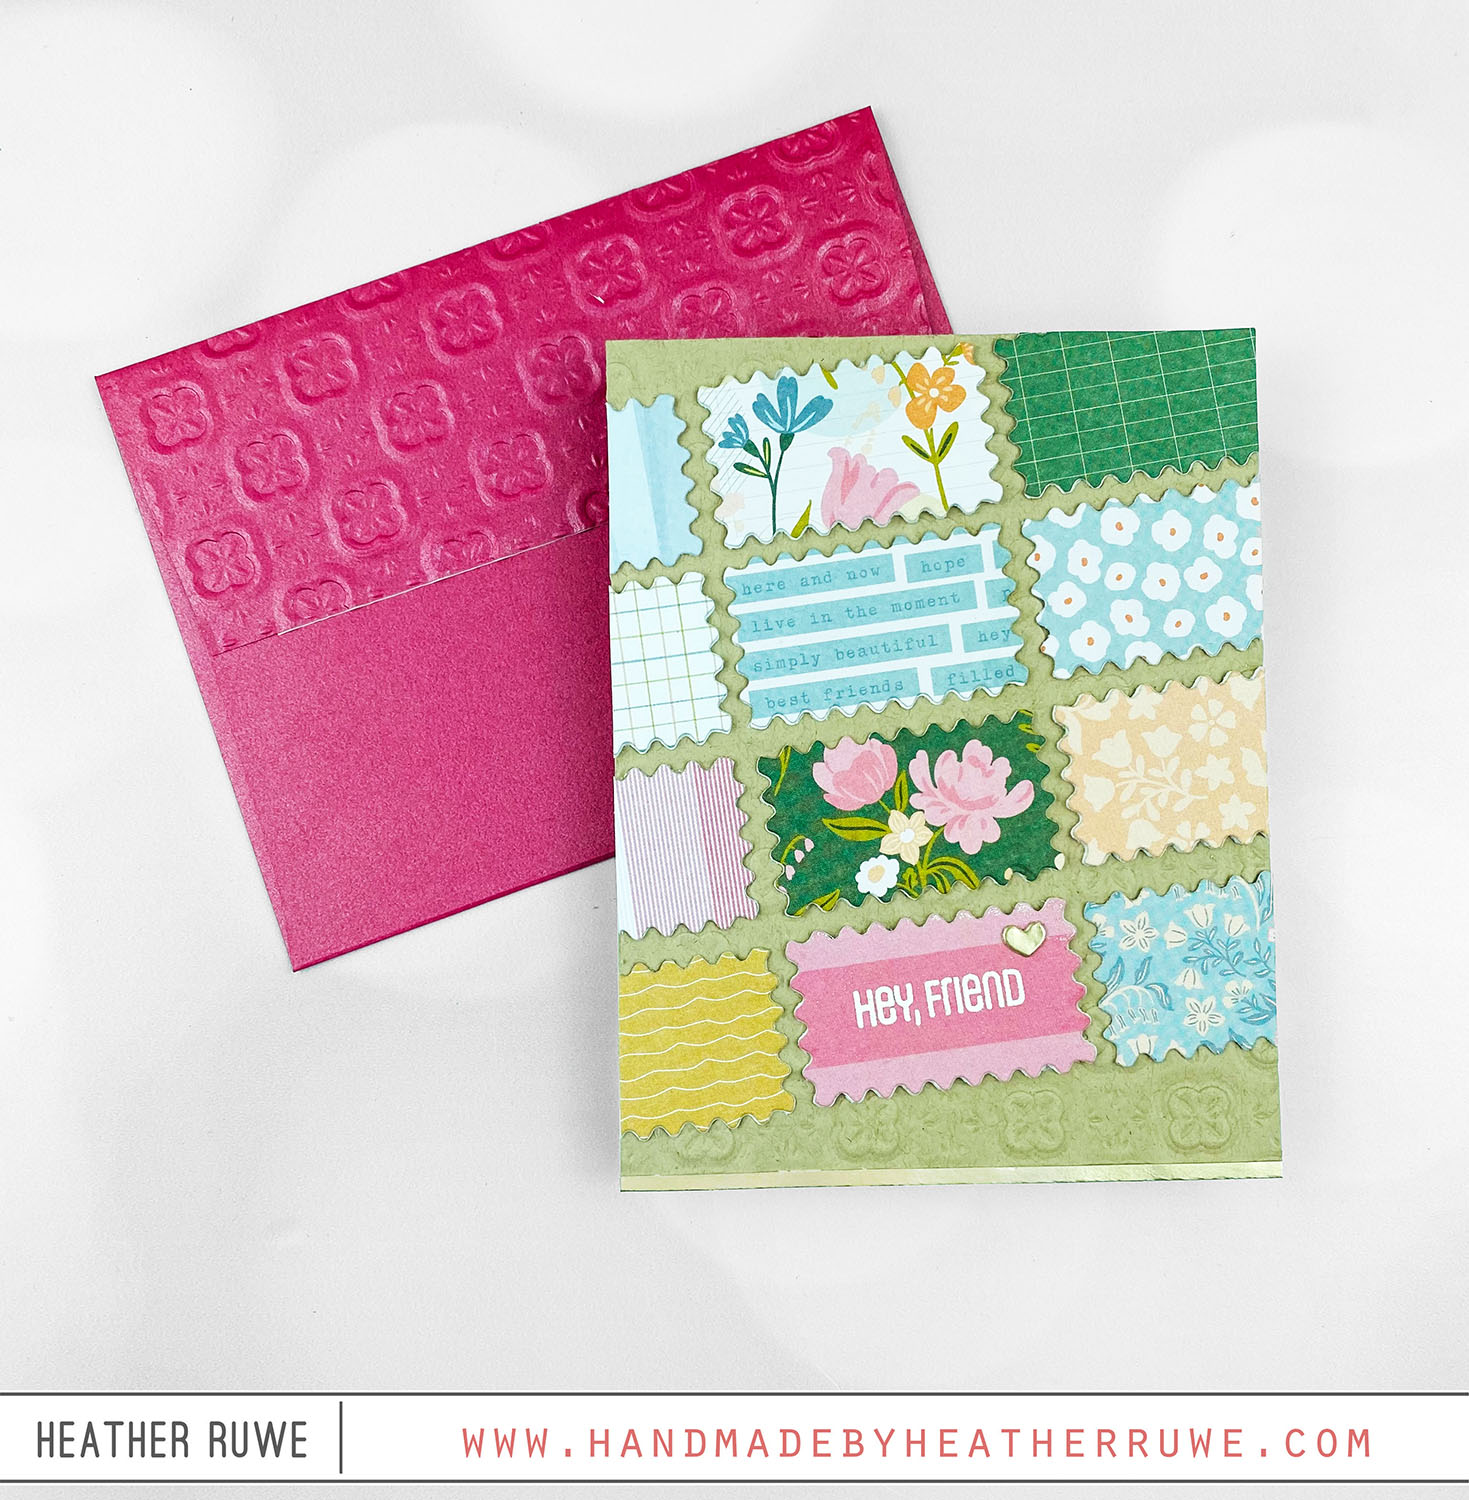
Hi, crafty friends. Today’s card features THIS new card kit from Simon Says Stamp… To create this card, I die cut many of the kit’s patterned papers using one of THESE dies. I white heat embossed a sentiment on one of the die cuts using the stamp set included in the kit. I adhered them at a diagonal to a kraft background that I embossed with the kit’s embossing folder. I die cut a...
Creating New Looks with Your Stamps
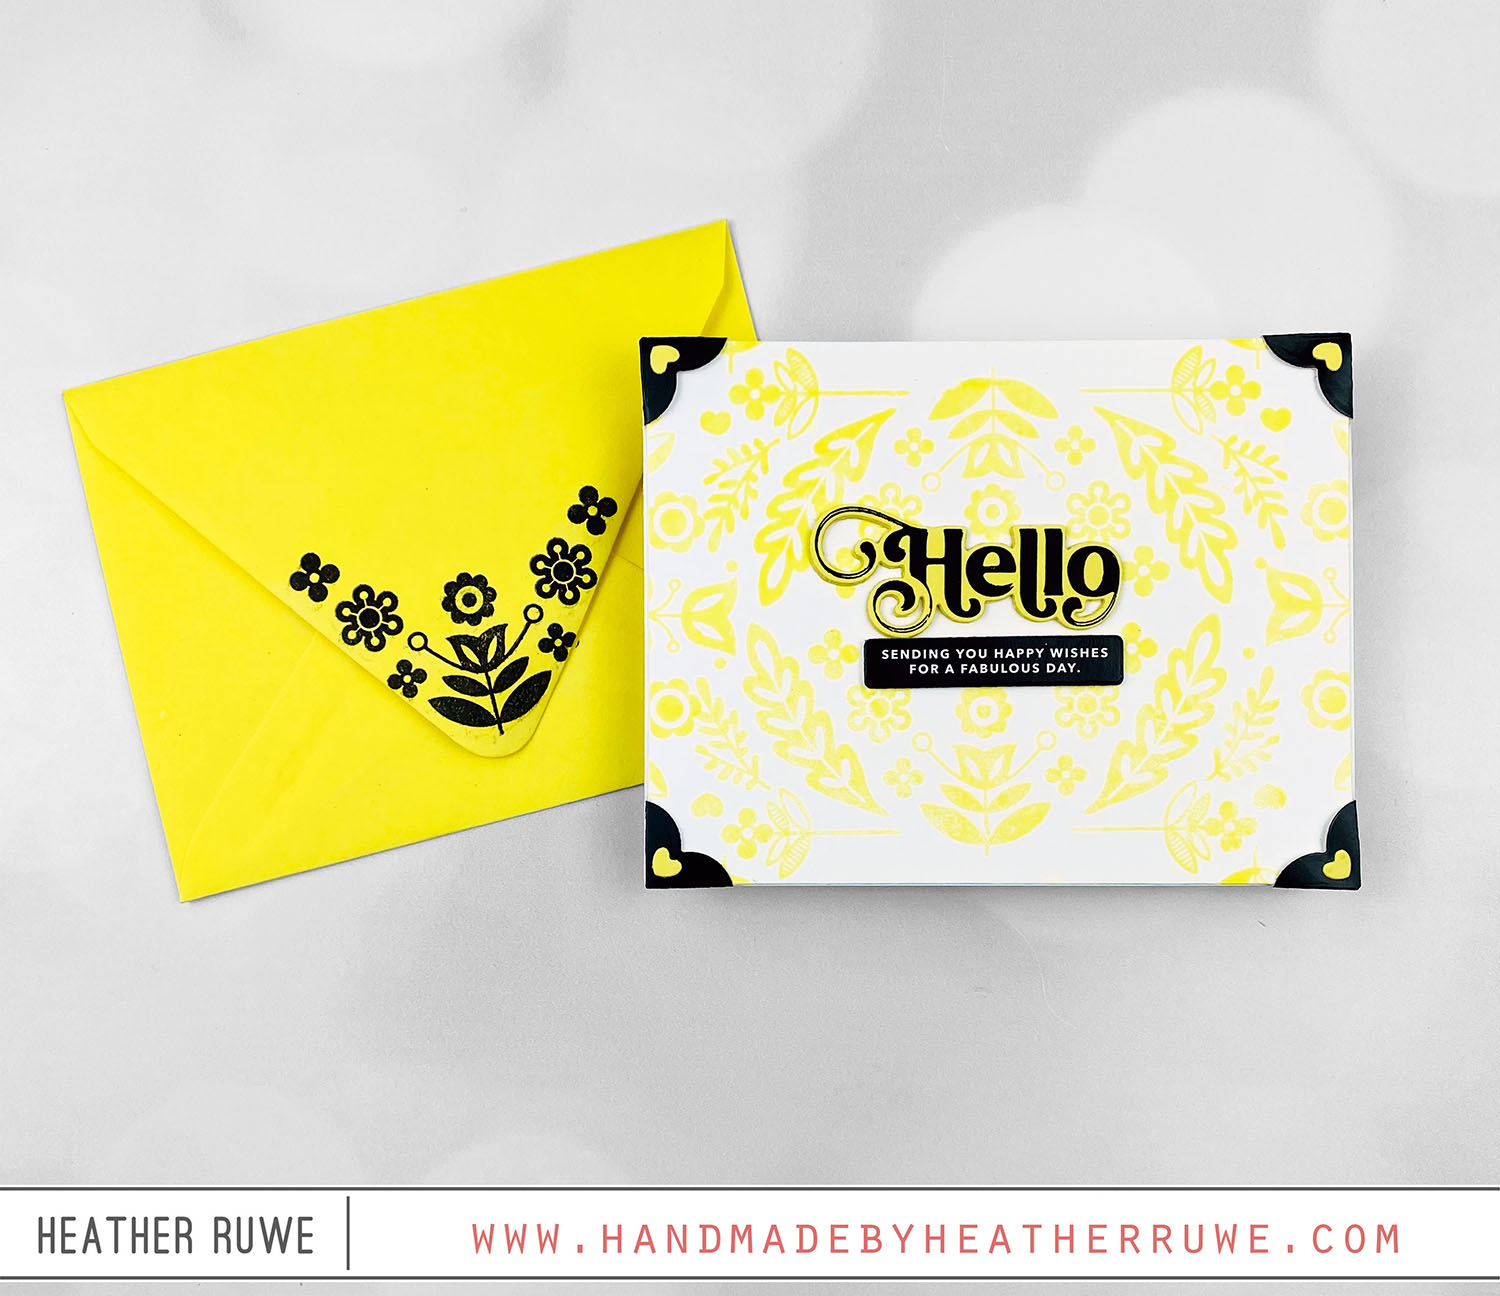
Hi, crafty friends. Today’s card is all about stretching your stamps to get a whole new look… To create this card, I stamped the top, half portion of THIS large stamp along the bottom of the card using yellow ink. Next, I flipped the card upside down and stamped the same portion of the stamp along the top of the card. I stamped the bottom of the stamp design along the left and right...
Embossed Background Spotlight
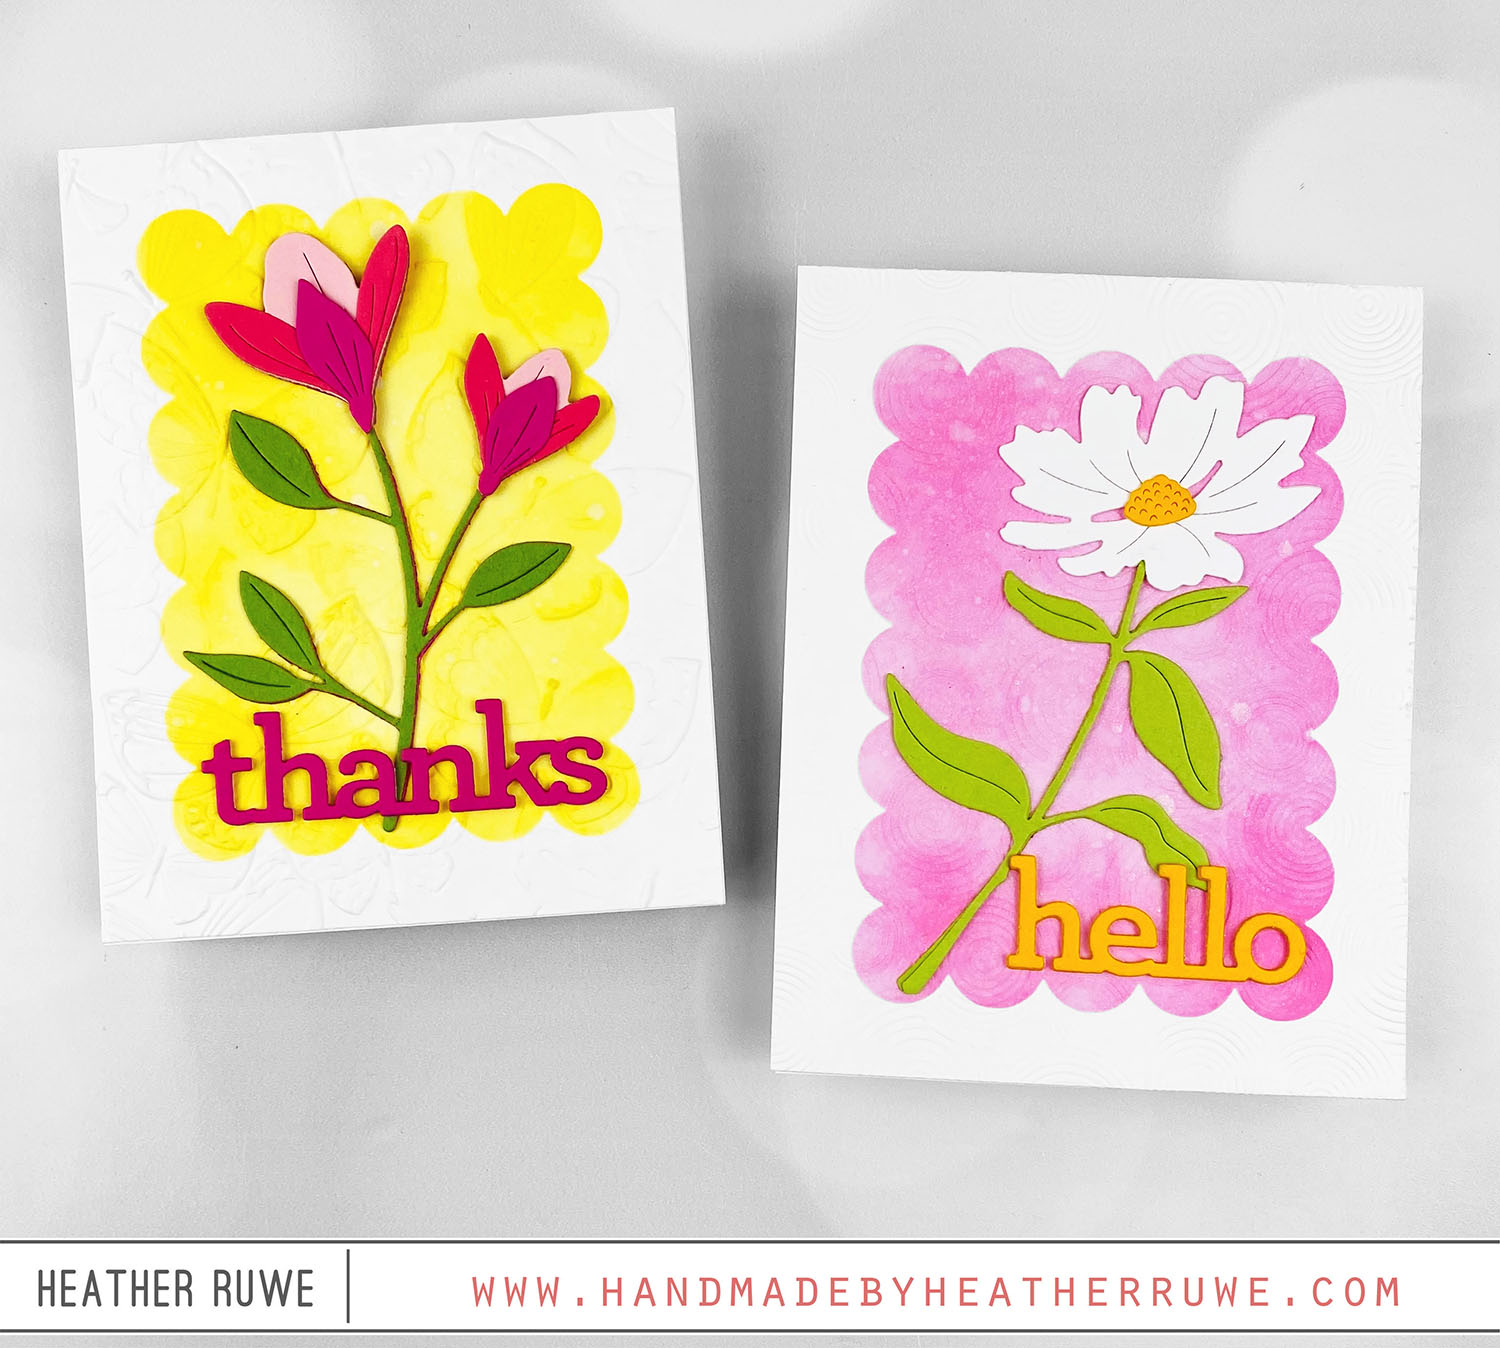
Hello, crafty friends. I have two cards to share that spotlights an embossed background… For the first card… I die cut THIS flower die from four different colors of cardstock and adhered all the pieces together. I embossed THIS pattern on a piece of white cardstock and applied ink through THIS stencil in the center of the panel, highlighting a spot for the die cut to be adhered along with THIS die cut sentiment....
Winging It Card
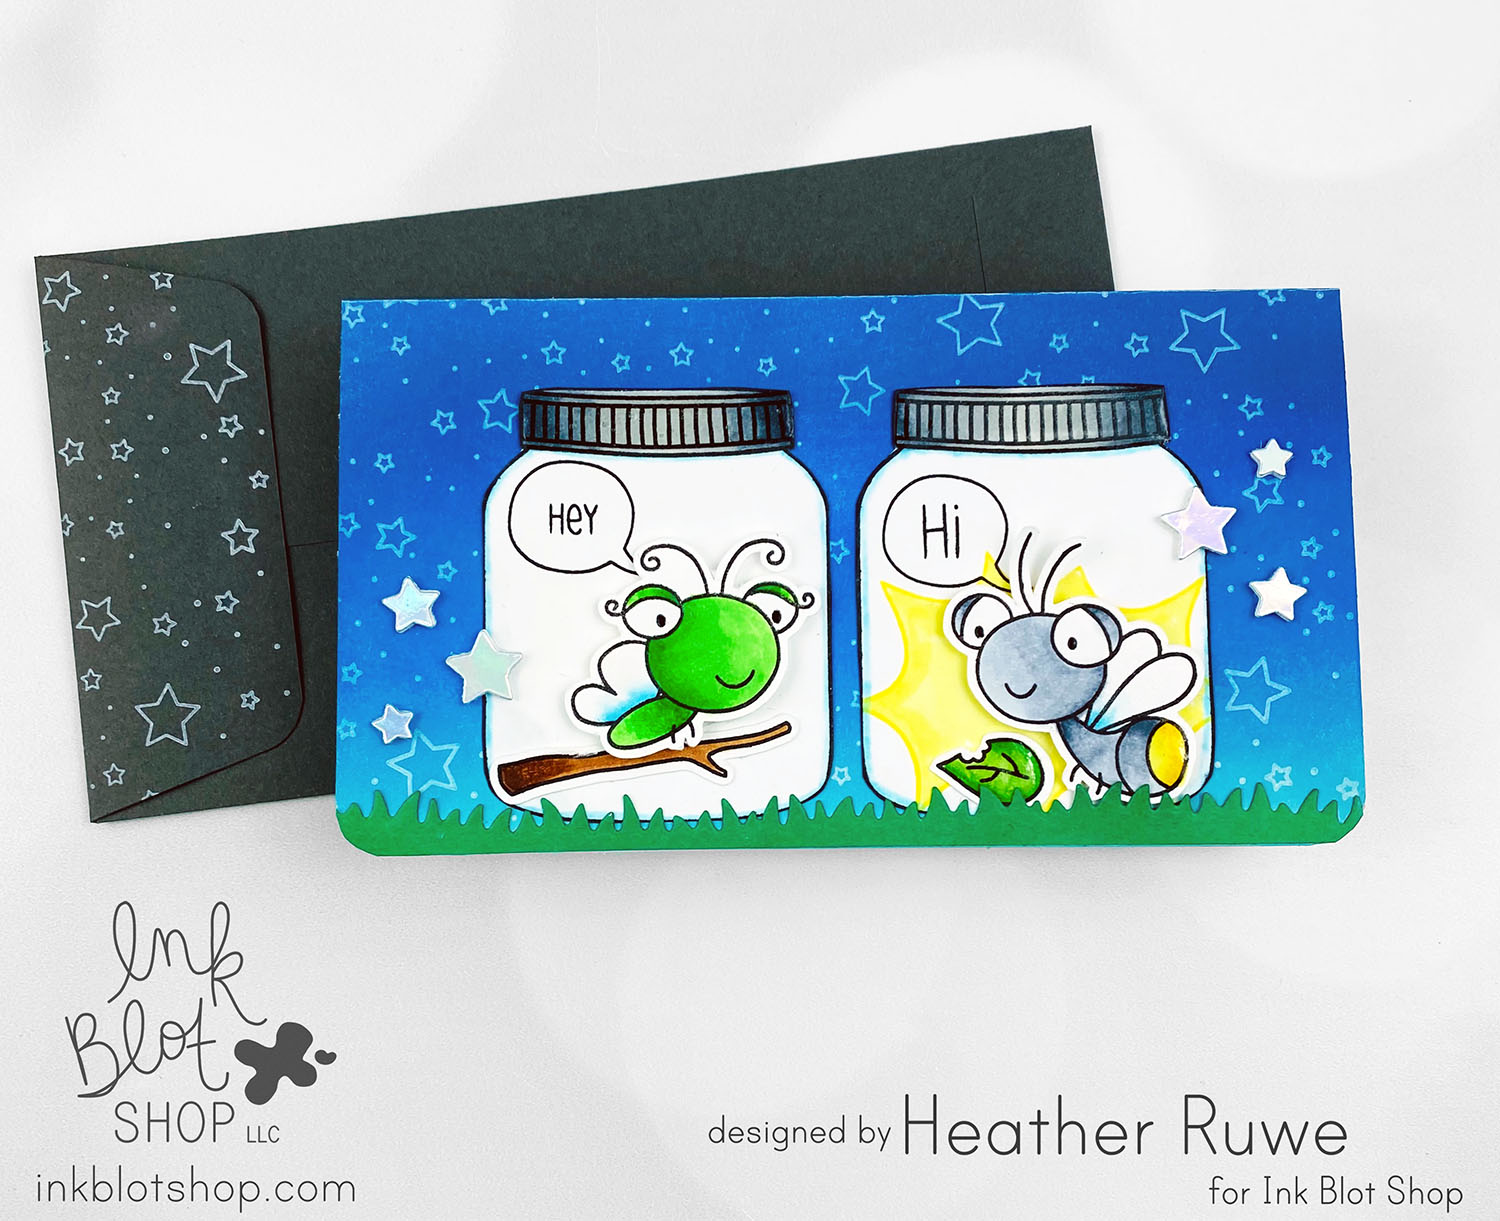
Howdy, crafty friends. I have a mini slimline scene card to share with you today… I started by ink blending the background using a few shades of Blue Distress Oxide ink. I stamped THIS background on top using white pigment ink. I stamped the images from THIS stamp set, Copic colored them, and cut them out. I stamped the light/glow image from THIS stamp set in one of the jar’s and colored it in....
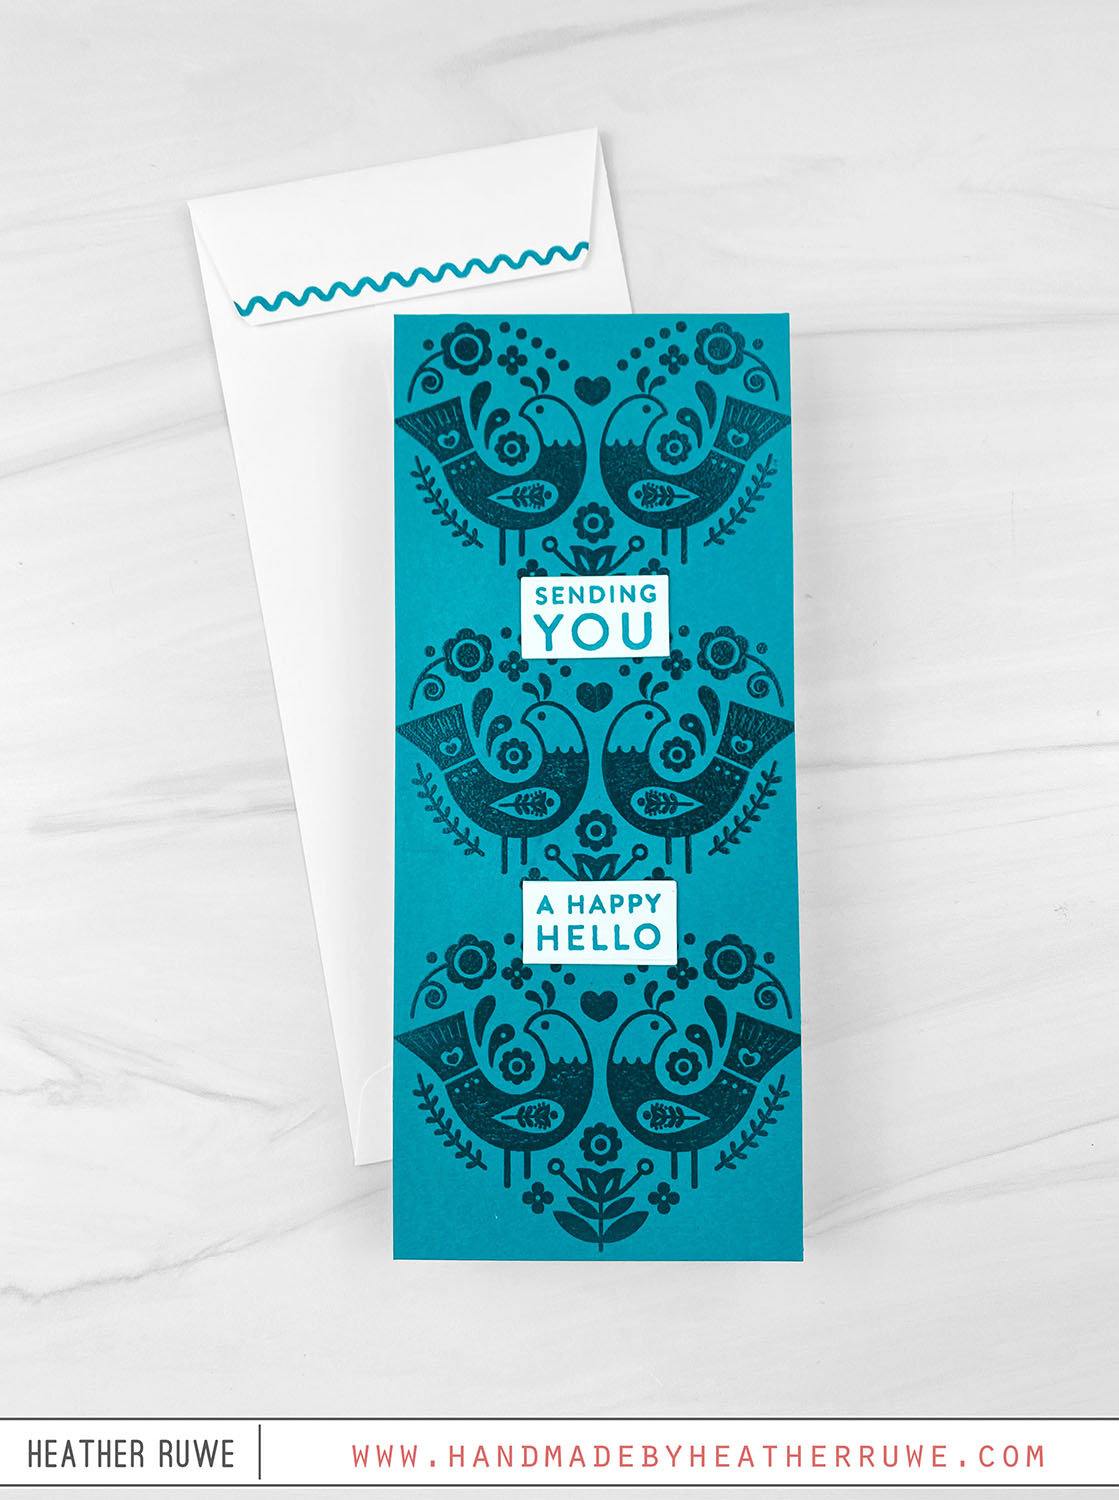
Happy Hello Card Kit
Hello there, crafty friends. Today’s card share features THIS new card kit form Simon Says Stamp. To create this card, I cut a slimline sized panel from a piece of the kit’s colored cardstock. I used the kit’s embossing glaze to emboss the main image from the kit’s stamp set. I just love the image so I embossed it three times down the panel. I cut apart the sentiment stamp in the stamp set...
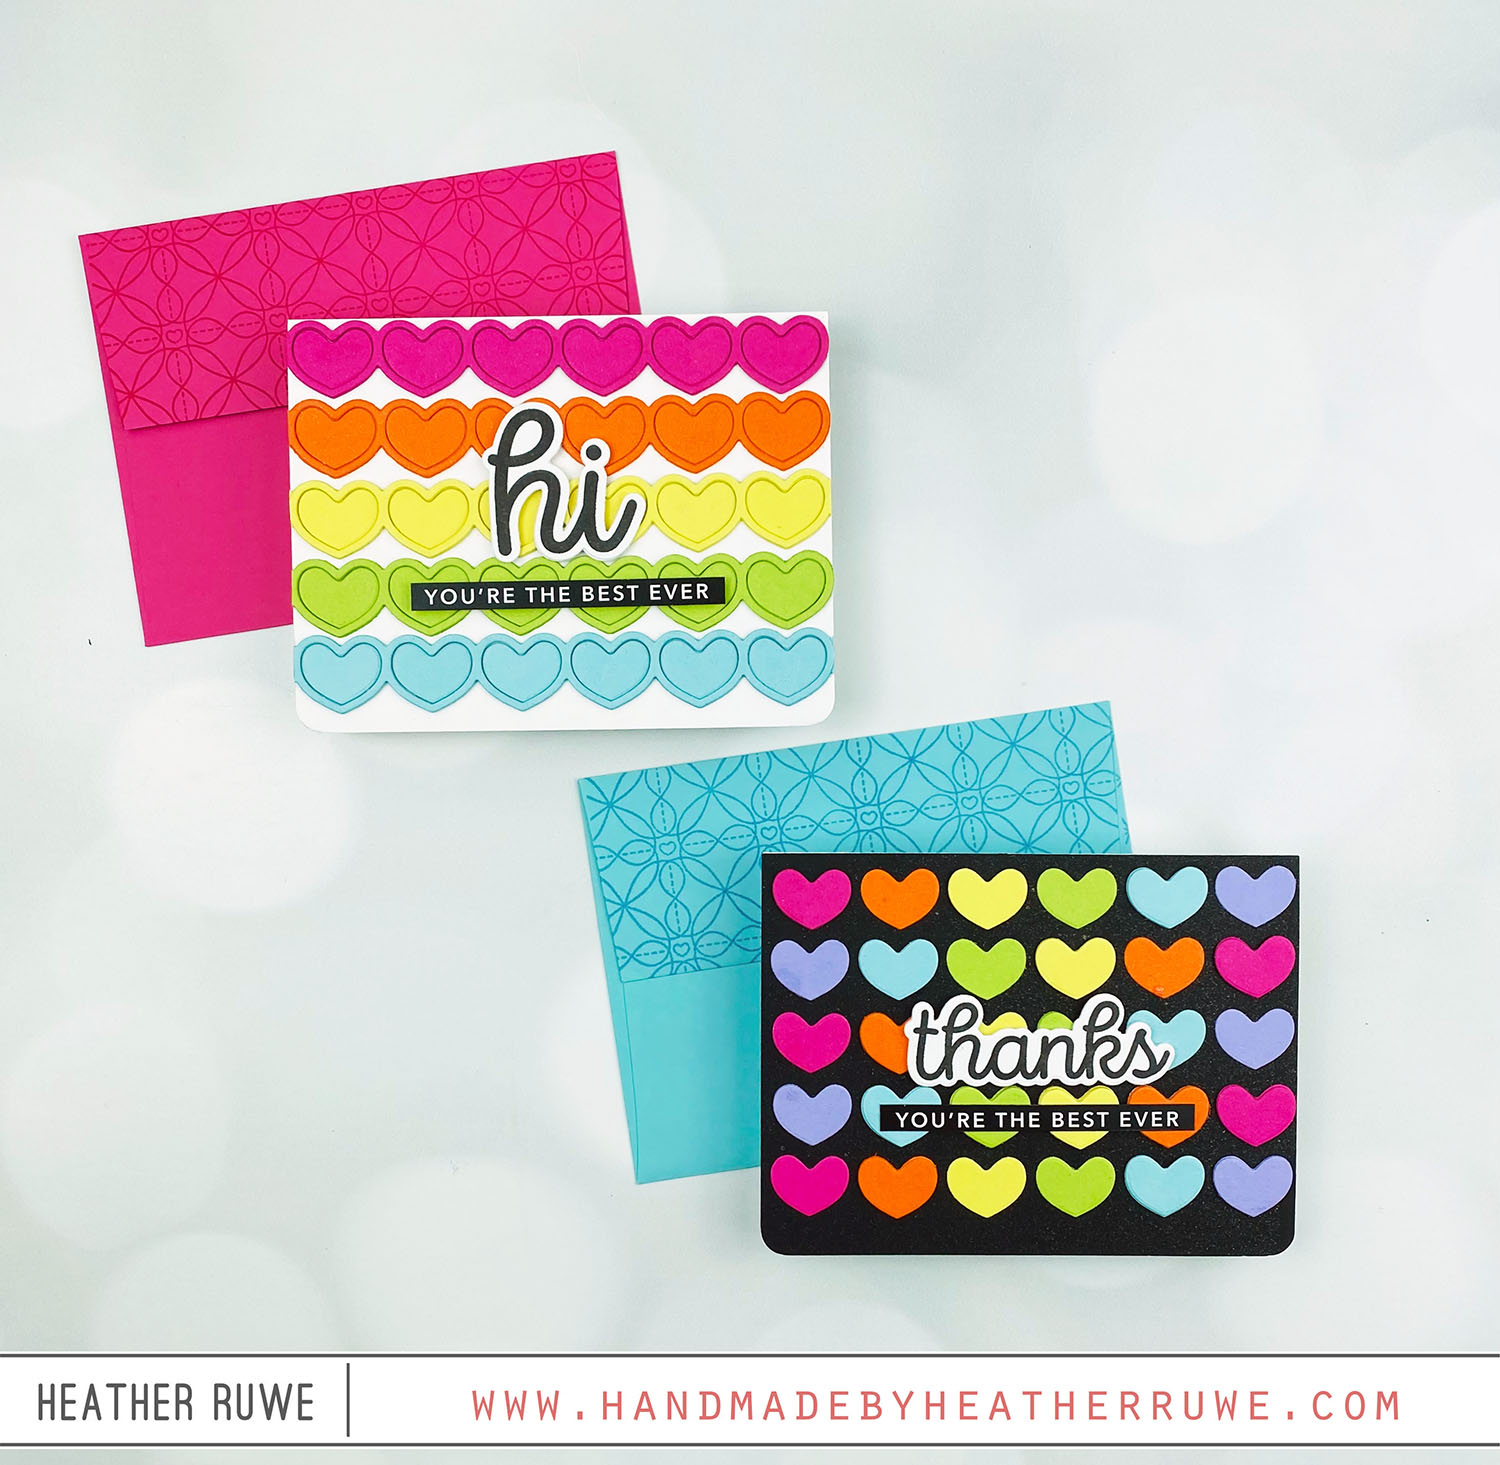
Kisses Release Blog Hop
Howdy, crafty friends. Today’s cards are part of THIS fun blog hop celebrating THIS new release… VIDEO You can watch the video on how I created these cards HERE or click on the video below… I started by die-cutting THIS heart chain die several times from colored cardstock. I chose to go with a rainbow pattern because that’s my jam, but you could use any colors you want. I think specialty cardstocks would be...

