Hi there, crafty friends. Today’s card features adding a stitched element to your card design… To create this card, I started by die cutting THIS bunny from cream cardstock and cream, pink, and black felt. I laid the felt piece on top of the cardstock piece and stitched all the way around the bunny. I added the cardstock behind the felt to give it more stability. I used glossy accents to adhere down the...
Heart to Heart Release Blog Hop-Day 2
Hi there, crafty friends. Today’s card is part of THIS Blog Hop featuring THIS new release from Simon Says Stamp… To create this card, I started by stamping THESE snowflakes on a piece of A2 white cardstock panel using blue and pink ink. I die cut the center of the panel with THIS stitched heart. I adhered all of the pieces in place on a side folding note card. I die cut THIS snowman...
Heart to Heart Release
Hi, crafty friends. Today’s card features THIS new release from Simon Says Stamp. I used my favorite product from the release. I’m loving THIS die… To create this card, I started by embossing a piece of pink cardstock with THIS embossing folder. I die cut a piece of black glossy cardstock with THIS stitched rectangle die. I die cut THIS die from colored cardstock. For the blue icing, I covered the piece with VersaMark...
Captured Joy Card Kit
Hi there, crafty friends. Today’s card features THIS card kit from Simon Says Stamp… To create this card, I die cut the patterned papers from the kit. I used THIS and THIS die to create the background. I stamped the polaroid image from the kit’s stamp set and placed a photo of me and my friend behind the opening. I stamped a sentiment from the same stamp set and used the coordinating dies (included...
Favorite Things Release
Hi there, crafty friends. Today’s cards feature THIS new release from Simon Says Stamp… To create these cards, I die cut THIS and THIS die from white and the pieces from colored cardstock. The main die creates lines to show exactly where to adhere the pieces. I created one with warm colors and the other with cool colors. I adhered them on gray cardstock panels that were trimmed slightly smaller than the card base....
Clearly Besotted STAMPtember 2024 Collaboration
Hello, crafty friends. Today’s card features THIS STAMPtember Collaboration stamp set from Clearly Besotted… To create this card, I started stamping the images from THIS stamp set, colored them with Copic Markers, and used THESE coordinating dies to cut them out. For the background, I applied ink through THIS rectangle mask. I applied green ink at the bottom to resemble grass and blue towards the top to resemble the sky. I stamped a coordinating...
Art Impressions STAMPtember 2024 Collaboration
Happy STAMPtember, crafty friends! It’s time to reveal the first collaboration STAMPtember stamp set… My card today features THIS set by Art Impressions… To create this card, I started by stamping the main image and sentiment from THIS collaboration stamp set on one of THESE arch die cuts. I colored it in with Copic Makers and added THIS to some of the donut tops for some shine. I cut one of THESE frames from...
Be Bold Release Blog Hop
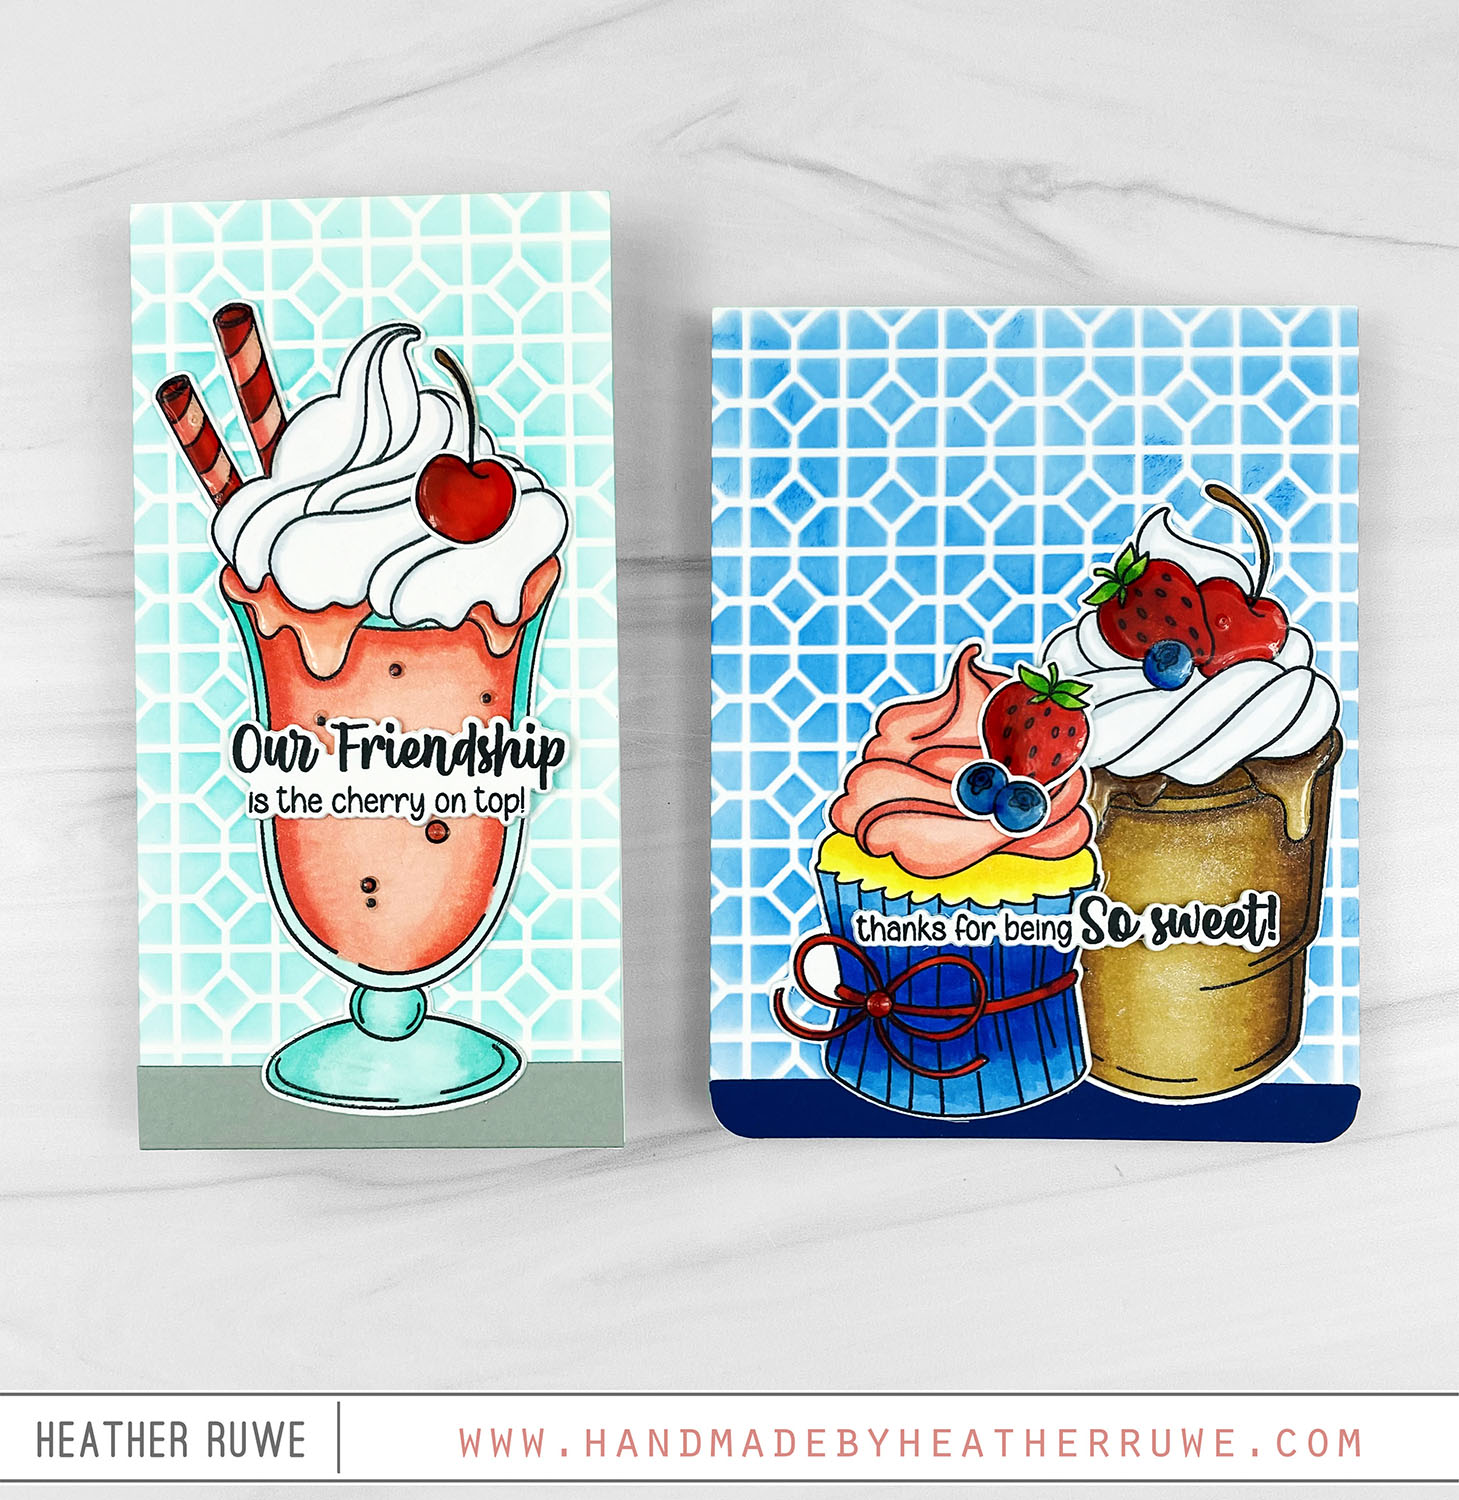
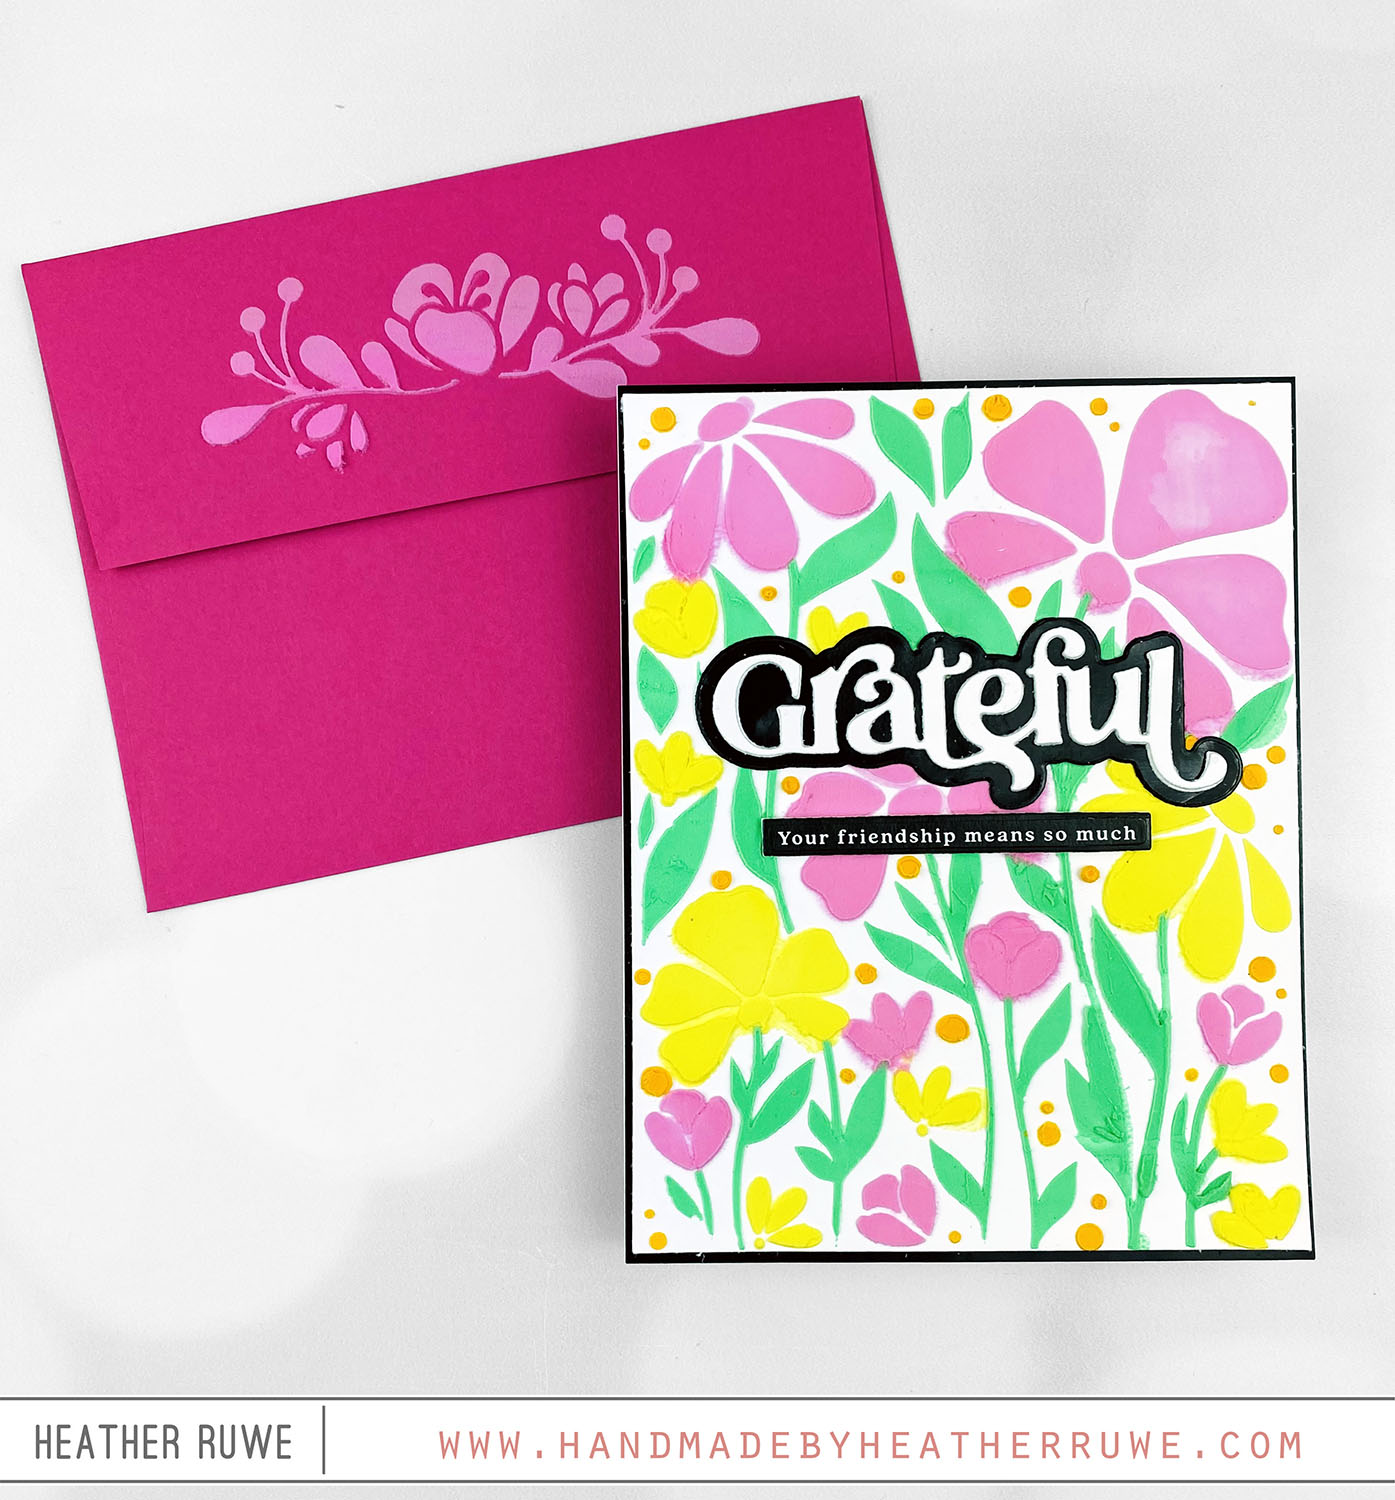
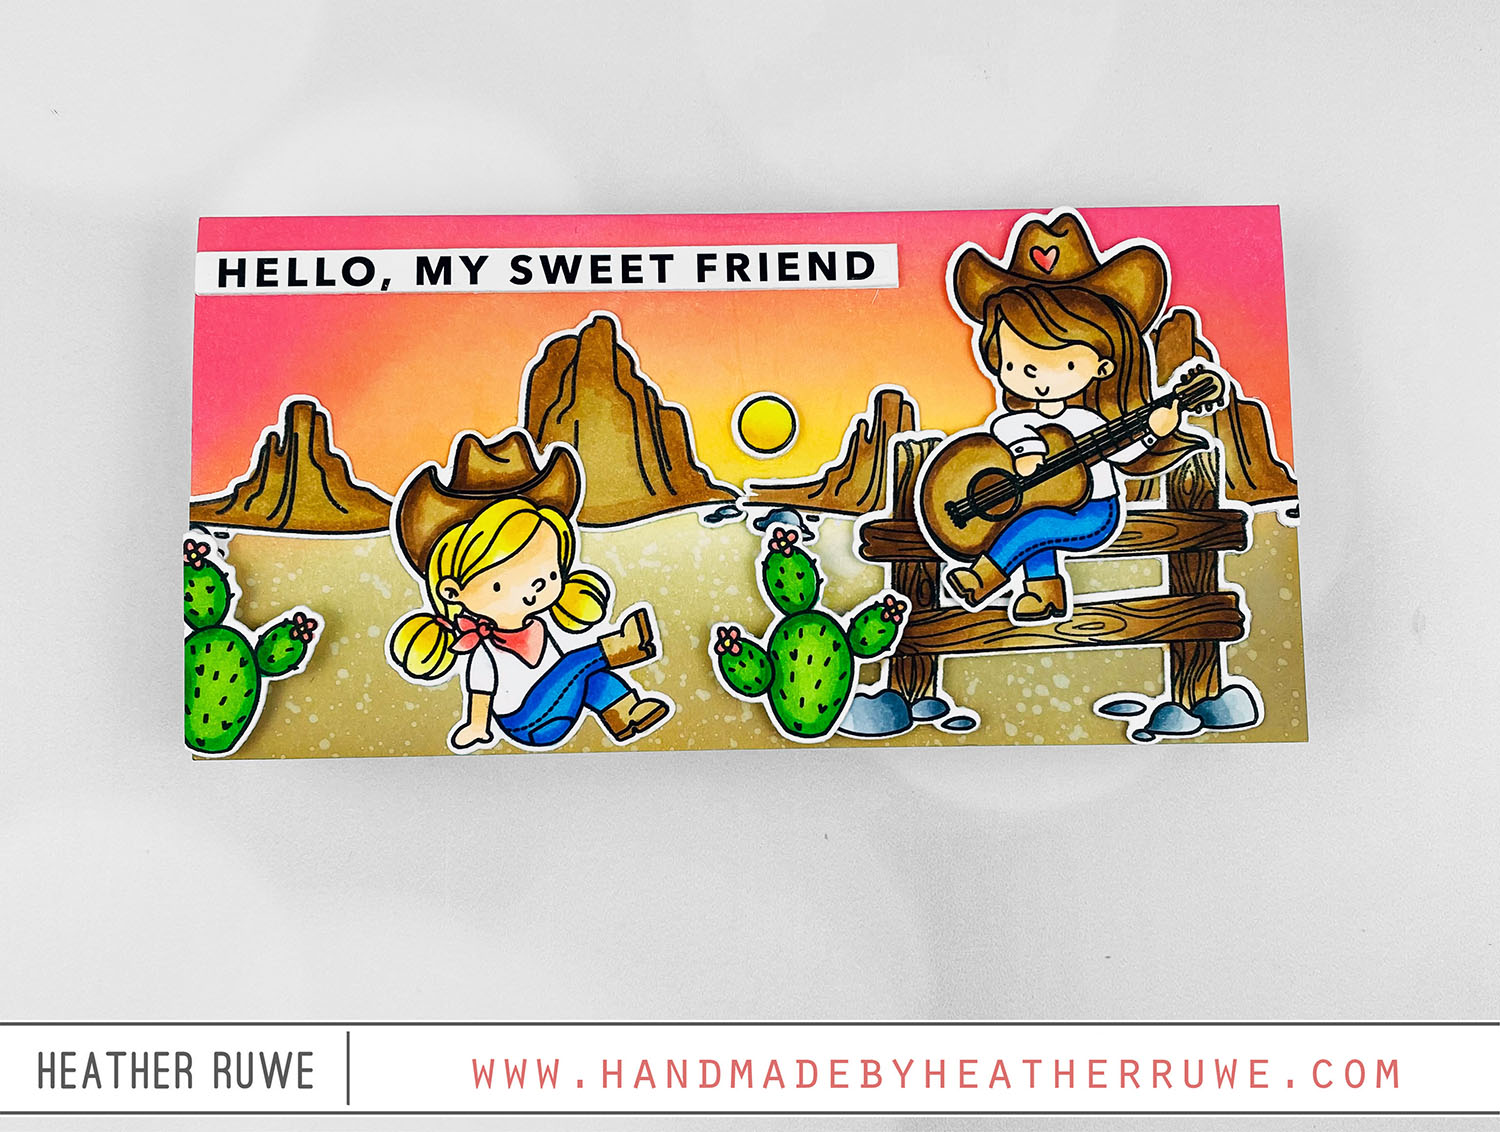
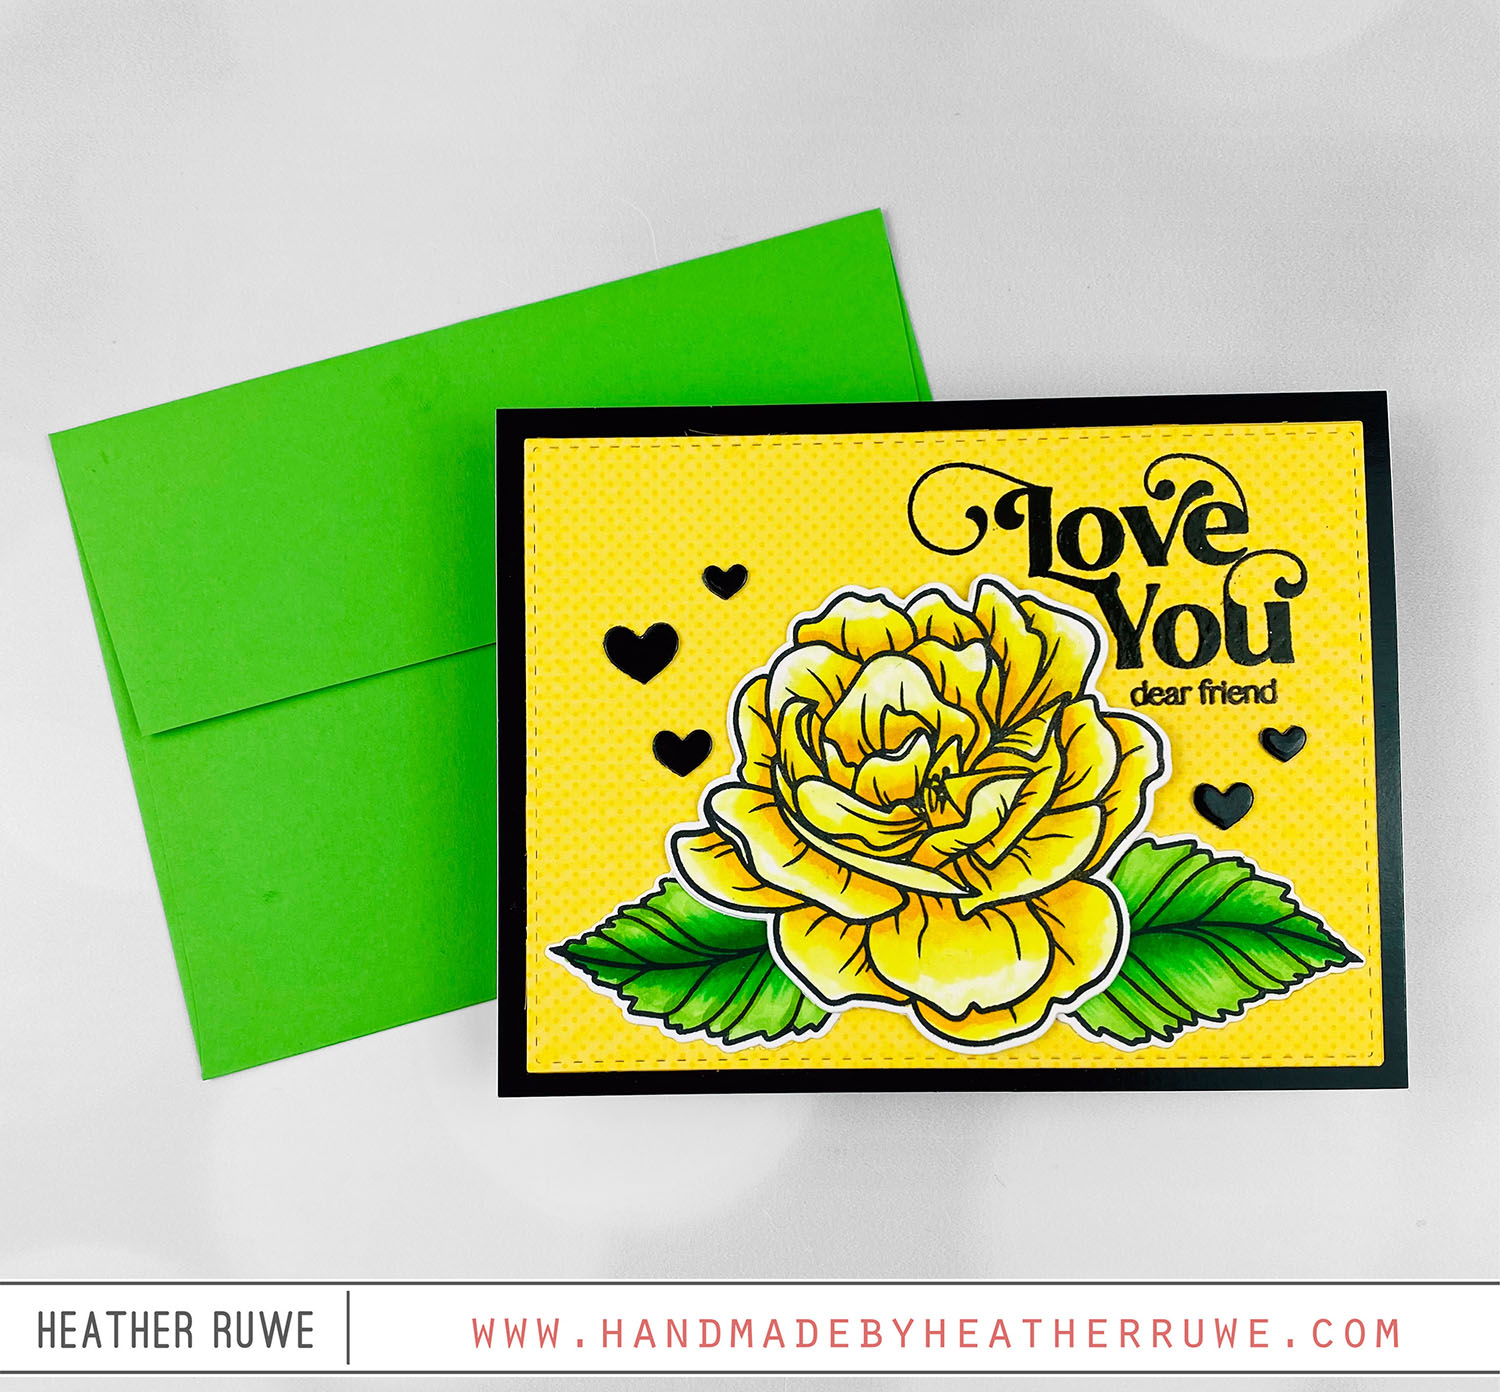
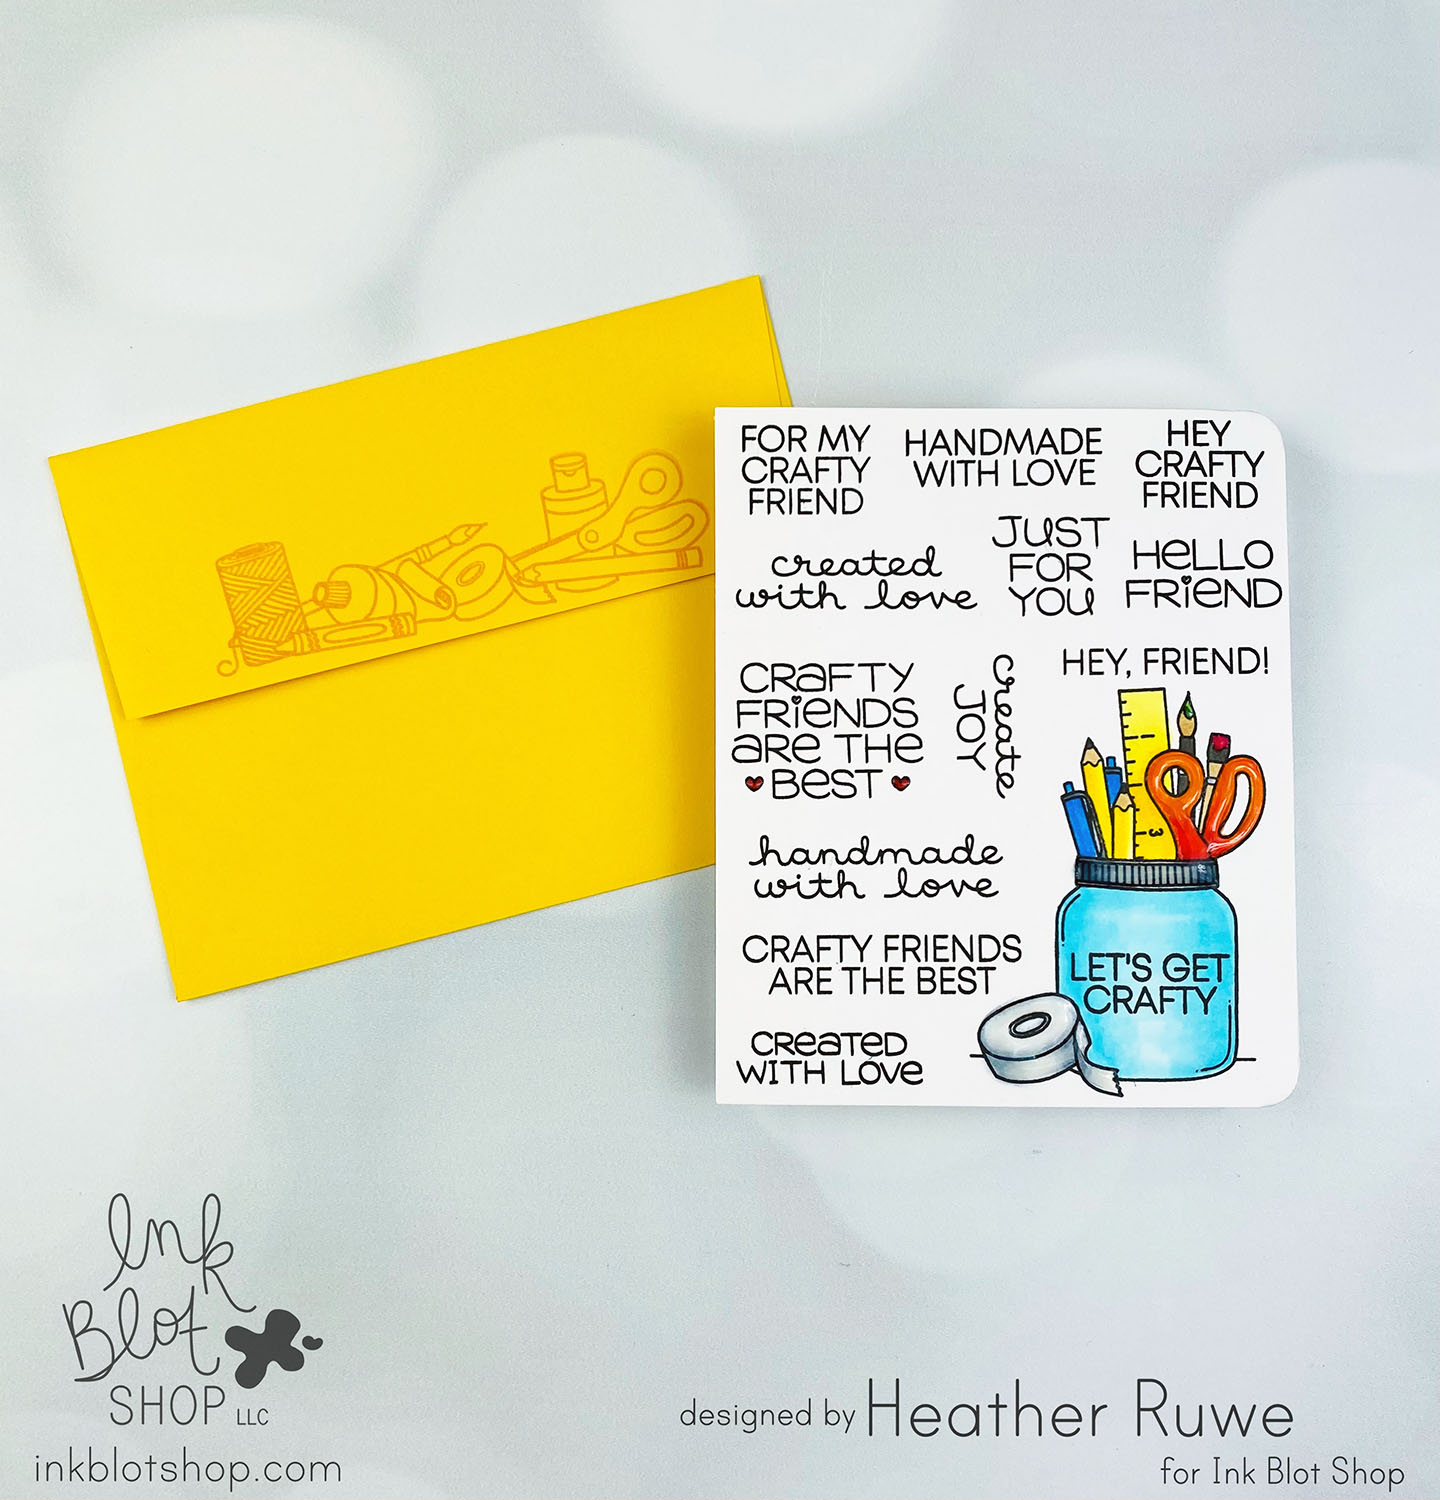
Hey there, crafty friends. Today’s card set is part of THIS Blog Hop celebrating THIS new release… To create the first card… I started by applying blue ink through THIS stencil on the front of a top folding note card. I added a strip of blue cardstock along the bottom and rounded the two bottom corners. Next, I stamped the images (and sentiment) from THIS stamp set, colored them with Copic Markers, and used...
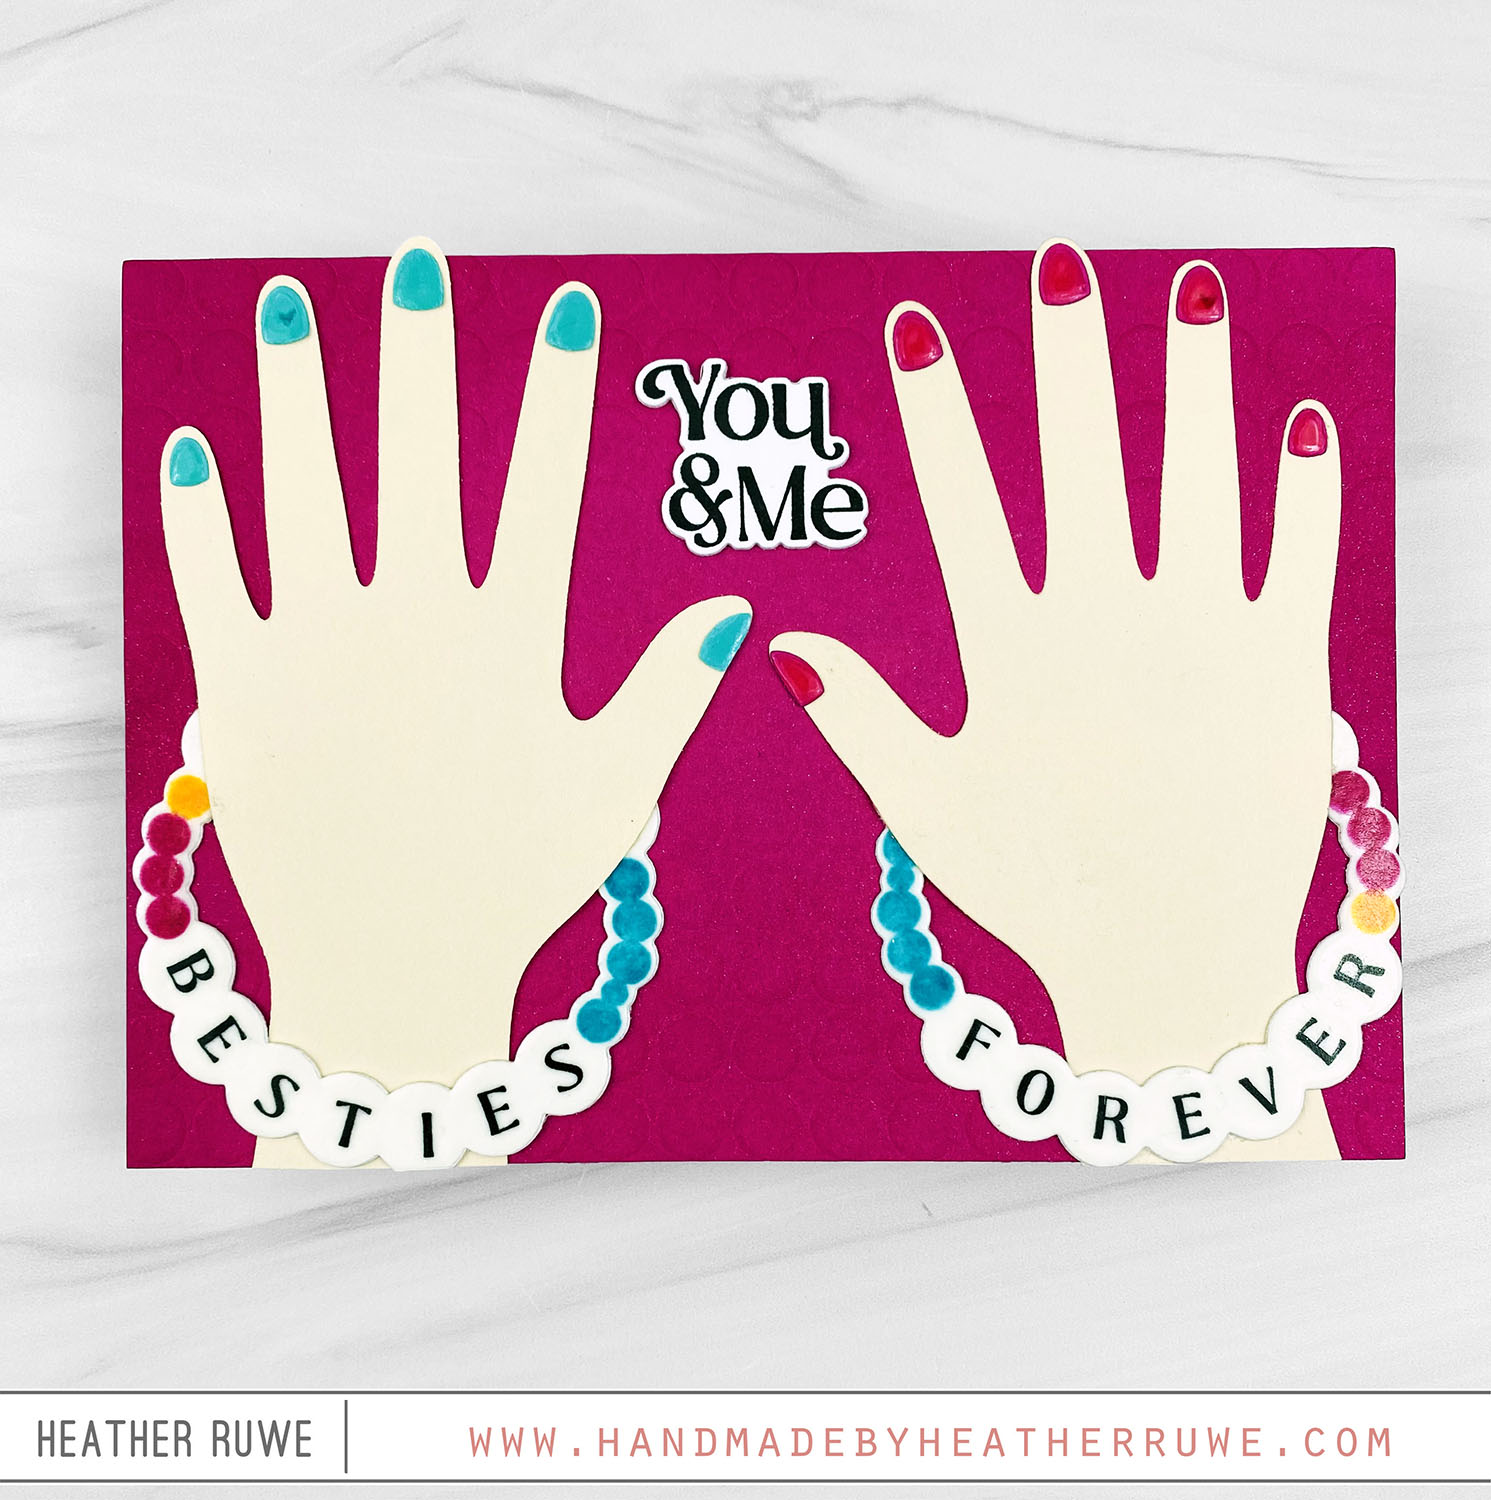
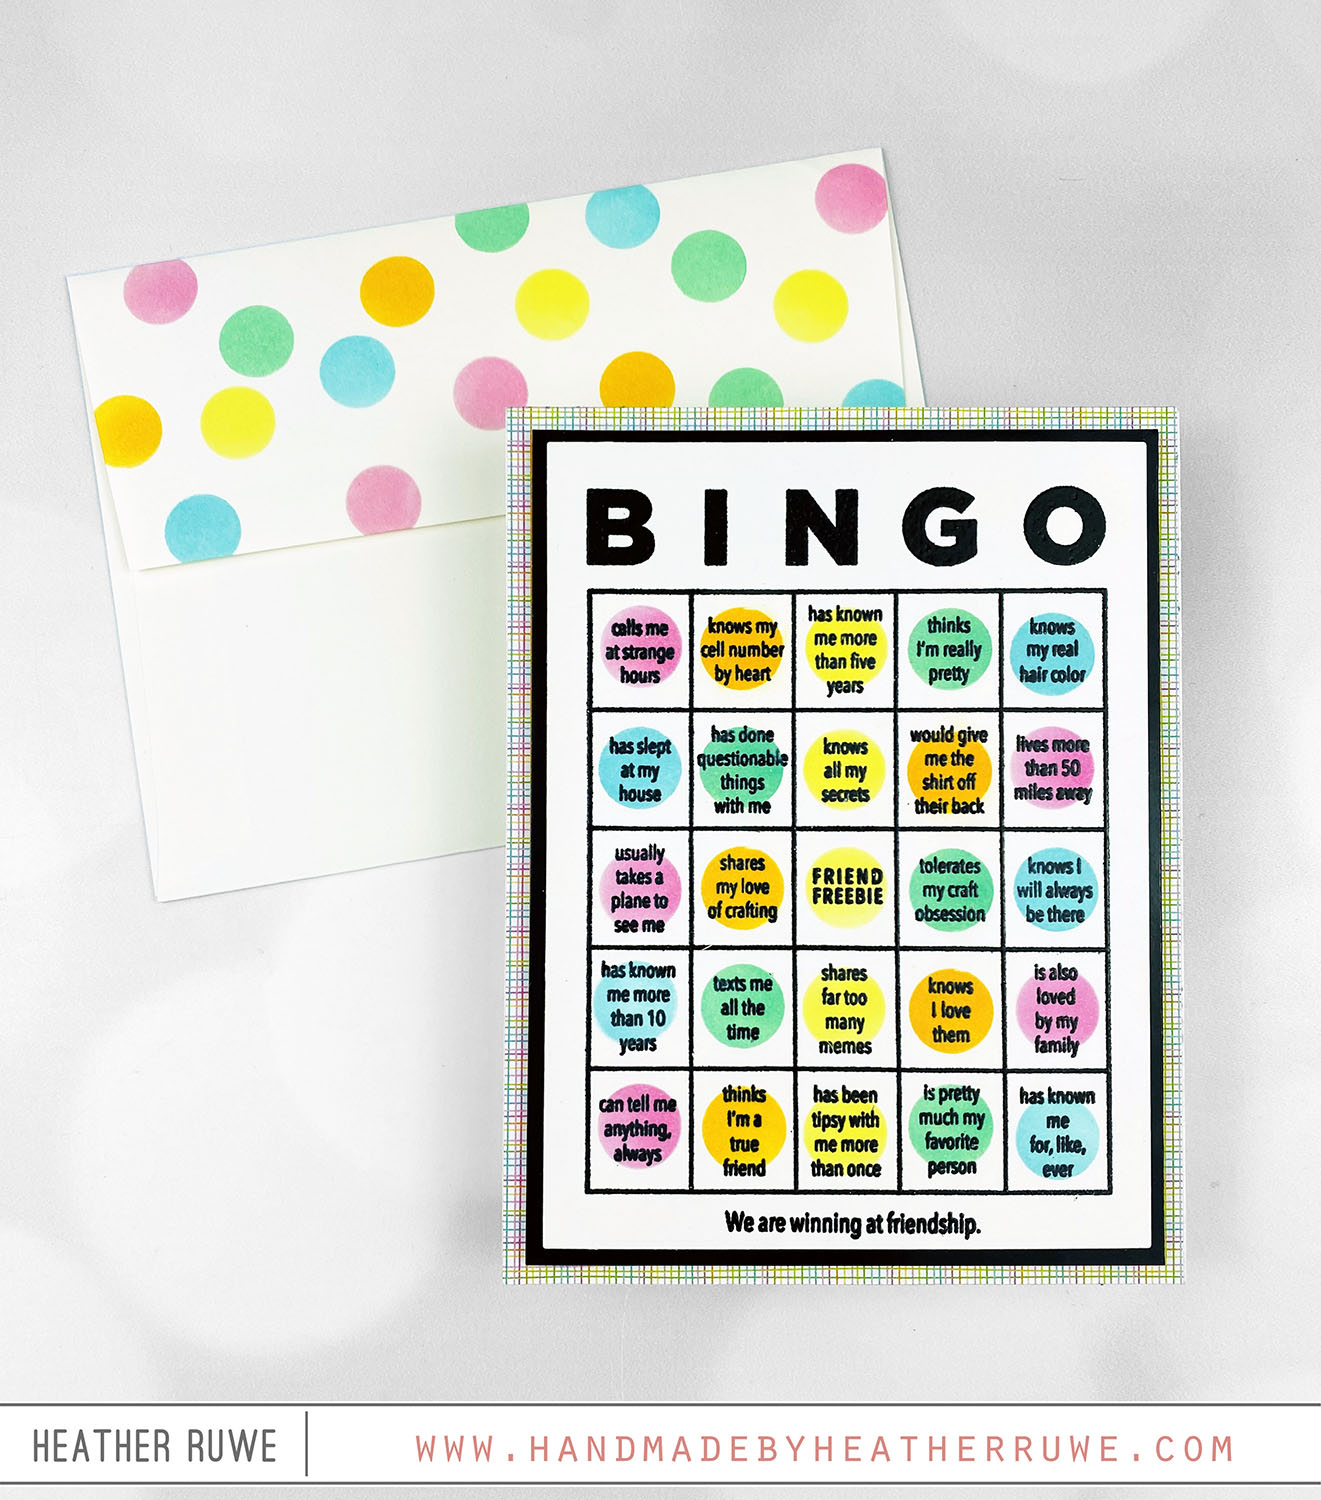
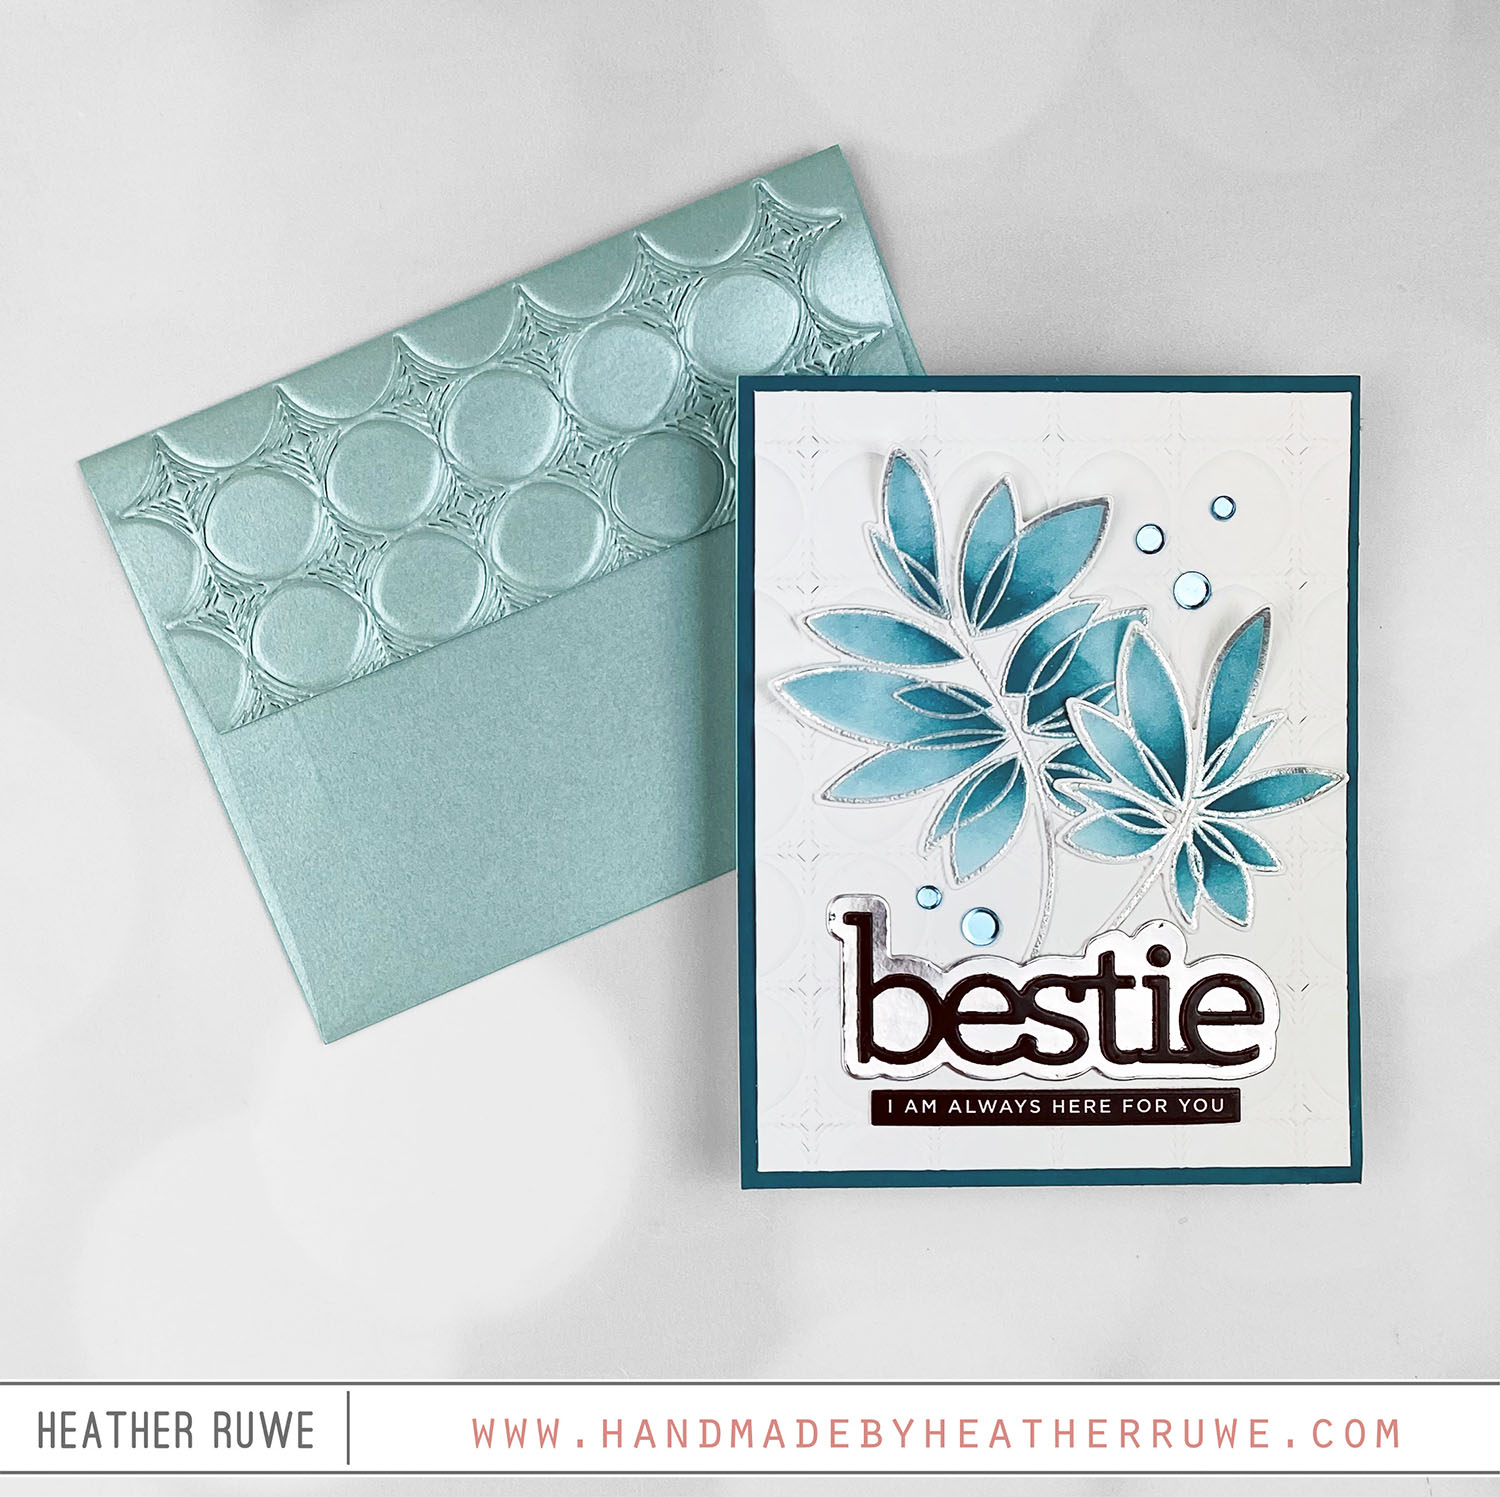
Be Bold Release Inspiration-Bestie Bracelets
Howdy, crafty friends. I’m back with more inspiration from THIS new release from Simon Says Stamp… To create this 5 x 7 card, I started by stamping THESE bracelets and using THESE coordinating dies to cut them out. I applied clear ink on top of the bracelets and added clear embossing on top and heat set. I love the shine it gives. It makes it look realistic. I added them to hand die cuts...
Friendship Bingo Card
Howdy, crafty friends. I have more inspiration to share from THIS new release… To create this card, I started by stamping images from THIS stamp set on a piece of cream cardstock using black pigment ink. I clear heat embossed it to add some shine. I cut THIS coordinating die circle out of vellum and used it to place over each square and apply ink to create colored circles. I added a black mat...
