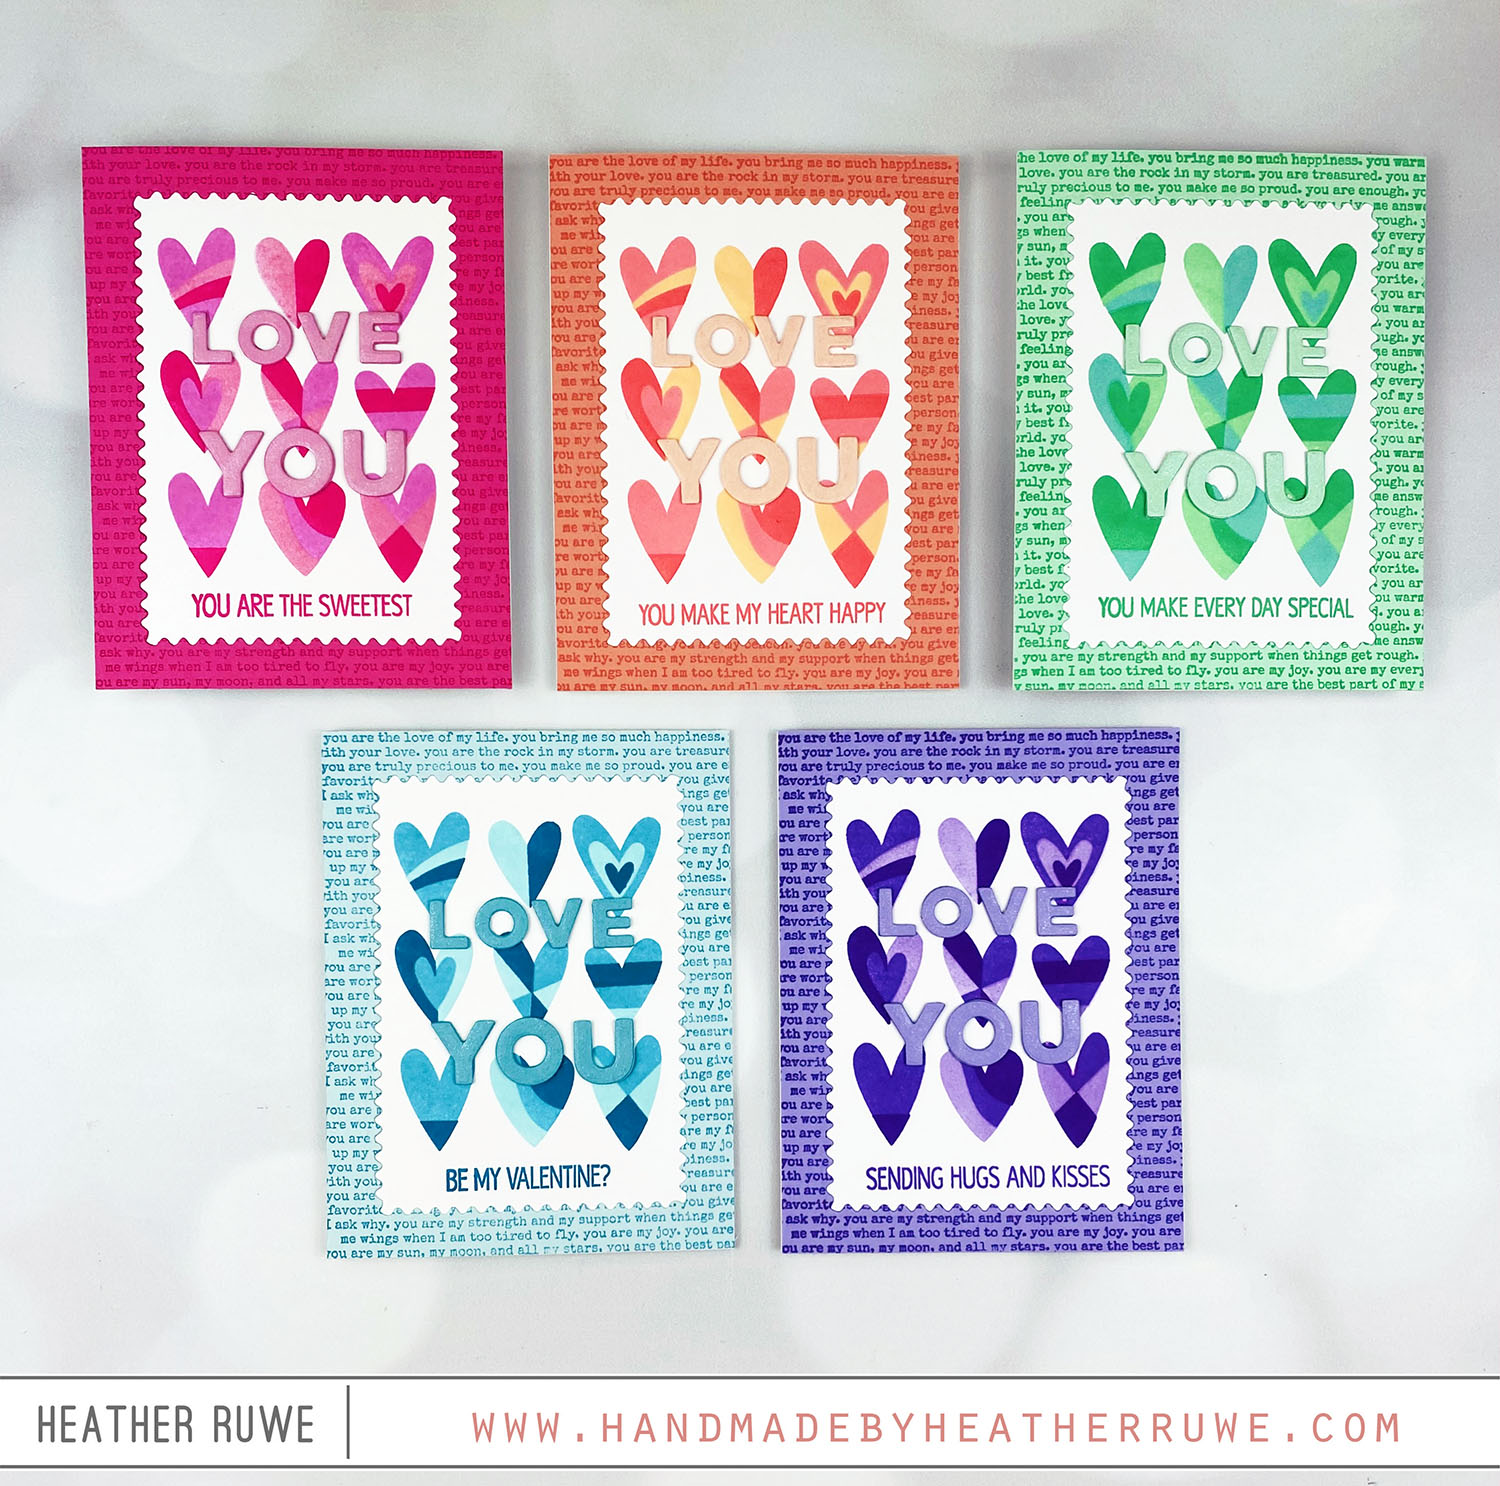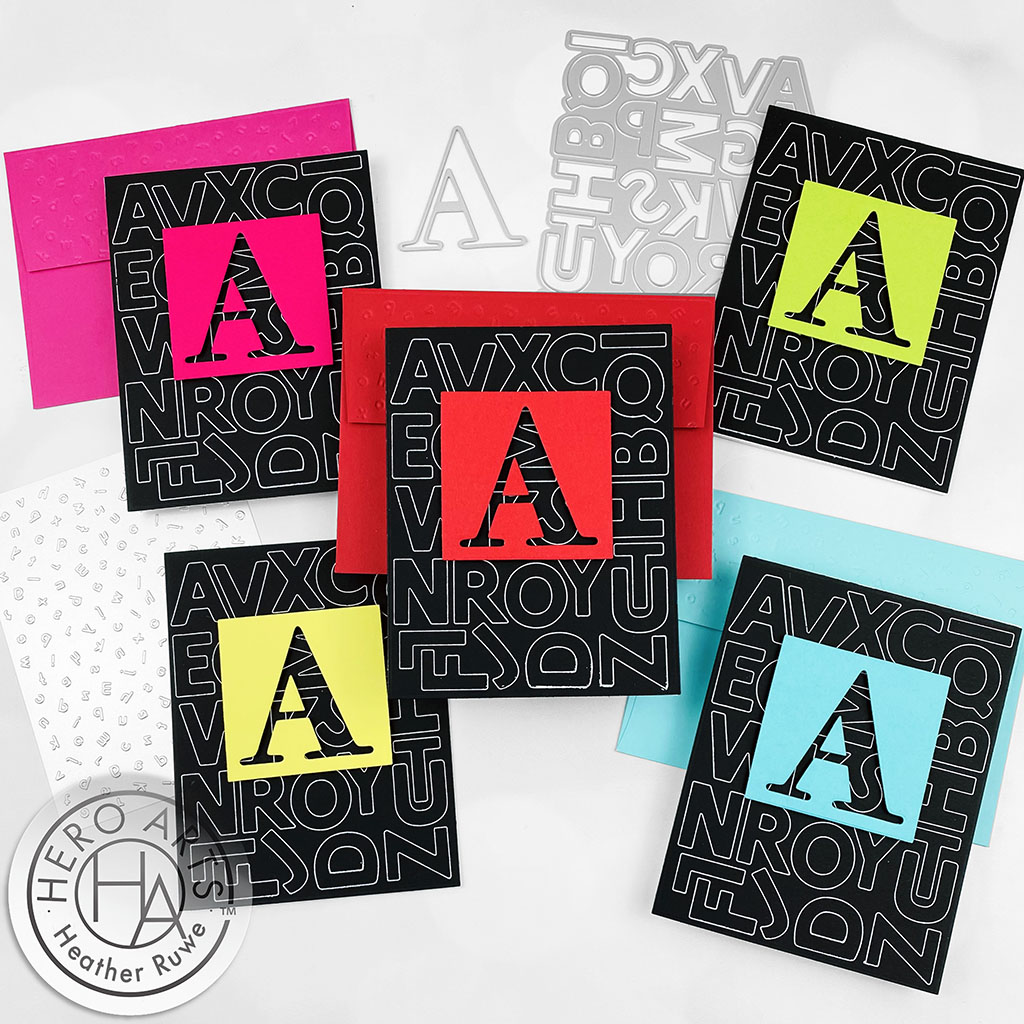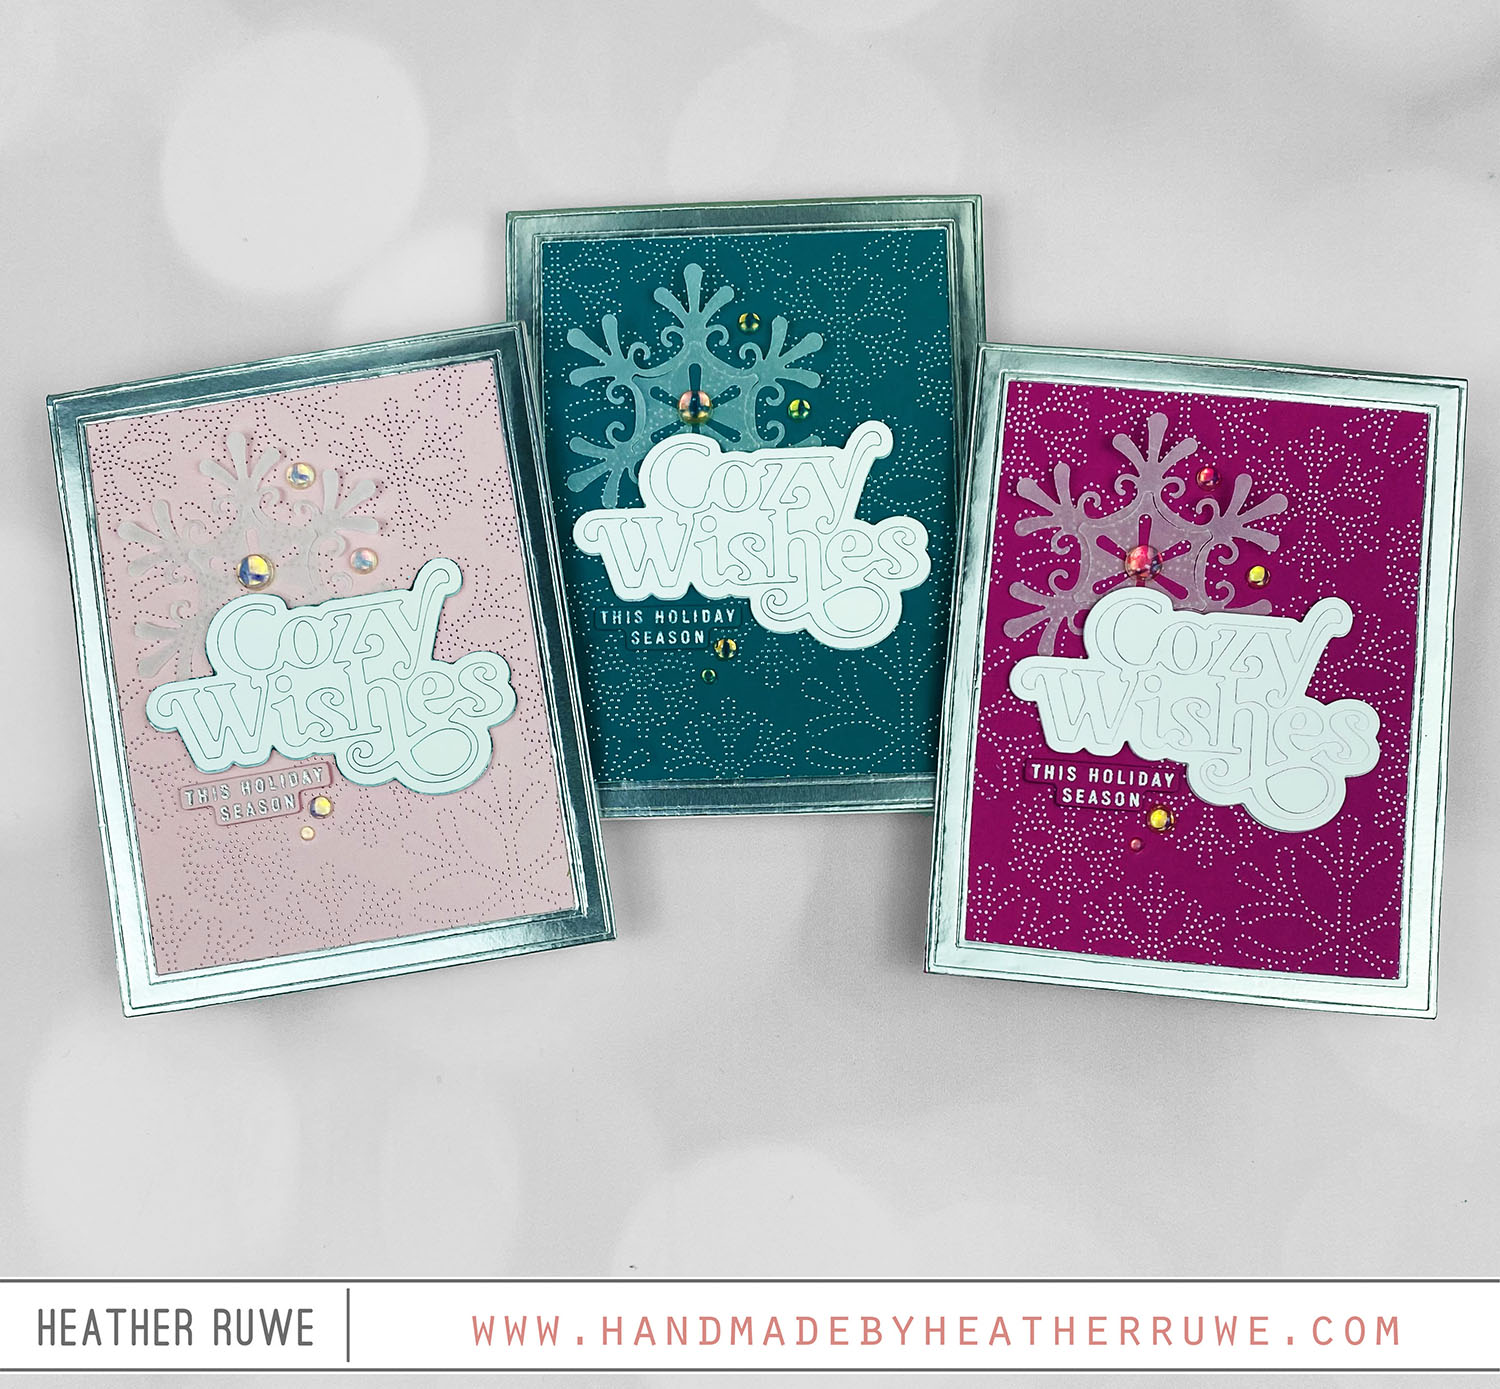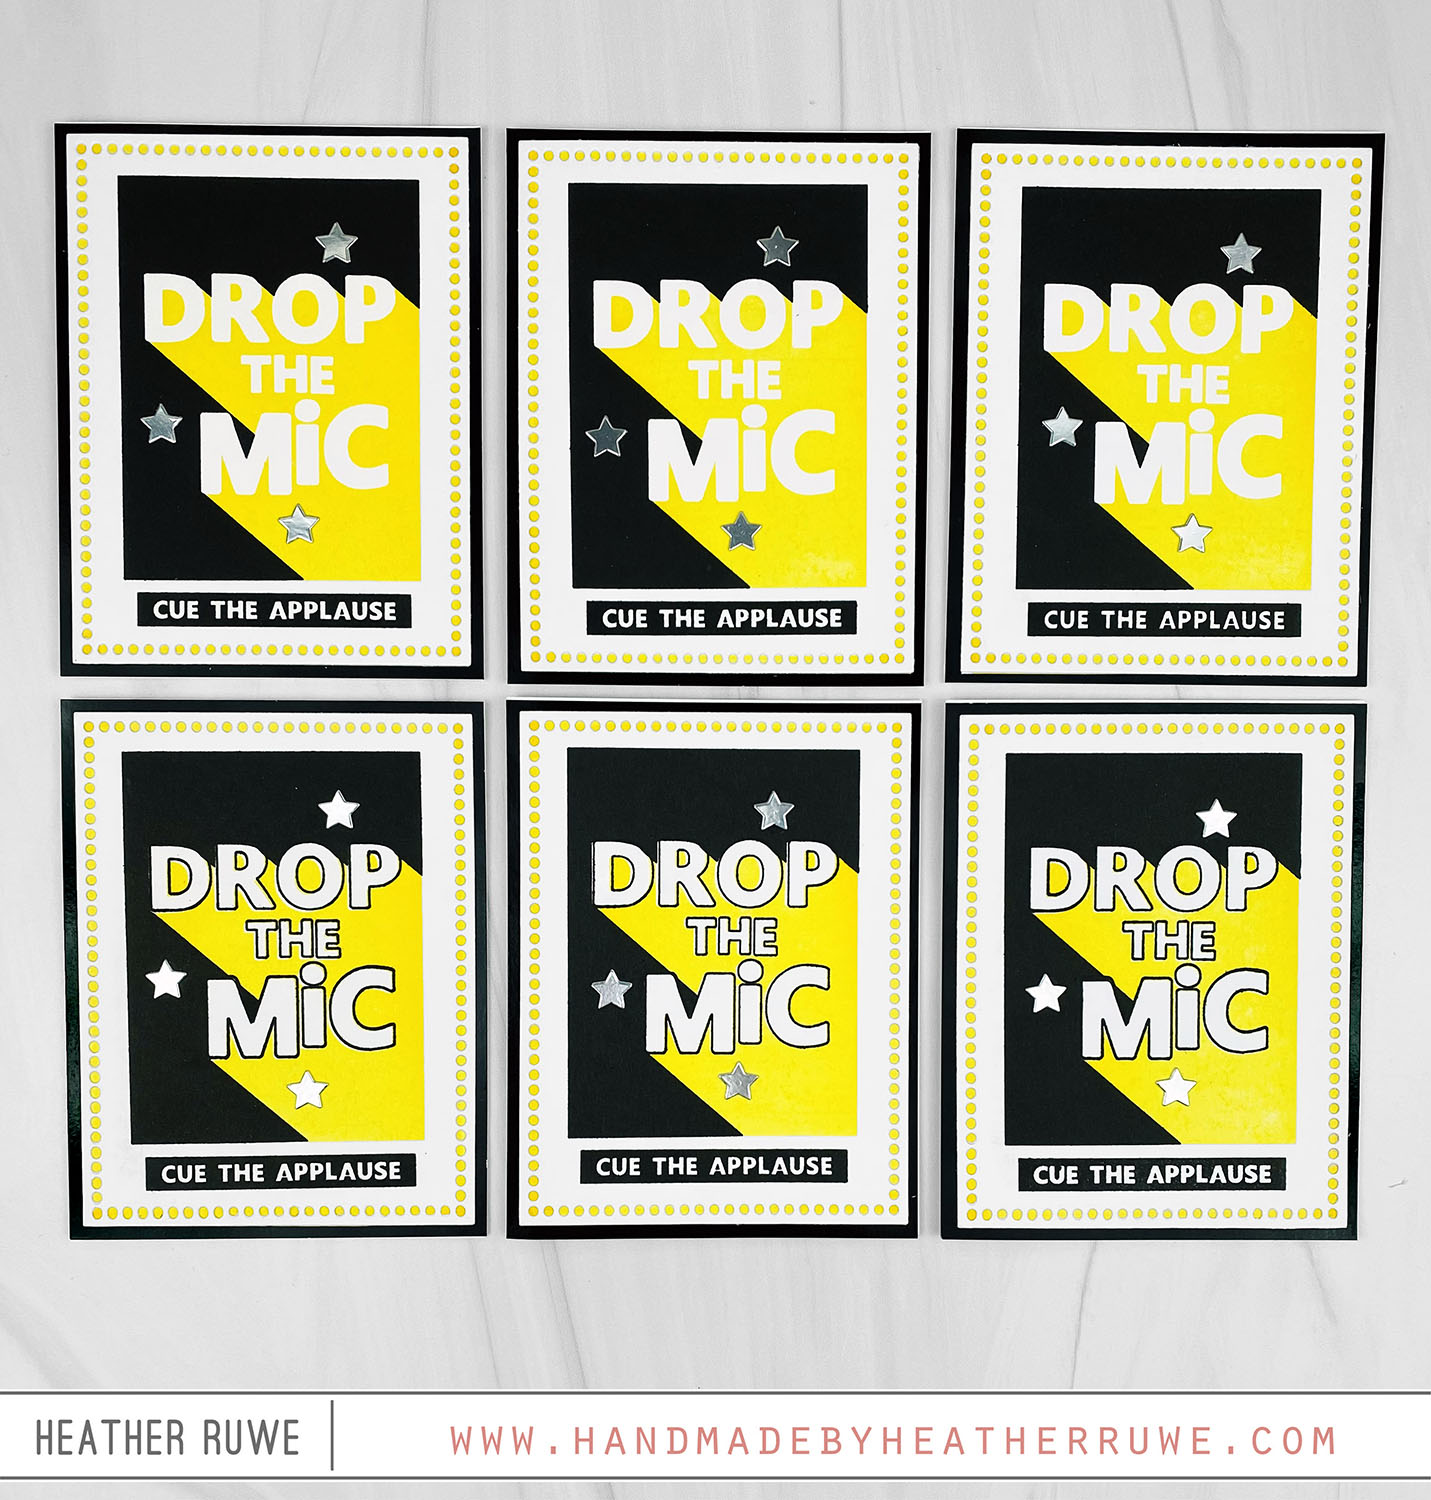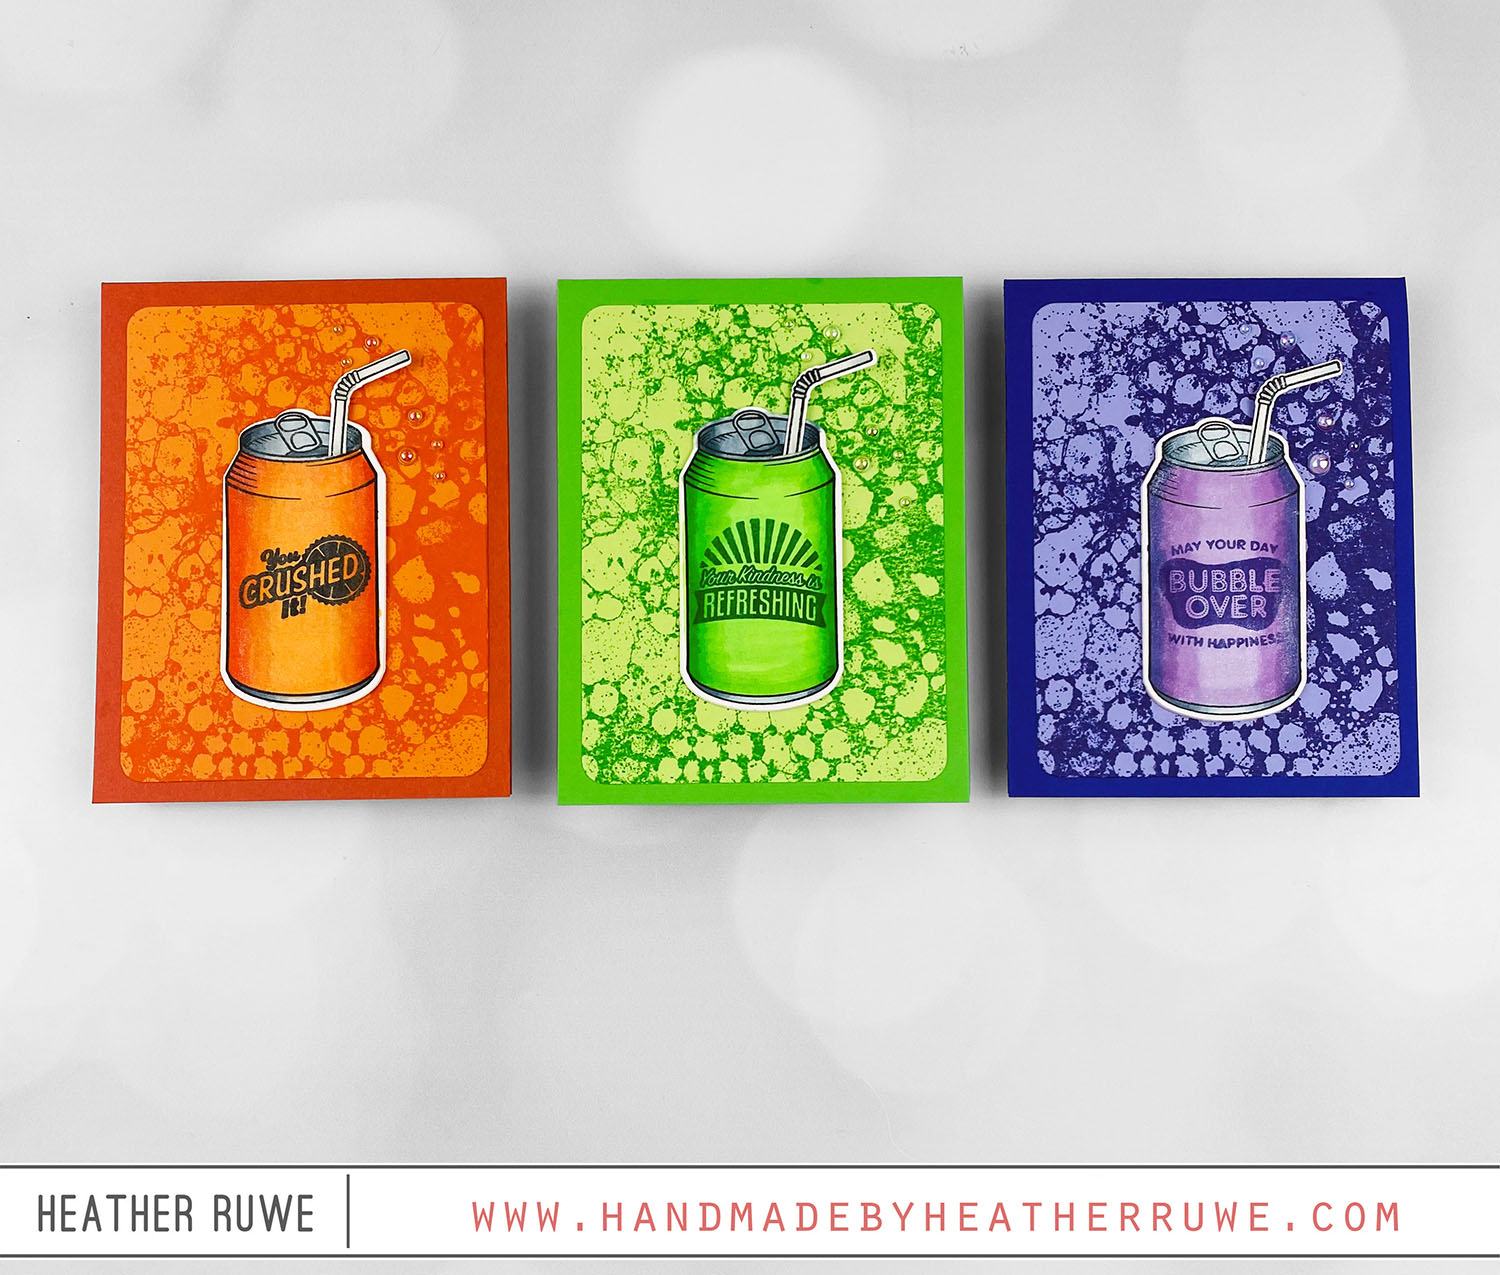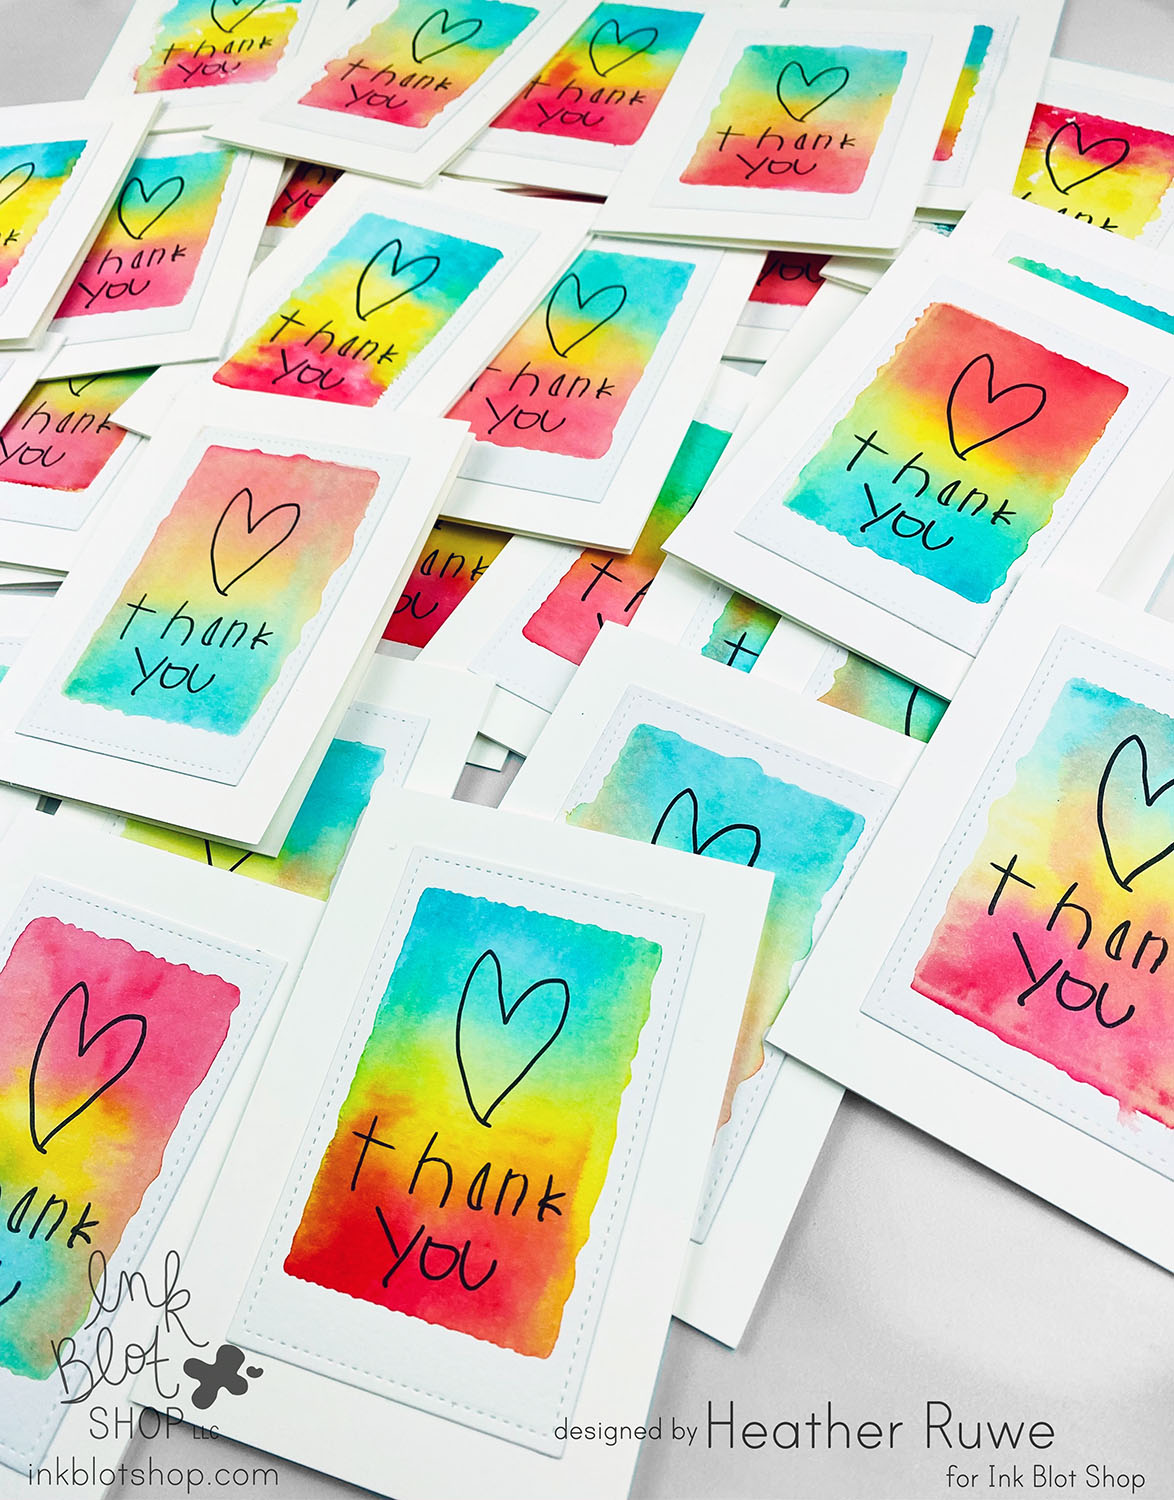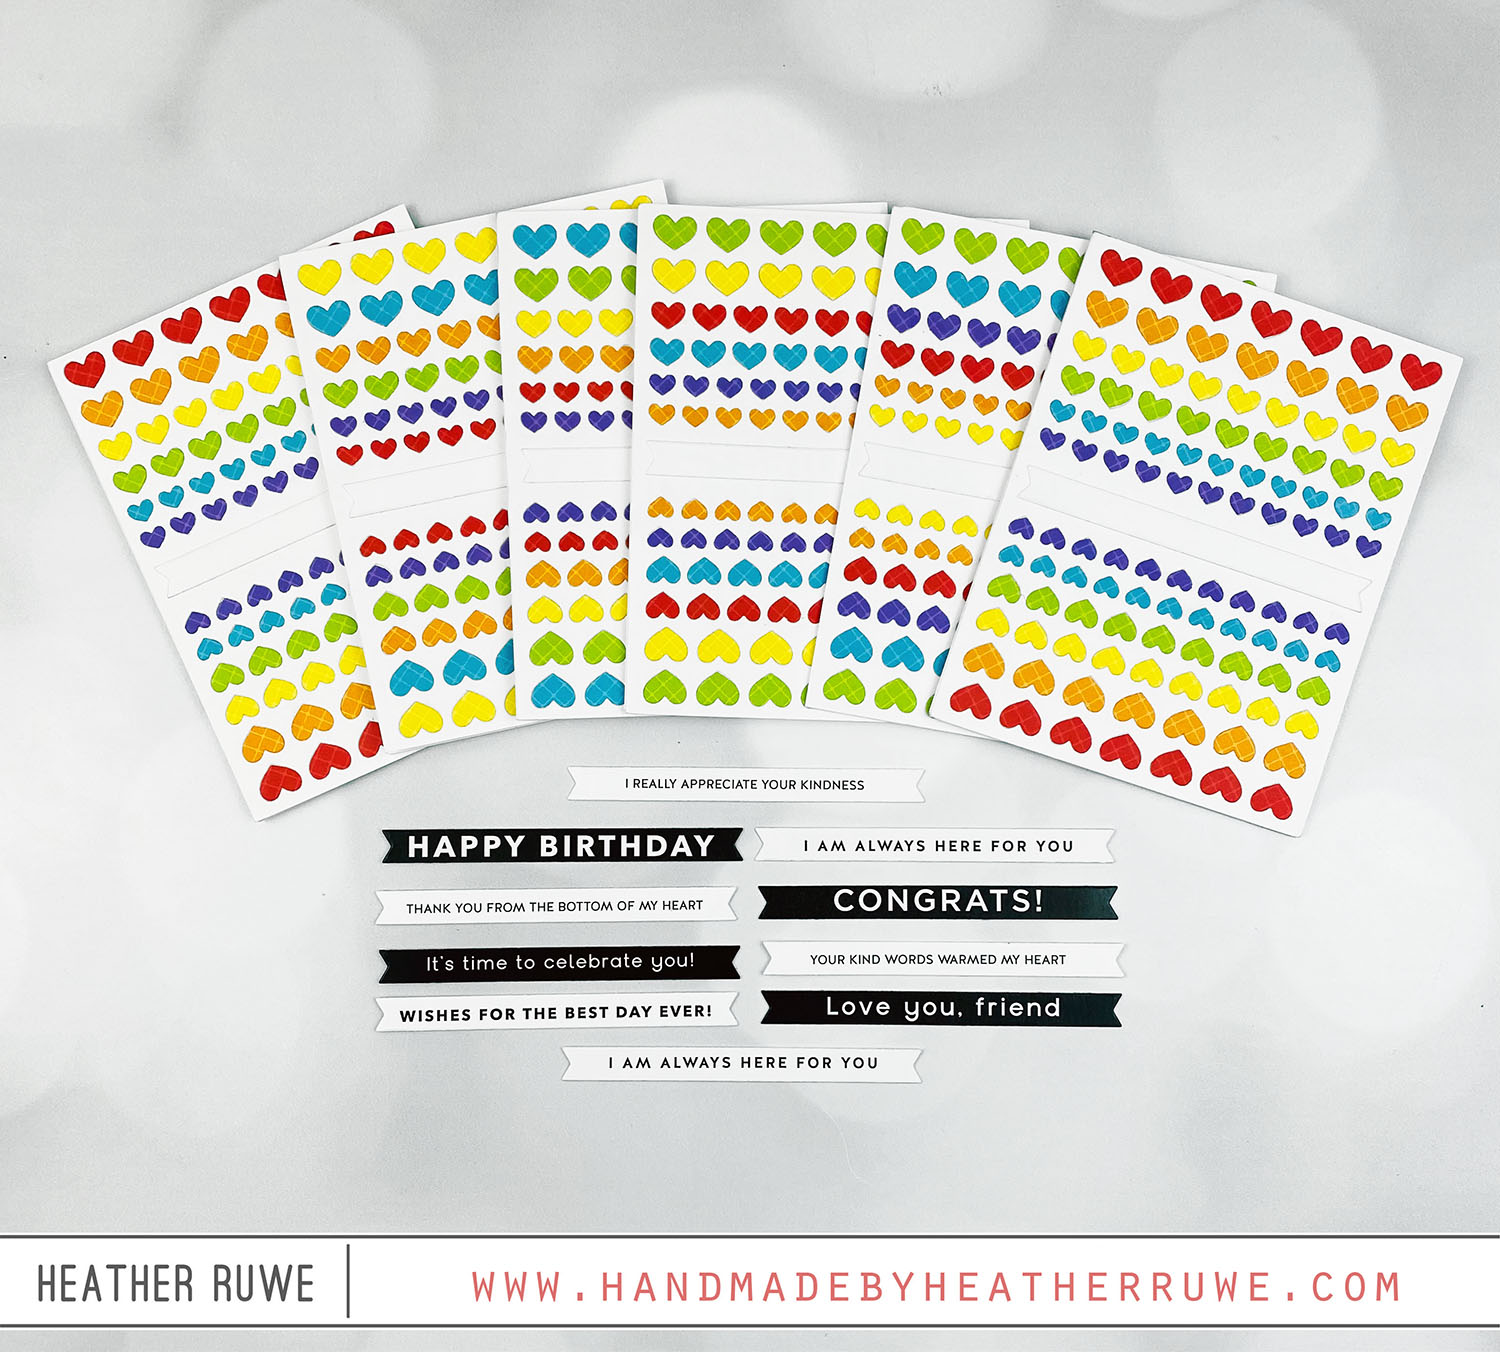
Hello again, crafty friends. Today’s trio of cards features the add-on products from THIS new Card Kit… To create these cards, I started by applying ink through THESE stencils. I used the remaining ink on my brushes to go over the entire piece and color in the background with the same color, just lighter. I spritzed on some water and then let them dry. Once dry, I trimmed down the pieces to fit on...
Always There Blog Hop-Day 2
Hi, crafty friends. These cards are part of THIS Blog Hop celebrating THIS new release… To create these cards, I started by embossing the colored mini slimline sized panels with THIS, THIS, and THIS embossing folder I adhered them to a mini slimline card base and rounded the two corners on the top. I stamped a sentiment along the bottom from THIS stamp set and added a strip of colored cardstock above. Next, I...
Always There Release
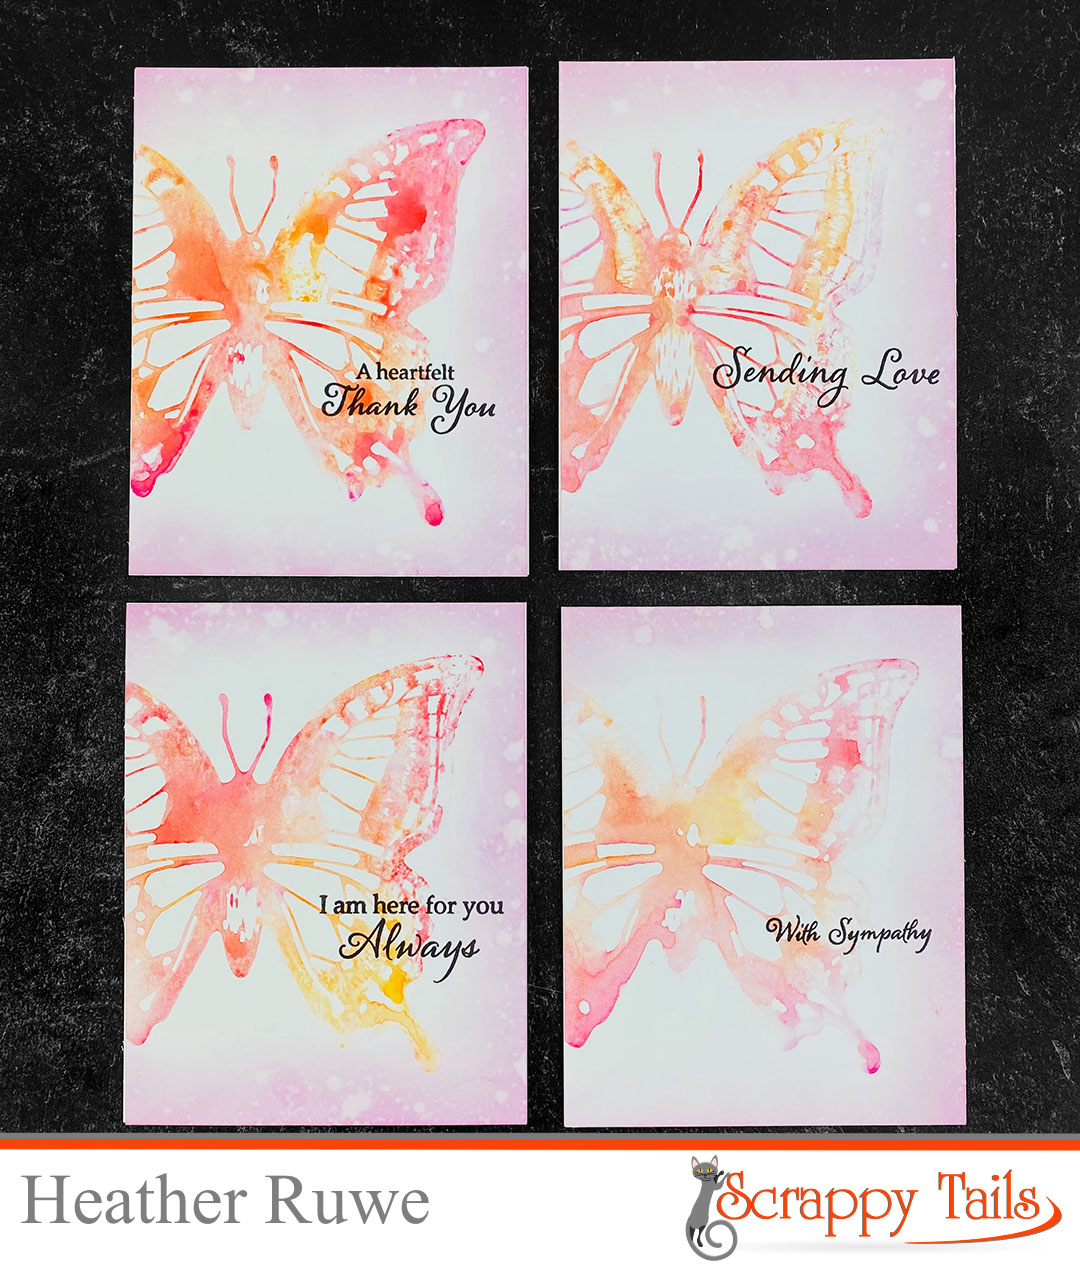
Hi, crafty friends. Today’s card set features THIS new release from Simon Says Stamp. To create these cards, I started by embossing the white A2 sized panels with THIS embossing folder. Next, I applied ink through THESE layering stencils to color in the image. I sprayed THIS on top for some shine. I stamped sentiments from THIS stamp set and used THESE coordinating dies to cut them out. I die cut THESE butterflies and...
Simple Bereavement Thank You Card Set
Hello, crafty friends. I recently lost my mom and needed to make some simple thank you cards for friends and family that have been so supportive during this difficult time. I didn’t feel like spending a lot of time creating during this difficult time so I pulled out an old note card set from Concord & 9th. Starting with a decorated panel really helped pull these cards together quickly. I stamped THESE sentiments directly...
Cards for Teachers Week-Day Four
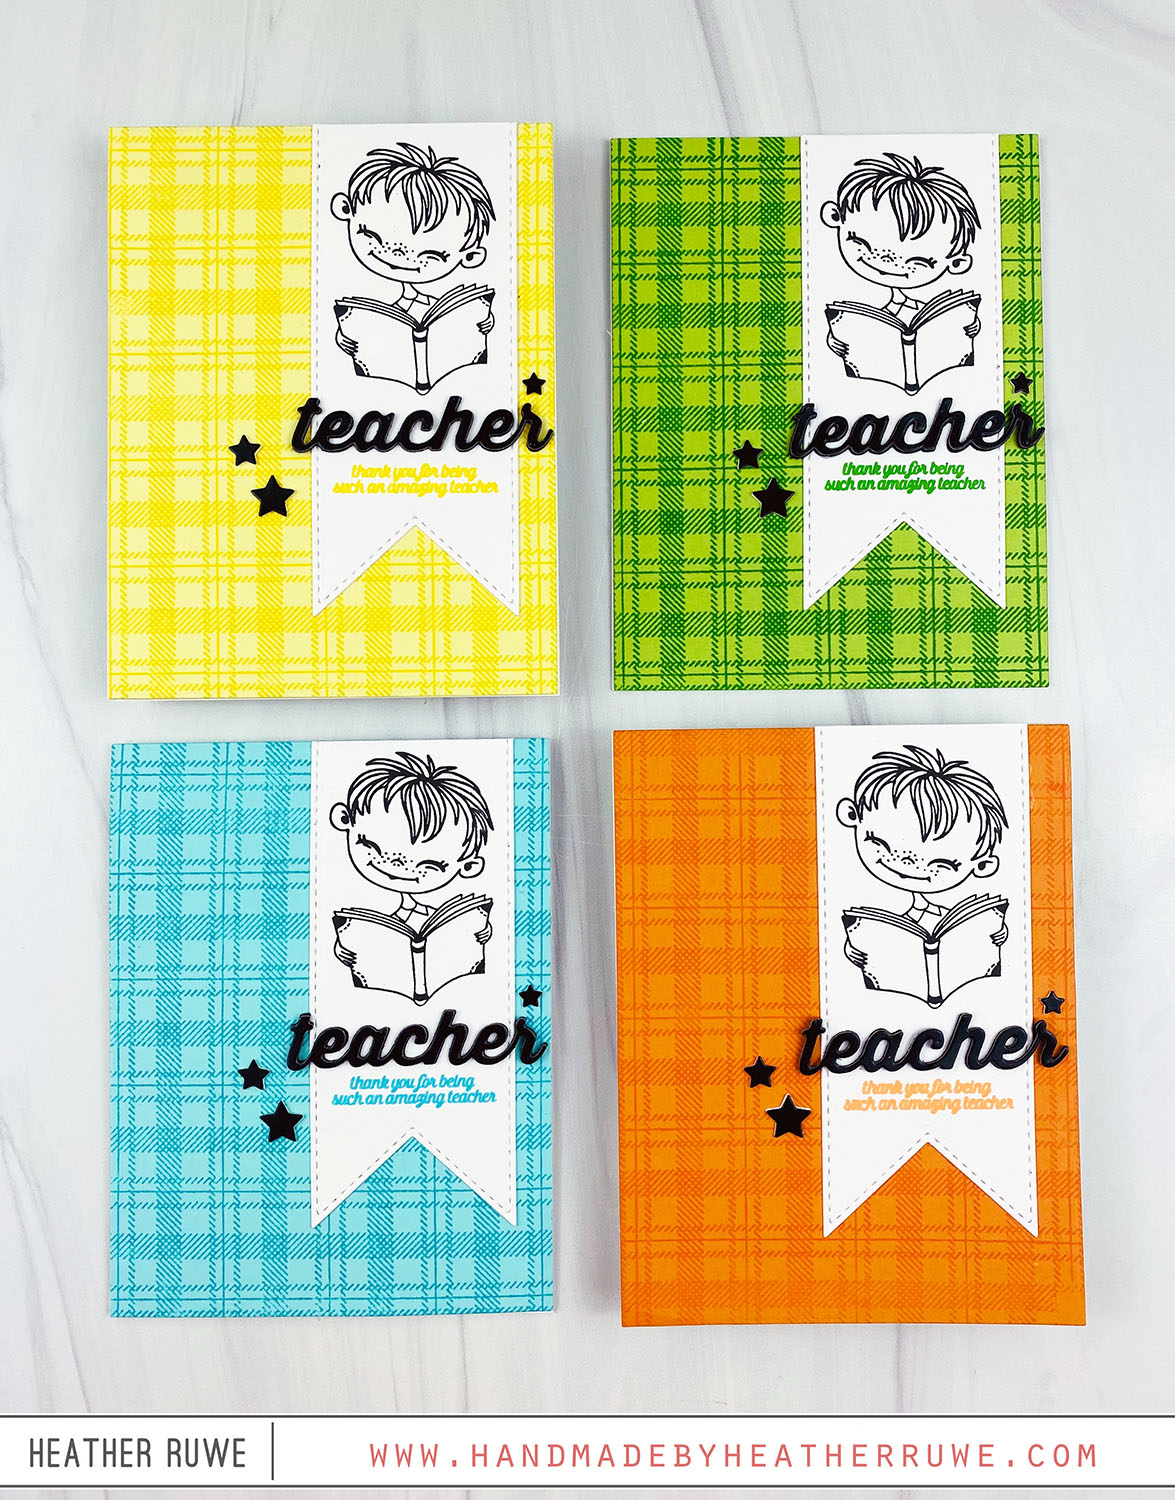
Hello, crafty friends. I’ve been sharing teacher appreciation cards all week on my blog. Today is day four… To create this card, I stamped the layers of THIS stamp set with different shades of purple on a panel cut with THIS scalloped die. I stamped the sentiment from the same stamp set and adhered it to a purple cardstock mat and then to a side folding card base. I also stamped the flap of...
Inspired By…Must Try Technique
Hello, crafty friends. I recently watched THIS video by Jennifer McGuire and was so inspired to try the technique. I ended up creating several cards because it was so fun… To create these cards, I followed the video and embossed white glossy paper using a variety of embossing folders and then applied Pawsitvely Saturated ink on top and buffed it in with a dry cloth. I added THESE vellum butterflies along with THESE sentiments....
In My Heart Release Blog Hop-Day 1
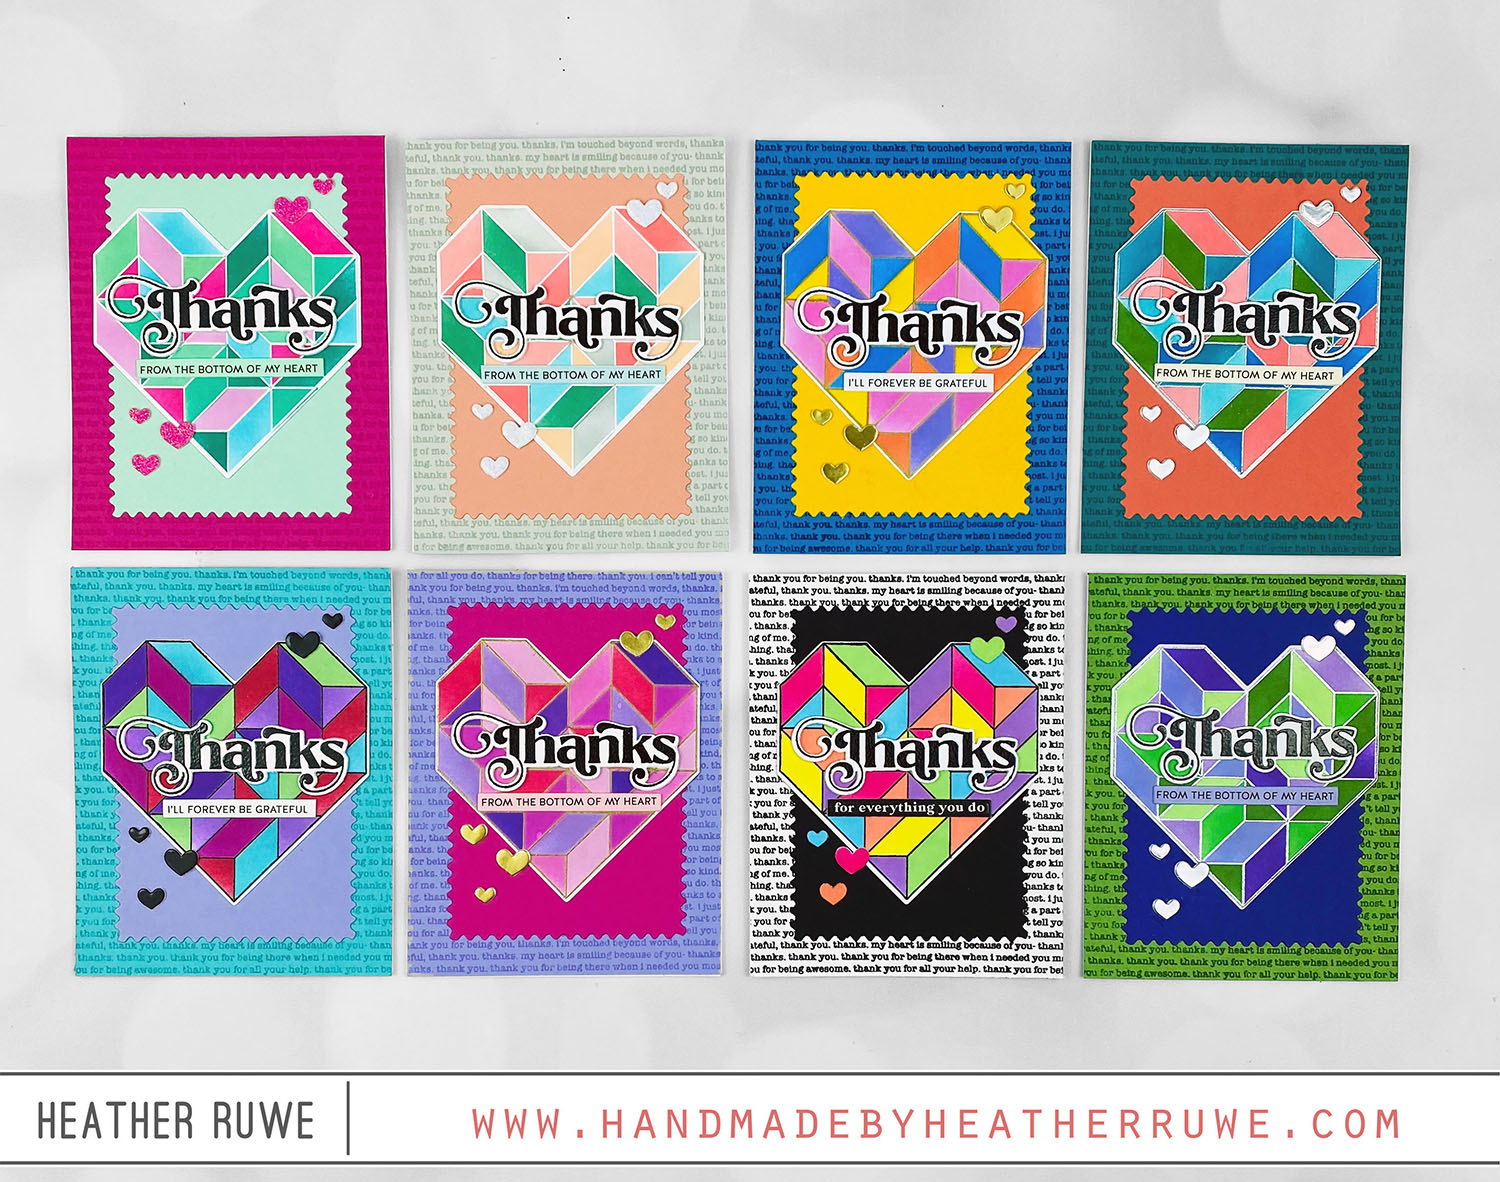
Hello, crafty friends. Today’s cards are part of THIS Blog Hop celebrating THIS new release from Simon Says Stamp… To create these cards, I started by die cutting THIS cover plate die from four pieces of cardstock. I used Eucalyptus, Honeycomb, Briar Rose, and Peacock from Concord & 9th. I popped out the pieces and adhered them inside each of the negative pieces, creating four different backgrounds. To make this process easier, I used...
In My Heart Release-Thank You Card Set
Hello, crafty friends. Today’s card set features THIS new release from Simon Says Stamp… To create these cards, I applied ink through THESE layering stencils on an A2 piece of white cardstock to create a background. I started with a heavy hand towards the center of the flower and got lighter towards the tips of the petals. For the flower centers, I used THIS gold gel pen. Next, I dry embossed THIS frame die...
Heart Gatefold Card Set
Hello, crafty friends. I have some gatefold cards to share today… To create these cards, I started with the card base. I started with a half of sheet of cardstock (5.5 x 8.5). I scored each side at 2 1/8 inches to create two hinges. I cut THIS die from a light colored of cardstock and then I embossed it with THIS mat in my die cut machine to make an impression of the...
March 2026 Card Kit: Watercolor Bouquet
Hi there, crafty friends. Today’s card set features THIS new Card Kit… To create these cards, I started by stamping THESE images on pieces of watercolor cardstock. I inked them with the kit’s stamp mini cube colors and then spritzed them with water before stamping to enhance the watercolor look. I flicked on the silver splatter from the kit. I trimmed down the sides of the panels and adhered them to white top folding...