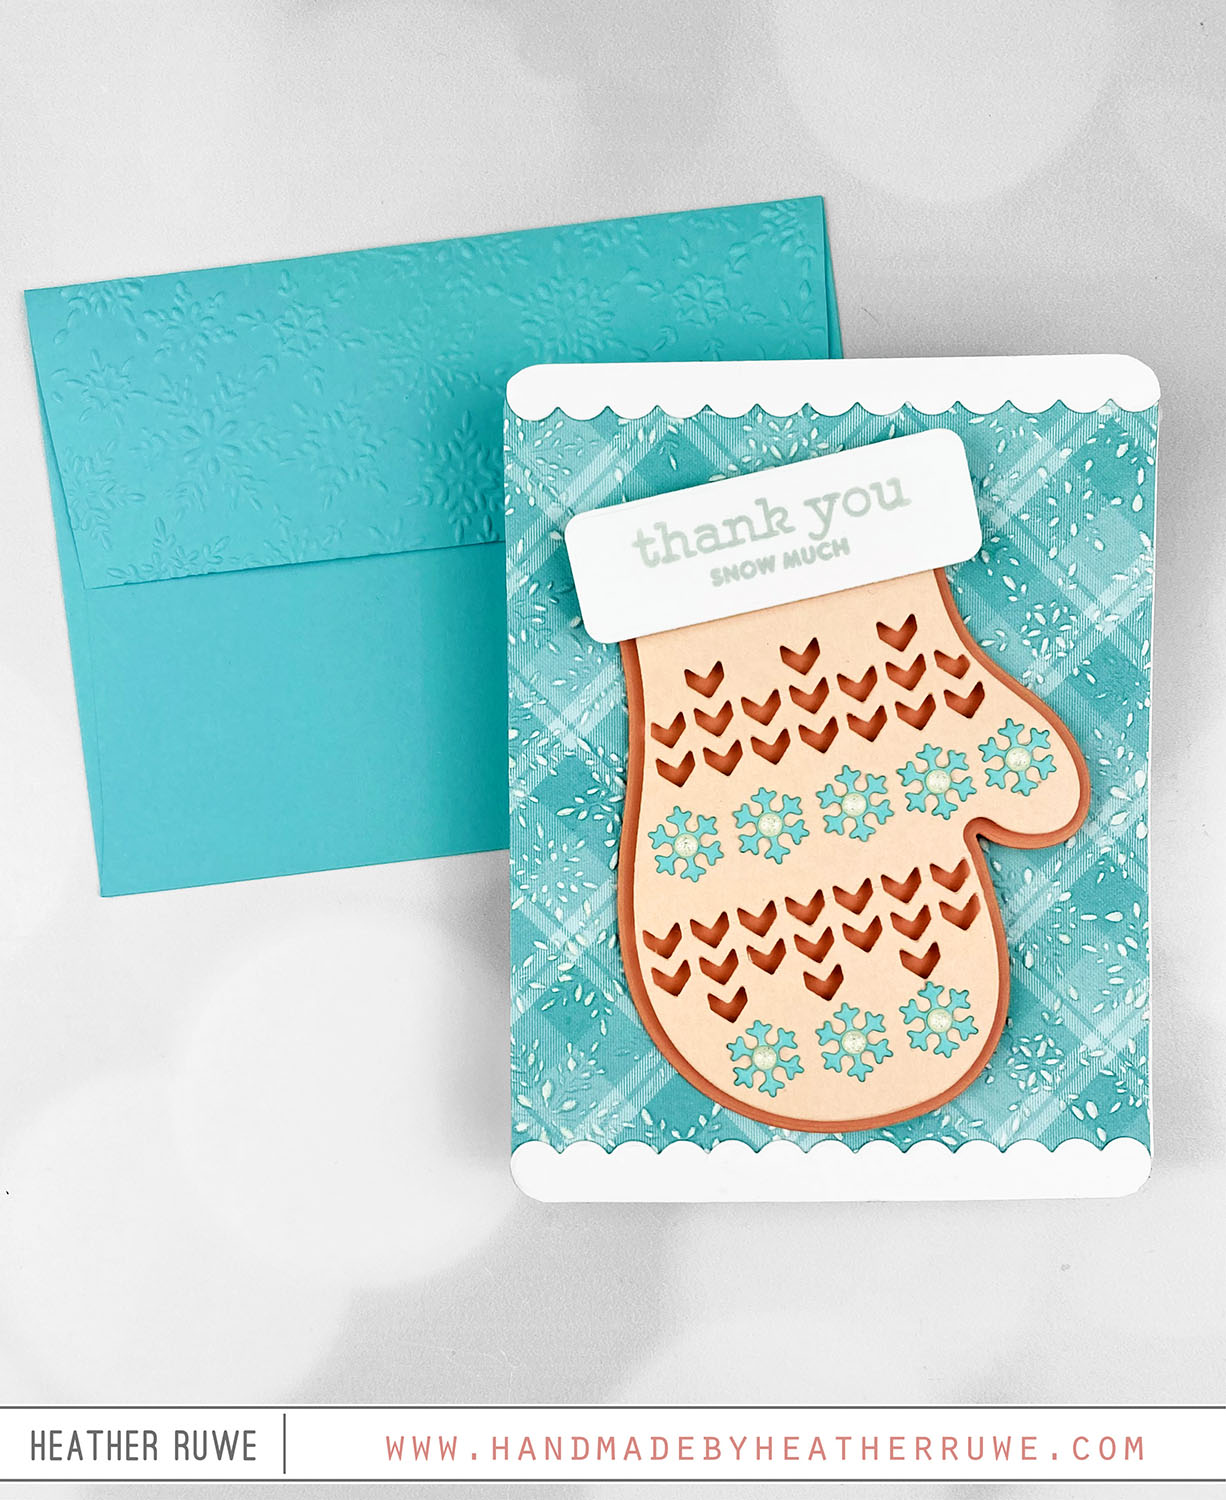
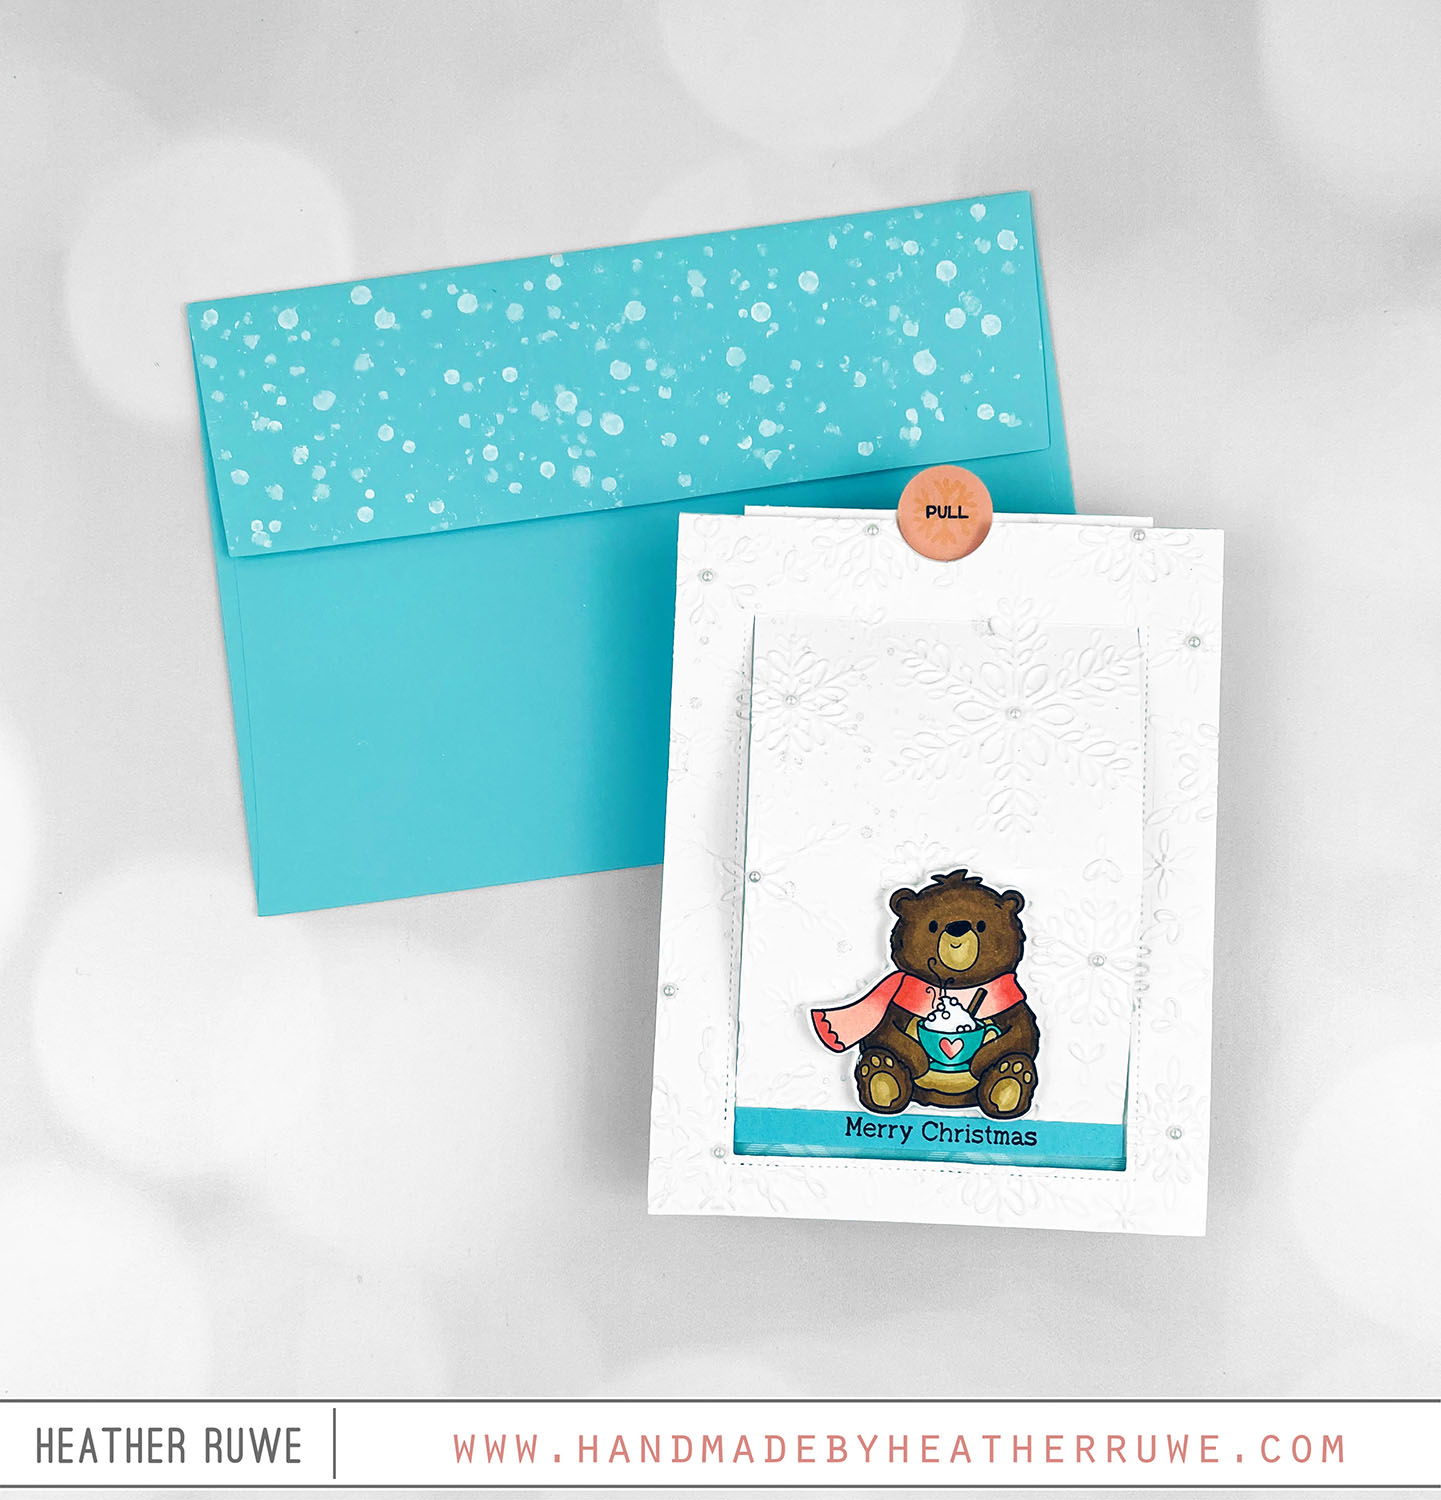
Cards for Teachers Week-Day Four

Hello, crafty friends. I’ve been sharing teacher appreciation cards all week on my blog. Today is day four… To create this card, I stamped the layers of THIS stamp set with different shades of purple on a panel cut with THIS scalloped die. I stamped the sentiment from the same stamp set and adhered it to a purple cardstock mat and then to a side folding card base. I also stamped the flap of...

Easter Treat Bag

Happy Easter, crafty friends. Today’s share is the gift bags I created for my son’s teachers for Easter… To create this treat bag, I started by cutting two of the bottom piece of THIS die from kraft cardstock. I adhered them together to form the base of the gift bag. Next, I die cut THESE dies from white cardstock. I also cut the basket handles three more times from kraft cardstock. I inked up...

And Everything Nice Release Inspiration

Hi, crafty friends. I’m back with more inspiration from THIS new release… To create this card, I stamped snowflakes from THIS stamp set on a piece of gray cardstock. Next, I applied ink through THESE stencils and used THESE dies to cut them out. I applied THIS to the hot cocoa part. For the marshmallows, I applied THIS through the stencil once the ink was dry to give them some dimension. I applied THIS...

Jolly St. Nick Gift Card Holders

Hello again, crafty friends. Today’s cards hold a gift card. I had so much fun creating these cards with some new Concord & 9th products. These will be going to my son’s teachers this year for the Holidays… To create these cards. I started by applying ink through THIS stripe stencil. After applying the ink through one side of the stencil, I flipped it over and applied ink through the other side to create...

Art Impressions STAMPtember 2025 collaboration

Hello, crafty friends. Today’s card features THIS STAMPtember collaboration stamp set from Art Impressions… To create this card, I started by applying ink through THIS stencil on a piece of A2 purple cardstock. I used an older die (Sliding Window from Sunny Studios) to die cut the window and the pull tab opening. I cut a piece of cardstock to adhere to the bottom of the sliding piece on the back side. I adhered...

Birthday Blitz Card Kit

Hi, crafty friends. Today’s card features products from THIS card kit… To create this card, I started by trimming down a piece of the kit’s patterned paper and die cut THIS die from the center to create a pocket to place a gift card in. I adhered it down to a top folding note card (that had a piece of the same patterned paper adhered to it so you would see a continuous pattern...

Crafty Retreat Gifts

Hi, crafty friends. I have something a bit different to share today. Last month, I went on a craft retreat with friends and wanted to bring a little something for everyone… I found these notebooks that has a cross-stitch front and I thought my crafty friends would love them… I wanted to create tags to go on the gift bags that would match the theme of sewing so I stamped the images from THIS...

Beautiful and Curious Card Kit

Hello there, crafty friends. Today’s card kit features THIS Card Kit. Instead of creating a card, I used the products to create a small gift bag… I cut THIS die from white cardstock. I cut the handle and the front piece from the kit’s patterned paper. I die cut THIS rectangle die from the patterned paper and white front piece. I stamped a butterfly image on the vellum with the black archival ink. I...

Bunny Tags + Bunny Baskets

Howdy, crafty friends. Easter will be here soon so I wanted to share the Easter tags I created to go on teacher gifts… To create these tags, I cut a tag die from patterned papers. I also cut the tag shape from white cardstock to adhere behind the patterned paper tag to add stability. I stamped the bunny from THIS stamp set and used THESE coordinating die to cut them out. I die cut...

St. Patrick’s Day Stamped Bag

Hi, crafty friends. I recently shared THIS St. Patrick’s Day gift idea. I wanted to share another gift idea but this time it’s all abouttstamping on a gift bag… To create this bag, I started with a plain white gift bag. It didn’t fit in my MISTI and even if it did, I couldn’t stamp on it evenly because the handles add too much dimension. So, I decided to stamp the clovers from THIS...