Simon Says Stamp May 2018 Card Kit

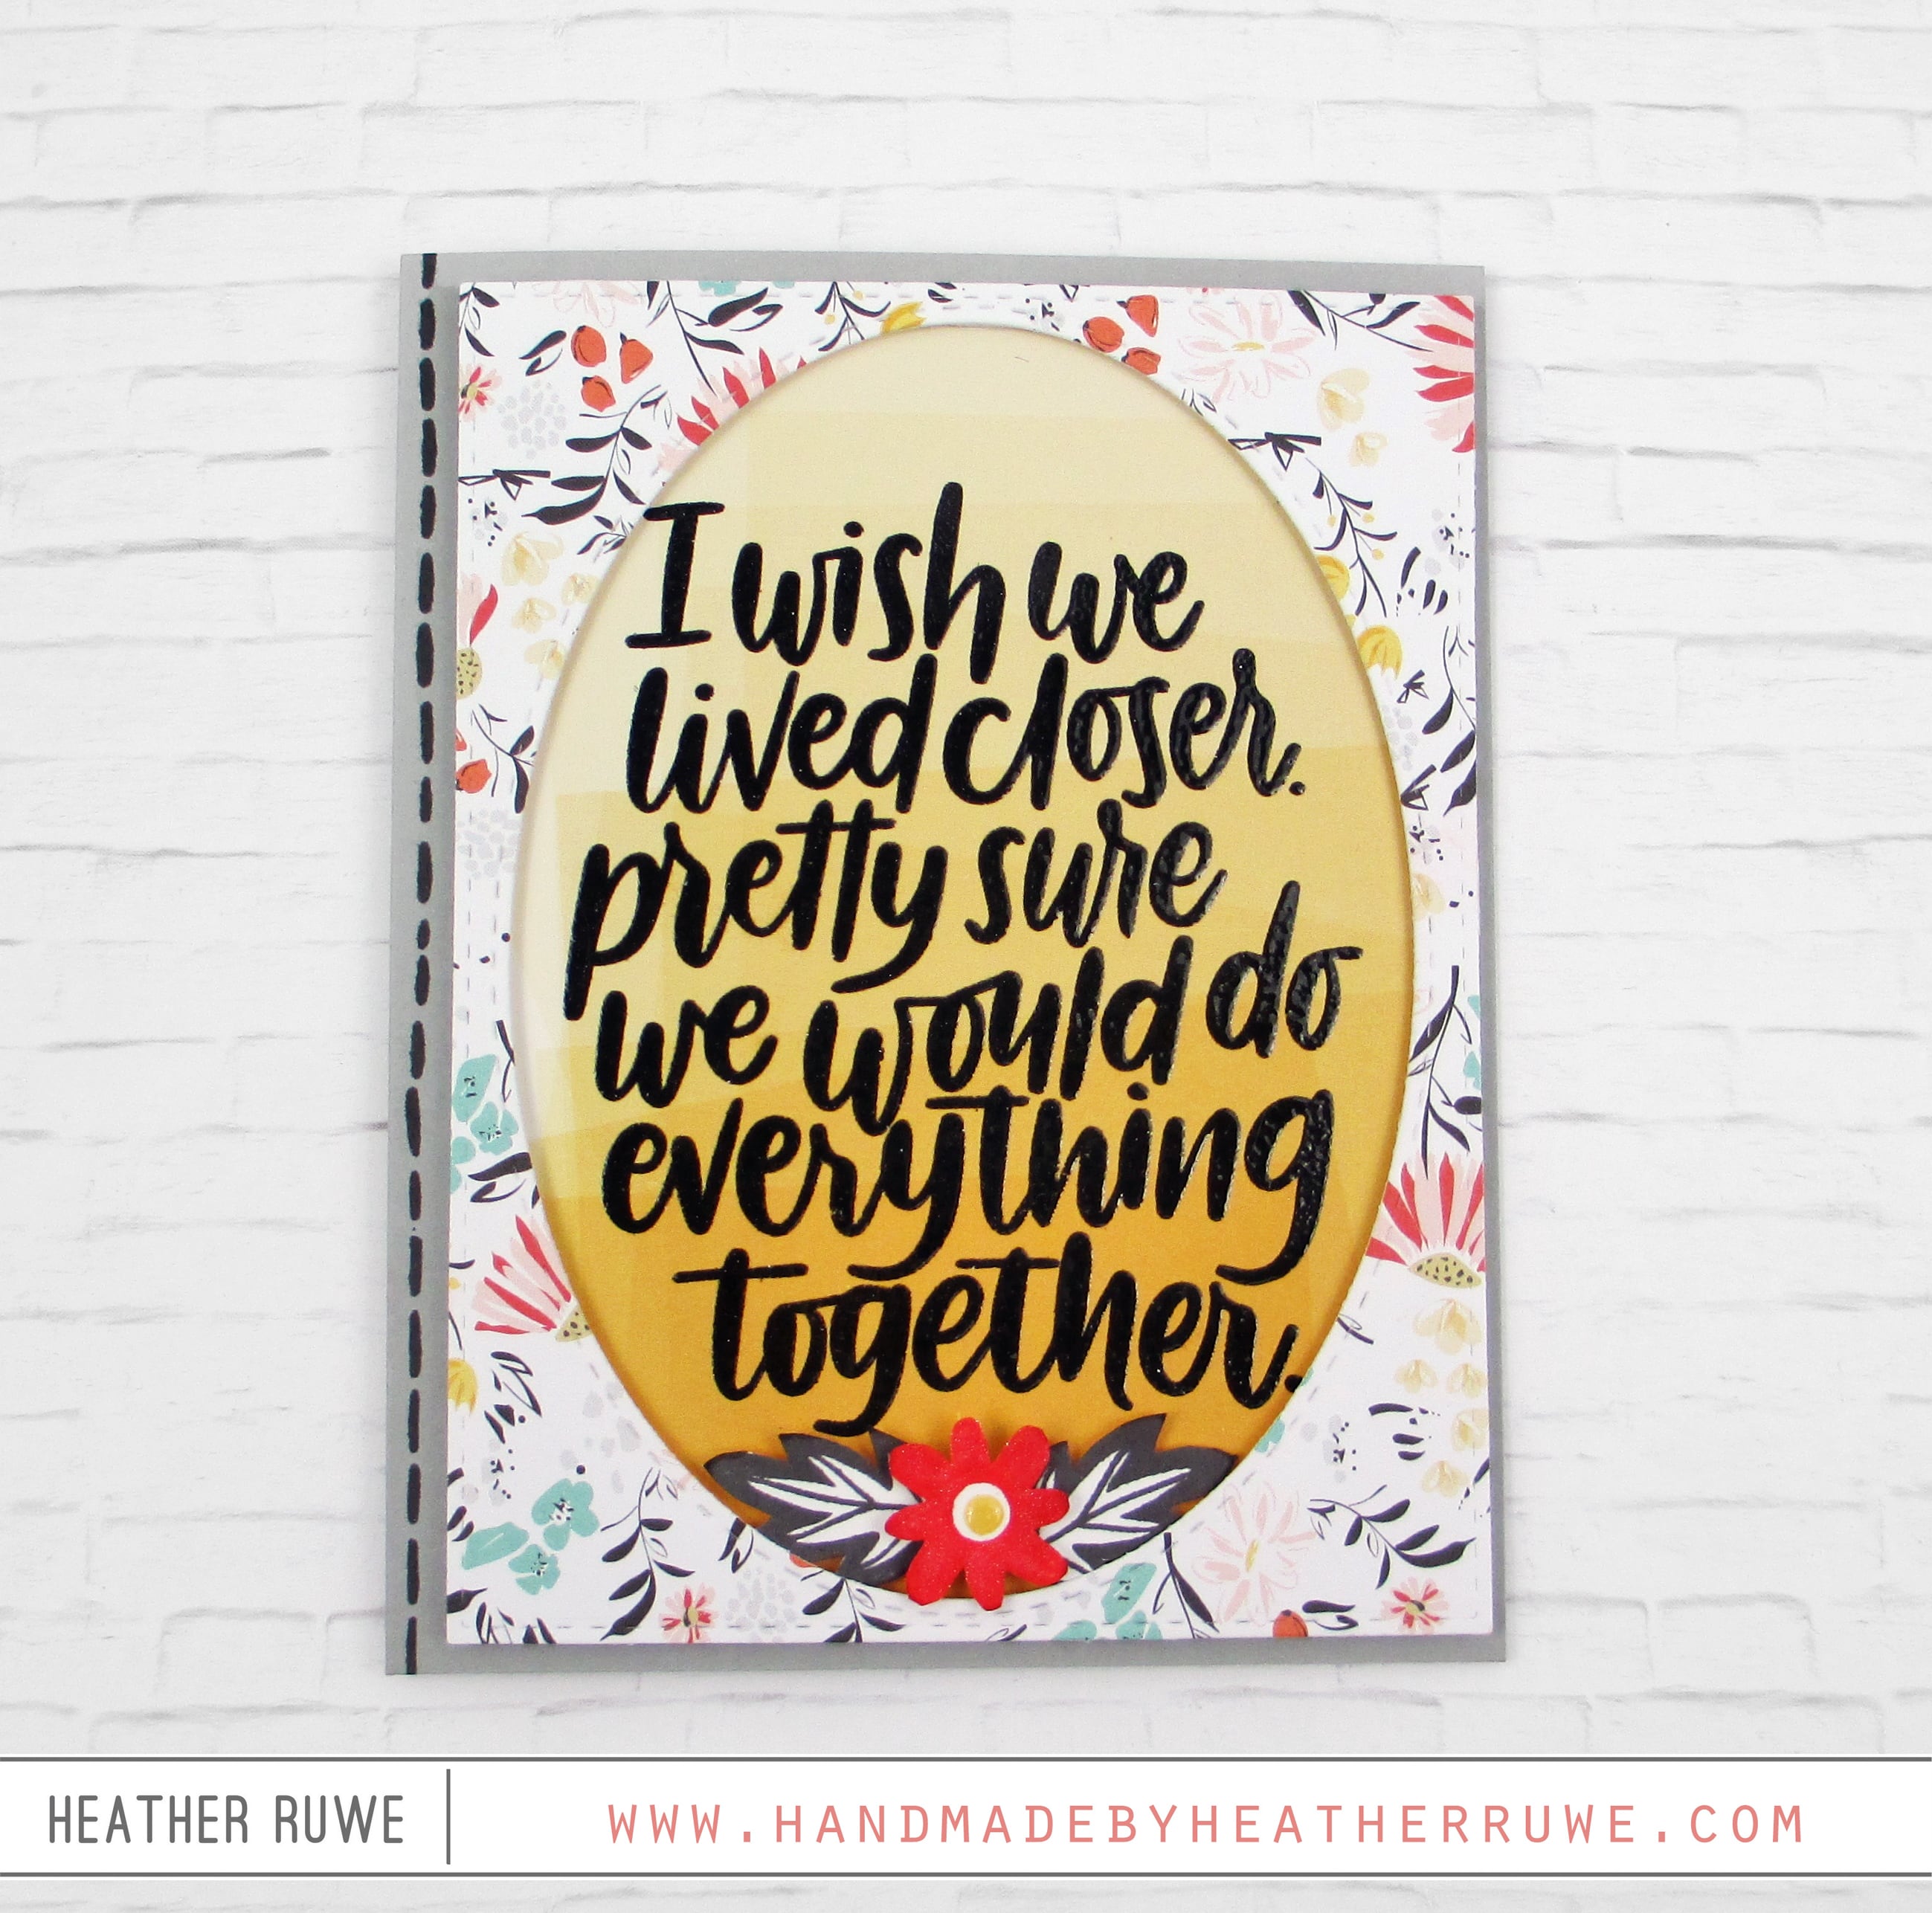
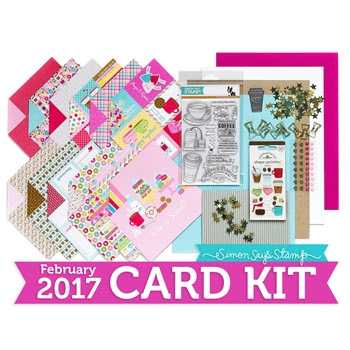
Hello, crafty friends. Today’s card features products from THIS new card kit by Simon Says Stamp. There are some beautiful patterned papers in this month’s kit. I stamped one of the yellow ombre pieces with the sentiment from one of the stamp sets included in the kit. The stamp sets are available for individual purchase HERE and HERE. I die-cut one of the floral patterns with THIS and THIS stitched die, creating a window...

Simon Says Stamp Fluttering By Release

  Hi, crafty friends. Today’s card uses a few new products from THIS new release by Simon Says Stamp. I’m a big fan of the Picture Book Animals. Simon has added a few more to their collection in this release. THIS Otter, THIS Squirrel, and THIS Lion. For today’s card, I die-cut the Otter twice and adhered them to a background piece cut with THIS die. I used THIS on the eyes and nose...

Concord & 9th March Guest Designer

*ETA: This is my second post for the day. If you’re looking for the Simon Says Stamp Blog Hop projects, click HERE.  Hi, crafty friends. I’m excited and honored to be one the guest designers for Concord & 9th this month. Today is release day and the new products are awesome! Today’s cards features THIS new Banners and Blooms stamp set as well as THIS Ribbon Banner die… I white heat embossed the floral...

Hero Arts 2018 Catalog Release Blog Hop

Hi, crafty friends. I’m honored to be joining a talented group of artists to showcase new products from Hero Arts. I created three cards today featuring mini ink cube backgrounds… I love Hero Arts mini ink cubes. They come in fun colors, perfect for travel, and cost effective. I used them on all three cards in different ways to make some simple backgrounds. I also used THIS new adorable stamp set on all the...

Wild About You

Hello, crafty friends. Today I’m back with a masculine card design perfect for Valentine’s Day… I find it difficult to create masculine cards and usually Valentine’s Day is flooded with pink and red. However, after stamping, coloring and cutting out the image from THIS stamp set, I kept the rest of the card design simple to make the color combination pop. Since it was more earth tone colors, it lends itself to a masculine...

Simon Says Stamp Friends Release

Hello. I’m sharing a few cards today featuring products form Simon Says Stamp’s Friends Release.  You can check out the entire release HERE. It’s fantastic! I had a hard time choosing just one product to play with, so I used three new products on my cards… I started by inking through THIS new stencil with various colors of Distress Oxide Ink. I love the chalk look it gives when it dries! I trimmed off...

Hashtag Cards

Hello. Have you heard that Cathy Zielske has designed products for Simon Says Stamp!? I’ve been a big fan of Cathy’s for a long time. She is one of my scrapbook idols and I’m giddy that she has crossed over into the card making scene. Oh, and she is so funny too. You must follow here on Instagram HERE. She is sure to put a smile on your face. Okay, back to the new...

Rainbow Distress Oxide Background

Hi there. I’m sharing a one layer card today featuring a rainbow Distress Oxide Ink background… I applied a rainbow of Distress Oxide Ink colors to a piece of THIS cardstock using the bottoms of makeup sponge applicators. They have a square bottom and I used it to pounce colors in a line, overlapping each color. I sprayed it with THIS sprayer and dried it with THIS heat gun to achieve the texture. I...

SSS February 2017 Card Kit

Hello and welcome. I’m sharing a card today using THIS adorable new card kit from Simon Says Stamp… Click HERE for more information about this kit Here’s the card I created… I started by cutting a panel using THIS die and covering it with THIS distress ink. I sprayed some water using THIS sprayer to create water spots and add some subtle interest. After stamping the sentiment from the kit’s stamp set using my...

I Love Neat & Tangled- Day Two

Hello. I’m back for Day Two of the I love Neat & Tangled company spotlight week. (You can click HERE for Day One if you missed it.) For today’s project… I created a clean and simple card. I stamped the images from THIS adorable set using THIS ink on to a sheet of THIS cardstock. After coloring the images in, I used THESE coordinating dies to cut them out. For the background, I die-cut...