Card Class Cards

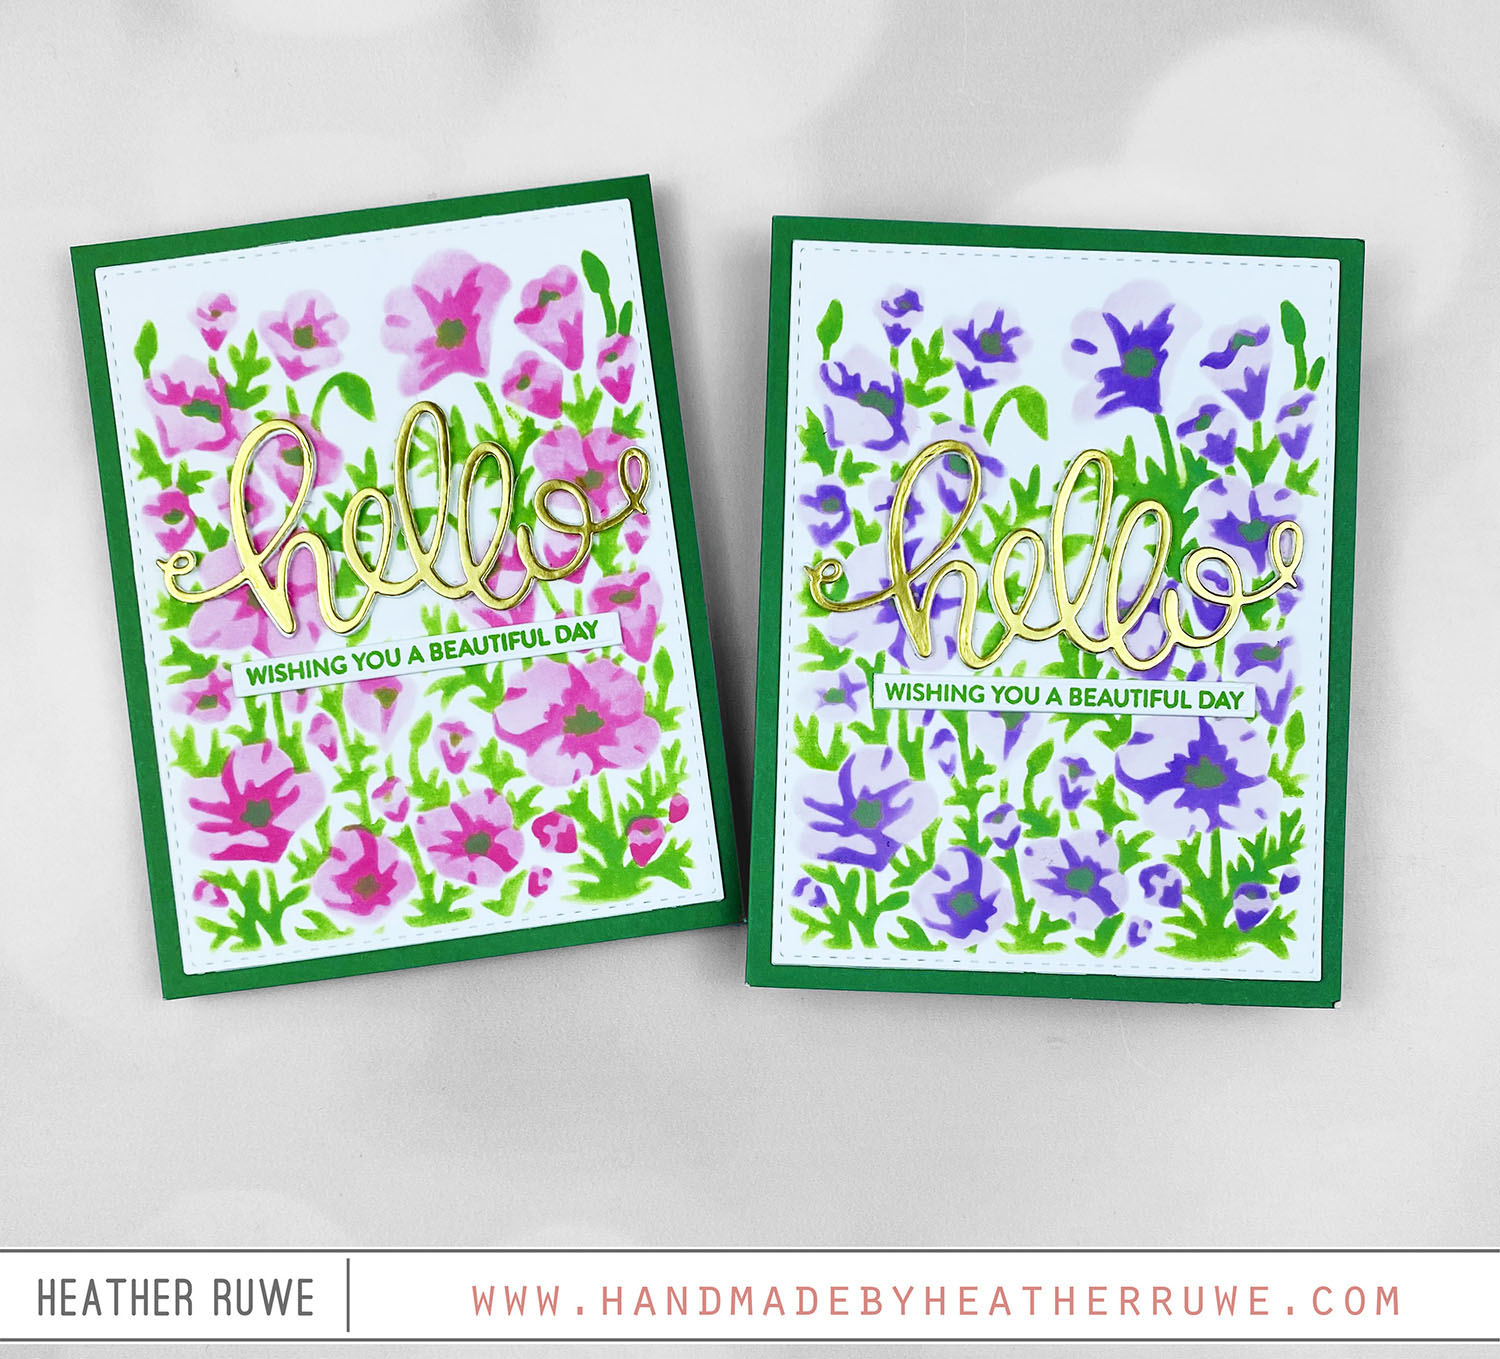
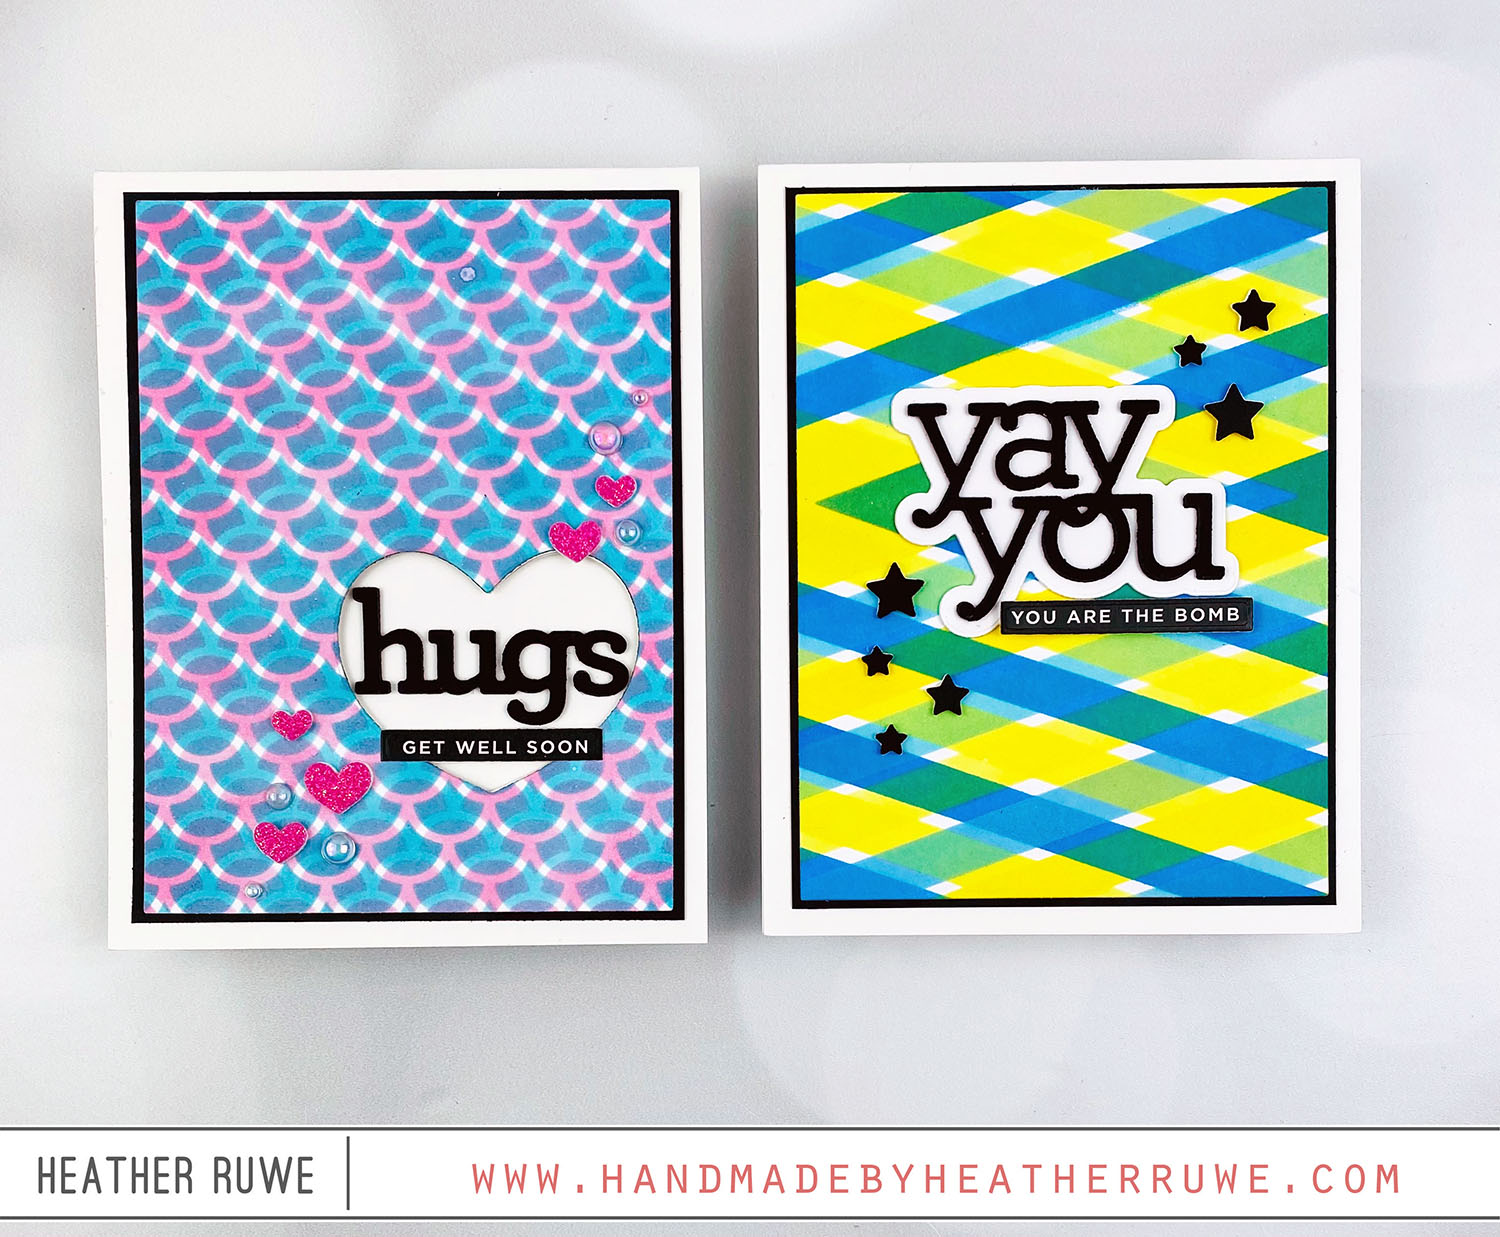
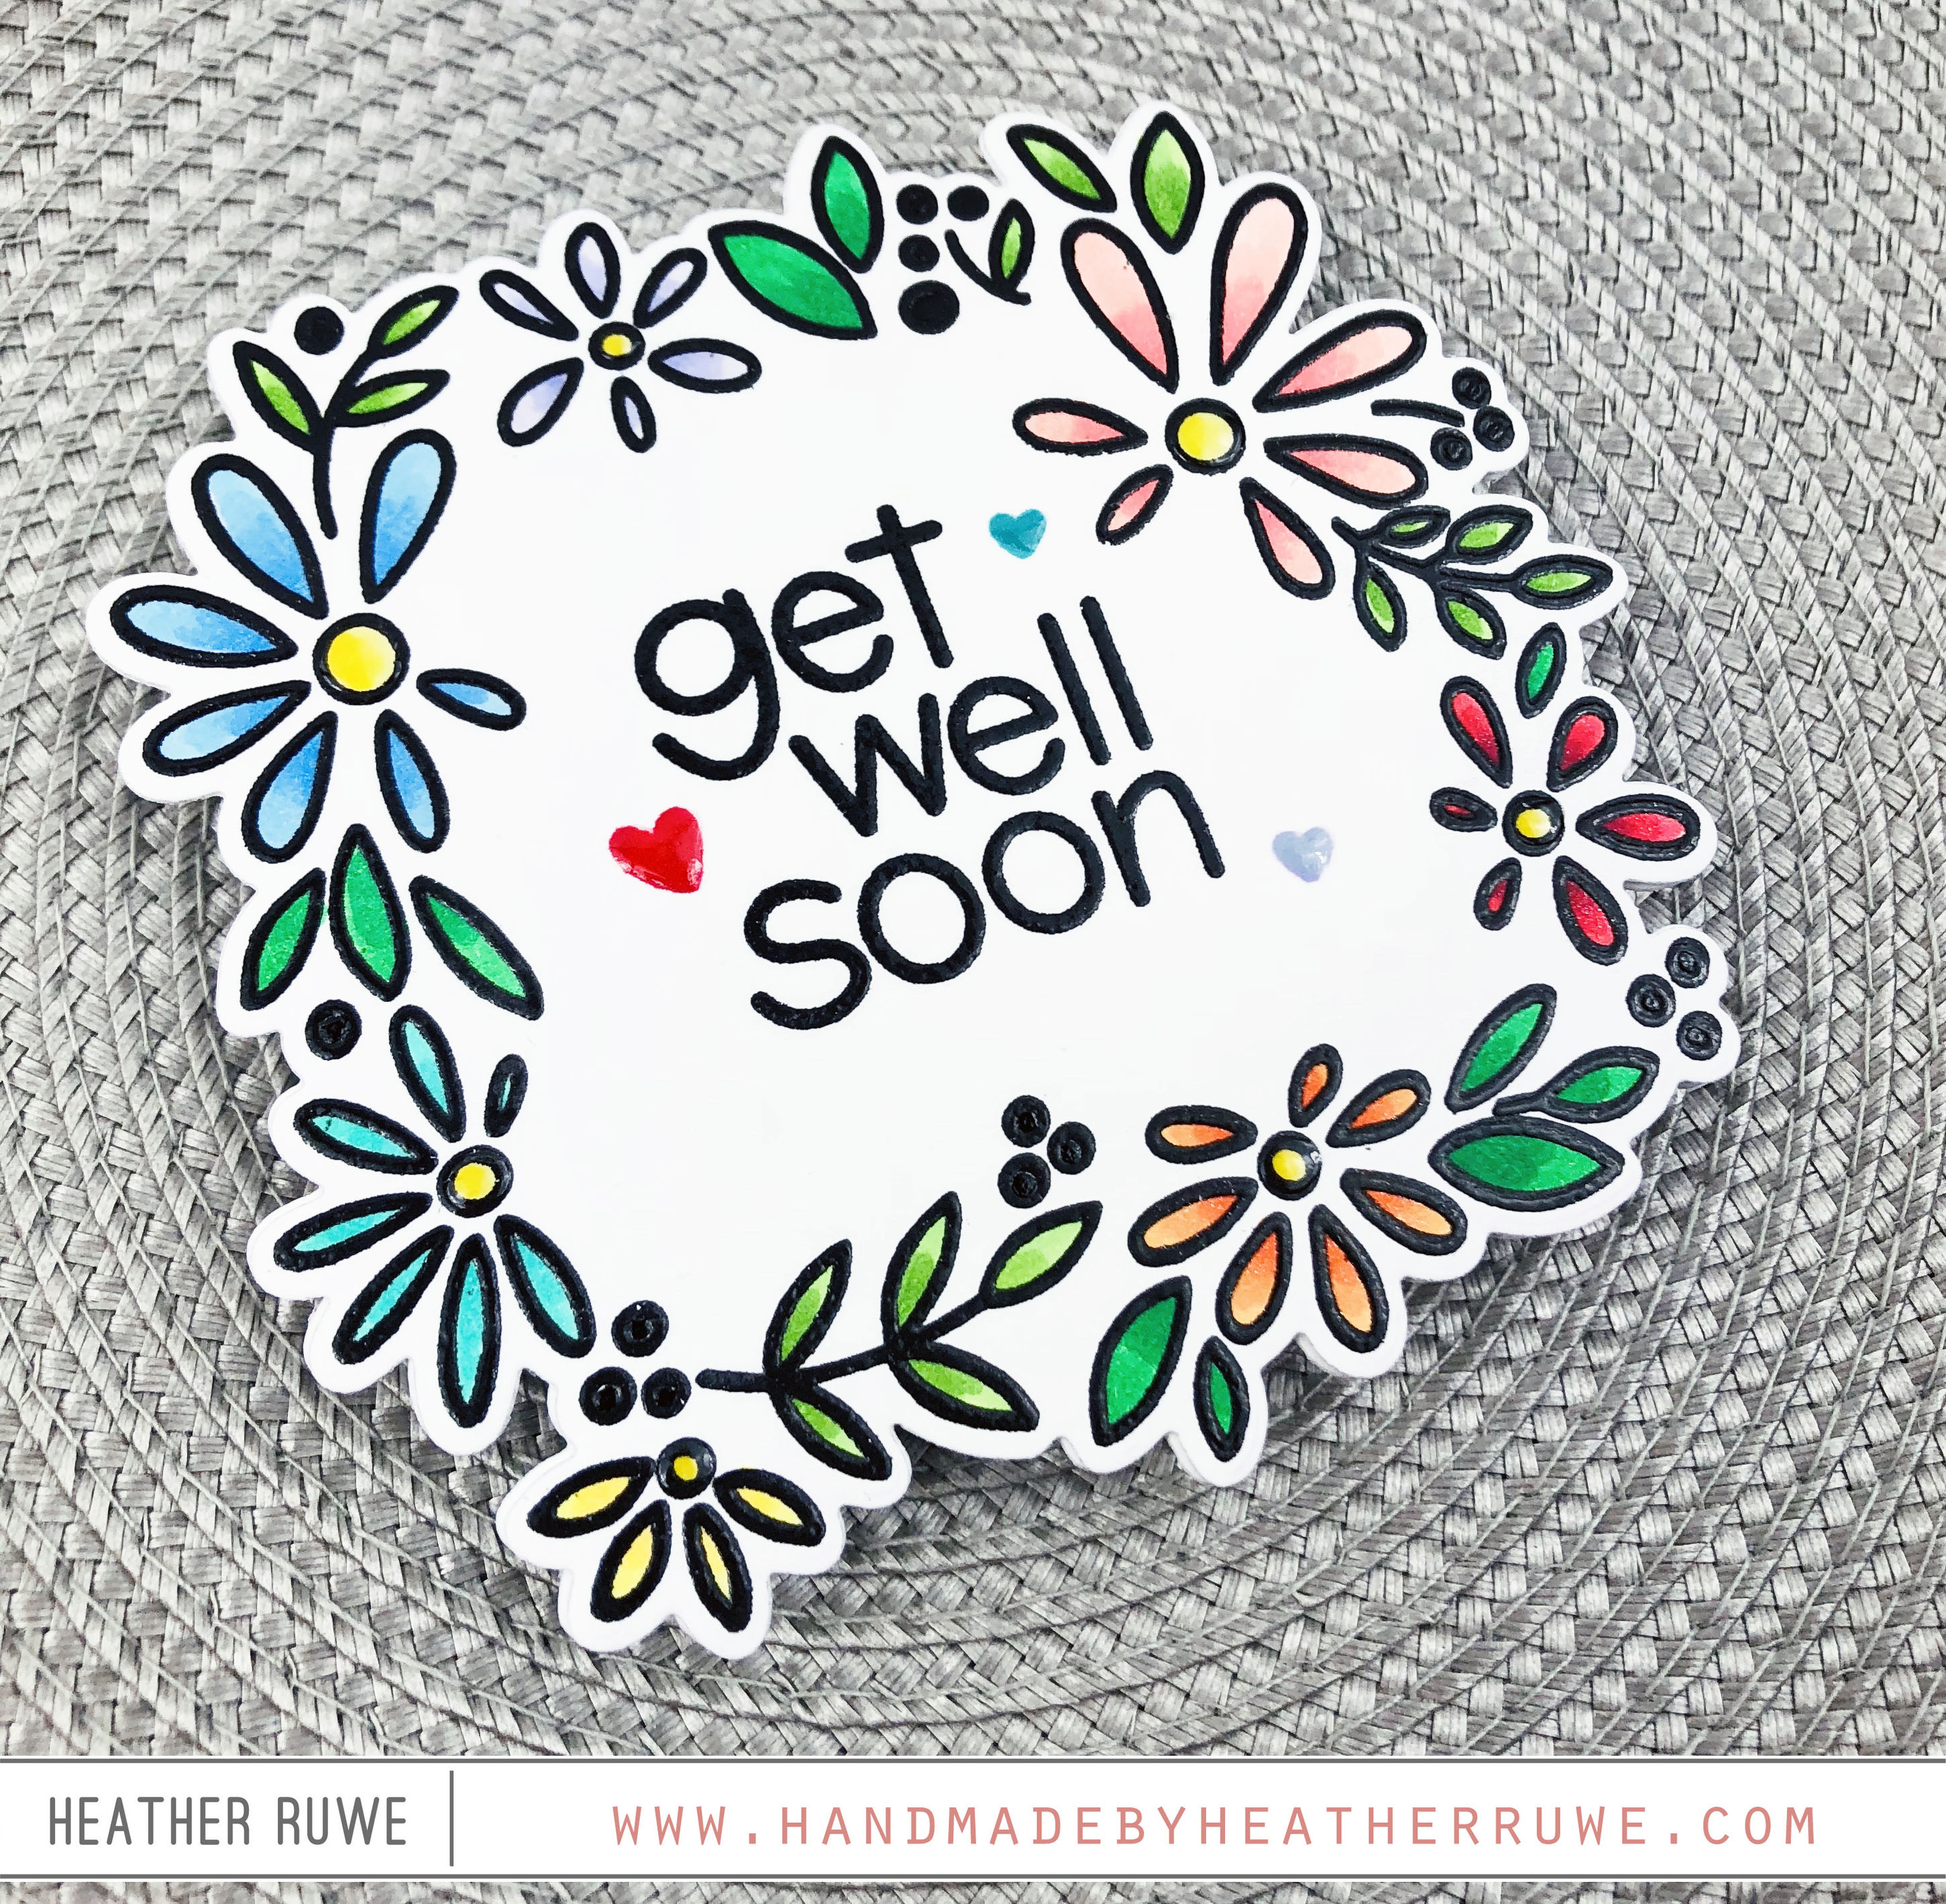
Hello there, crafty friends. Recently, I taught a card class for some of the teachers at Aiden’s school… …we had so much fun and I wanted to share the cards that we created. We made a total of four cards. For the first card… I started by covering the front of a 4bar card base with THIS patterned paper. Next, I stamped the images from THIS waffle stamp set and colored them with Copic...

OCC Stenciled 2 Class

Howdy, crafty friends. I’m taking THIS Stenciled 2 class over at Online Card Classes and was inspired by the first day of class. Jennifer McGuire taught a lesson about rotating your stencils for a new look… For the first card… I applied pink ink through THIS Mermaid Scales stencil on a white A2 carstock panel. I flipped the stencil upside down and applied blue ink through the same stencil, creating a whole new look…...

Feel Better Soon Card

Howdy, crafty friends. Today’s card features a die-cut sentiment cut from a stamped image… To create this card, I started by stamping the plants from the Printmaking Plants stamp set on to white cardstock. This is a 6×8 layering stamp set and is so easy to line up. I really like that it colors in the images quickly with ink. I stamped the outline image first using black ink and then added color to...

Get Well Soon Card

Howdy, crafty friends. I have a clean and simple card to share today… I started by stamping THIS sentiment and THIS bear image on a white panel. I white heat embossed the remaining sentiment from THIS same stamp set and colored the bear image in with Copic Markers. I finished off the card by die-cutting hearts using THIS die and adding THIS and THIS on top for some shine and sparkle. I adhered the...

More STAMPtember Inspiraiton-Shaped Cards

Hi there, crafty friends. I have more STAMPtember inspiration to share today… I just love the wreath image from THIS stamp set. I stamped it and colored it with Copic markers. Once the coloring was done, I stamped the image again using THIS ink and clear heat embossed it. It makes the images pop. I stamped sentiments from the stamp set in the center as well as a few heart images. I used THIS...

Simon Says Stamp Celebrate You Release

Hello, crafty friends. I’m sharing a couple cards today featuring products from THIS new release. For both cards, I dry embossed THESE dies to create a background. I stamped, colored, and cut out THESE images. I stamped a sentiment from the stamp stamp set in the center and added some of THESE and THESE drops along with some hearts from THIS die. I added some of THIS on top of the hearts from some shine...

Rainbow Cards

Hello, crafty friends. I have a soft spot for anything rainbow. Rainbows make me happy. I’m sharing two cards today that features rainbow and THIS new cloud die. For the first card… I die-cut THIS die from THIS patterned paper to create a rainbow. I die-cut the clouds using THIS die from THIS glitter paper. I backed the opening of the eyes with black cardstock and adhered them to the bottom of each side...

Hashtag Cards

Hello. Have you heard that Cathy Zielske has designed products for Simon Says Stamp!? I’ve been a big fan of Cathy’s for a long time. She is one of my scrapbook idols and I’m giddy that she has crossed over into the card making scene. Oh, and she is so funny too. You must follow here on Instagram HERE. She is sure to put a smile on your face. Okay, back to the new...

Get Well Soon Cards

Welcome. I’ve noticed that I don’t have many get well soon cards in my stash, so I thought I would create a couple with THIS adorable stamp set. For my first card… …I stamped the image and the sentiment in the set using VersaFine Black ink and heat embossed both with clear embossing powder. I did this to help keep the watercolor inside the lines. I used my Peerless Watercolors to color the image...

Stretching Your Stamps…Get Well Soon Cards

Hi! Today I have a similar concept as my last post where I took one stamp set and stretched it to create multiple cards. I took THIS stamp set and created these three cards with it… For my first card, I masked off an area in the center of my white cardstock panel and began repeatedly stamping the medicine bottle using a mask to make some of the bottles appear like they were behind...