Hi, crafty friends. Today’s card features products from THIS new release… To create this card, I applied ink to the raised portion of THIS Embossing Folder and embossed a light blue piece of A2 cardstock. The ink makes settles into the groove of the pattern to resemble rain. I adhered the panel to a top fold note card. I die cut a grass border and adhered it along the bottom of the card. I...
Round of Appaws Card
Hello there, crafty friends. I have a congrats card to share today…. To create this card, I cut THIS die from black and yellow cardstock. I laid the yellow cardstock pieces in THIS embossing folder and embossed the star pattern on them. Next, I ink blended a yellow ink at the bottom of each piece to give some definition. I adhered two of the black frame pieces on top of a side folding note...
Cheeky Encouragement Card
Hello, crafty friends. I have anencouragement card to share today featuring lots of die cutting… To create this card, I started by die cutting THESE mushroom dies from Concord & 9th cardstock. I used a light shade and a dark shade of each color. I put all of the mushroom tops in a box and flicked on some of THIS to add some speckles. I squeezed out a small amount of the white gesso...
More Sunny Vibes Release Inspiration
Hello, crafty friends. Today’s card features products from THIS new release… To create this card, I started by stamping THIS background stamp on THIS notecard using blue ink for a tone on tone look. Next, I die cut THIS die from green and blue cardstock and adhered it to the background. I die cut THIS die cut sentiment from white and vellum and adhered it on top of the die cut. I finished off...
Sunny Vibes Release Blog Hop-Day 2
Hello again, crafty friends. Today’s cards are part of THIS Blog Hop celebrating THIS new release. To create these cards, I used THESE layering rainbow stencils. For the first card… I applied a variety of Pawsitively Saturated inks through the stencils to create the rainbow rays. I went back on top with another stencil and a heavier hand to add details to the rays. I finished off the design with THIS die cut sentiment....
Sunny Smiles Card Kit
Hi there, crafty friends. Today’s card features THIS new card kit… To create these cards, I started by embossing THESE Color Blend Panels with THIS embossing folder (all included in the kit). After adhering the panels to top folding white note cards. I stamped the sun image from THIS stamp set from the kit twice. One i yellow and one in orange. I fussy cut them out and adhered them to the embossed panels...
Just A Note Encouragement Card
Hi there, crafty friends. I have a monochromatic encouragement card to share today using products from THIS new release… To create this card, I applied THESE three new blue inks through THIS stencil. I did cut it with THIS rectangle die and adhered it to a side folding white note card. I stamped the images from THIS and THIS stamp set and used the coordinating dies to cut them out. I swiped the blue...
Be Bold Release-Cherry Blossom Embossing Folder
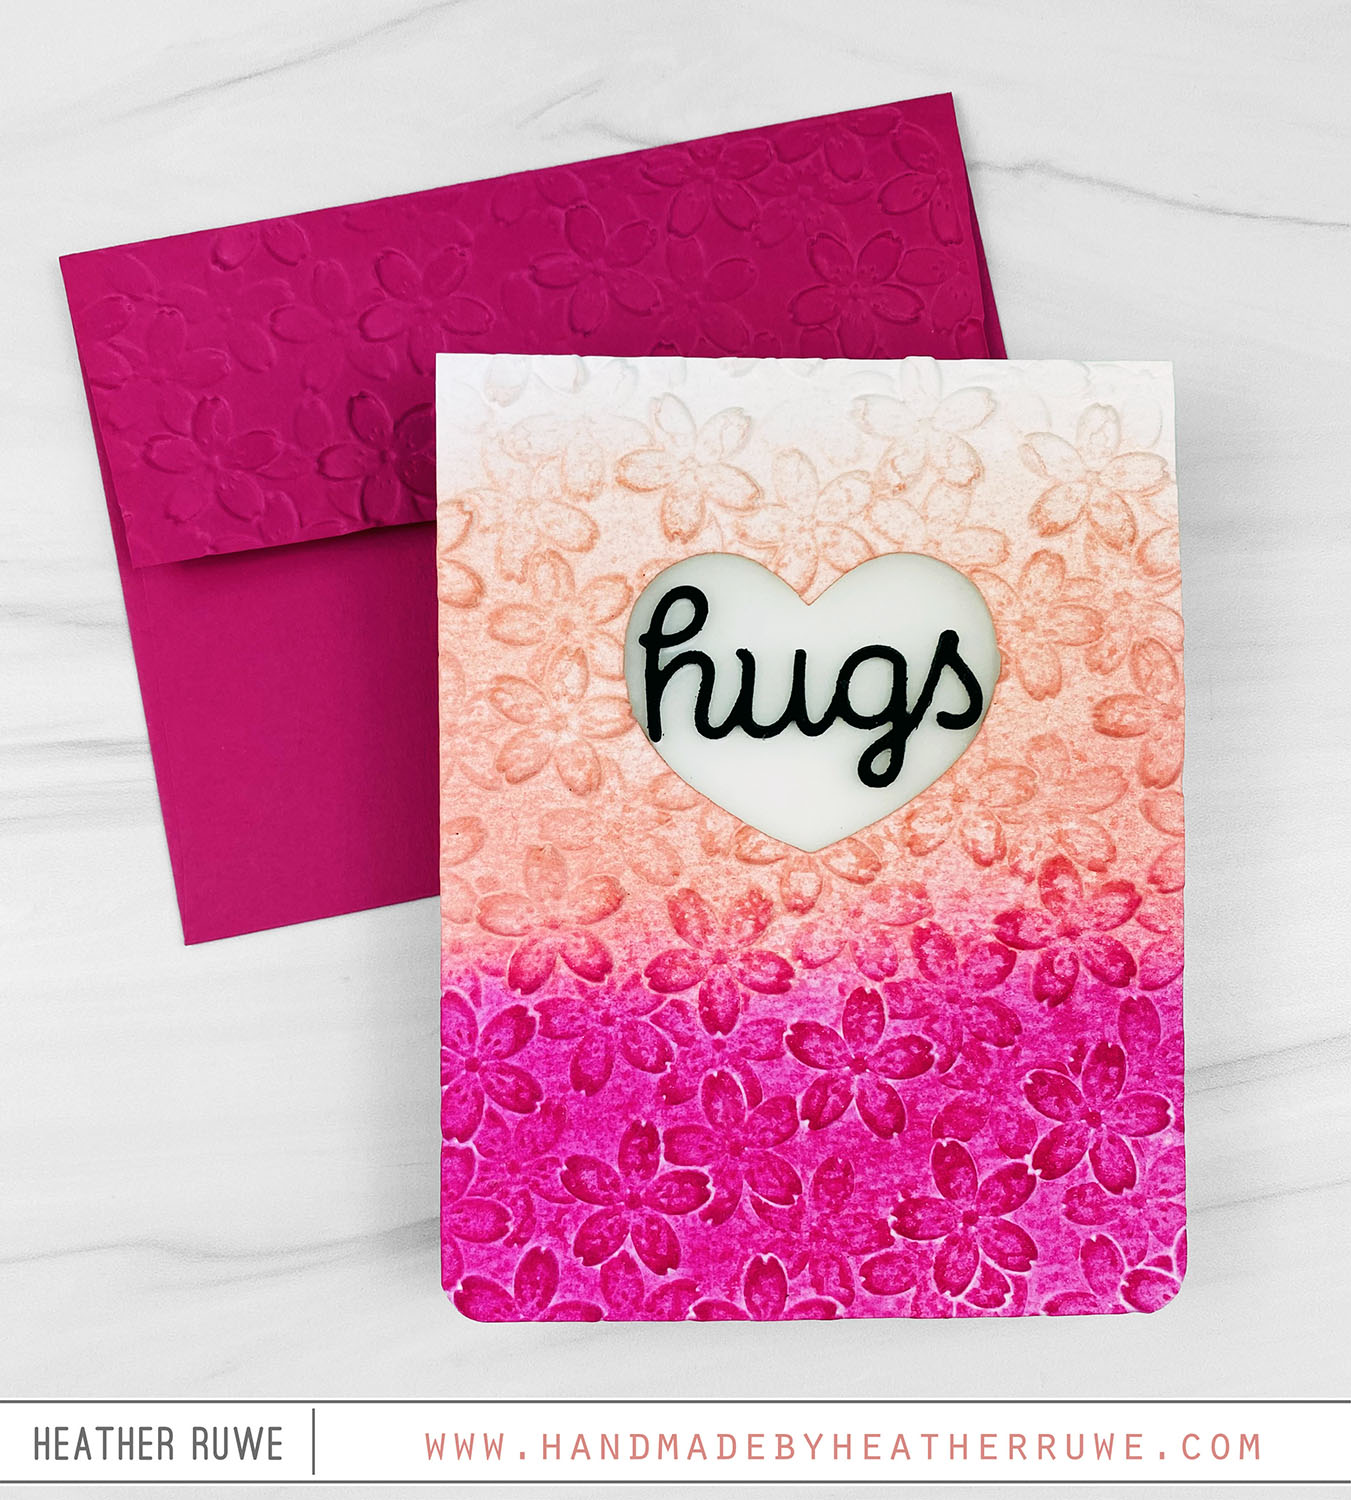
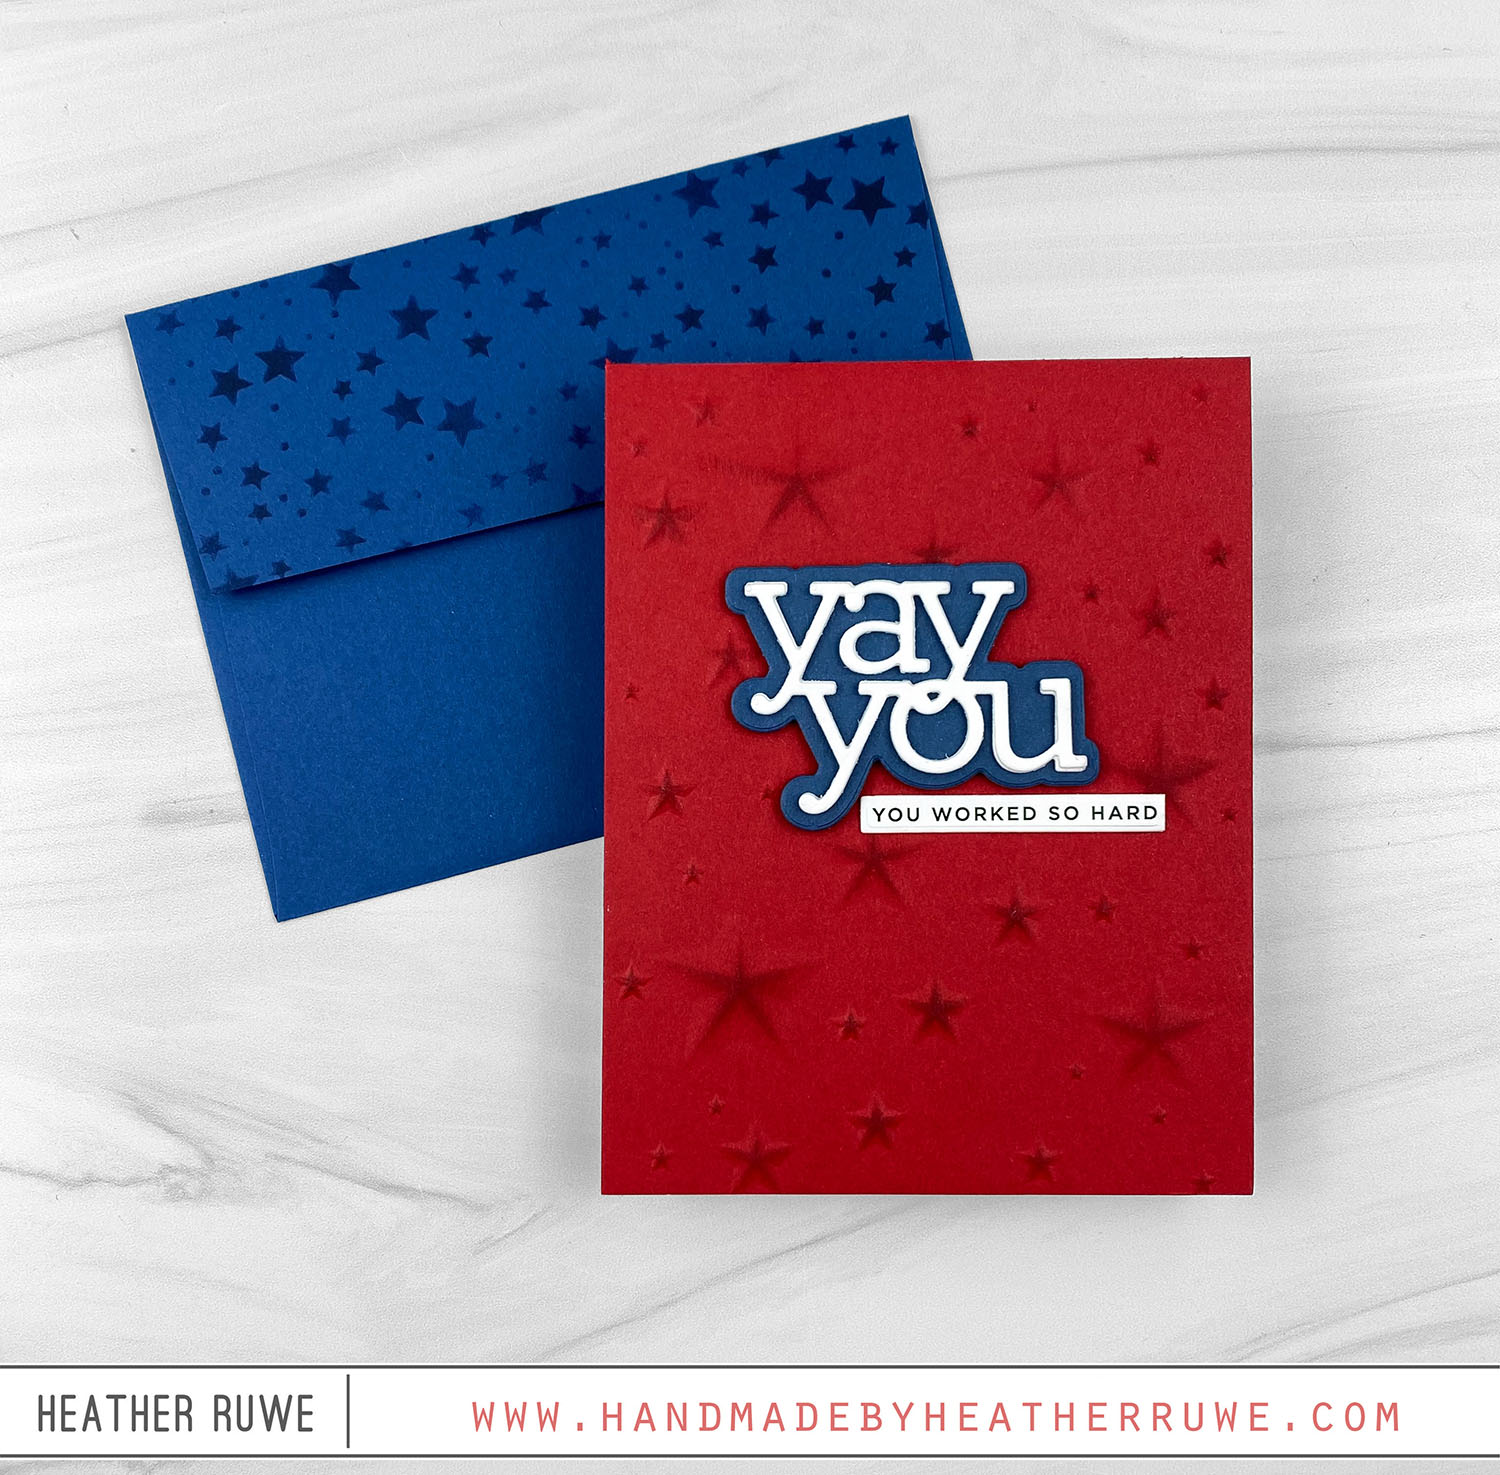
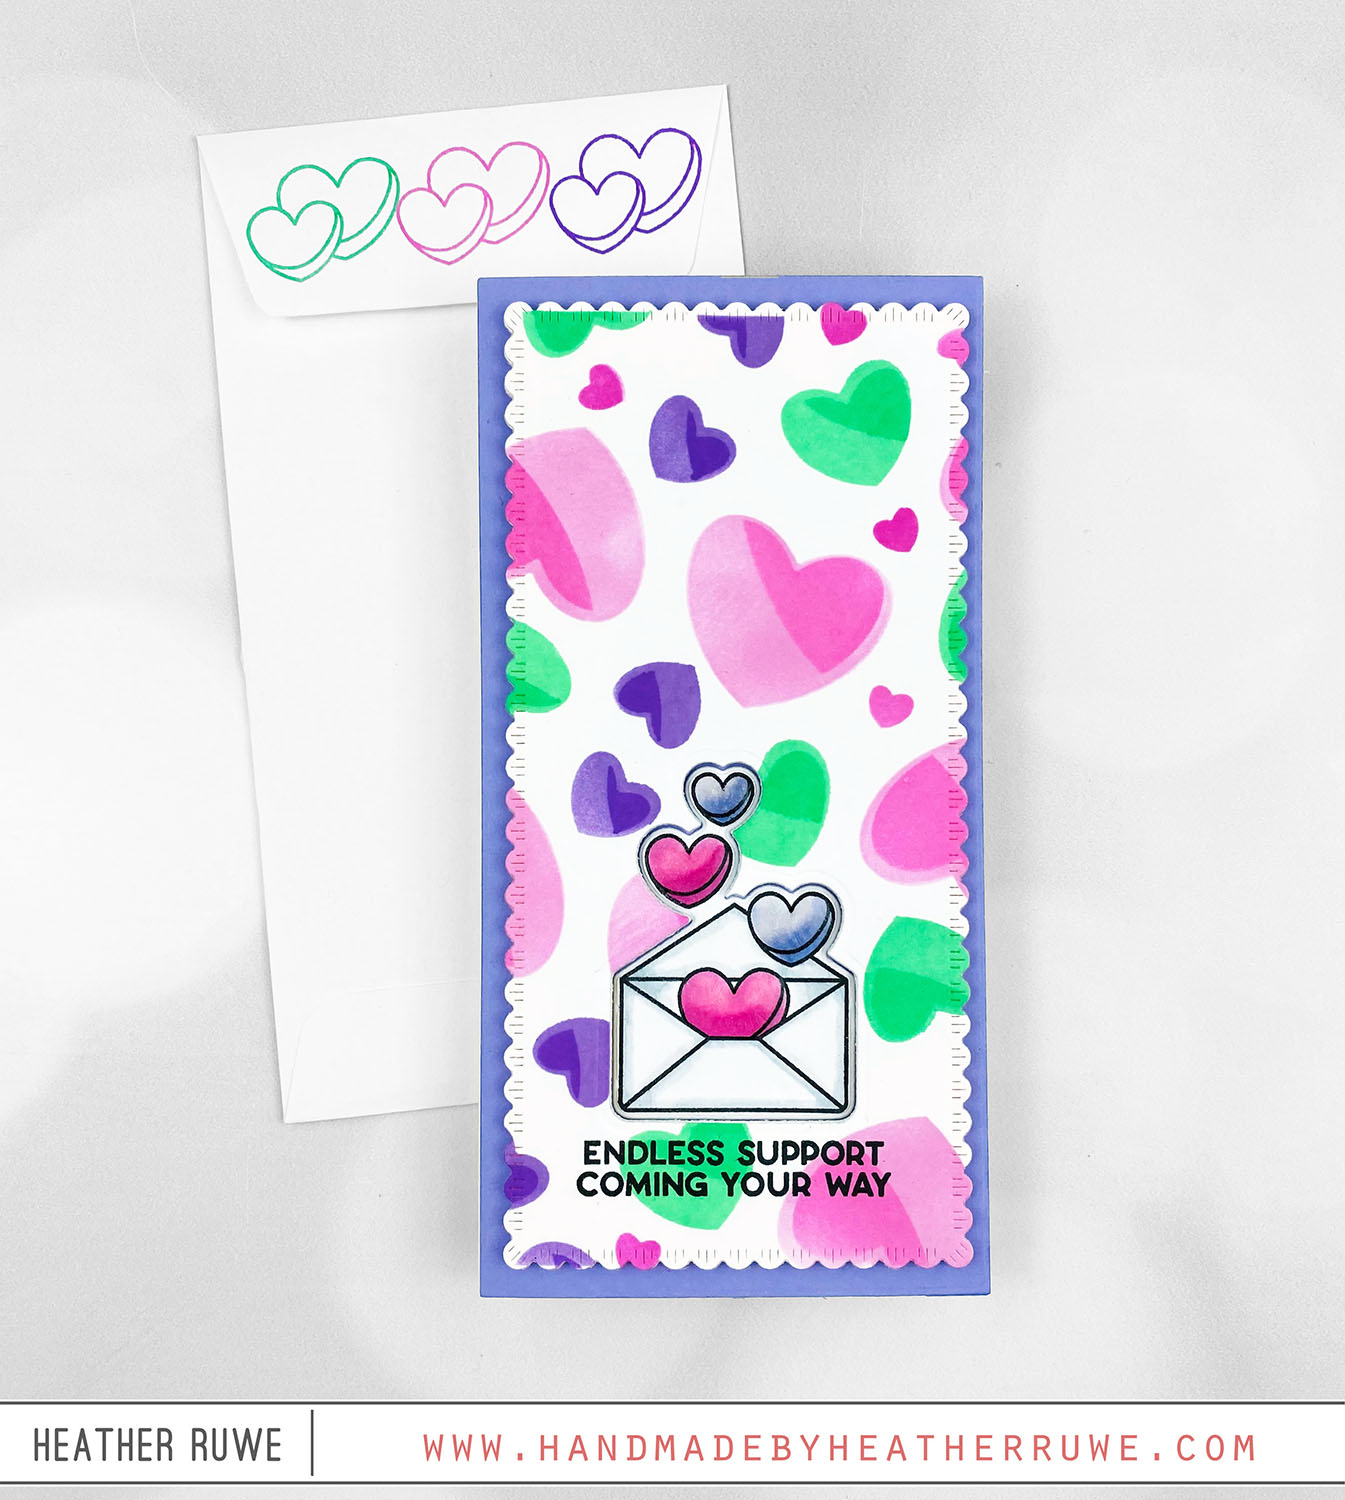
Hello there, crafty friends. I have more inspiration to share today using THIS new release… To create this card, I die cut one of THESE hearts from a center of THIS watercolor cardstock and embossed it with THIS embossing folder. I also cut a heart from the front of a white note card in the same spot as the panel. Before embossing the cardstock, I spritzed it with a fine mist of water on both...
Hero Arts Spring 2024 Catalog Blog Hop
Hello, crafty friends. The Spring 2024 Catalog is now available HERE at Hero Arts! I have two cards to share today featuring some of the new products… For the first card… I used products from THIS co-branded product line with Ralph Tyndall. I applied ink through a ray stencil for the background to create some show lights. I adhered a strip of gray cardstock along the bottom of the panel and stamped the images...
My Monthly Hero Countdown February 2024
Hello again, crafty friends. Today’s card is part of the My Monthly Hero Countdown to the February 5th Kit release. My card features THIS Premium Kit… To create this card, I started by ink blending an A2 white panel cut with THIS die using a rainbow of Hero Arts inks (all linked below). Next, I applied black ink through THIS stencil on top of the ink blending. I spritzed it with THIS shimmer spray....