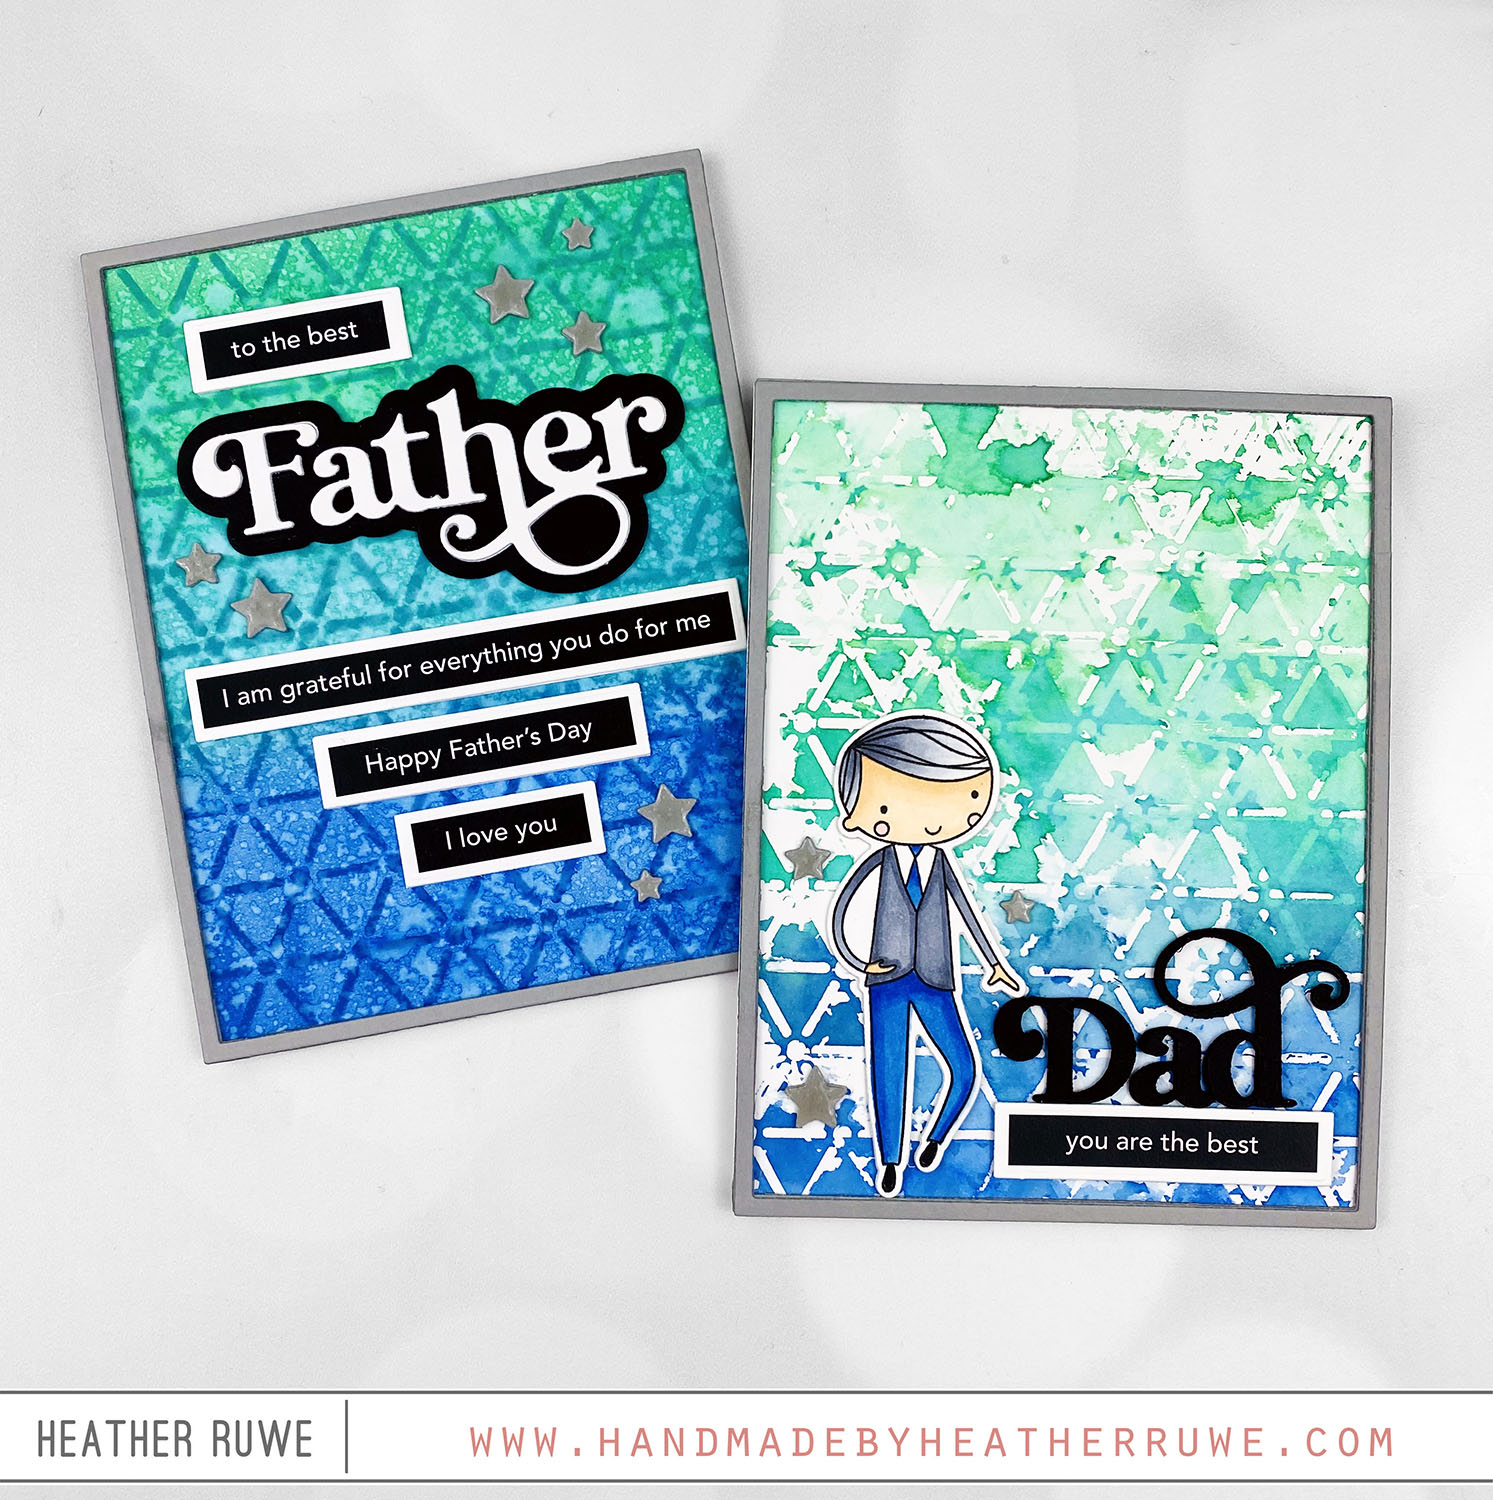
Hi there, crafty friends. Today’s cards are part of THIS Blog Hop celebrating THIS new release… For the first card…. …I started with the background. I applied three colors of Distress ink through THIS stencil on a piece of THIS watercolor paper. I went over the design with the same colors to add color to the entire background. I spritzed it with water to create some texture… I added THIS die cut sentiment along...
Tim Holtz Watercolor Stamp Set Bundle
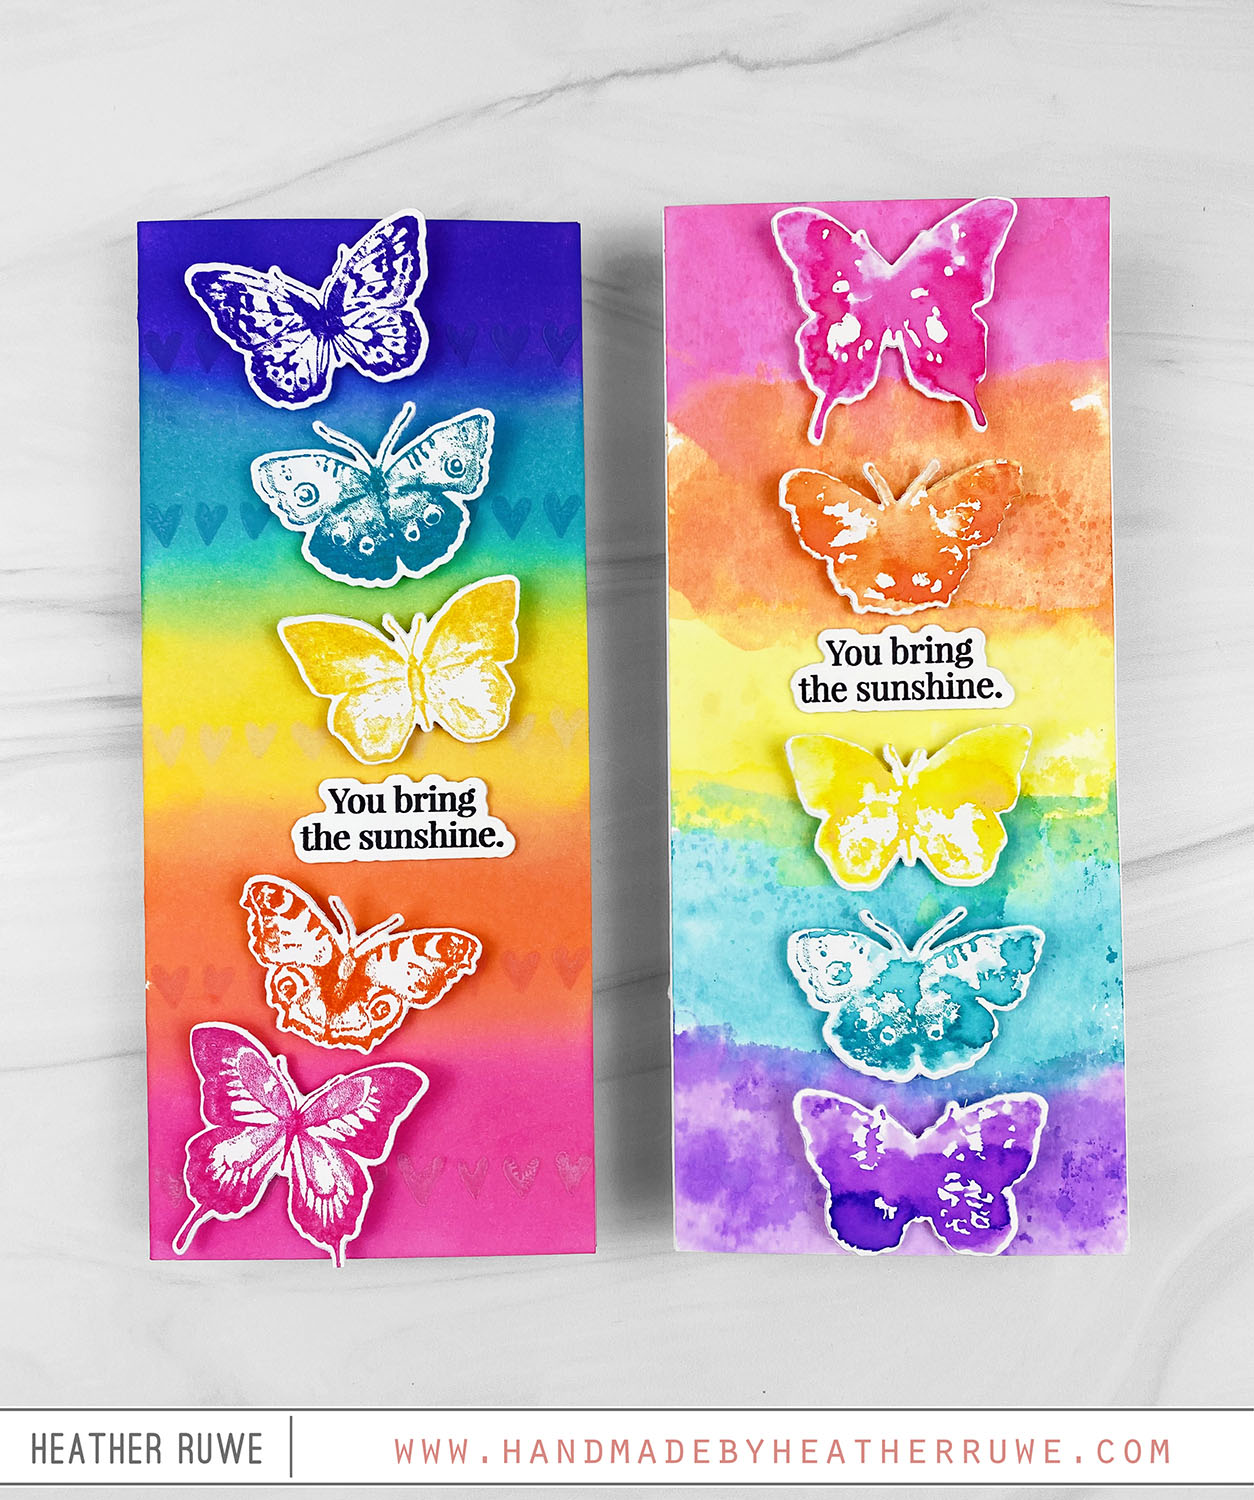
Howdy, crafty friends. I have two cards to share featuring THIS stamp set and coordinating dies… For the first card… I started by ink blending a rainbow of Distress Inks on the front of a saline card base. I stamped the row of hearts image from THIS stamp set on top of each color using the same color to add some interest to the background. I stamped the butterflies from the same stamp set...
Be Bold Release-Cherry Blossom Embossing Folder
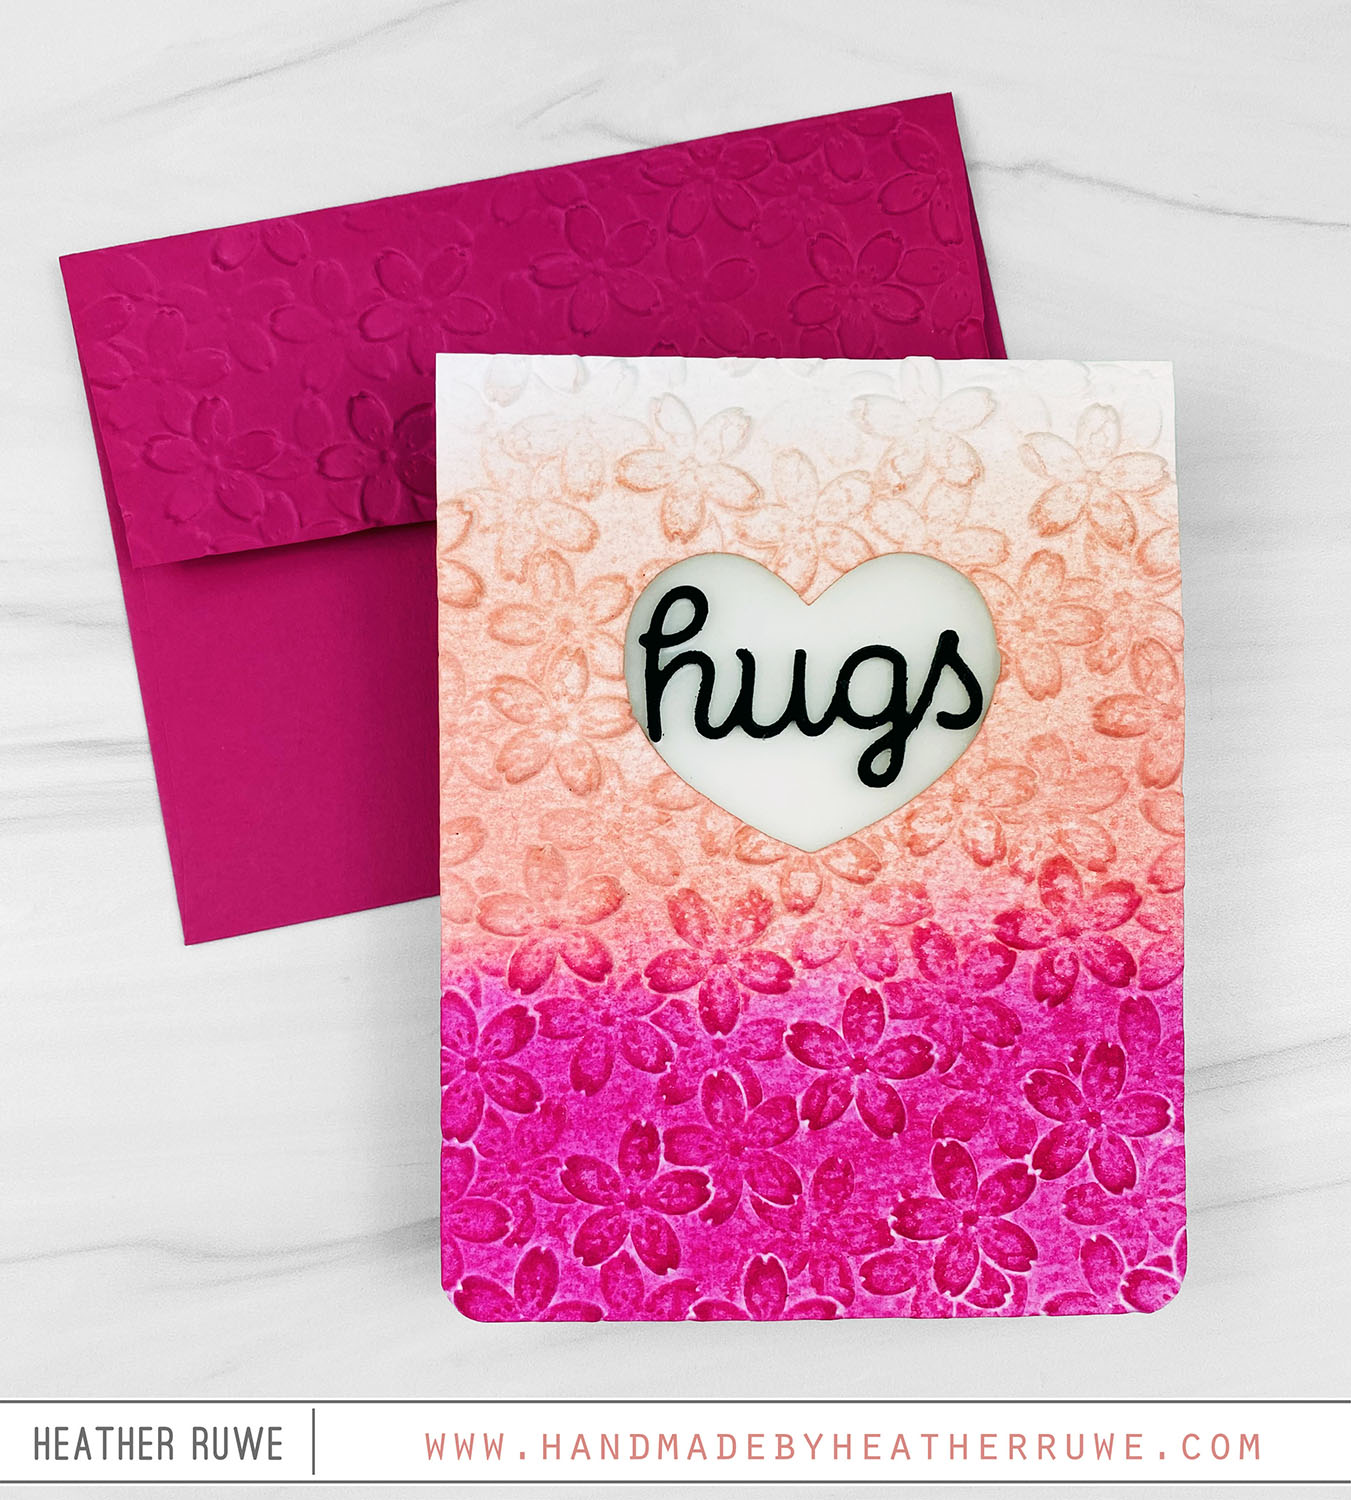
Hello there, crafty friends. I have more inspiration to share today using THIS new release… To create this card, I die cut one of THESE hearts from a center of THIS watercolor cardstock and embossed it with THIS embossing folder. I also cut a heart from the front of a white note card in the same spot as the panel. Before embossing the cardstock, I spritzed it with a fine mist of water on both...
New Tim Holtz-Exclusive Love Notes Bundle
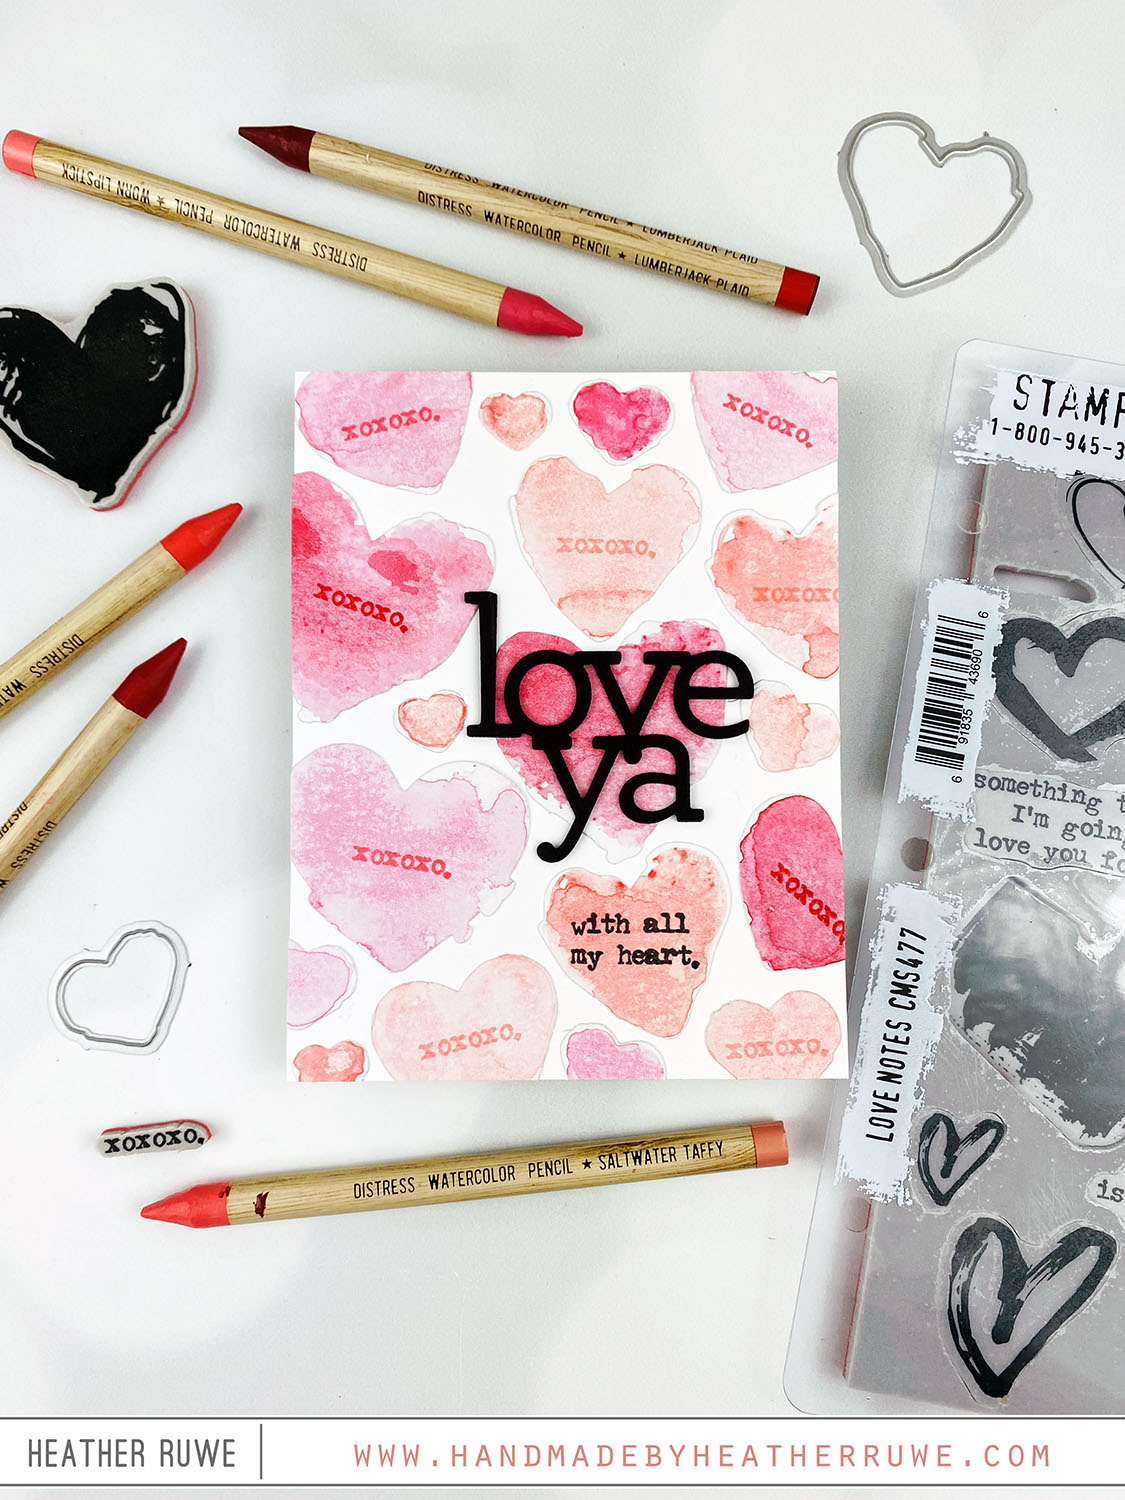
Hello there, crafty friends. Today’s card features THIS new exclusive stamp and die bundle from Tim Holtz and Simon Says Stamp… To create this card, I started by wetting the pinks and reds from THESE, THESE, and THESE Distress Watercolor Pencils and scribbling on the heart stamps from THIS stamp set bundle. I spritzed with water and then stamped on THIS watercolor cardstock. I used the coordinating dies from the set to cut out...
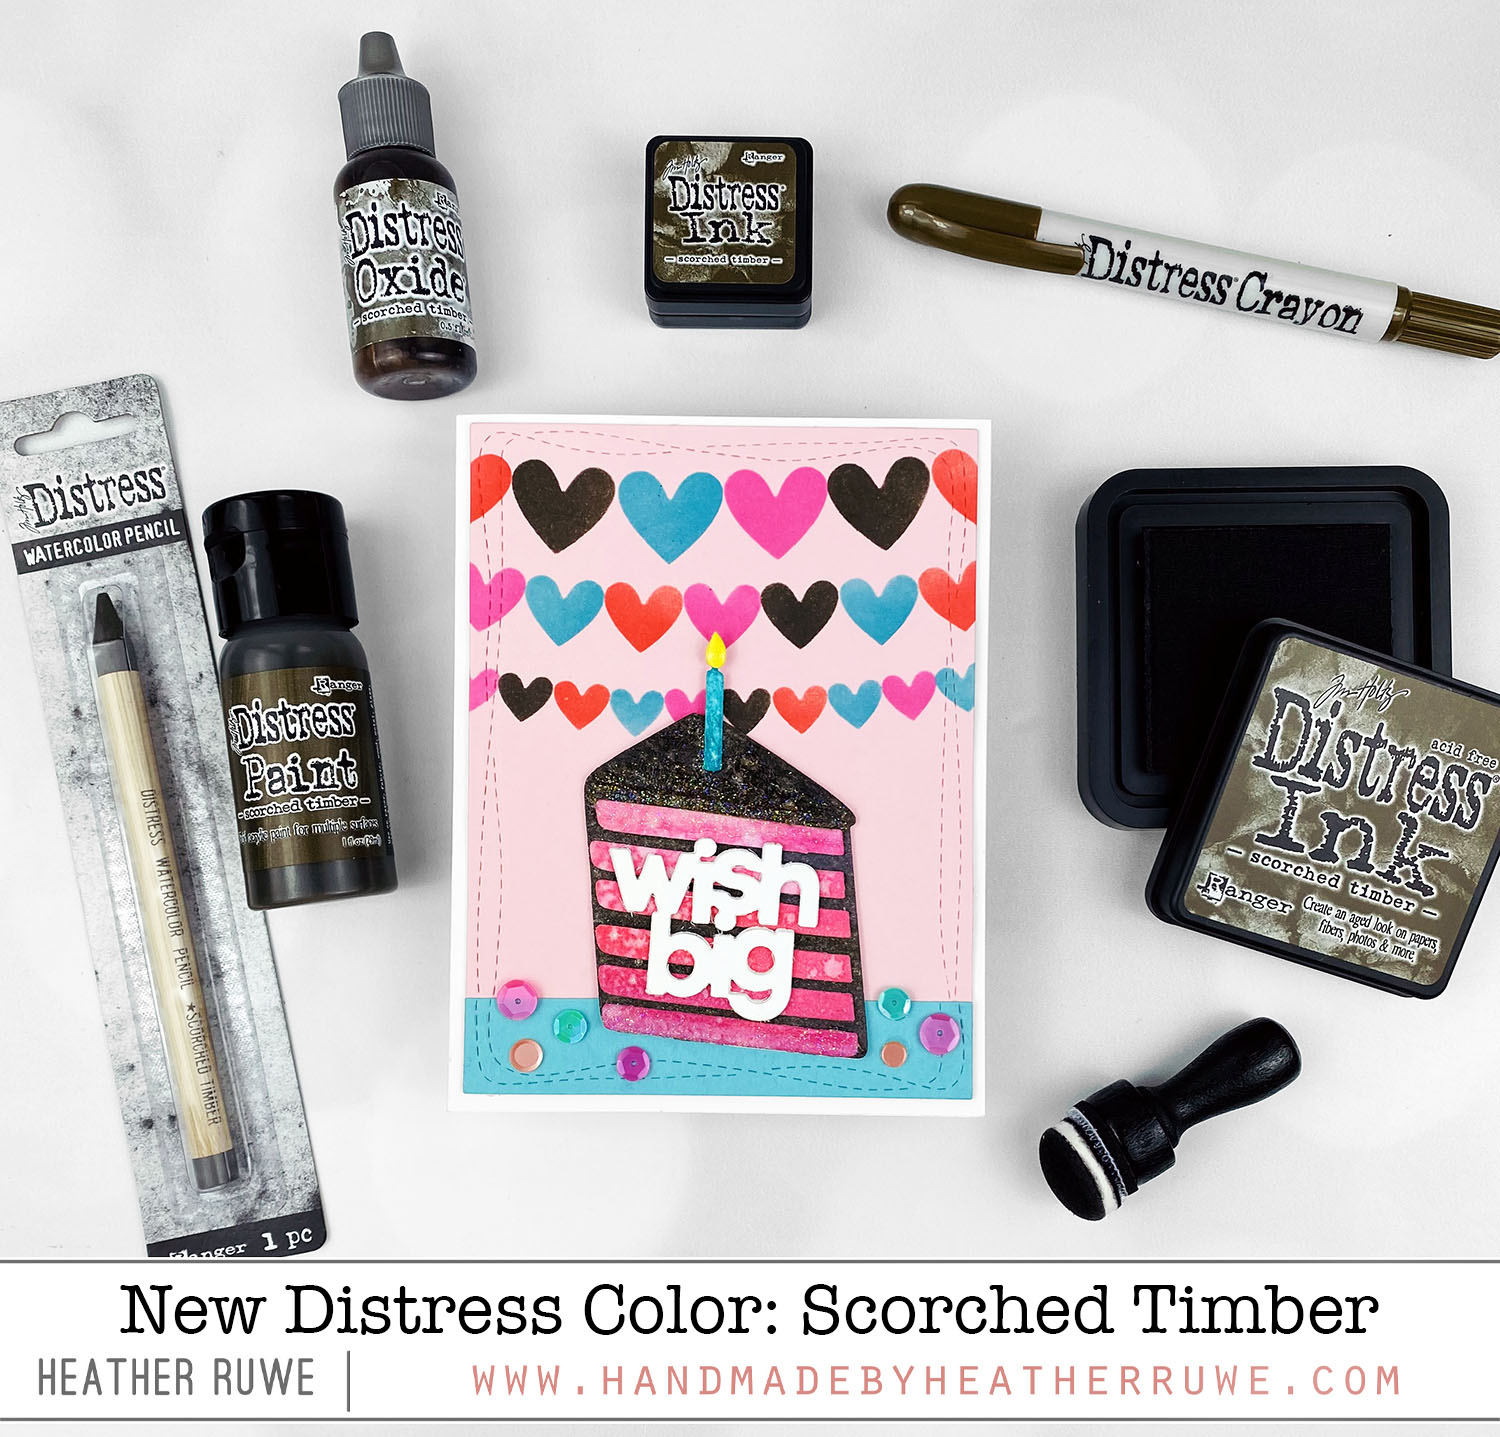
New Distress Color: Scorched Timber
Hello there, crafty friends. There is a new color in the Distress Ink family! Let me introduce you to Scorched Timber… I’m a fan of bold bright colors so I have to admit, I don’t typically gravitate toward brown. However, I feel like it is a great color paired up with other colors. It can really ground other colors. On my card, I paired it with colors that really compliment it like reds, pinks,...
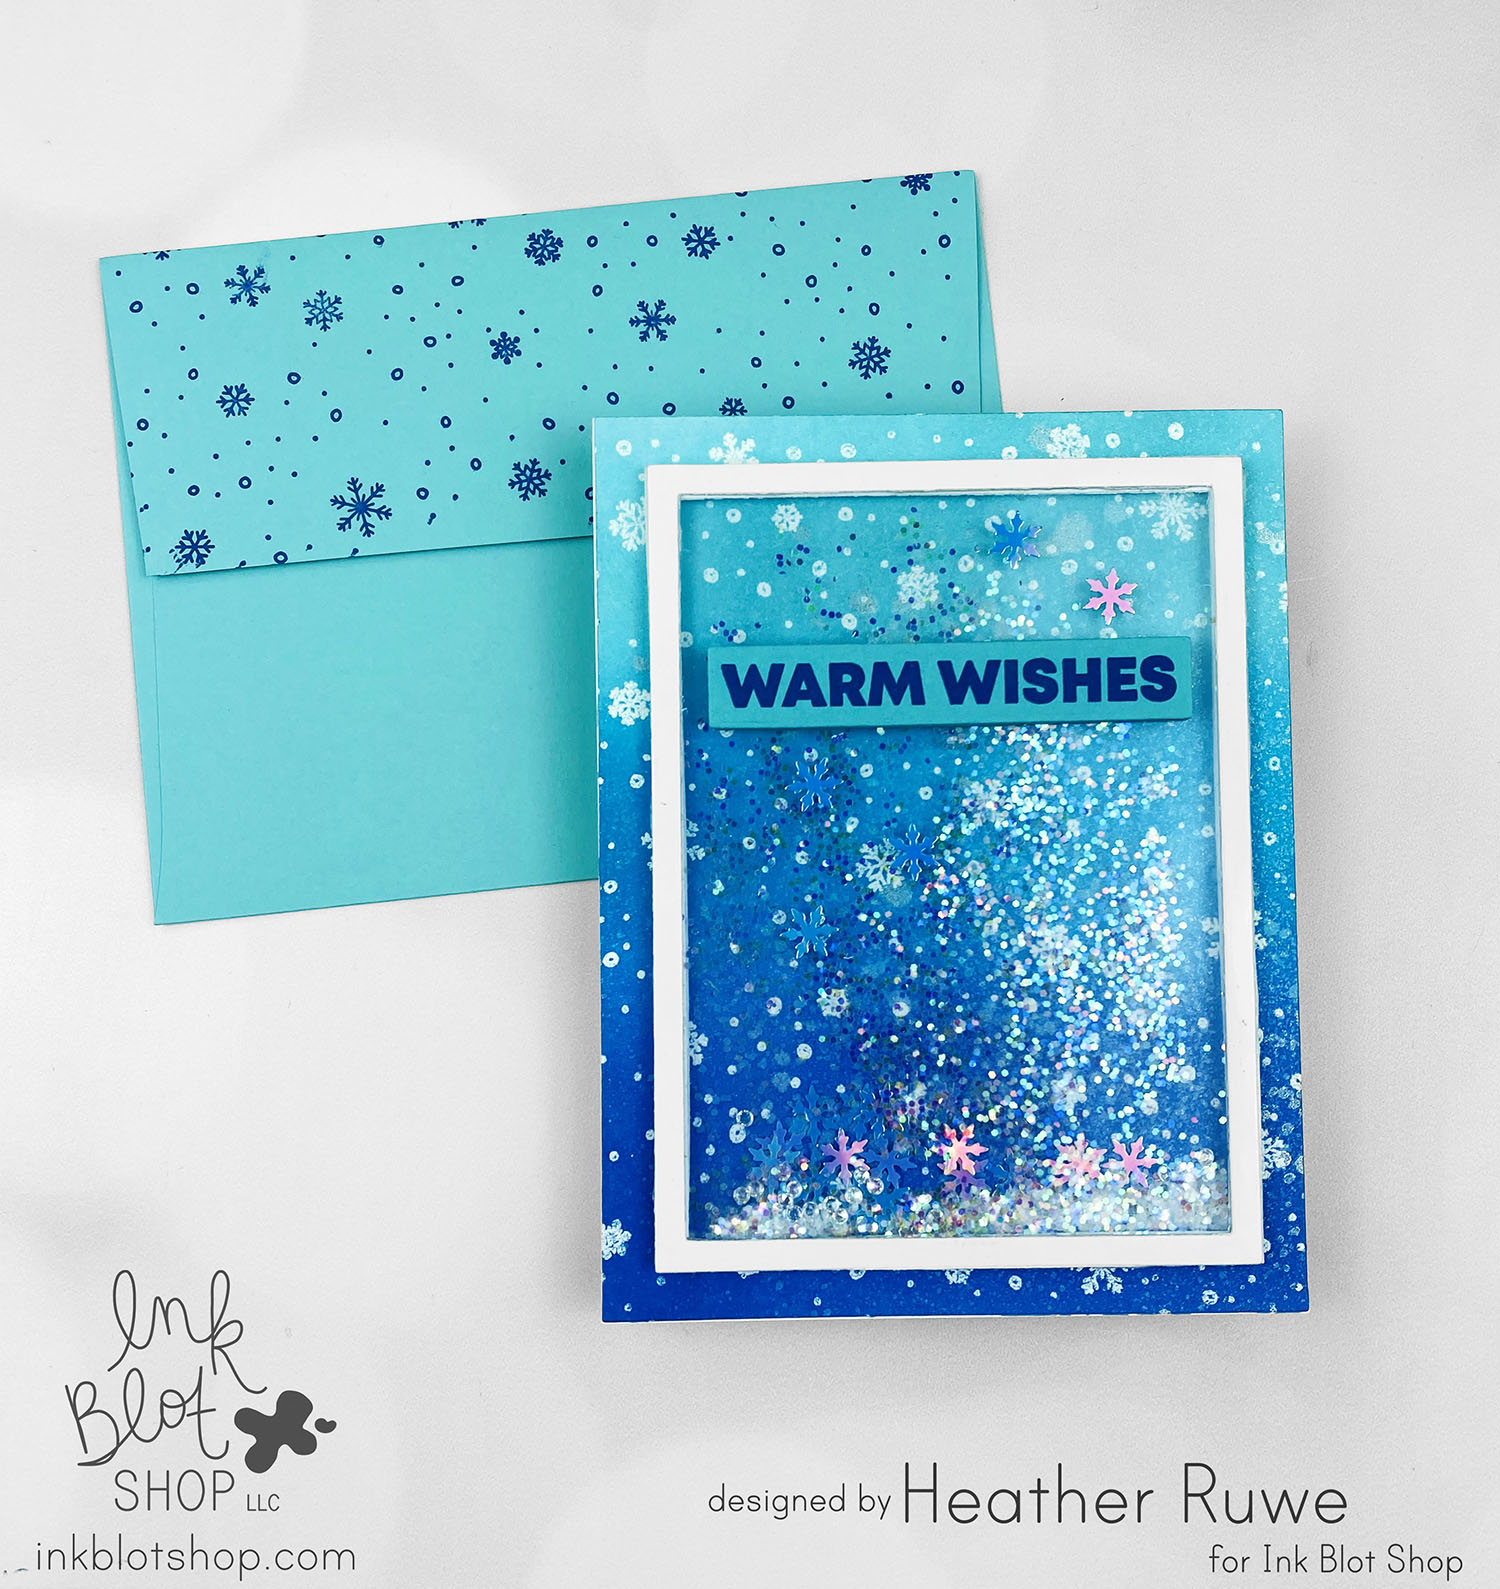
Warm Wishes Shaker Card
Hi there, crafty friends. I have a shaker card to share today using a few Ink Blot Shop products… To create this card, I started by white heat embossing THIS background stamp on white cardstock. I ink blended three blue Distress Oxide inks on top creating an ombre effect. I die cut five rectangle fames and adhered them together sandwiching a piece of acetate under the first rectangle layer. Before adhering the piece down...
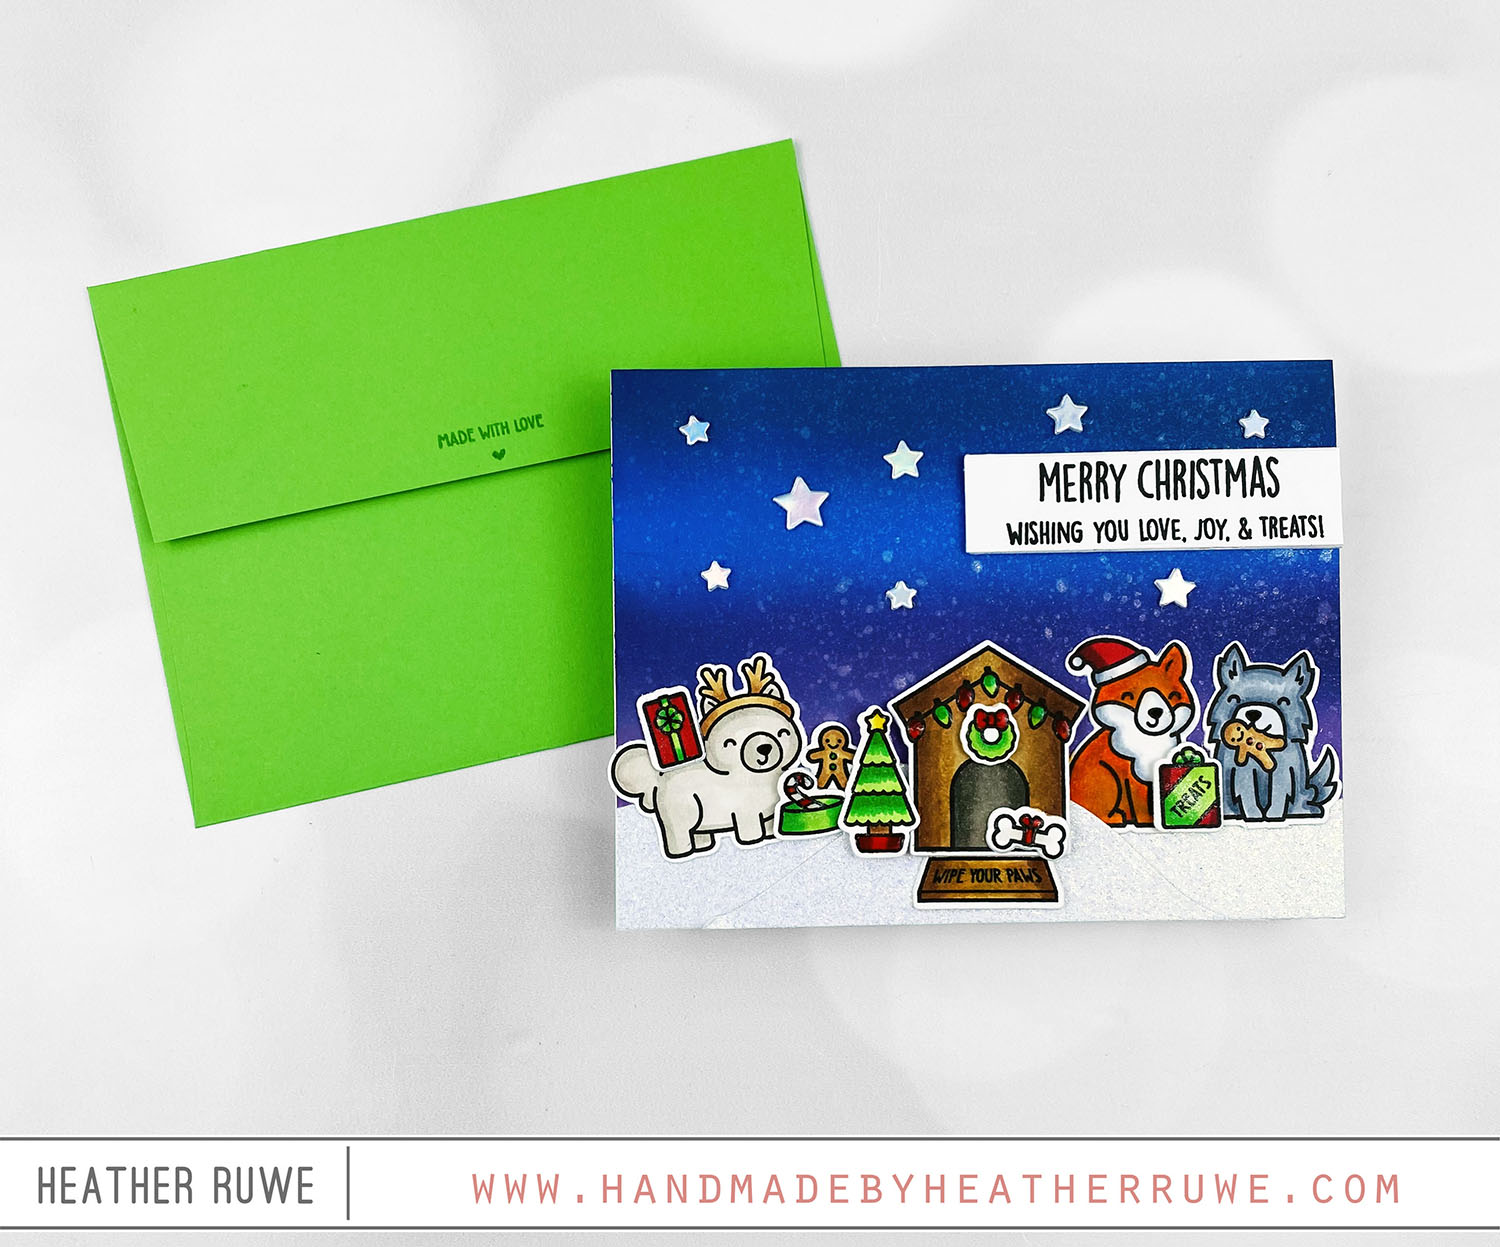
Lawn Fawn STAMPtember 2023 Collaboration
Hi, crafty friends. Today’s STAMPtember collaboration stamp set is THIS one with Lawn Fawn… I started by ink blending the background using Distress Oxide Inks and spritzing it with THIS to add some sparkle and shine to the night sky. Next, I stamped the images from THIS stamp set, colored them with Copic Markers, and used THESE coordinating dies to cut them out. I adhered them on top of THIS white glitter cardstock that...
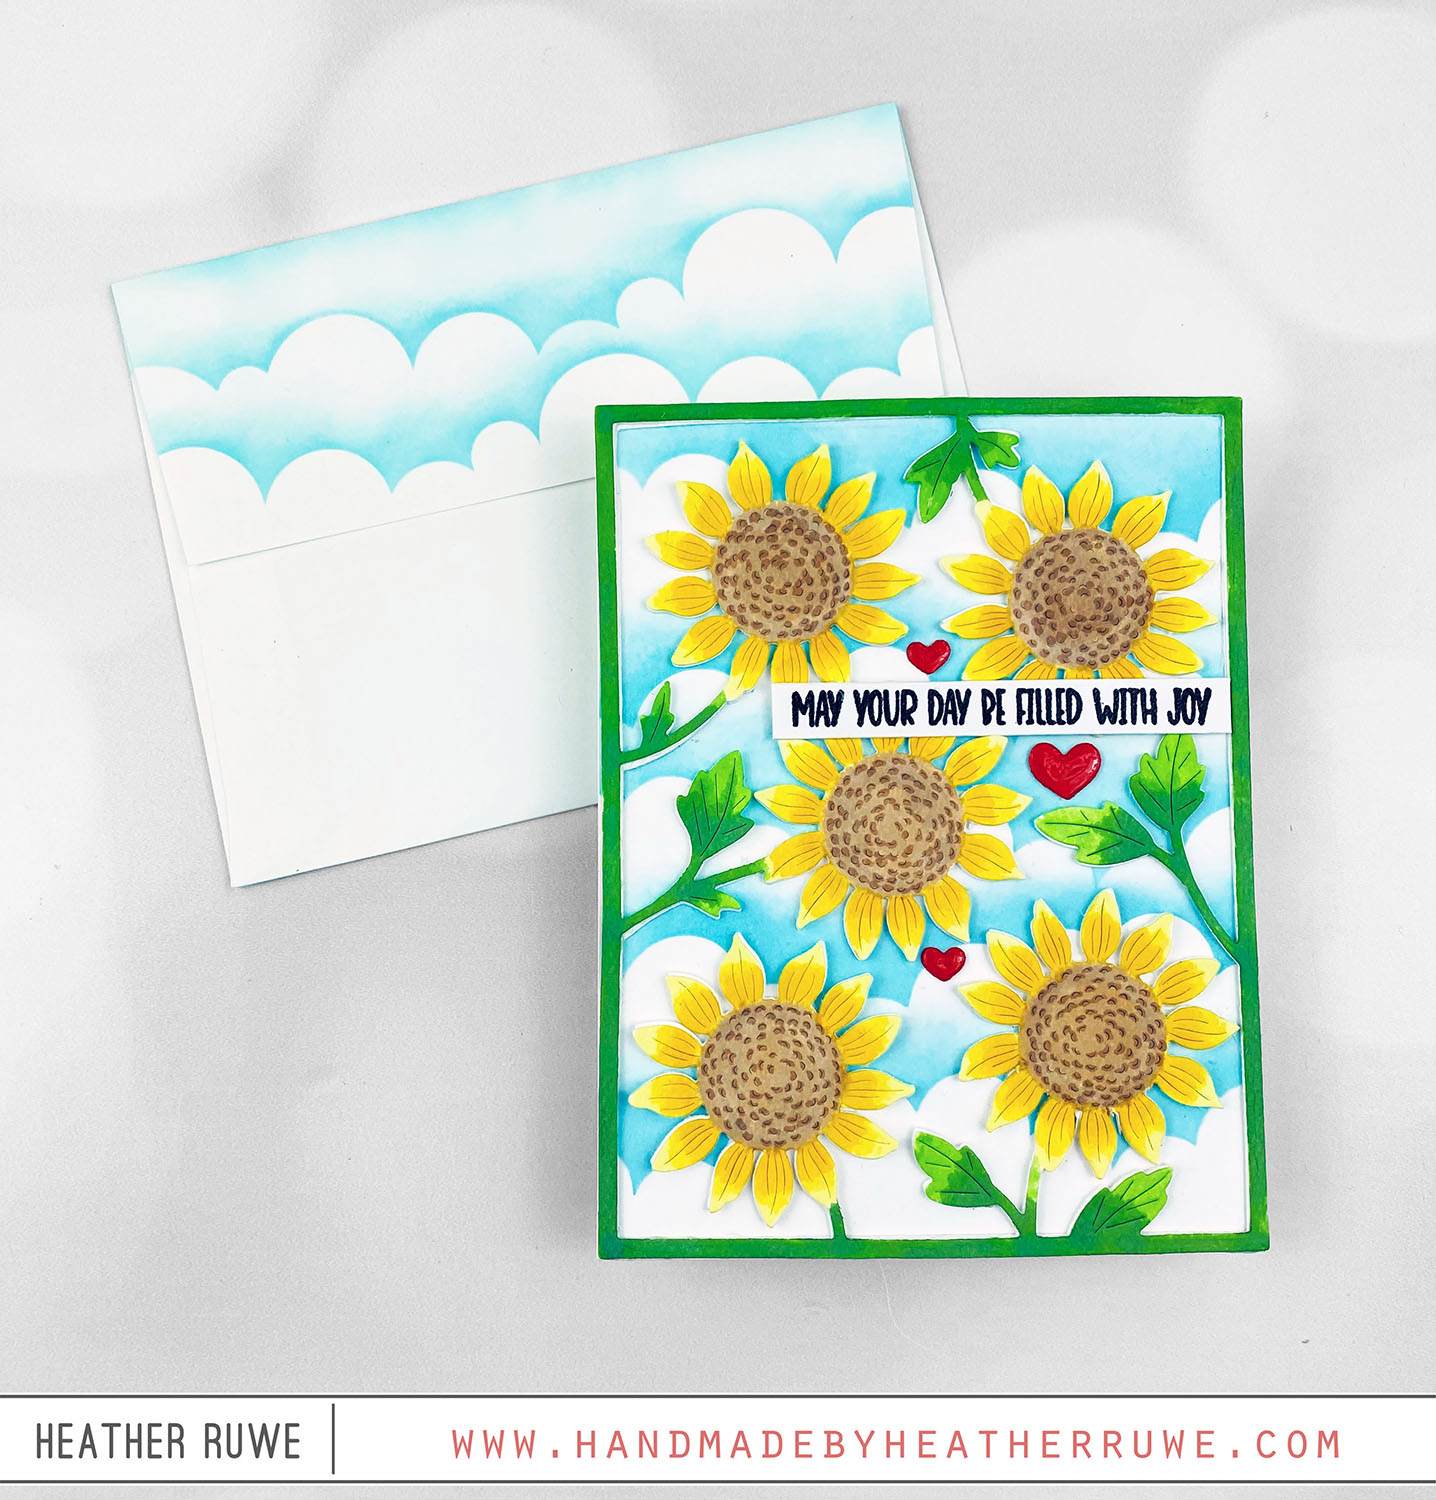
Coloring Die Cuts with Distress Oxide Inks
Hello again, crafty friends. Today’s card share features adding color to die cuts using Distress Oxide inks… To create this card, I started by die cutting THIS die from white watercolor cardstock. I applied Distress Oxide inks to my glass mat and spritzed water to to color in all the areas of the die cut panel. I started with one area, for example, the flower petals. I let that dry before moving on to...
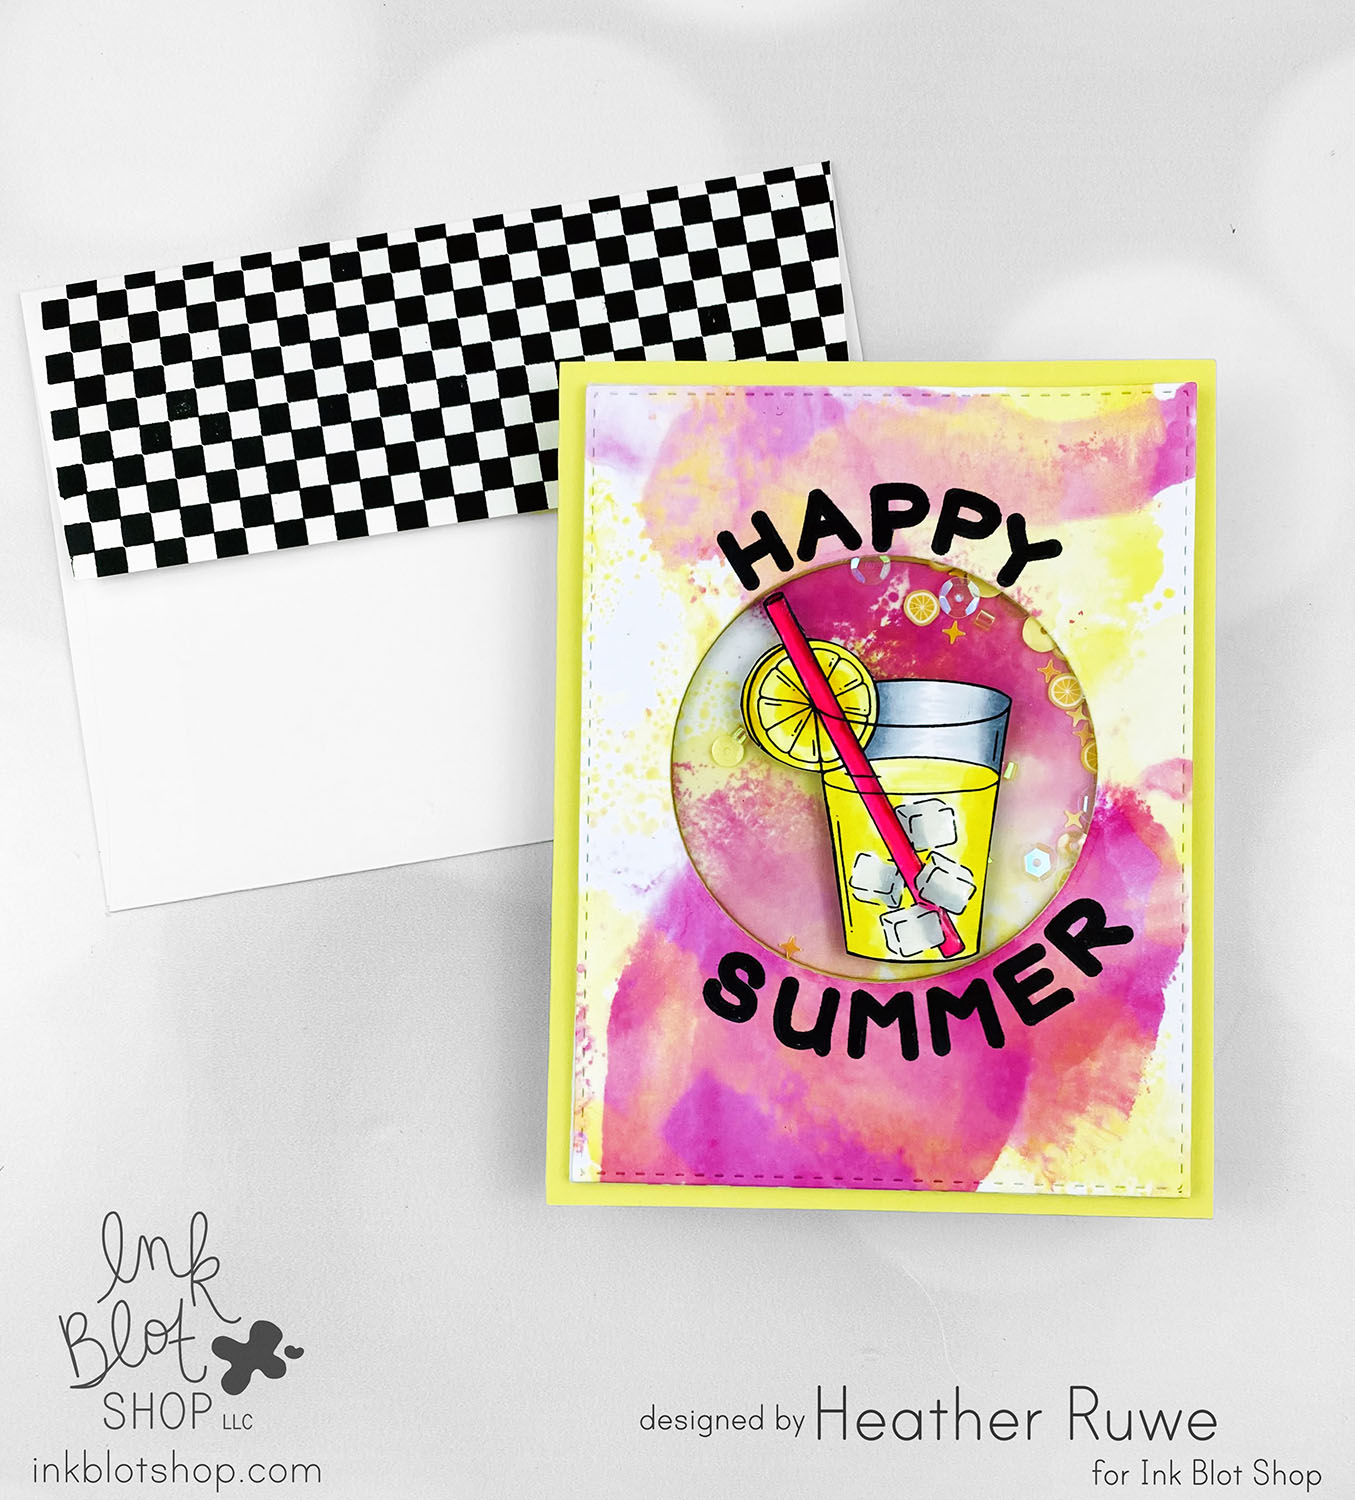
Happy Summer Shaker Card
Howdy, crafty friends. I have a summer themed shaker card to share today… To create this card, I started by creating the background. I smooshed some Distress Ink on my glass mat and spritzed with water. I swiped my cardstock through the ink to create an abstract background. I die cut it with THIS stitched rectangle die and die cut a circle from the center using one of THESE dies. I stamped Happy Summer...
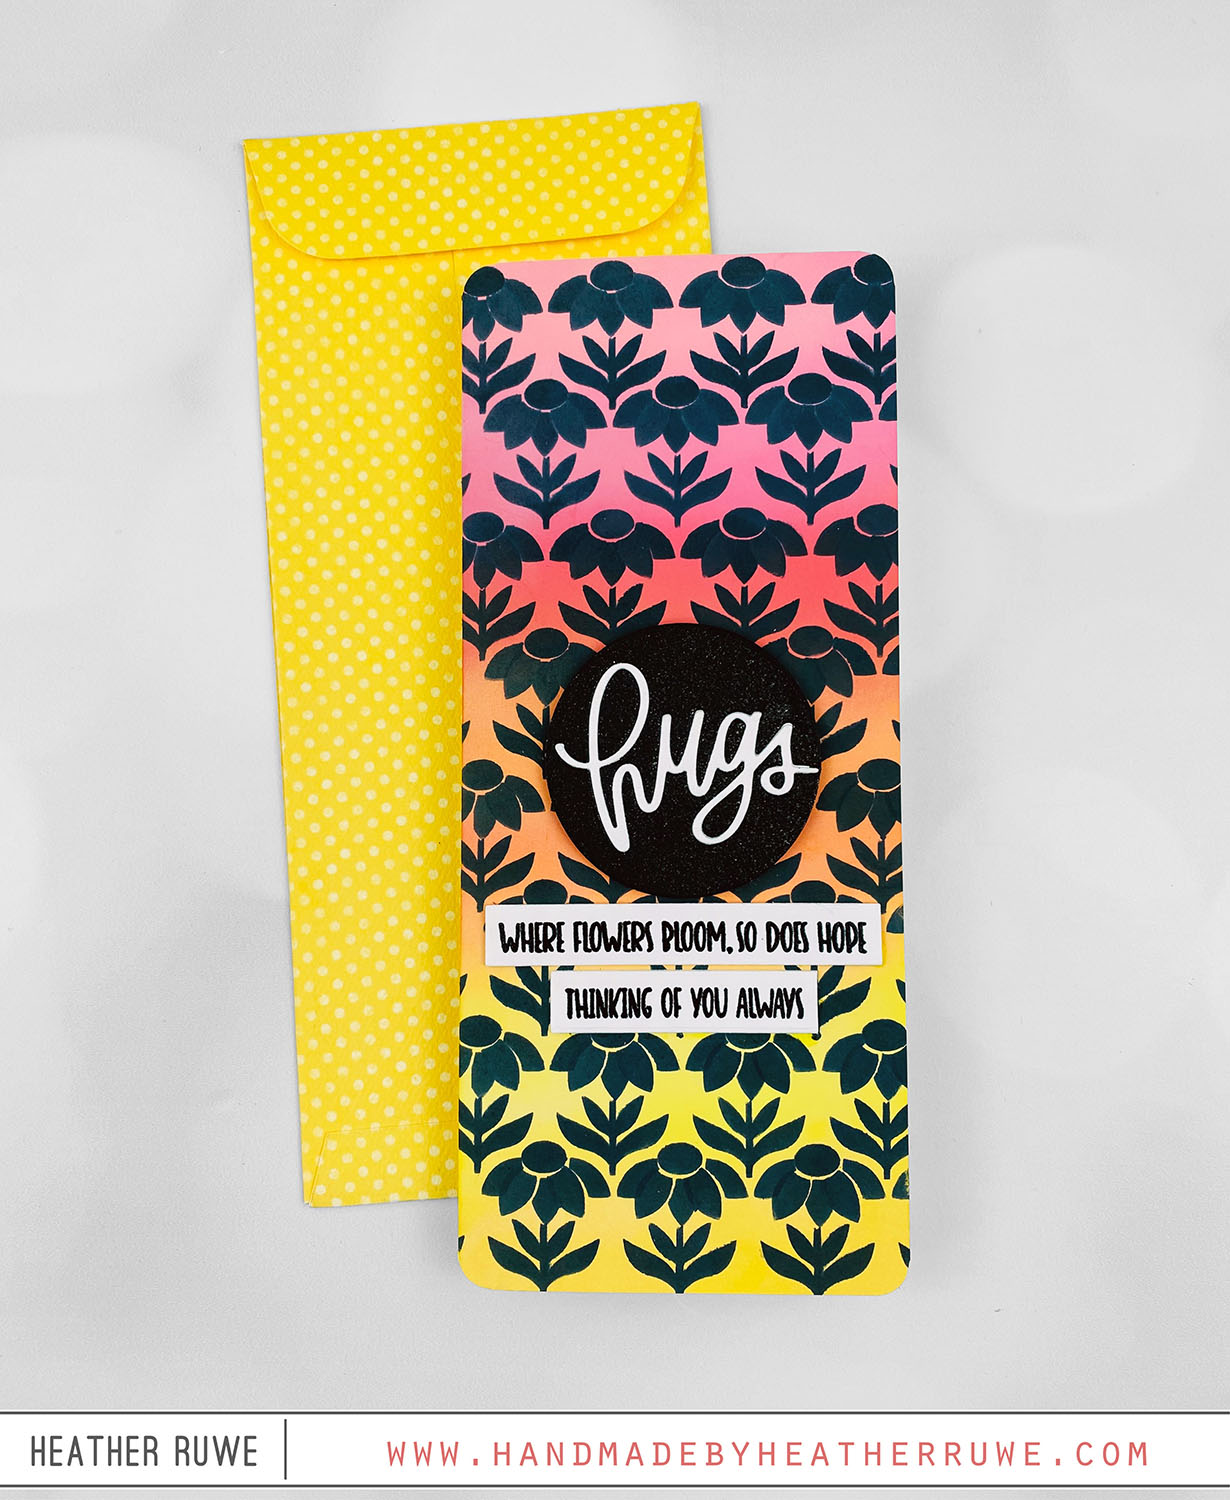
More Just a Note Release Inspiration
Howdy, crafty friends. I’m back with more inspiration from THIS new release by Simon Says Stamp… To create this card, I ink blended the front of a slimline card base using Distress Oxide inks. After heat setting it to dry the ink, I applied ink through THESE stencils using black Oxide ink. I die cut THIS word die in the middle of one of THESE circles that I cut from black cardstock. Here’s a...

