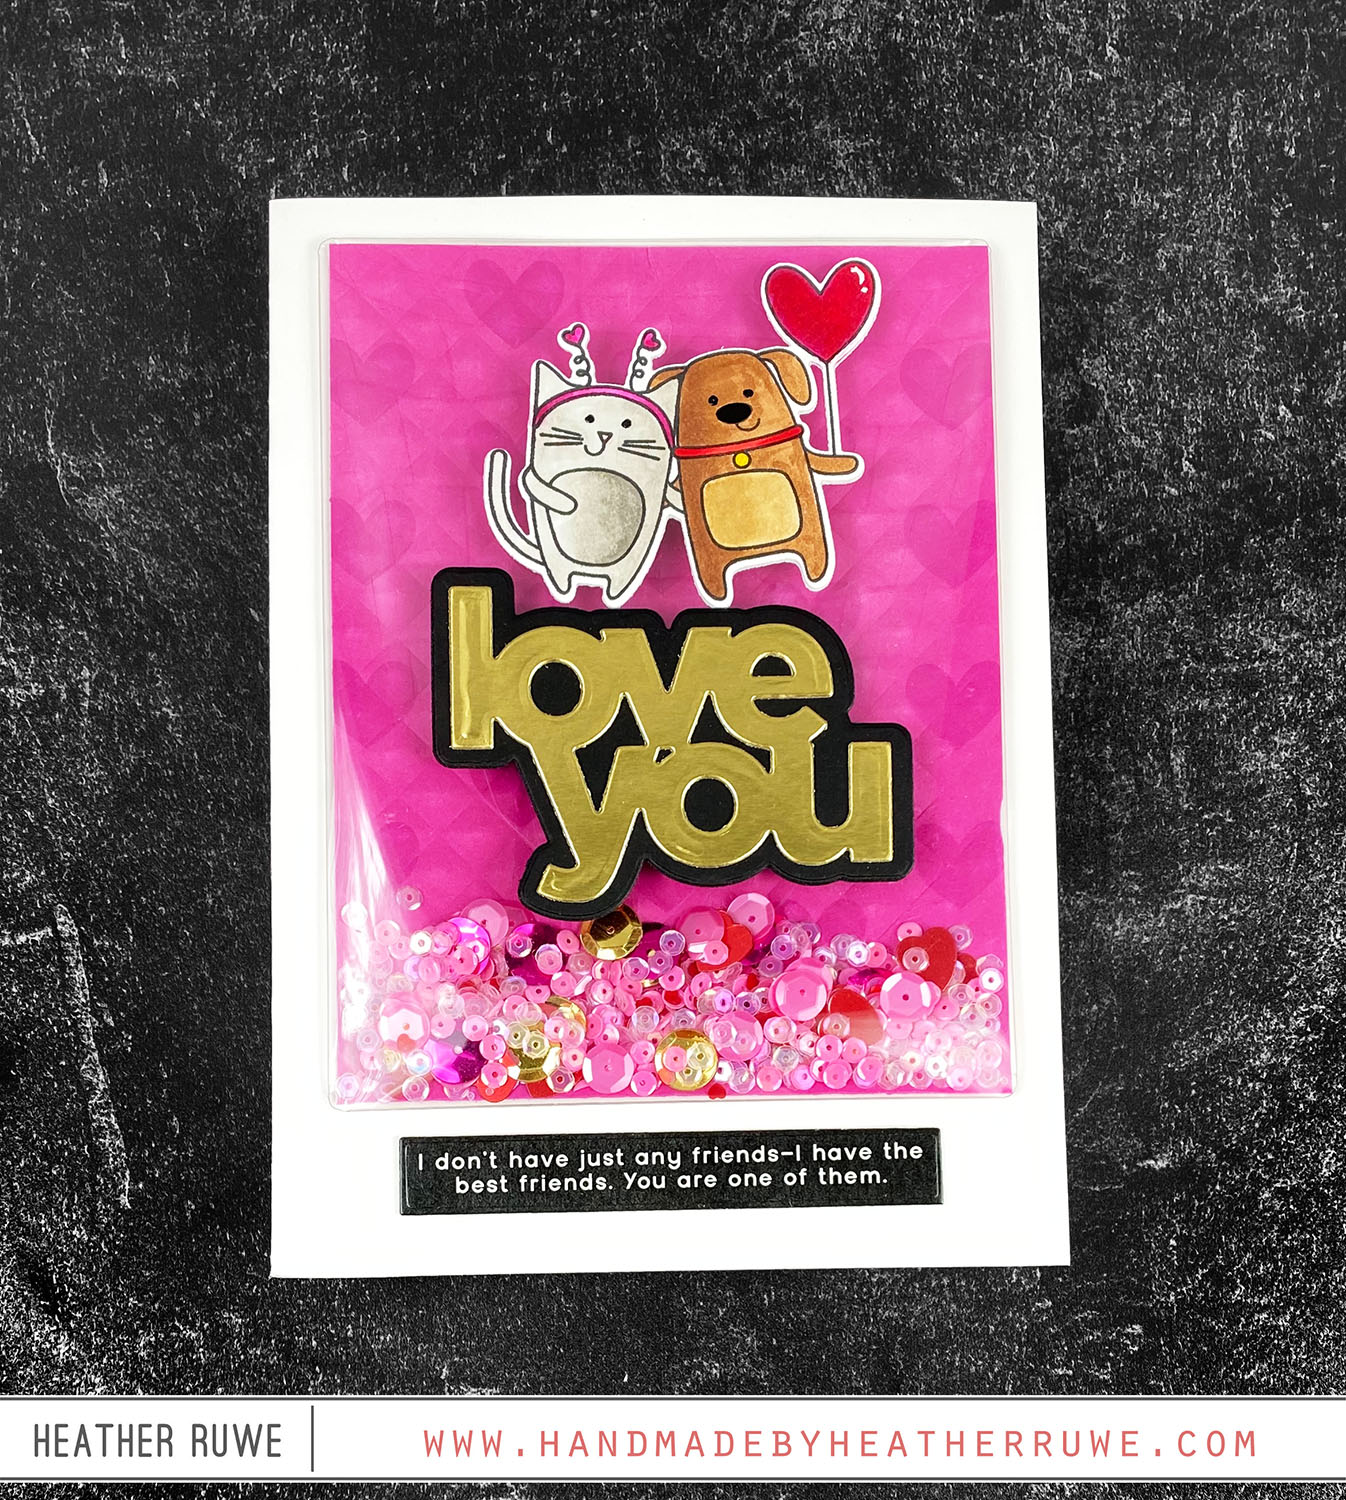
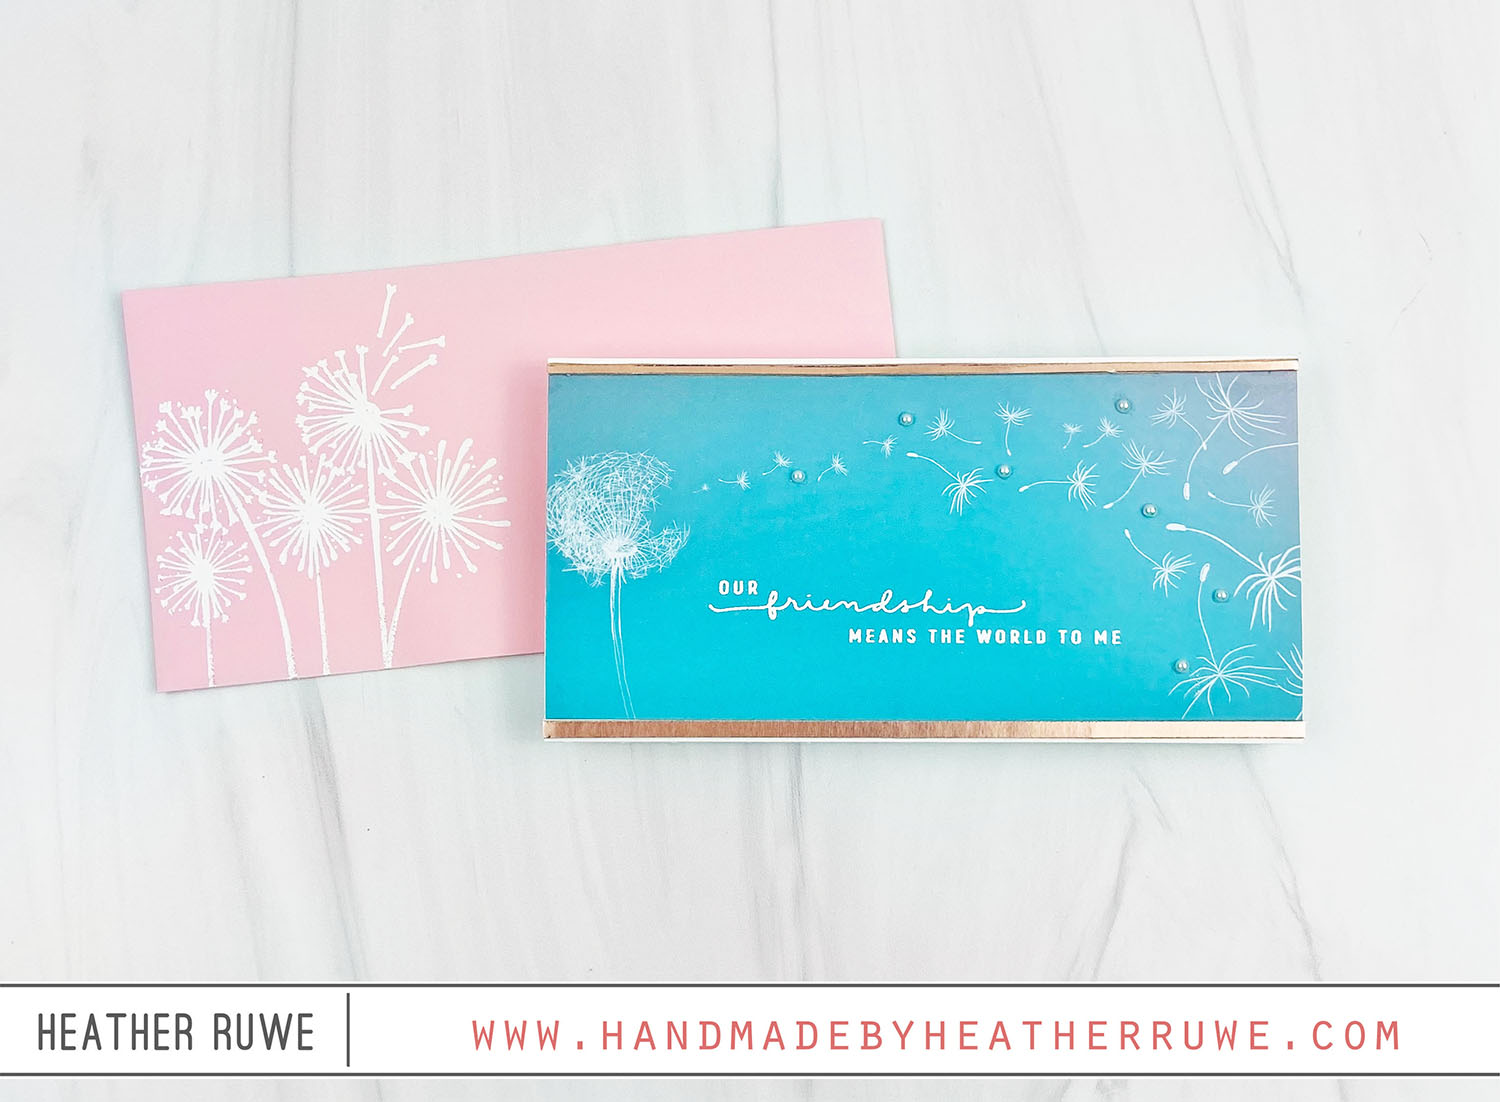
Smiley S’more Card

Hi, crafty friends. I’m back today with a cute shaped card… I started by creating a card base by cutting two squares from the Stitched Scallop Squares die set. On the front panel of the card, I applied ink through the heart stencil from the Simple Duo Stencil Set and stamped a sentiment from an older stamp set by My Favorite Things (Get Toasty). I die-cut the Smiley S’mores Die from several pieces of...

Dandelion Messages Card Kit

Hello, crafty friends. Today’s card share features the Dandelion Messages Card Kit from Simon Says Stamp… The patterned paper pad included in the kit is so pretty. I die-cut a piece of it using a mini slimline rectangle die and adhered it to a mini slimline card panel that measures 3 1/2 x 6 1/4. I white heat embossed a sentiment from the kit’s stamp set and added a couple of strips of the...

Friendly Flowers Card Kit

Hi, crafty friends. I’m back with a slimline card featuring THIS new card kit… I started by trimming down some of the patterned papers. The patterned paper pad in this kit is so beautiful. I stamped some sentiments from the kit’s stamp set in between the butterflies and added a sprinkling of the kit’s heart stickers. I like to put a heavy coating of glossy accents on top of the stickers to make them...

Scene Changing Card

Hello there, crafty friends. I have a scene changing card to share today… I started by inking up the front and inside of the note card with Tumbled Glass Distress Oxide ink. After it was dry, I applied glitter glitz gel through THIS stencil and die-cut three clouds. I stamped a sentiment from THIS stamp set on the top layer and adhered the remaining clouds underneath for dimension. I added a strip of gray...

Forest Scenery Cards

Hello, crafty friends. I have two cards to share today featuring product from THIS new release… To create the night sky background, I ink blended shades of blue Distress Oxide inks. I flicked some shimmer spritz on top to create stars in the sky and stamped THESE trees on top (once dry) using a black pigment ink. I stamped them in a circular pattern with the tree tops pointing towards the center to create...

Love You and Love You, Too Blog Hop

Hello, crafty friends. I’m so excited to be part of THIS blog hop celebrating THIS new release as well as THIS previous release. I’m sharing a card set featuring an easy way to add color to flower images… I started by ink blending through one of THESE stencil masks to create a rectangle of color. I used three different shades of Distress ink on each panel. I sprayed a few water drops on top...

Snowflake Season Card Kit

Hi, crafty friends. Today’s card was created using THIS new card kit from Simon Says Stamp… I die-cut strips using THIS die and adhered them on THIS slimline card base. I white heat embossed the sentiment from THIS stamp set (included in the kit) and stamped the snowflake images using THIS clear ink multiple times to get a dark impression. I die-cut THIS snowflake die (included in the kit) six times for dimension and...

Riley and Company STAMPtember 2020 Collaboration

Howdy, crafty friends. THIS stamp set from Riley & Co. is the next STAMPtember 2020 Collaboration stamp set… I started by stamping the main image from THIS stamp set and coloring it with Copic markers. I die-cut three polaroid frame die-cuts and adhered them together for some dimension on top of the image. I ink blended a background using a rainbow of Distress Oxide inks and THIS stencil.  I stamped a coordinating sentiment from...

Fun with Foil

Howdy, crafty friends. Today’s card features foiled backgrounds… For the first card… I applied THIS through THIS stencil. After the medium was completely dry, I ran it through THIS machine with THIS foil. I die-cut the panel using THIS die and added a mat using THIS specialty paper. I finished off the design with THIS die-cut sentiment. Here’s a closer look… For the second card… I applied THIS through THIS stencil. After the medium...

Cards for Crafty Friends-Part Two

Hi, crafty friends. I’m back with more cards for crafty friends after such a great response from THIS previous post… For all three cards, I started by adhering THIS watercolor card stock on top of THESE top folded cards. I adhered the texture side face up to add to the watercolor theme. I stamped, colored, and cut out three of THIS image. I die-cut lots of THESE wood grain frames and adhered three together...