Gel Press Backgrounds

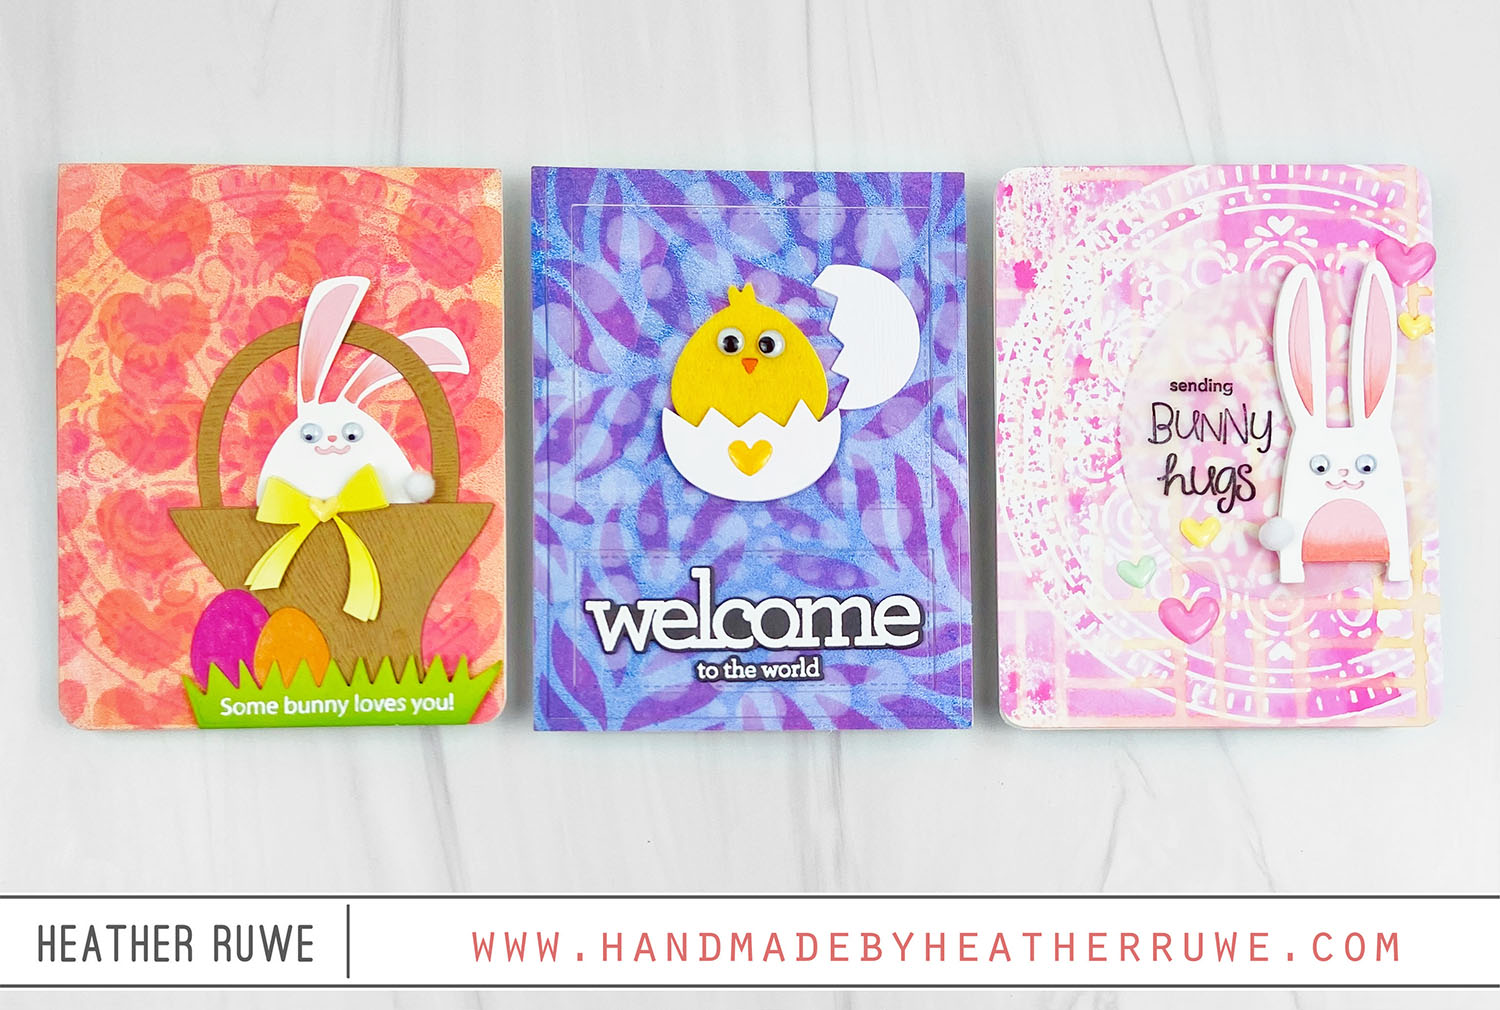
Hello there, crafty friends. I recently watched THIS gel press video by Jennifer McGuire and I am hooked. I had so much fun creating backgrounds with my gel press and my MISTI. For the first card, I inked up the gel press with pink and orange inks to create a colored background. I layered the background by inking up the gel press and stamping on top of stencils that I laid on top of...

Scene Changing Card

Hello there, crafty friends. I have a scene changing card to share today… I started by inking up the front and inside of the note card with Tumbled Glass Distress Oxide ink. After it was dry, I applied glitter glitz gel through THIS stencil and die-cut three clouds. I stamped a sentiment from THIS stamp set on the top layer and adhered the remaining clouds underneath for dimension. I added a strip of gray...

Boho Circle Card

Happy Friday, crafty friends. I’m back today with a project featuring a faux stained glass look… I die-cut THIS die through two pieces of A2 sized white card stock at the same time. It cut through the top layer completely and it only made an impression through the bottom piece. With any intricate die, I use a metal shim in my cutting sandwich. I used the bottom impression piece as a guide on where...

Holly Jolly Blog Hop

Hi, crafty friends. I’m excited to be part of THIS blog hop celebrating THIS new release. I have two cards to share that have a peek-a-boo opening that holds a gift… For the first card… I laid out sentiments from THIS, THIS, and THIS stamp set on a gray A2 panel in my MISTI. I used THIS to help me align all of the stamps straight. I stamped all the sentiments at once using...

Tim Holtz STAMPtember 2020 Collaboration

Hello, crafty friends. THIS highly anticipated Tim Holtz STAMPtember collaboration stamp set is now available! I stamped all of the cat images from THIS stamp set on a slimline card panel as well as THIS masking paper. I placed the masks on top of the images and stamped the bird and the box. I also placed masks on top of those images so I could stencil the brick and THIS flooring. I also stenciled...

Clearly Besotted STAMPtember 2020 Collaboration

Hello, crafty friends. THIS stamp set by Clearly Besotted is today’s STAMPtember collaboration stamp set… How adorable is THIS set!? To create this card, I adhered THIS pattern paper to a white card panel and temporarily adhered it to a top folding note card. I used one of THESE circle dies to die cut a window from the front panel of the card. I had to run it through twice to cut all the...

STAMPtember is here!

It’s finally here! Happy STAMPtember, crafty friends! If you’re unfamiliar with STAMPtember, it’s a month long stamping celebration hosted by Simon Says Stamp. There is so much in store for this month, but let’s kick off the party with two cards featuring goodies from THIS release… To create these cards, I applied alcohol inks to THIS paper. I inked up THESE snowflake images with THIS ink. After stamping on the alcohol ink piece, I...

Just Miss You Card Kit

Hi, crafty friends. I have two cards to share today using THIS new card kit… I wanted to challenge myself and use the patterned paper in the kit. The prints are gorgeous and I don’t ever use patterned paper enough in my card making. For the first card… I tore several pieces of the pattern paper and layered them along the bottom and top of the card. I gold heat embossed a couple of...

MISTI & Pinkfresh Blog Hop

Hi there, crafty friends. I’m excited to be part of the MISTI & Pinkfresh Blog Hop. I have two cards to share today plus a MISTI tip. I created two background panels using blue and purple alcohol inks. After they were completely dry, I die-cut THIS die from both of them. I also cut several from white card stock. For the first card… I used the negative pieces to create a background. I adhered...

Send Happiness Release Blog Hop

Hello, crafty friends. I’m excited to be a part of this blog hop celebrating THIS new release from Simon Says Stamp. I started by creating a side fold A2 size black card base. From the front panel of the card, I trimmed 2 inches off the top, creating a shorter flap. This flap was created so the fairy image could be suspended. I stamped and colored the front and back fairy image from THIS...