Hello there, crafty friends. I recently watched THIS gel press video by Jennifer McGuire and I am hooked. I had so much fun creating backgrounds with my gel press and my MISTI.
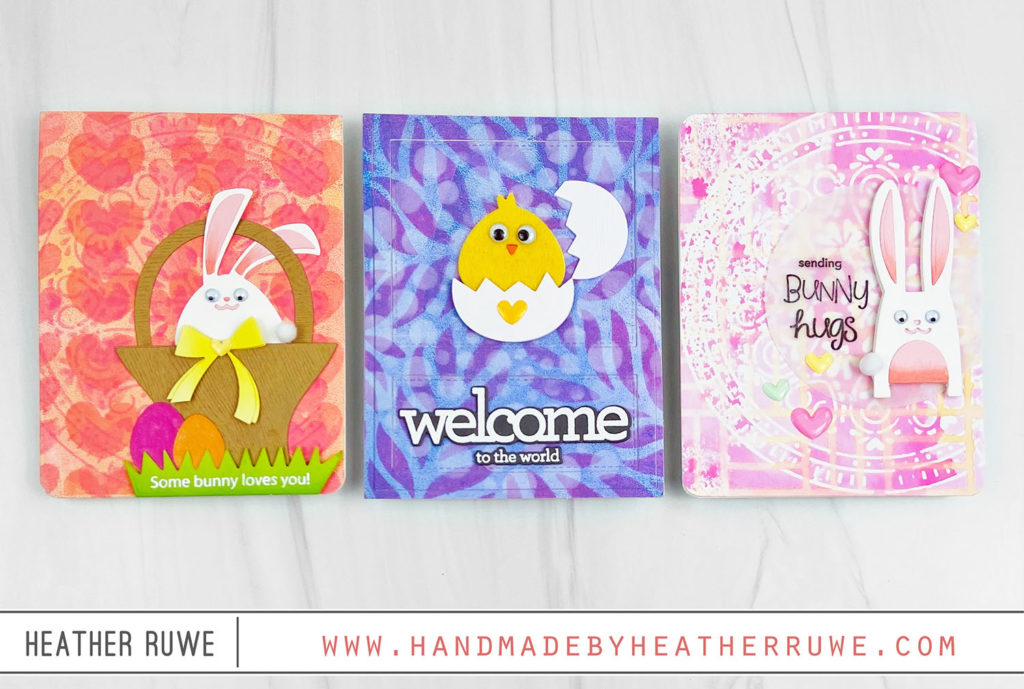
For the first card, I inked up the gel press with pink and orange inks to create a colored background. I layered the background by inking up the gel press and stamping on top of stencils that I laid on top of the print. I added THESE die-cuts and white heat embossed a sentiment.
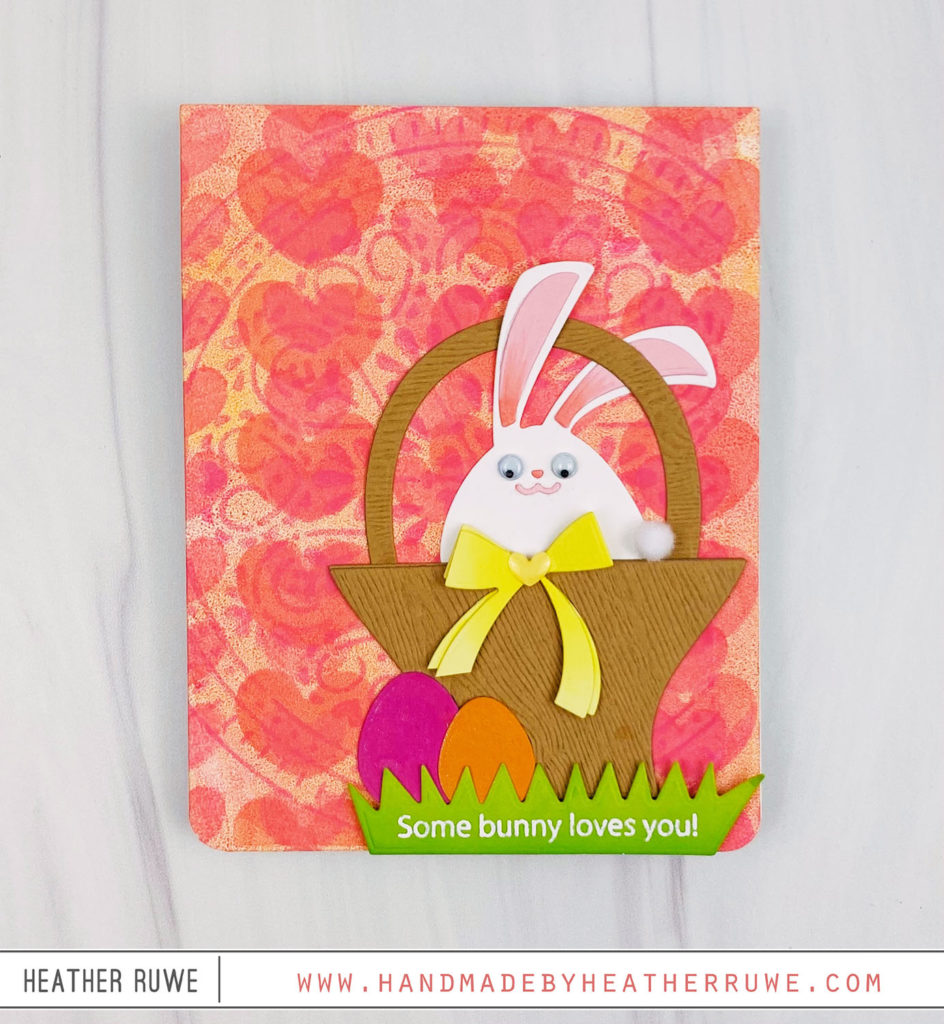
I always like to add finishing touches like cutting the basket from kraft woodgrain paper, adding googly eyes to the bunny, adding Copic Marker details, and some ink blending to add shading. Here’s a closer look…
![]()
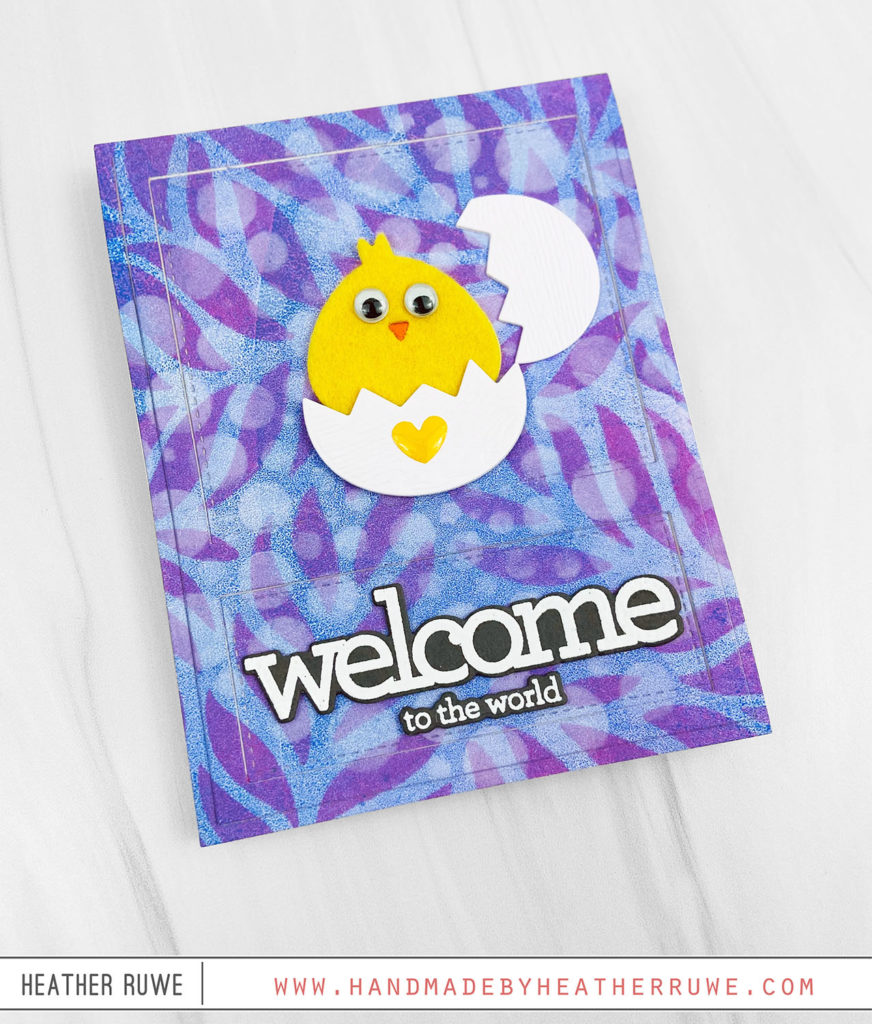
For the second card, I did the same process but used different stencils and blue, pink, and white ink. I die-cut the panel and added more of THESE die-cuts along with a white heat embossed sentiment from THIS stamp set. I used THESE coordinating dies to cut them out.
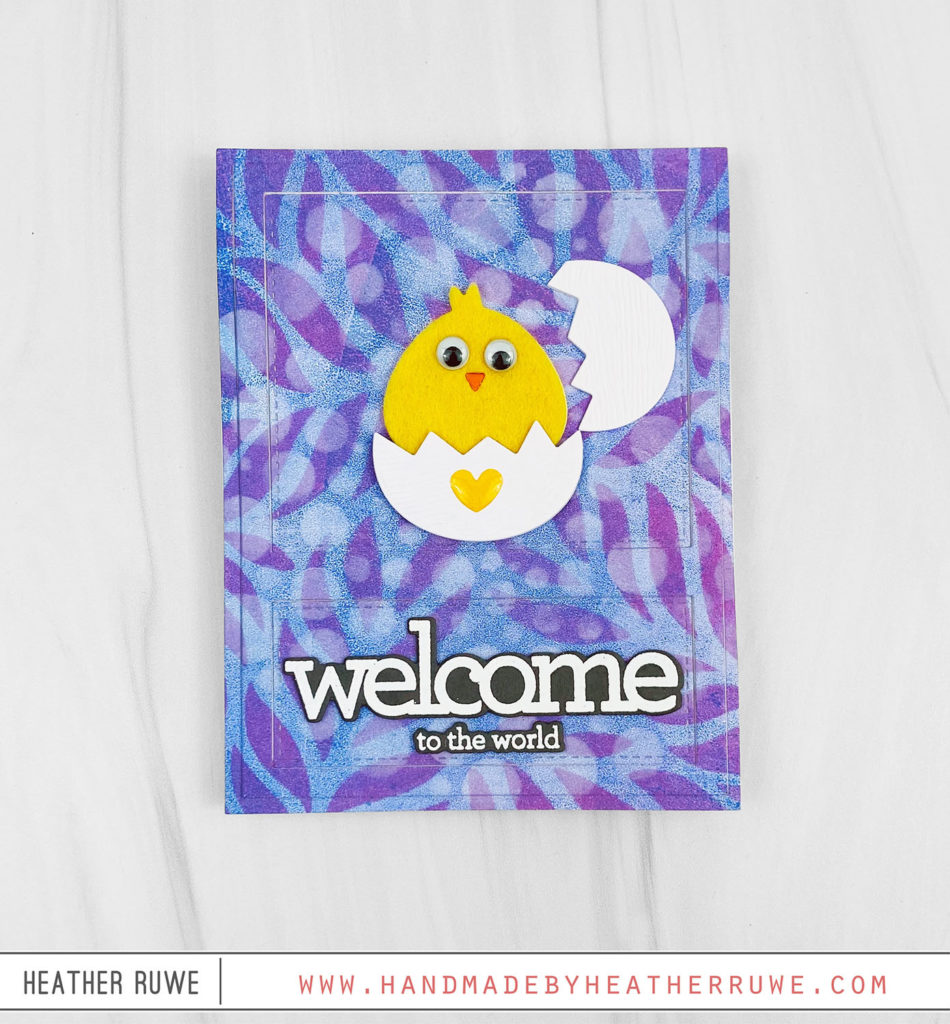
I cut the chick from felt and the egg from woodgrain card stock to add texture. Here’s a closer look…
For the final card…
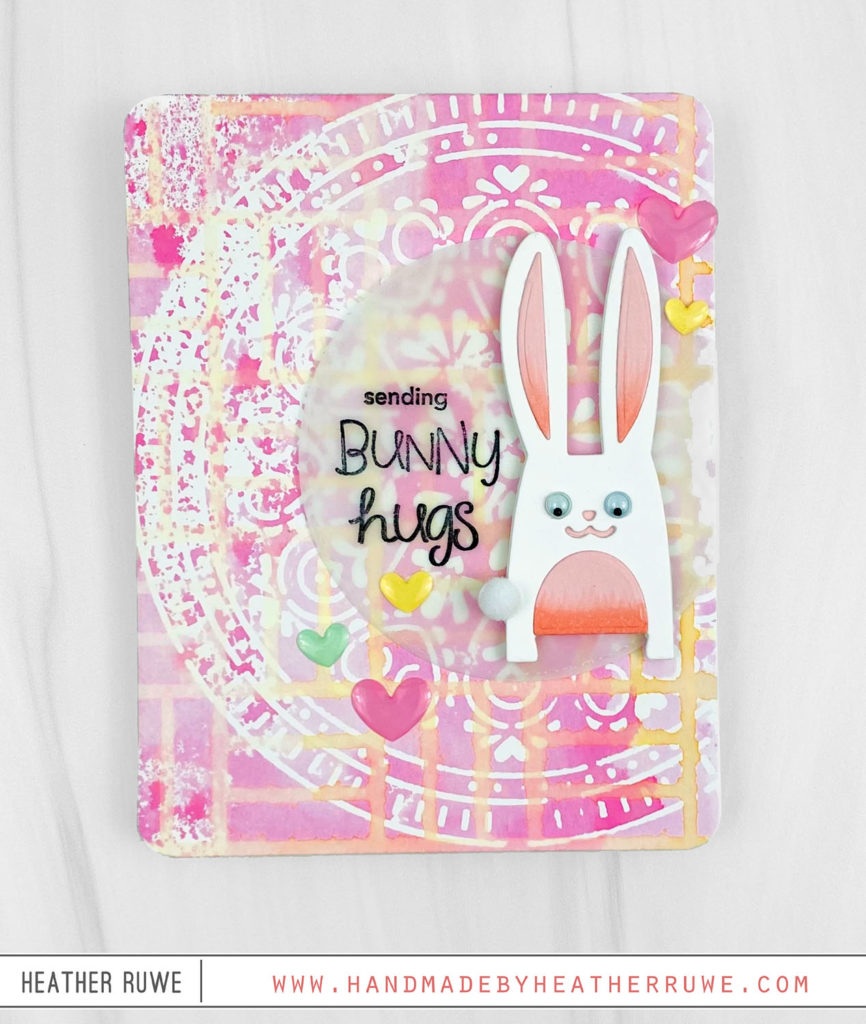
I didn’t use the gelli plate but utilized the ink left on the stencils from the previous gelli prints. I spritzed them with a bit of water and “stamped” them on a piece of Distress watercolor card stock. I added the bunny from the same die set on a vellum circle with a sentiment from THIS stamp set.
Here’s a closer look…
![]()
I love all the backgrounds you can create when using the gelli plate. I have a ton leftover for future cards.
Thank you for stopping by. Happy crafting!
LINKS TO SUPPLIES USED:
(Affiliate links used at no extra cost to you. Thank you for your support.)