Layering Stencils with Embossing Paste

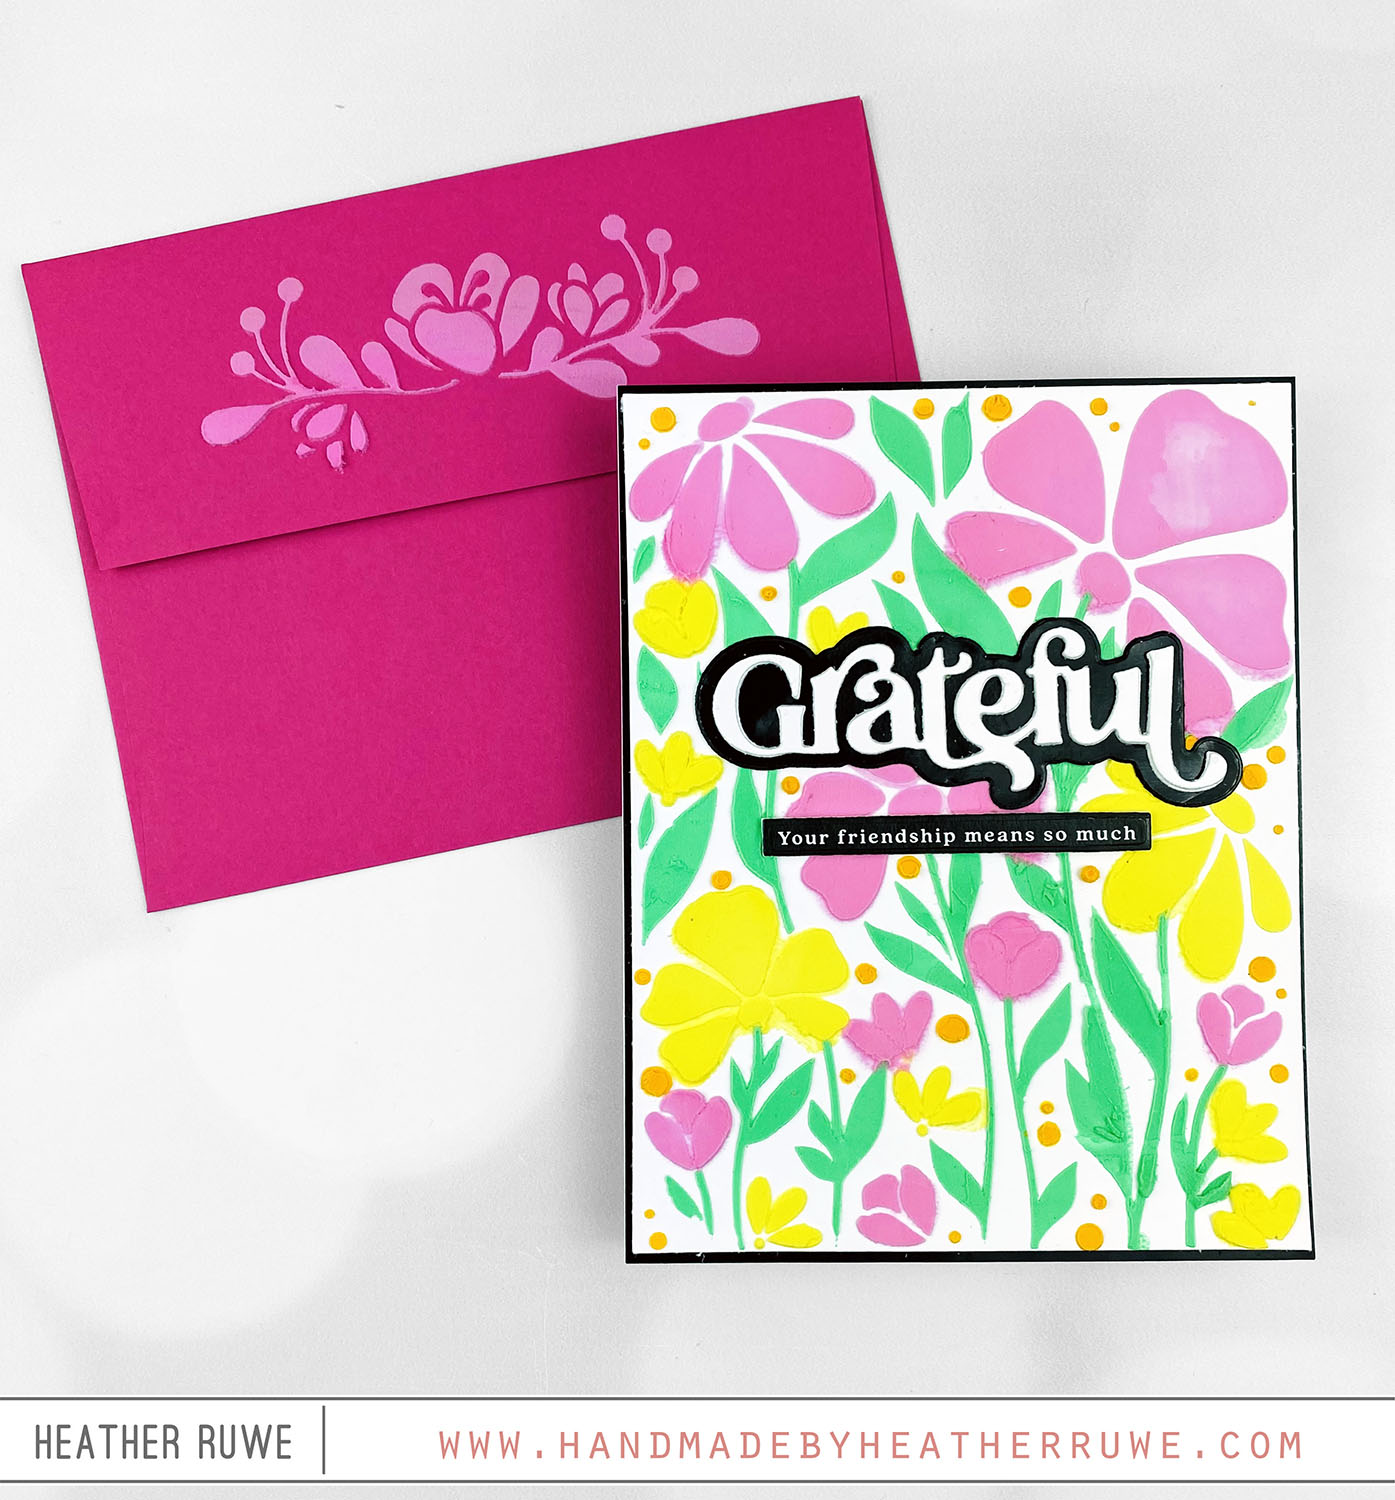
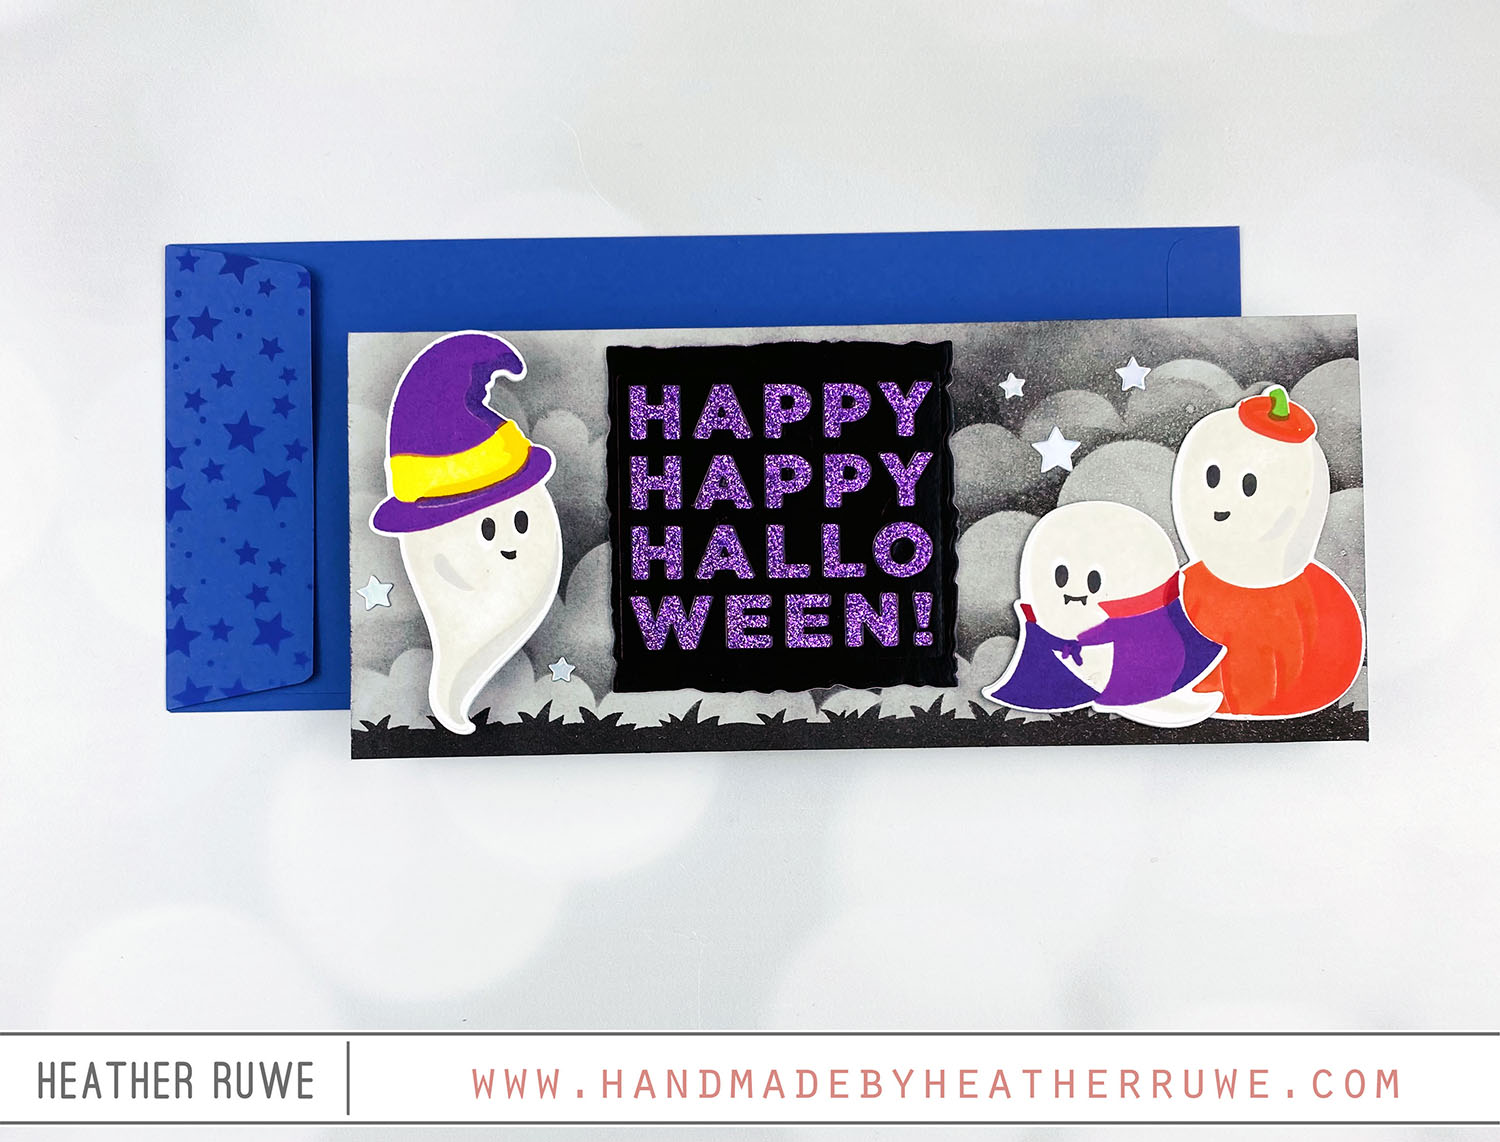
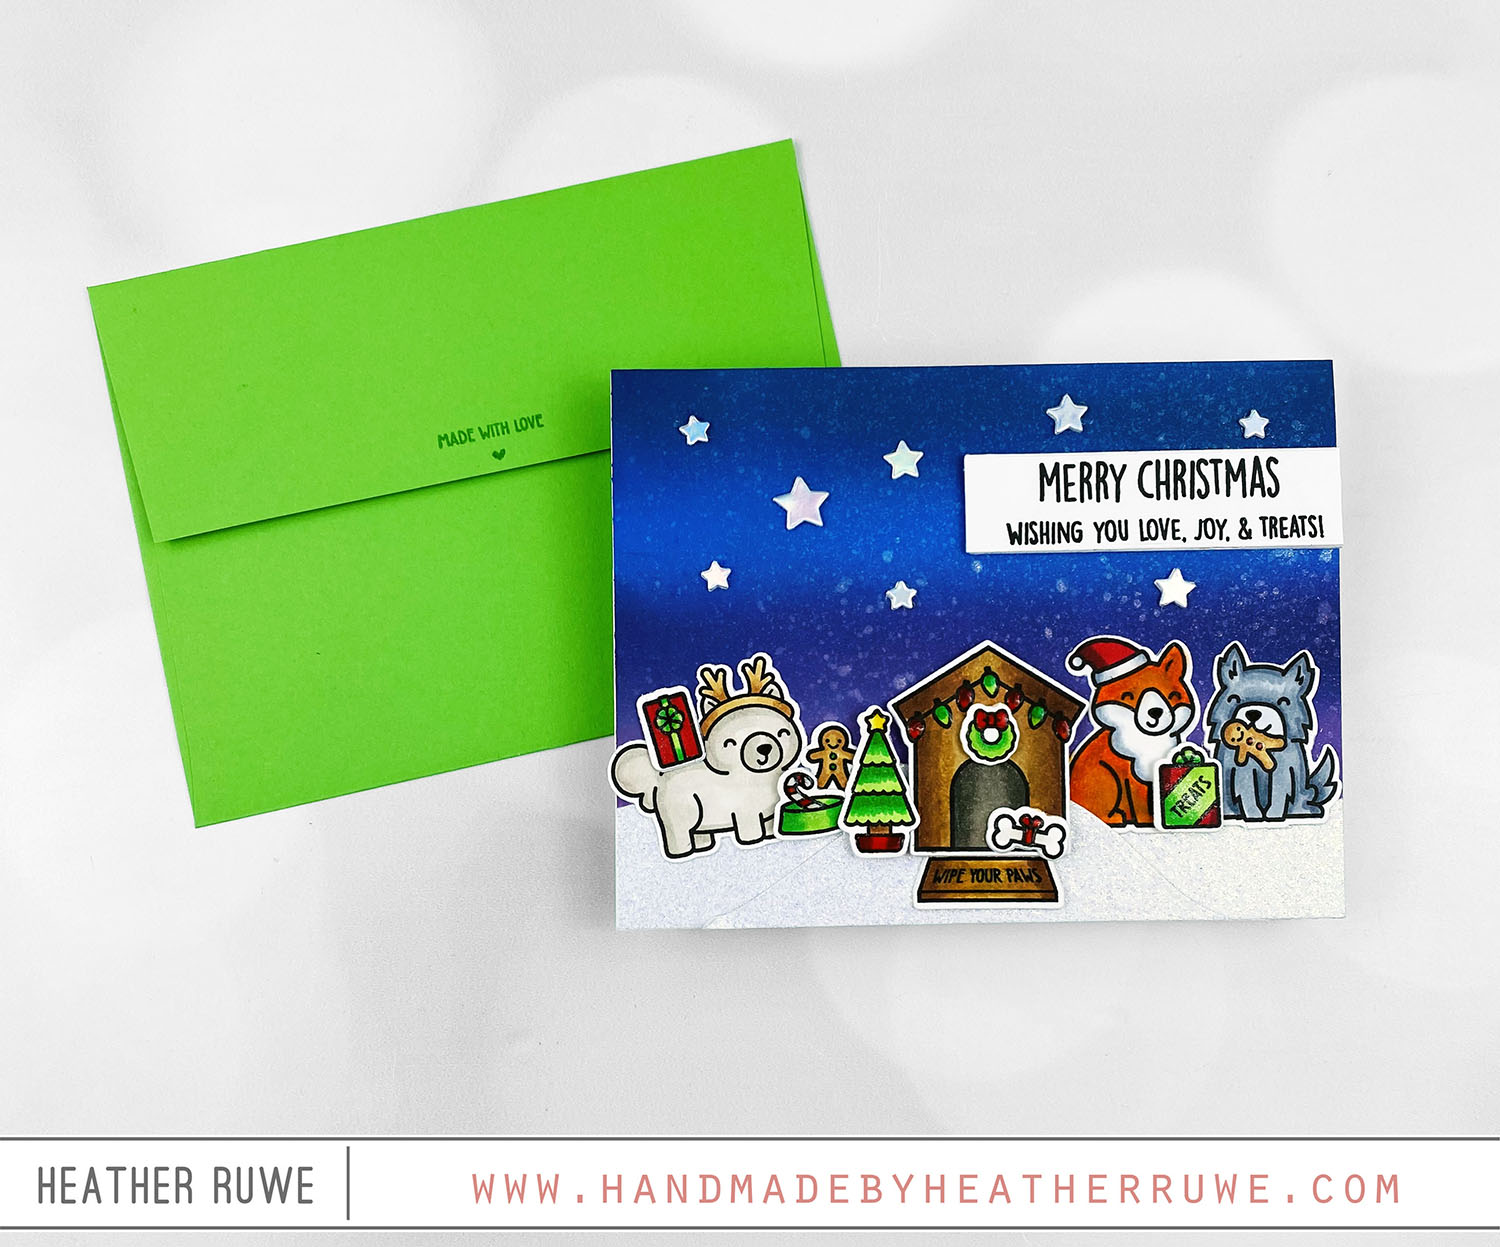
Hello there, crafty friends. Today’s card share features using embossing paste with layering stencils… For the background, I applied paste through THESE stencils. I used THIS opaque paste and colored it with Distress Oxide Inks. I applied the colored paste through the first stencil layer, let that dry, then did the second layer, let that dry, and continued that until all four layers were complete. I added a black mat using THIS black glossy...

Tim Holtz STAMPtember 2023 Collaboration

Hi, crafty friends. I’m so excited about today’s collaboration stamp set…. I wanted to create something other than a card so when I found some wooden tags in my stash, I knew they would make great gift tags or ornaments. I stamped each tag with an image and sentiment from THIS stamp set using black pigment ink. I added clear heat embossing on top and heat set it. I did this because I wanted...

My Favorite Things STAMPtember 2023 Collaboration

Hello, crafty friends.The STAMPtember fun continues with THIS collaboration stamp set with My Favorite Things… I started by stamping a background using the small images in THIS stamp set. I used green ink on green cardstock for a tone on tone look. I stamped the critters from the same stamp set to fit inside the polaroid die. I used masking. When masking, you want to stamp and mask the image you want in the...

Billow Butterfly Card

Hello again, crafty friends. Today’s card features adding coloring to die cuts with Distress Oxide Sprays… I started by spraying small pieces of cardstock with Distress Oxide Sprays. Once dry, I die cut them using THIS butterfly die. I assembled all the butterflies, sprayed them with THIS. Next, I adhered them to the openings (with foam tape on THIS background die that I cut from THIS white woodgrain cardstock. I added a stamped sentiment...

Brutus Monroe STAMPtember 2023 Collaboration

Hello again, crafty friends. Today’s STAMPtember collaboration is THIS one with Brutus Monroe… To create these cards, I started by die cuttoing two panels using THIS stitched rectangle die. I stamped two of the cupcake images from THIS new stamp set in the center as well as a coordinating sentiment. I masked off the images using THIS masking paper. For the first card… I applied gray ink through THESE layering stencils to add some...

Happy Happy Halloween Slimline Card

Howdy, crafty friends. I have a Halloween Slimline Card to share today… I started by creating the background. I inked up THIS cloud stencil using black ink. Once all the clouds were stenciled on, I went back with a gray ink and colored in the white clouds for a spooky look. I added black ink through a grass stencil along the bottom of the card and die cut THIS sentiment die from black glossy...

Clearly Besotted STAMPtember 2023 Collaboration

Hi, crafty friends.Today’s STAMPtember collaboration stamp set is THIS one with Clearly Besotted… I started by stamping the images from THIS collaboration stamp set on an A2 white panel. I masked off the images I wanted to be in the very front and continued stamping. After all the images were masked using THIS masking paper, I ink blended the bottom of the panel and stamped the top portion of the panel with THIS background...

Whimsy Stamps STAMPtember 2023 Collaboration

Hello, crafty friends. Today’s STAMPtember collaboration stamp set is THIS one with Whimsy Stamps… I started by stamping the images and sentiments from THIS stamp set on die cut squares. I colored them in with Copic Makers and added glossy accents to the eyes. I stamped a slimline gray panel using all the small images in the stamp set to create a tone on tone background. I finished it off with a strip of...

Gina K. Designs STAMPtember 2023 Collaboration

Hello there, crafty friends. Today’s STAMPtember collaboration stamp set is THIS one with Gina K. Designs… To create this card, I started by stamping the main image from THIS stamp set on an A2 white panel using pink ink. I stamped a sentiment from the stamp set under the image and cut a circle from the center of the main image. I adhered acetate behind the opening. I white heat embossed one of the...

Lawn Fawn STAMPtember 2023 Collaboration

Hi, crafty friends. Today’s STAMPtember collaboration stamp set is THIS one with Lawn Fawn… I started by ink blending the background using Distress Oxide Inks and spritzing it with THIS to add some sparkle and shine to the night sky. Next, I stamped the images from THIS stamp set, colored them with Copic Markers, and used THESE coordinating dies to cut them out. I adhered them on top of THIS white glitter cardstock that...