Happy Friday, crafty friends. I’m back today with a project featuring a faux stained glass look…
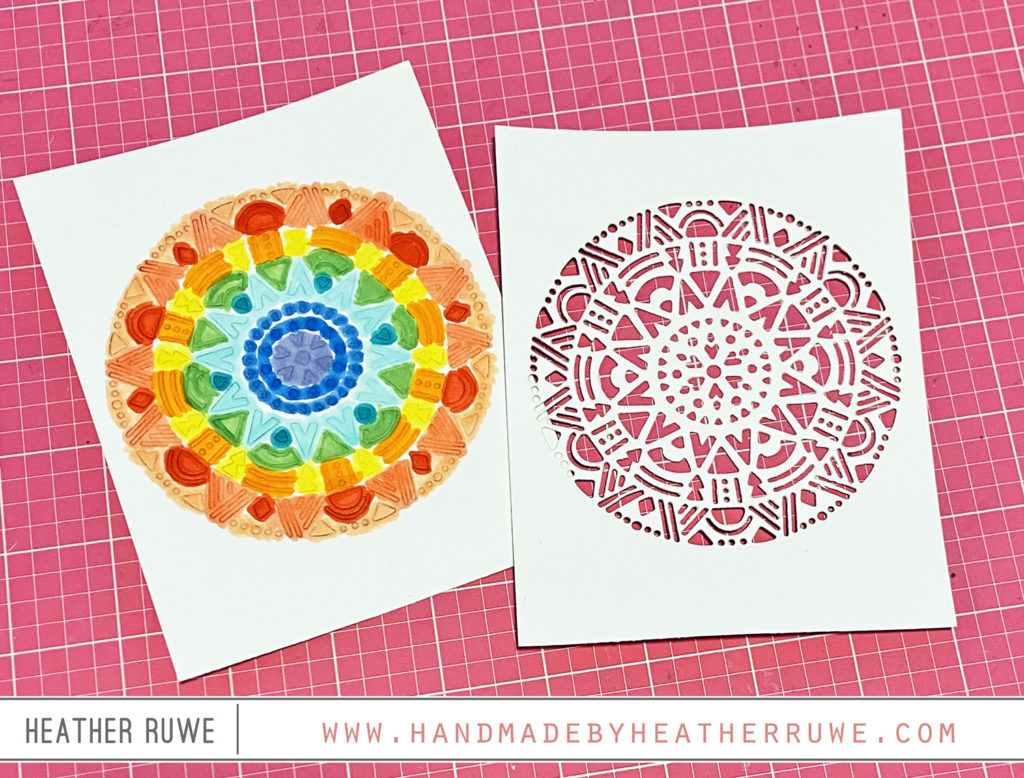
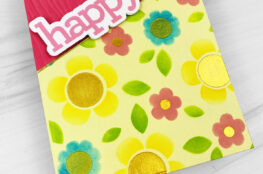
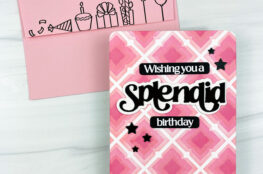
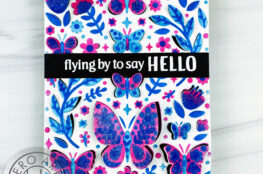
I die-cut THIS die through two pieces of A2 sized white card stock at the same time. It cut through the top layer completely and it only made an impression through the bottom piece. With any intricate die, I use a metal shim in my cutting sandwich. I used the bottom impression piece as a guide on where to color. I used a rainbow of Copic markers and colored in where all of the openings of the die-cuts are. Here’s a closer look at the layers before I adhered them together…
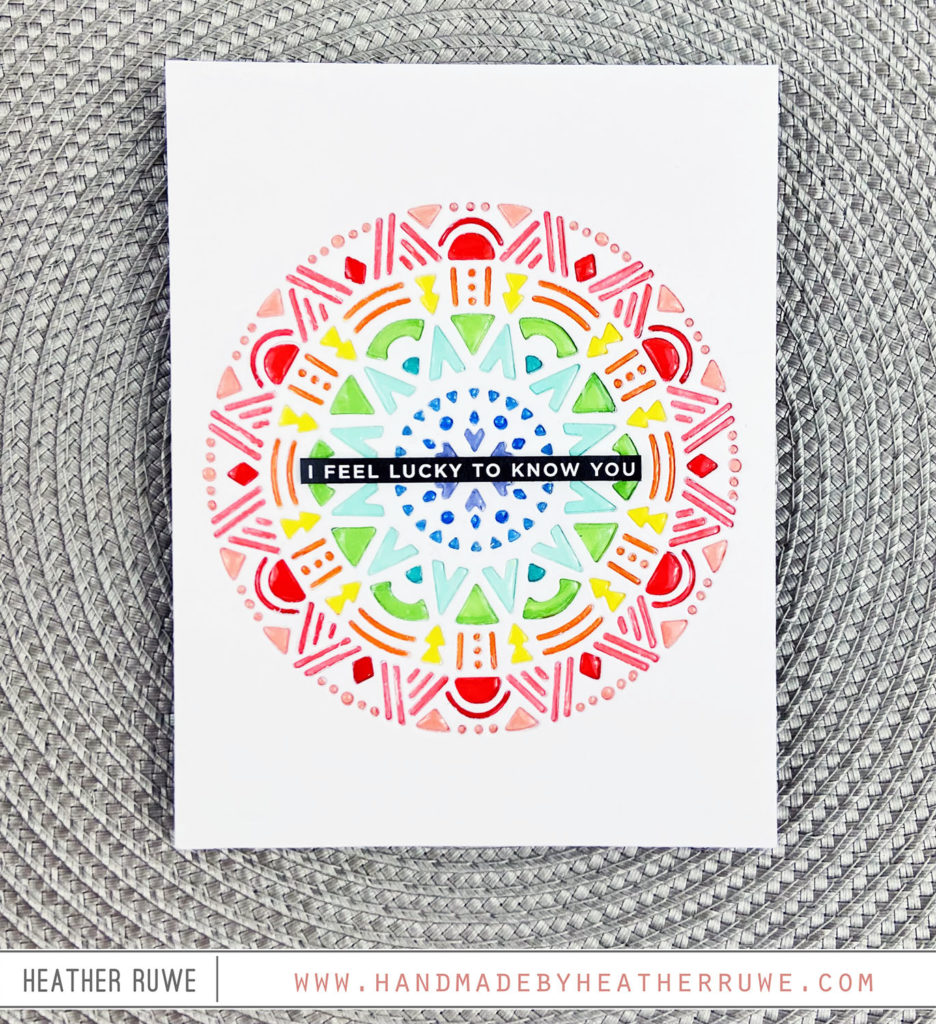
I applied glossy accents on top of the color to give it some shine and a faux stained glass look. I adhered the top die-cut piece on top to hide all the messy coloring and added the piece to a top folding white note card. I finished off the design with a printed sentiment strip.
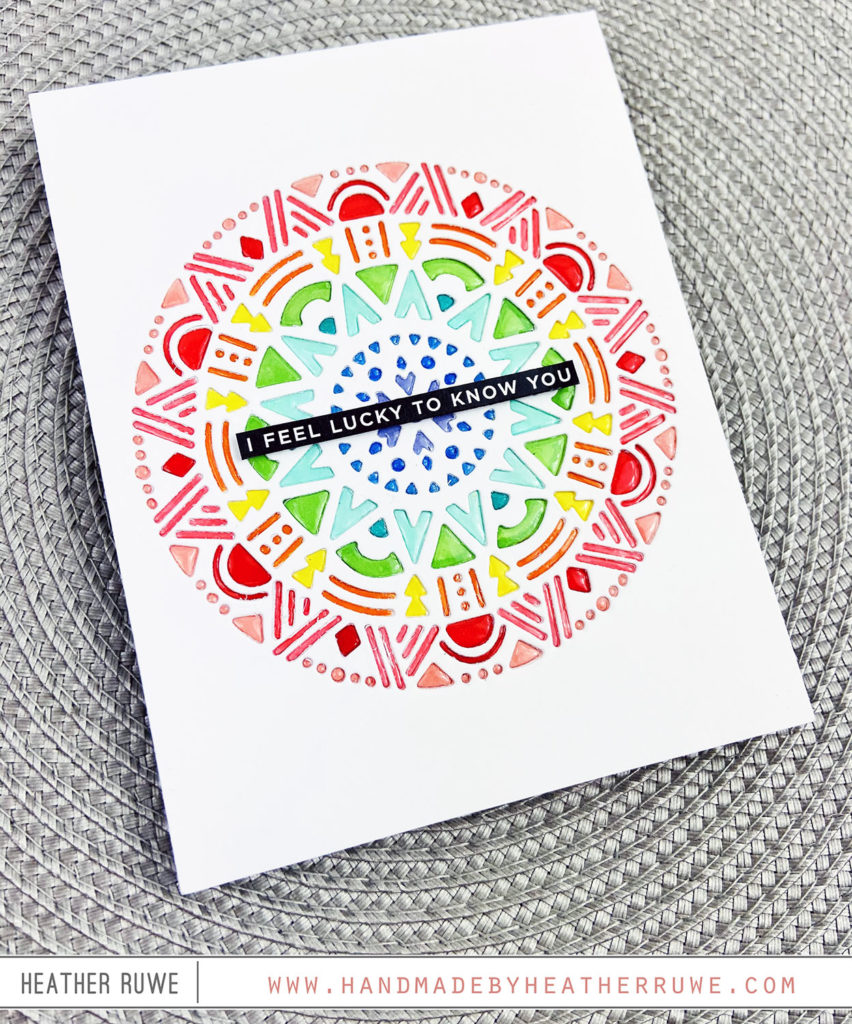
Here’s a closer look…
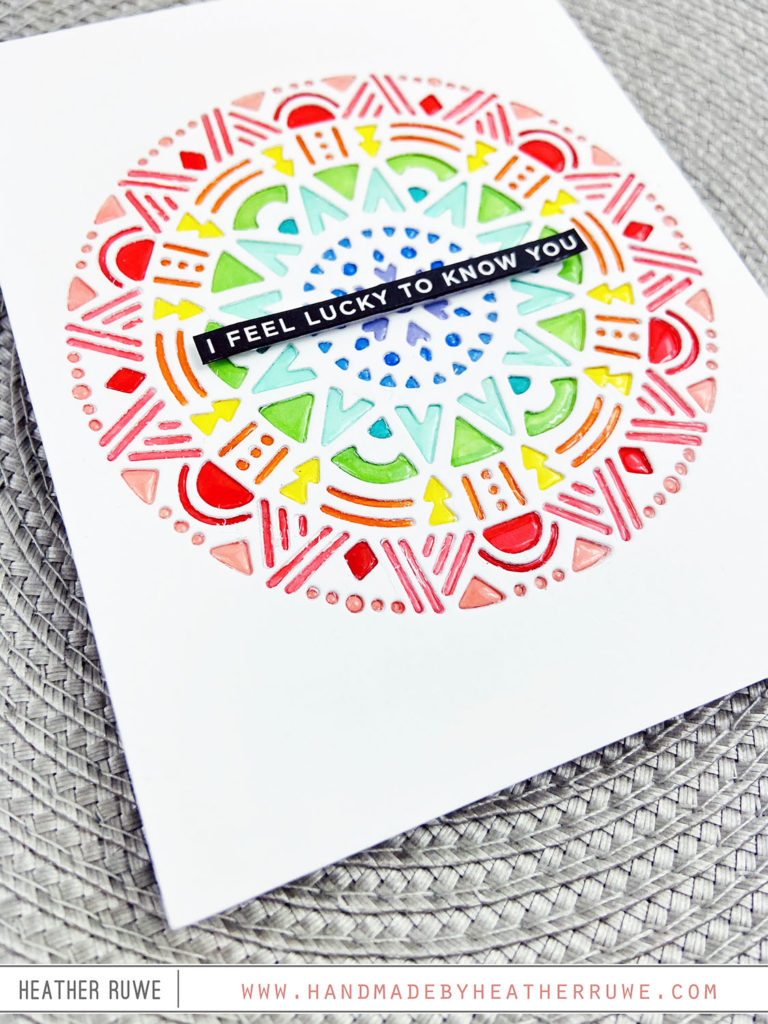
I hope this inspires you to do some coloring in your die-cut openings.
Thank you so much for visiting today. Happy crafting!
LINKS TO SUPPLIES USED:
(Affiliate links used at no extra cost to you. Thank you for your support.)


February 5, 2021
Ah, it was the magical Glossy Accents for the win! Thanks for sharing this. I don’t have any similar dies, but it is a fun technique so I’ll have to try it on something…