Happy & Joyful Release

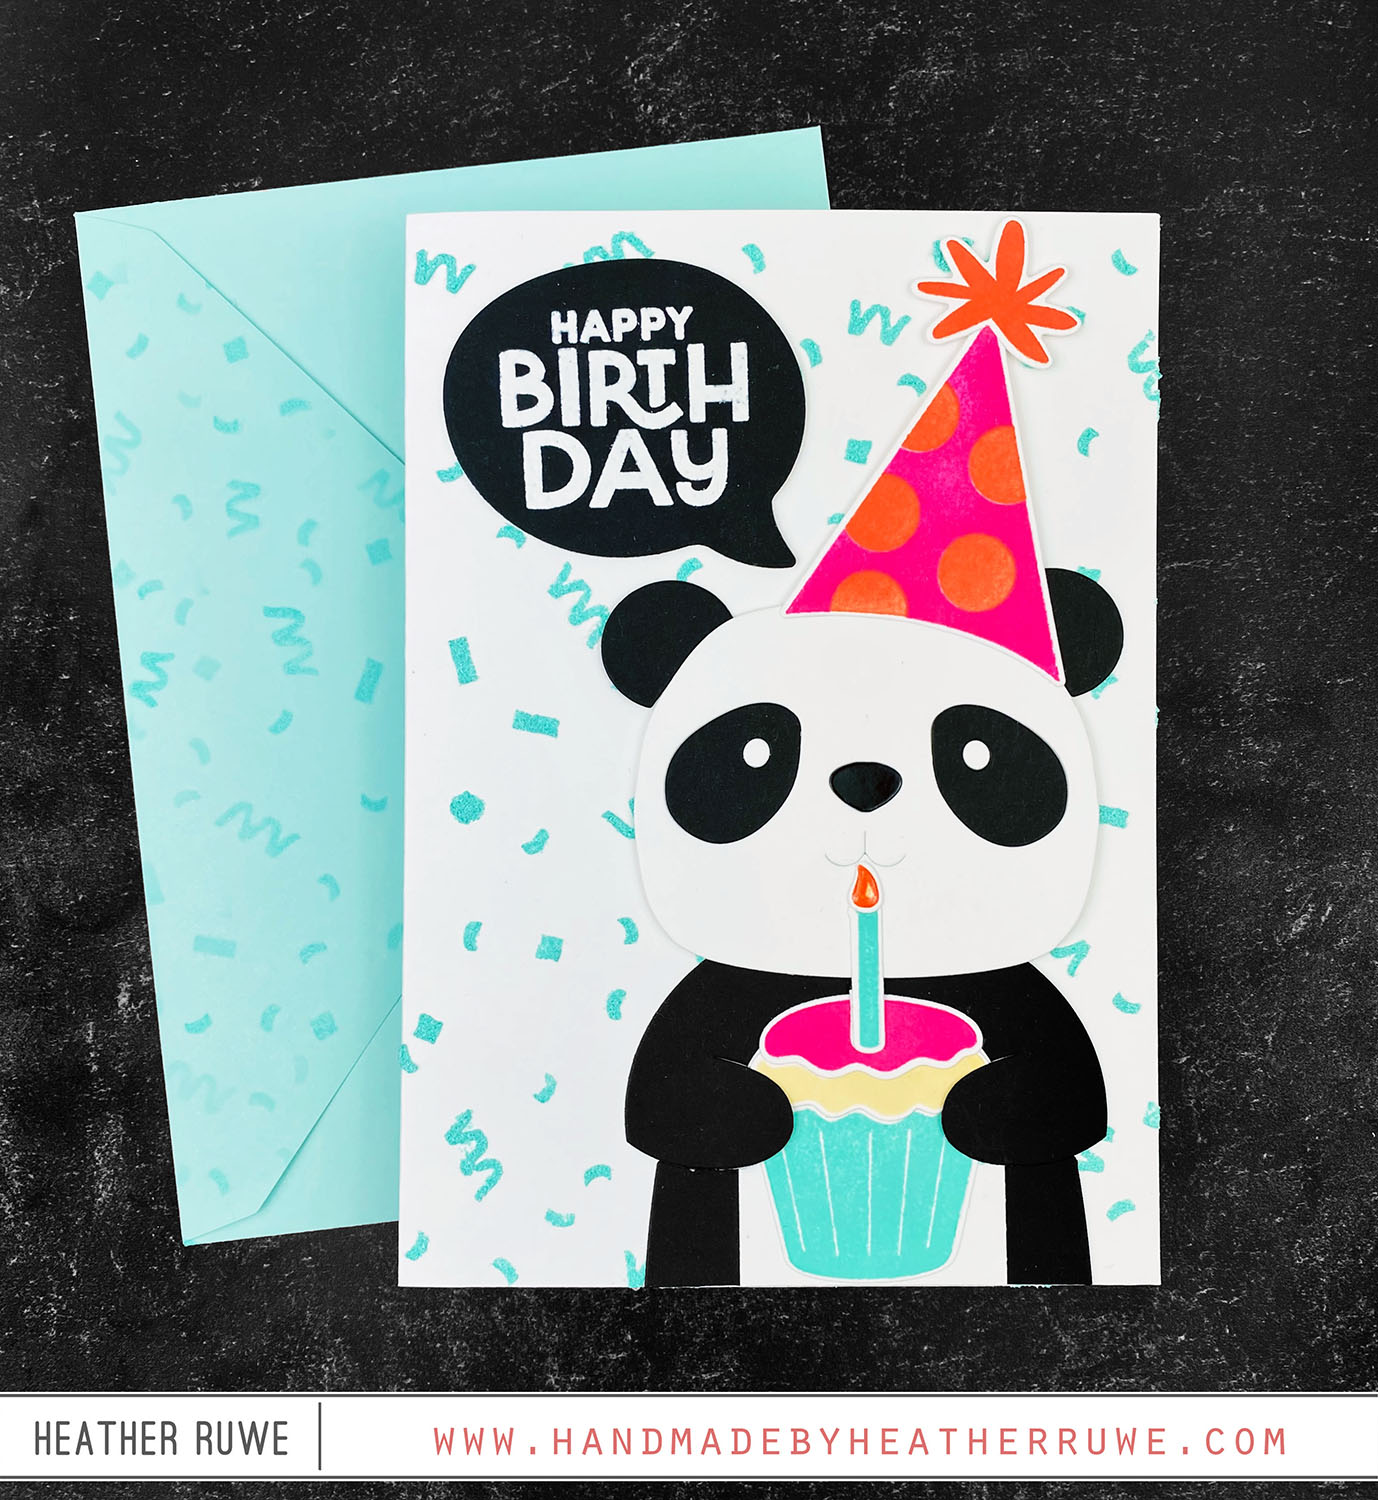
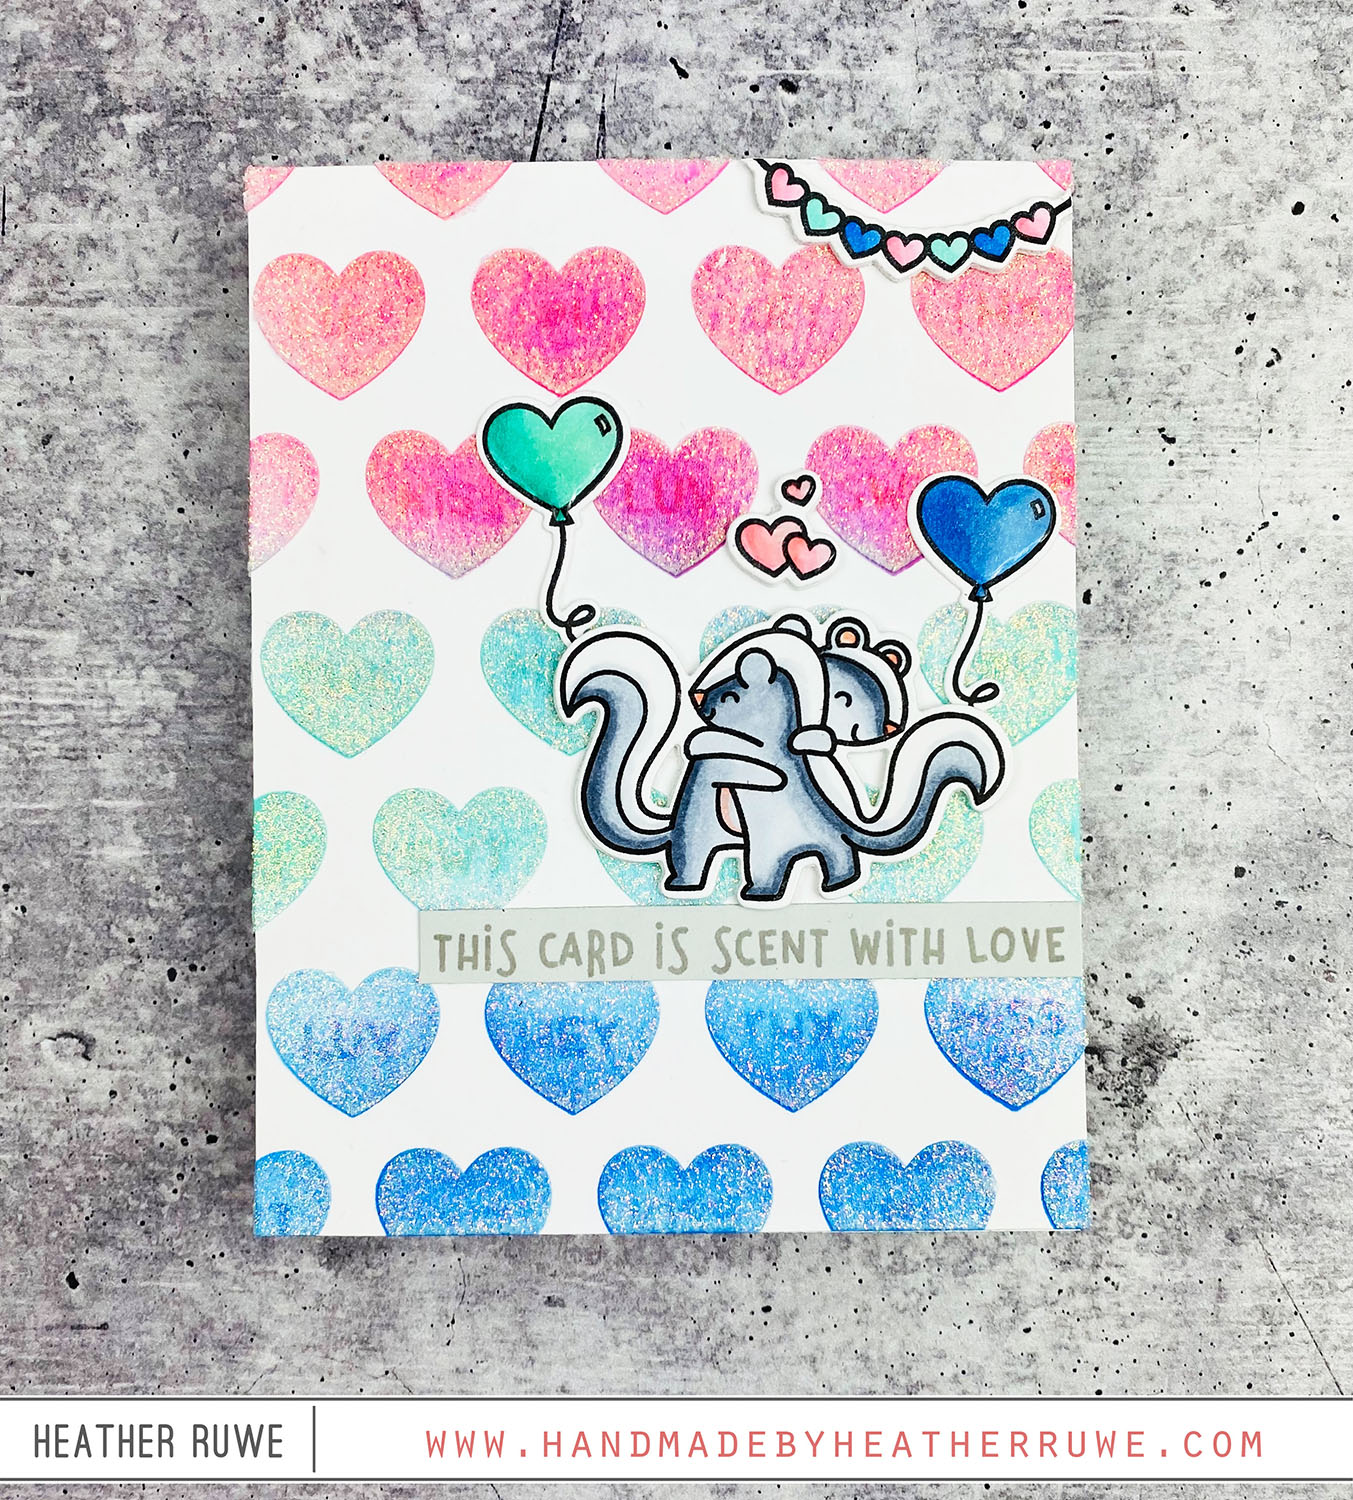
Hi there, crafty friends. Today’s card features THIS new stamp set from THIS new release… I started by applying Glitz Glitter Gel though the Slimline Confetti stencil on a 5×7 white card front. Next, I die-cut and assembled the Big Picture Book Panda and Big Picture Book Big Body die from black and white cardstock. I stamped a party hat and cupcake image from the Time to Party stamp set and used the coordinating...

Spring Slimline Card

Hello, crafty friends. I have a spring themed slimline card to share today… I started by stamping a couple of yellow birds from the Sweet Birds stamp set. I find it helpful to die-cut the coordinating die from white cardstock and stamp on that to make it easier to align the images. I also stamped a couple of tree limbs from the same stamp set as well as some flowers from the Blooming Circle...

Hello Gorgeous Release

Hello there, crafty friends. Today’s mini slimline card features products from THIS new release by Simon Says Stamp… To create this card, I started by cutting a yellow panel from a mini slimline rectangle die. I applied ink to the panel through the Fanfare stencil using a coordinating ink. I stamped a sentiment in the center from the XL Spring Greetings stamp set. I stamped and colored the boot images from the Garden Boots...

Stencil Set Cards + Good Luck Charm Release Blog Hop

Hi there, crafty friends. I’m thrilled to be part of THIS Blog Hop Celebrating THIS new release. I have three cards to share featuring stencil sets… VIDEO I’m excited to bring more video content in 2022. You can watch the video on how I created these cards HERE or click on the video below… For the first card, I applied ink through the Interlocking Circles stencil set. I die-cut the arched dome die from...

Distress Spray Backgrounds

Hello, crafty friends. I have two cards today featuring products from THIS new release. I used Distress sprays with stencils to create quick and easy backgrounds… To create these backgrounds, I sprayed Distress Spray Stains through the stencils. Since these stencils have intricate designs, I sprayed Pixie Spray on the back so they would temporarily adhered down to the cardstock and cause less seeping underneath. For the first card, I sprayed a few pink...

Scent With Love

Hello there, crafty friends. I spent the afternoon crafting with some friends and we tuned into the Create with Us: Scent With Love Facebook Live hosted by Jenn Shurkus and Kelly Marie Alvarez HERE. They made some adorable cards using the Scent With Love stamp set. It was so fun! I created a different design and thought I would share it here… I started by stamping and coloring the images from the Scent with...

More To The Moon Release Inspiration

Howdy, crafty friends. I’m back with more inspiration using THIS new release by Simon Says Stamp… To create this card, I applied navy ink through the Berries and Leaves stencil on a light blue panel. I embossed the Detailed Pincushion Plate Die on top of the stenciled pattern using an embossing mat in my embossing machine. I just love all the texture it adds. Next, I die-cut the Wreath of Love die from white...

Warmest Wishes Card Kit

Hello, crafty friends. Today’s card features the January 2022 Card Kit from Simon Says Stamp… To create this card, I started by applying ink through the — stencil included in the kit. I used a rainbow of Simon’s saturated inks (which blend beautifully). I trimmed down the panel into four panels and adhered them to a gray A2 panel. I stamped and Copic colored one of the snowman images from the kit’s stamp set...

Christmas Gatefold Cards

Hello, crafty friends. I’m always looking for ways to make gift cards more special. Today, I have four gatefold cards to share that also hold gift cards…For the main die-cuts, I used the November My Monthly Hero Card Kit. It sold out fast but you could substitute those for another die-cut image or even a stamped piece. Today’s focus is more about the design. To create these cards, I created four gate fold card...

Candy Canes Slimline Card

Howdy, crafty friends. I have more inspiration to share today featuring THIS new release… I started by applying the Cherry Glitter Glitz Gel through the Candy Canes stencil on a white slimline panel. After it was dry, I adhered it to a black cardstock slimline card base and added two strips of red holographic paper to each side. I die-cut an oval using vellum and adhered the Candy Cane Heart die-cut on top as...