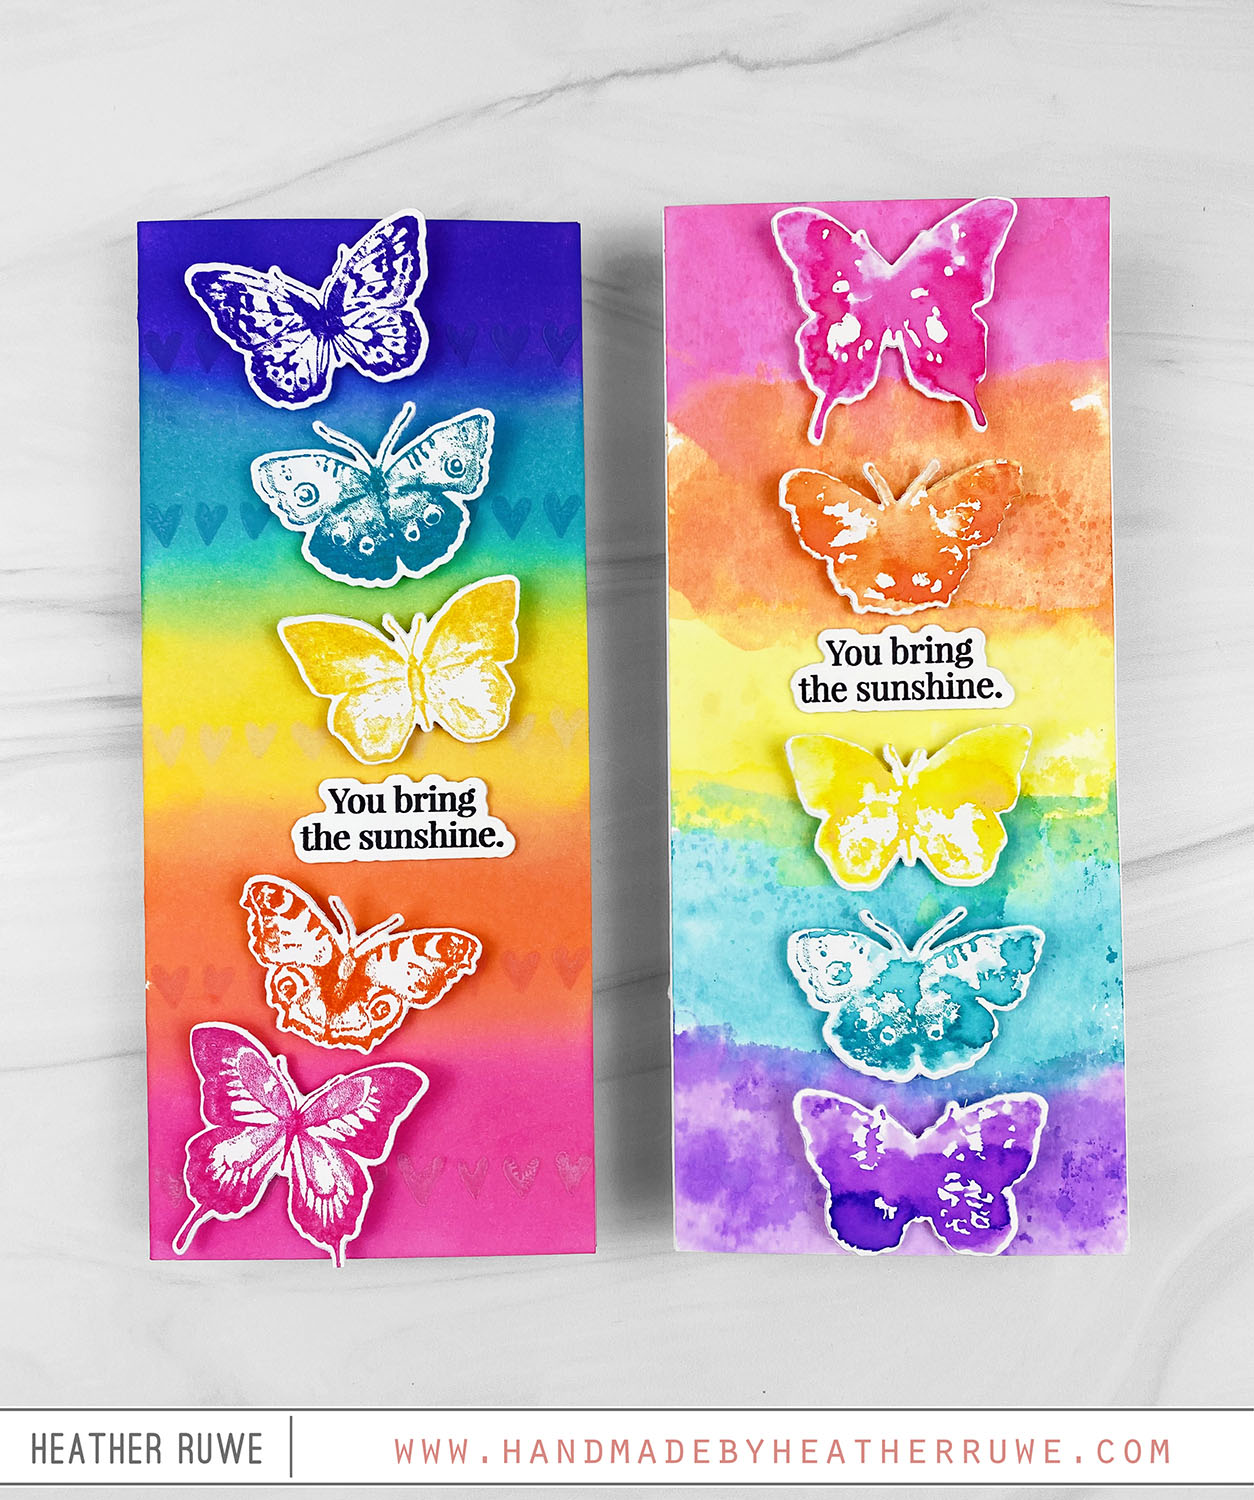
Howdy, crafty friends. I have two cards to share featuring THIS stamp set and coordinating dies… For the first card… I started by ink blending a rainbow of Distress Inks on the front of a saline card base. I stamped the row of hearts image from THIS stamp set on top of each color using the same color to add some interest to the background. I stamped the butterflies from the same stamp set...
Smitten Release
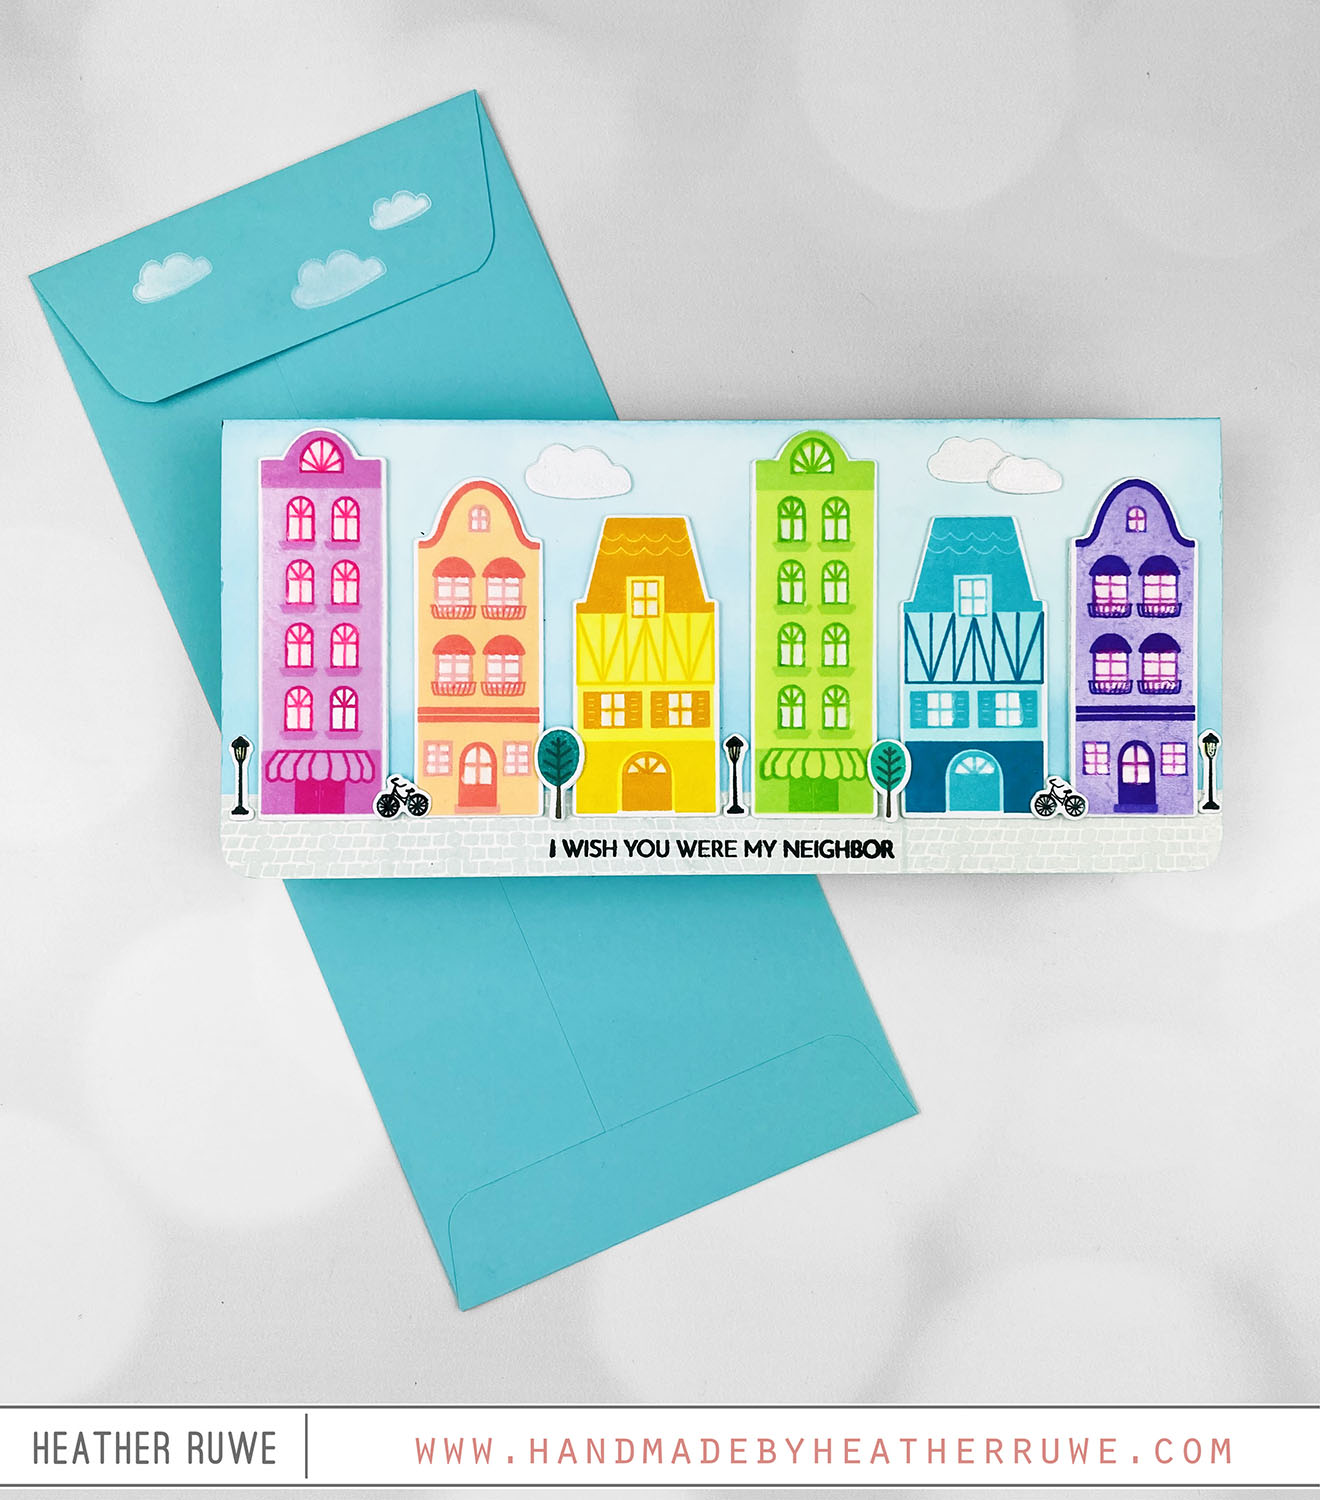
Hello there, crafty friends. Today’s card share features THIS new release by Simon Says Stamp… To create this card, I stamped the houses from THIS layering stamp set from a variety of ink colors and used THESE dies to cut them out. I adhered them to a slimline background that was stamped with THIS street stamp and ink blended the background to create a sky. I die cut the clouds from THIS coordinating die...
Season of Wonder Release Inspiration
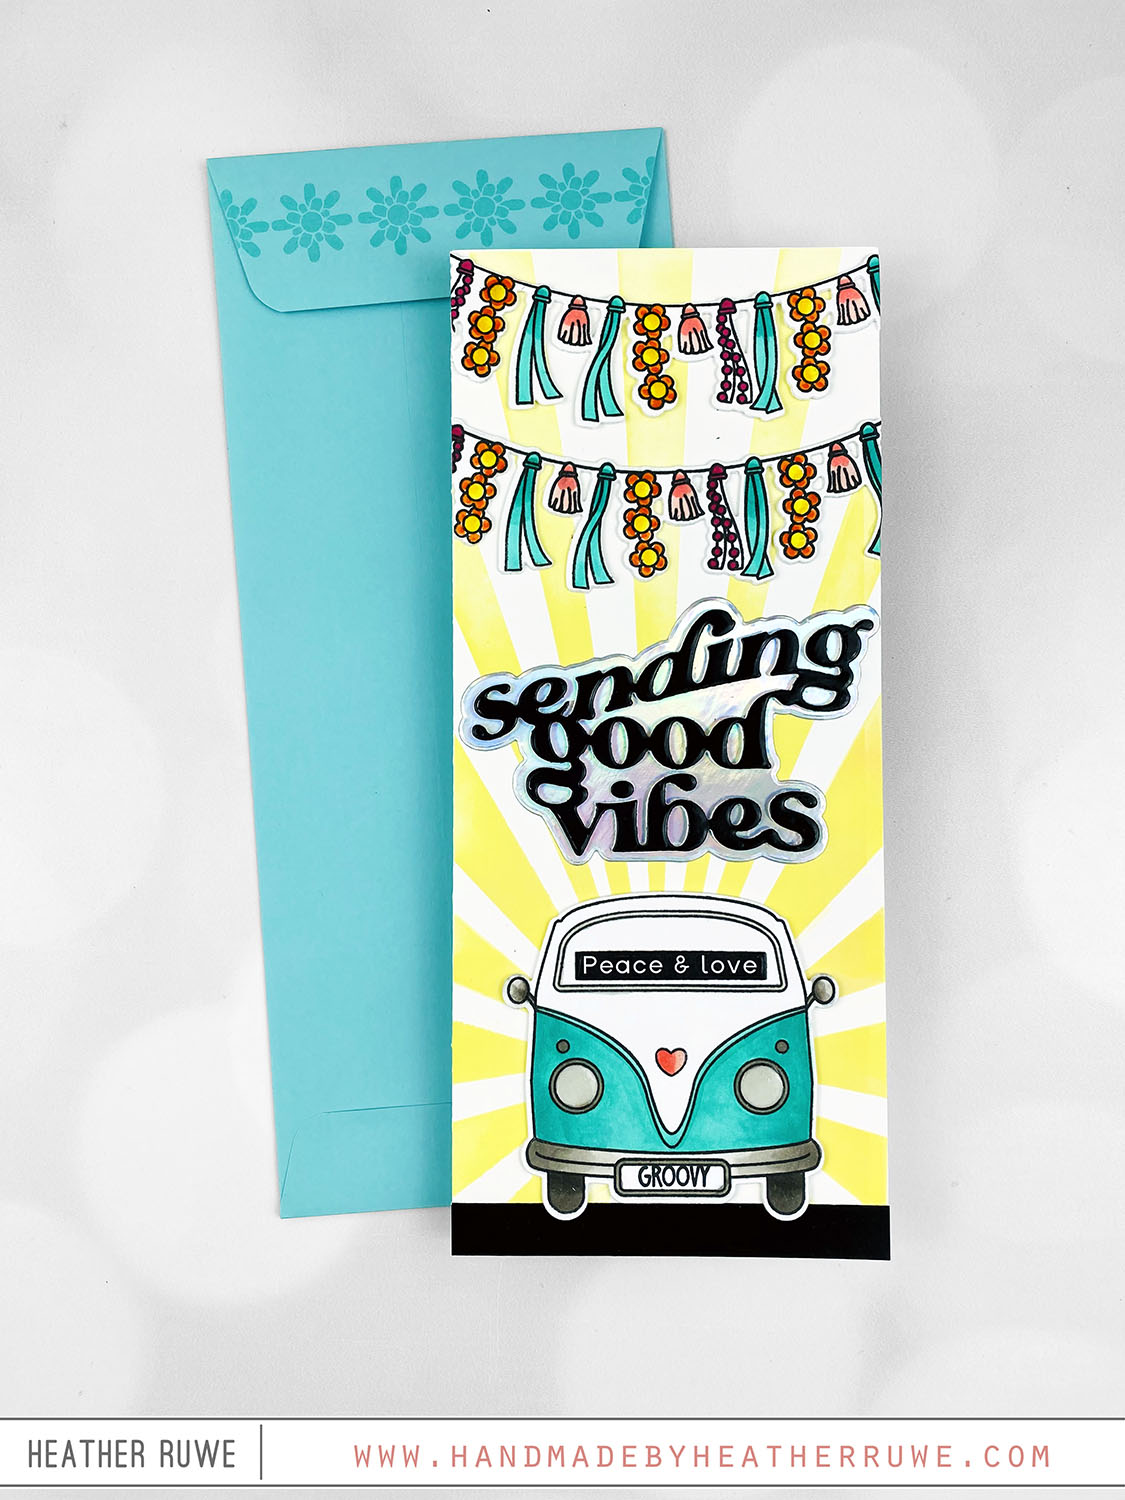
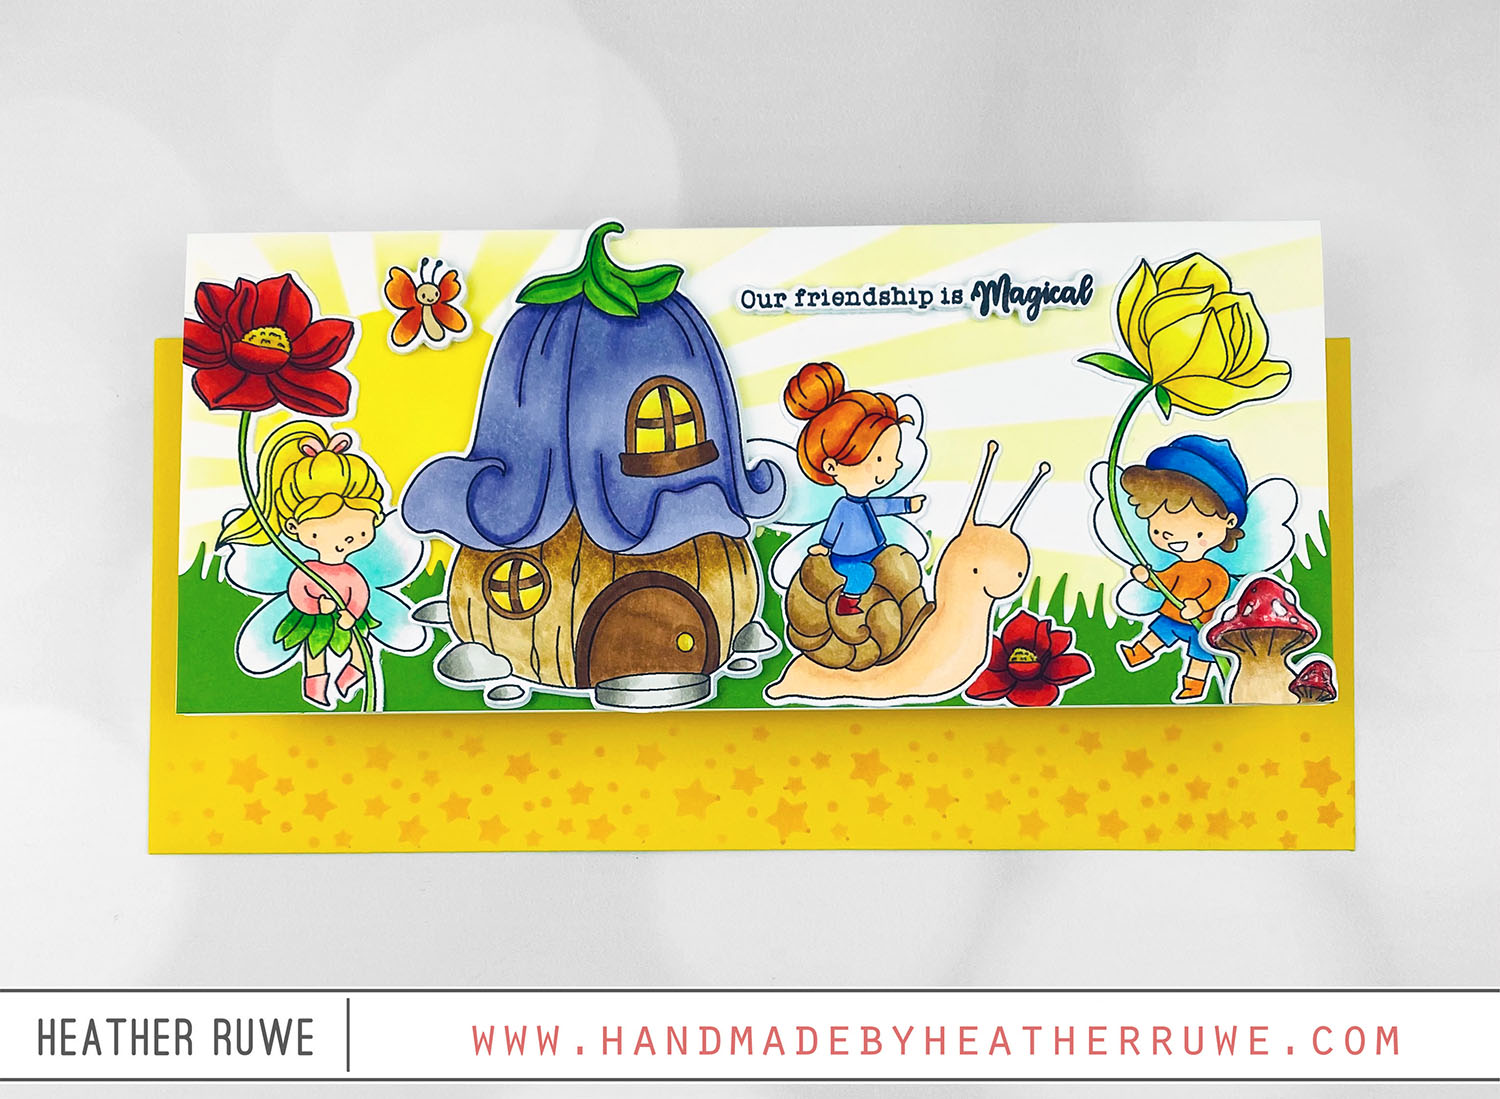
Hello, crafty friends. I have more inspiration to share today using THIS new release from Simon Says Stamp… I started by applying yellow ink through THIS stencil on the front of a slimline note card. I stamped the images from THIS stamp set and colored them with Copic Markers. I used THESE coordinating dies to cut them out and I adhered them to the inked background along with THIS die cut sentiment and a...
Happy Happy Halloween Slimline Card
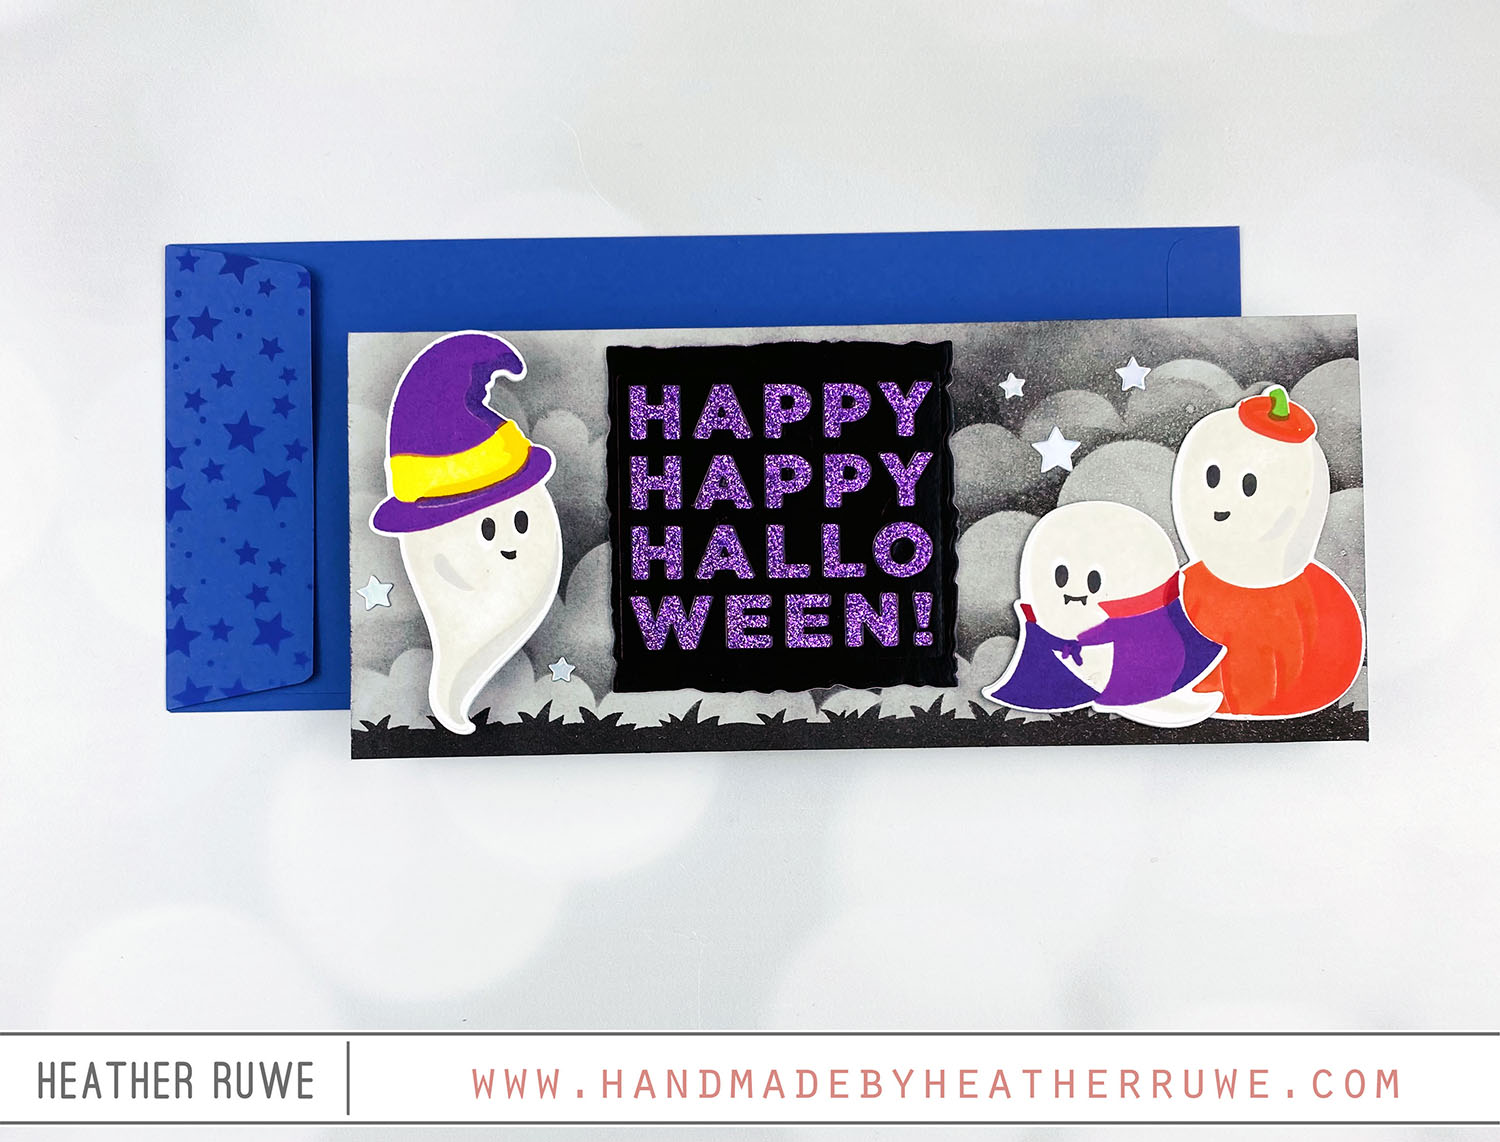
Howdy, crafty friends. I have a Halloween Slimline Card to share today… I started by creating the background. I inked up THIS cloud stencil using black ink. Once all the clouds were stenciled on, I went back with a gray ink and colored in the white clouds for a spooky look. I added black ink through a grass stencil along the bottom of the card and die cut THIS sentiment die from black glossy...
Whimsy Stamps STAMPtember 2023 Collaboration
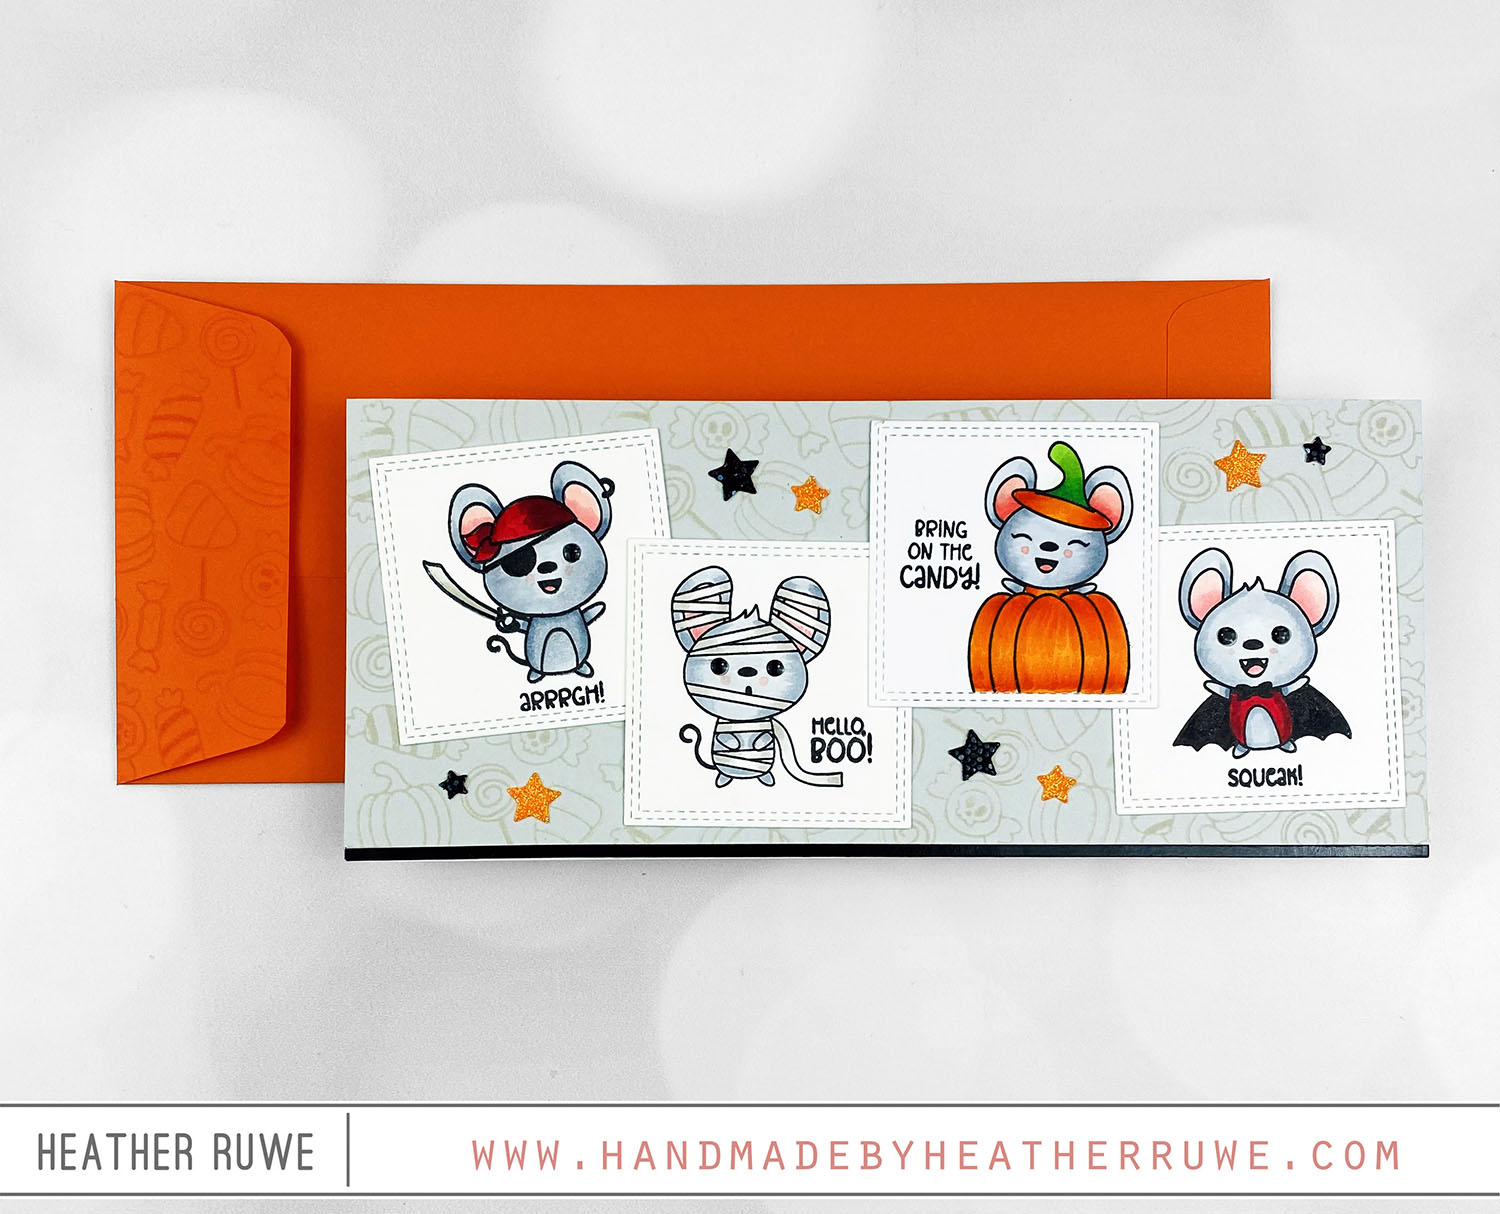
Hello, crafty friends. Today’s STAMPtember collaboration stamp set is THIS one with Whimsy Stamps… I started by stamping the images and sentiments from THIS stamp set on die cut squares. I colored them in with Copic Makers and added glossy accents to the eyes. I stamped a slimline gray panel using all the small images in the stamp set to create a tone on tone background. I finished it off with a strip of...
More Just a Note Release Inspiration
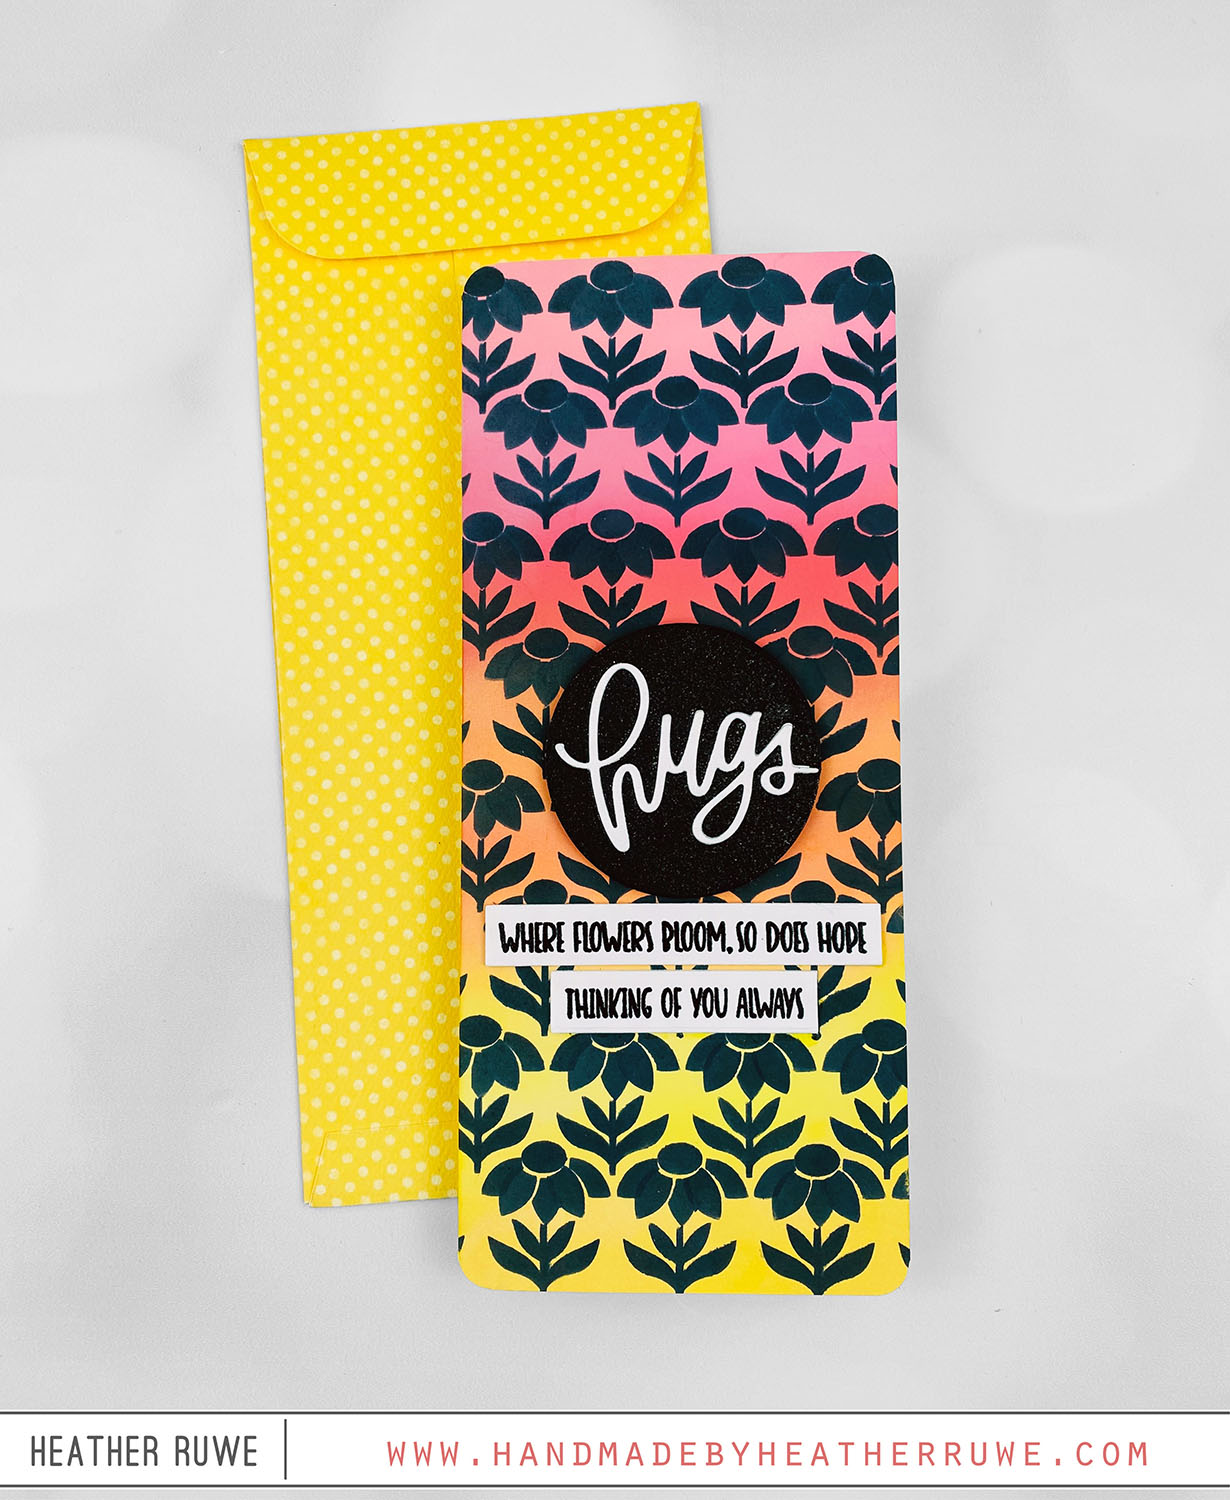
Howdy, crafty friends. I’m back with more inspiration from THIS new release by Simon Says Stamp… To create this card, I ink blended the front of a slimline card base using Distress Oxide inks. After heat setting it to dry the ink, I applied ink through THESE stencils using black Oxide ink. I die cut THIS word die in the middle of one of THESE circles that I cut from black cardstock. Here’s a...
Out of This World Release
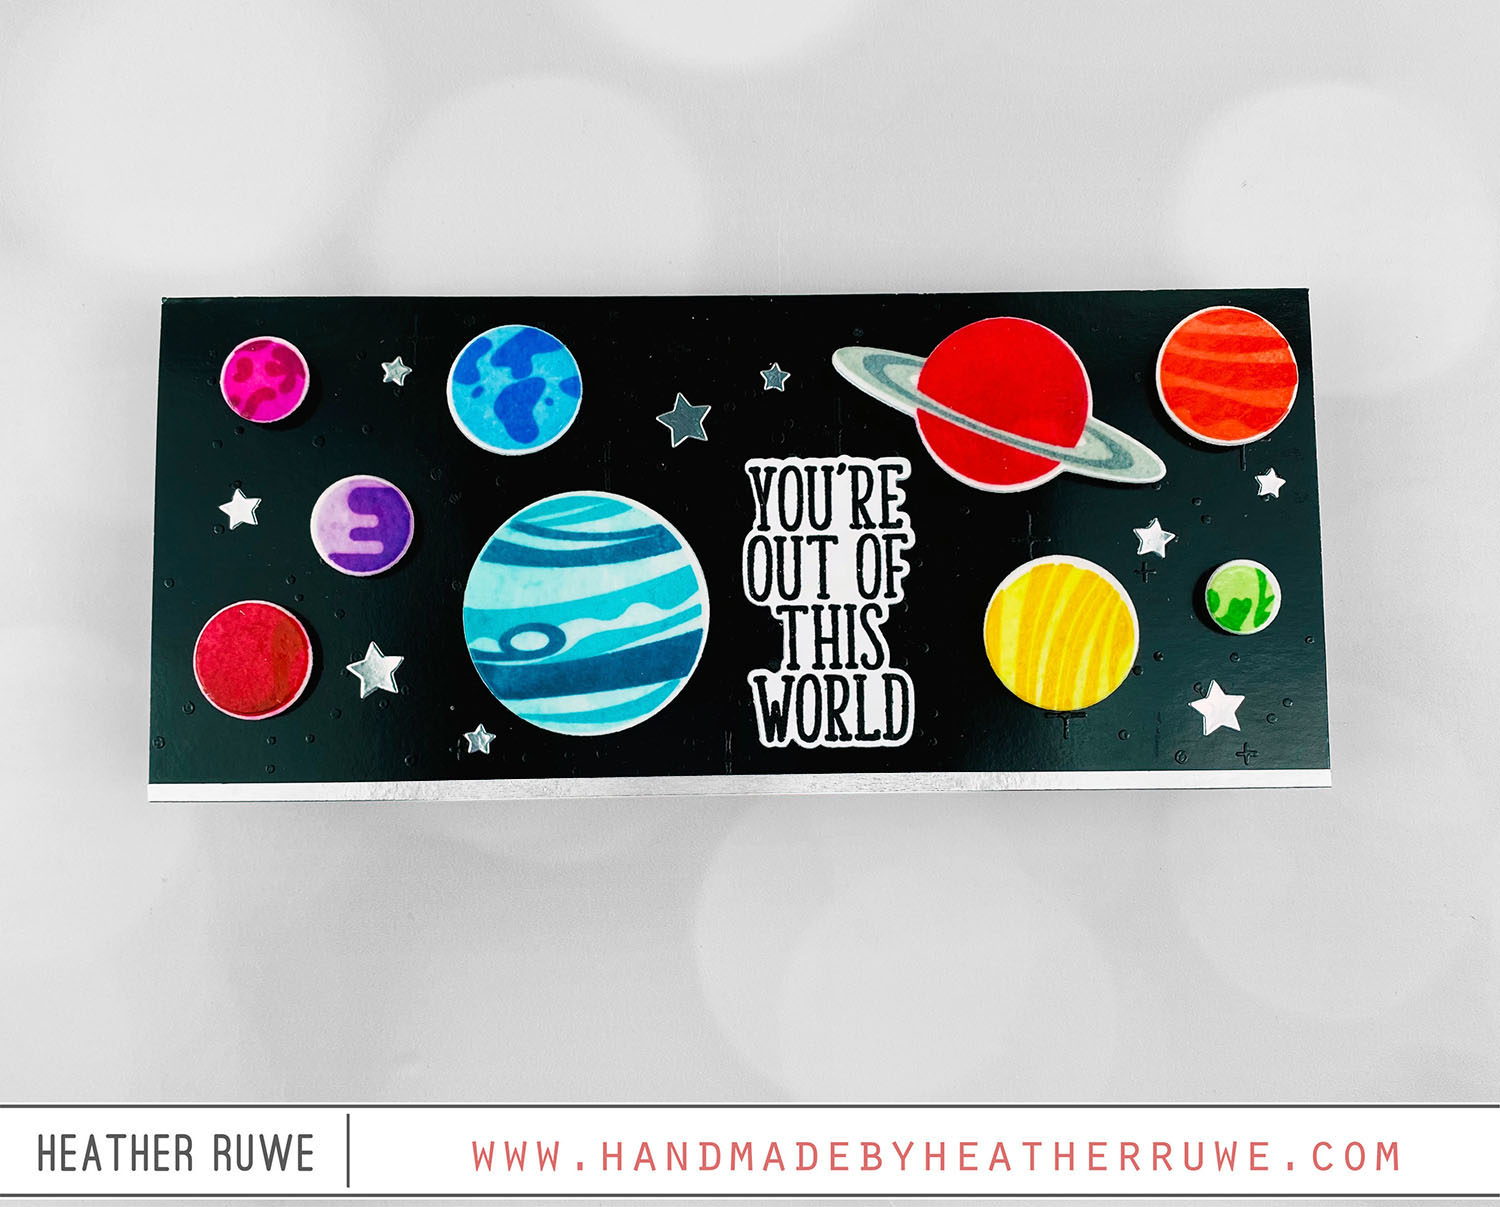
Hello again, crafty friends. Today’s card share features THIS new release from Simon Says Stamp… To create this card, I clear heat embossed THIS background stamp on a slimline panel created from black glossy cardstock. I had to stamp it twice to fit the slimline length. I stamped the planets and sentiment using THIS layering stamp set and used THESE coordinating dies to cut them out. I inked up all of the planets with...
Scrappy Tails March 2023 Release
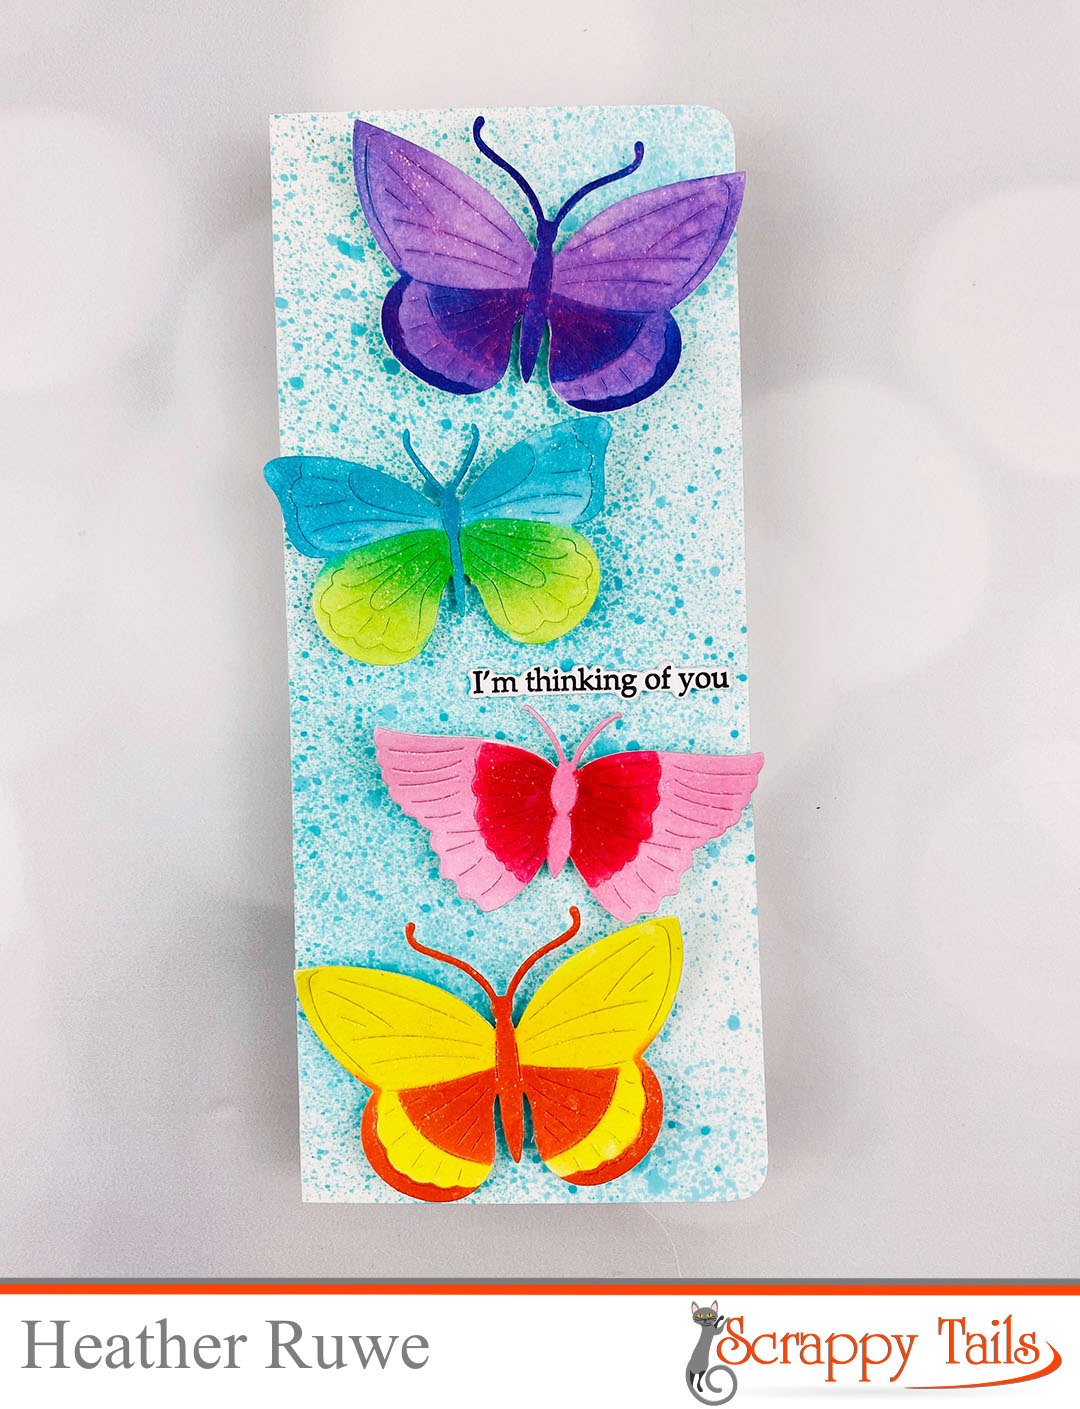
Hi there, crafty friends. Scrappy Tails has a new release HERE and it’s filled with beautiful spring themed products. Today’s card features their new die and stencil butterfly sets… To create a background, I spritzed THIS and THIS spray on to the front of a slimline card. I die cut THIS, THIS, and THIS butterfly die from white cardstock. I used the coordinating stencil for each butterfly to add color to it. I also...
More Just For You Release Inspiration
Hello there, crafty friends. I’m back with more inspiration from THIS new release from Simon Says Stamp… I started by stamping the images from THIS set and coloring them in with Copic Markers. I used THESE coordinating dies to cut them out. I applied ink through THIS stencil on to a slimline panel to create a background. I die cut grass using THIS die and adhered it along the bottom of the card. I...
Product Spotlight: Picket Fence Studios Paper Pouncers
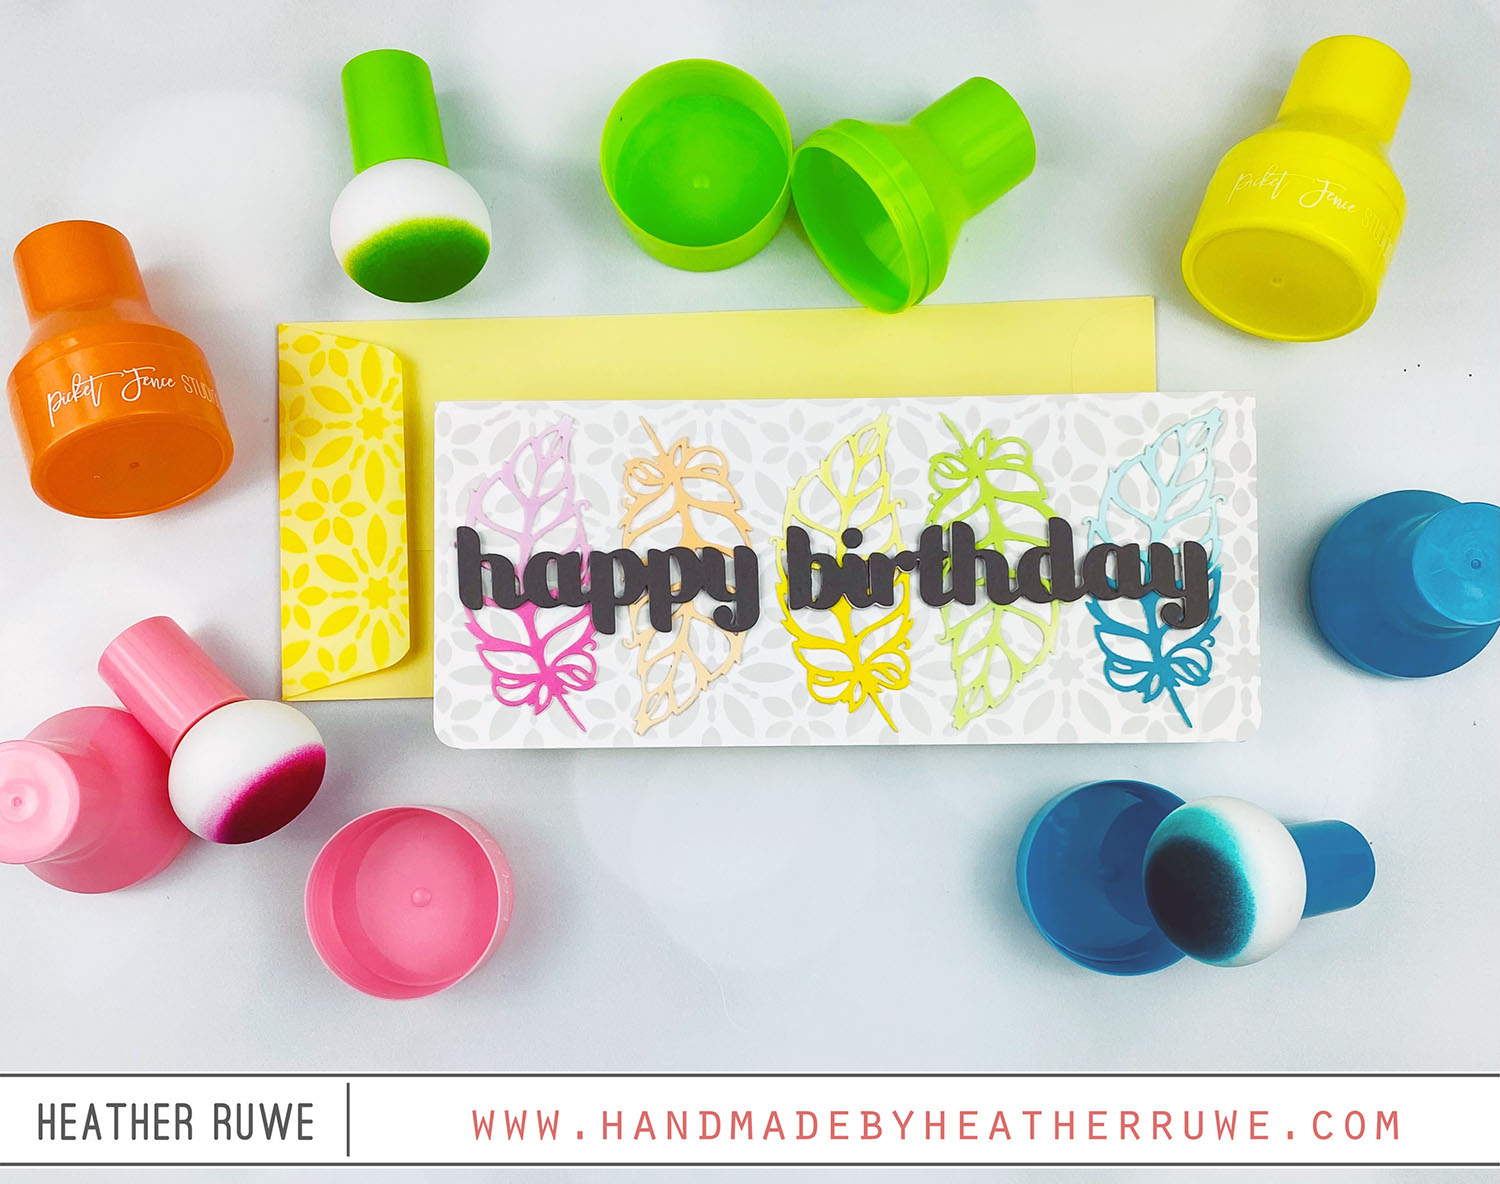
Hello again, crafty friends. Today’s post is all about the new Paper Pouncers from Picket Fence Studios. I’m really loving them and wanted to give you an introduction to them. I created a video all about these pouncers. You can watch it HERE or click on the video below… So there is a bright rainbow pack is a pack of 9. There is also a Neutrals pack of paper pounces available in black, brown,...

