Born to Sparkle Release Blog Hop

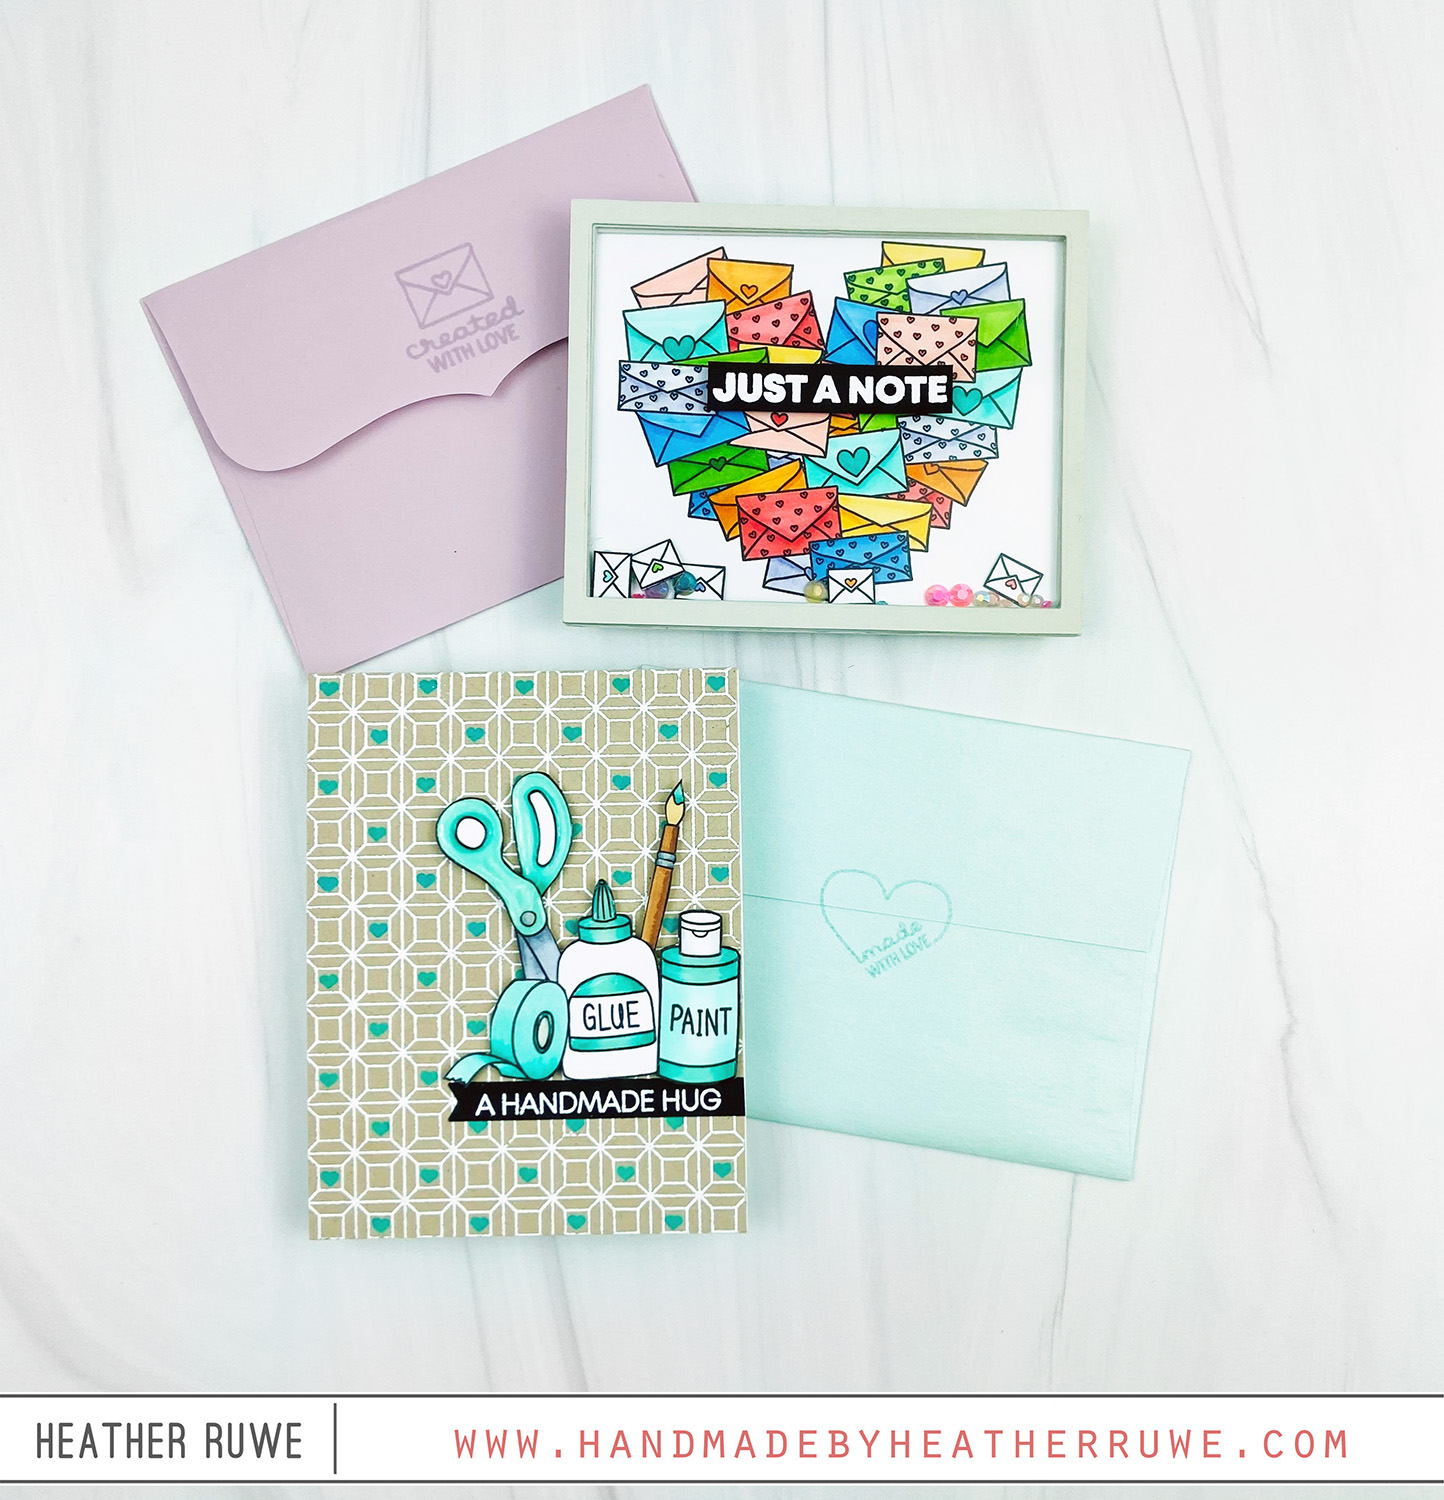
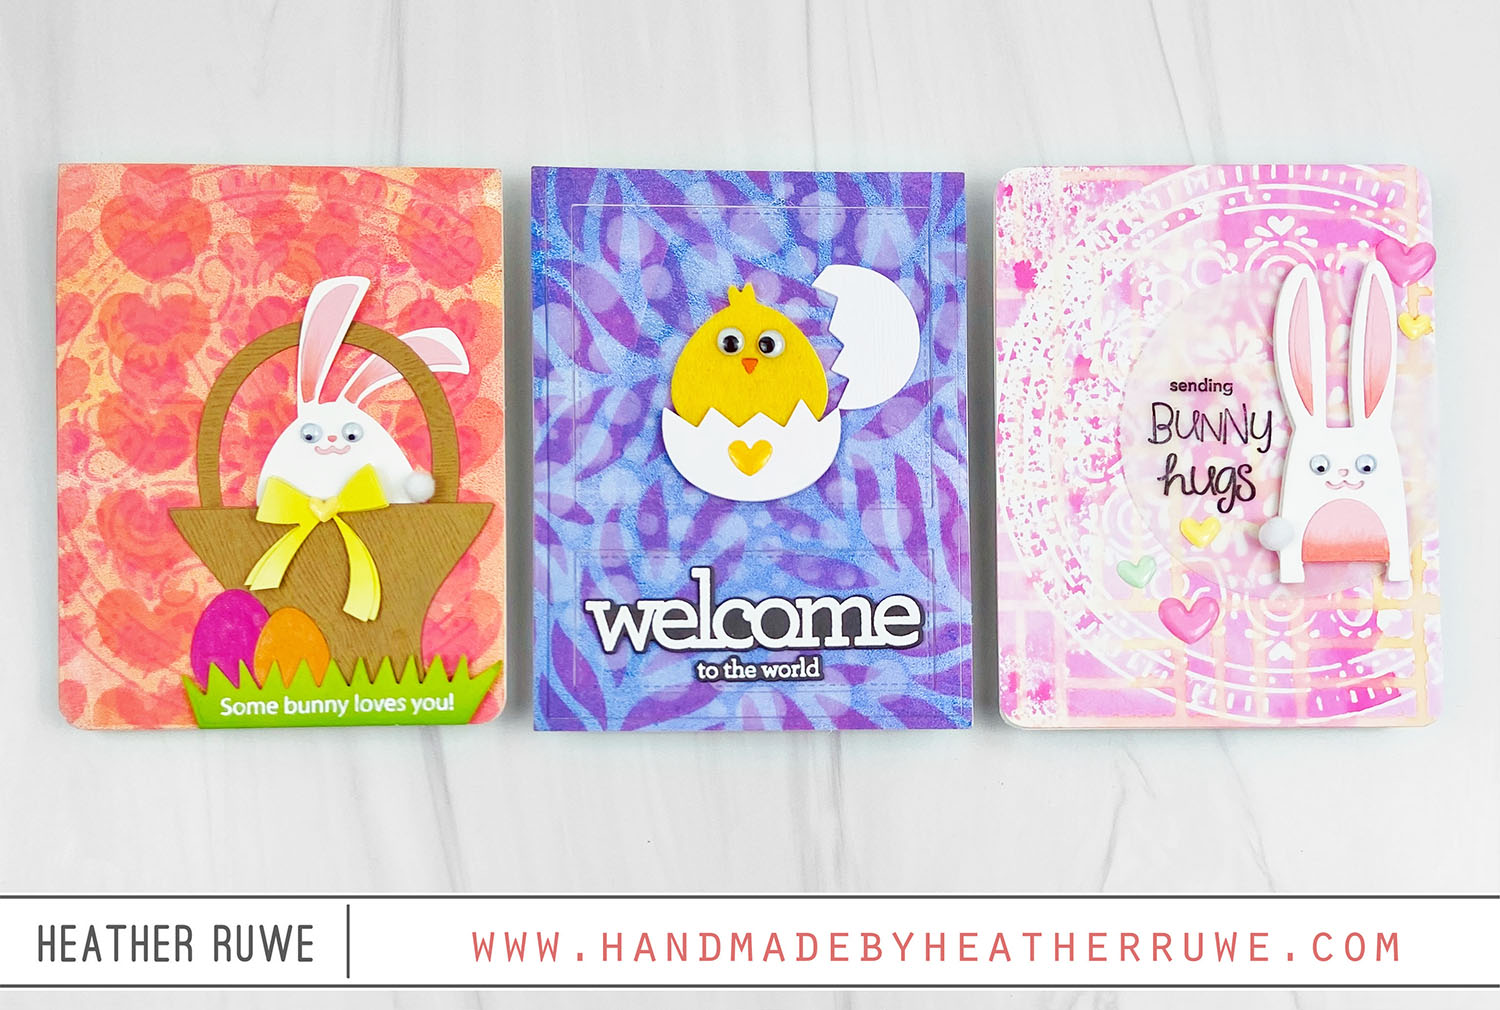
Hi, crafty friends. I’m excited to be part of THIS blog hop celebrating THIS new release from Simon Says Stamp. So, I’m a big fan of when one technique turns into two cards. Today’s cards are a great example of that… To create these cards, I inked up my Gel Press with three colors of Distress Oxide ink. I die-cut the coordinating die from the Spring Bouquets stamp set and laid the white die-cut...

Stamp Kissing Technique

Hello there, crafty friends. I’m back with another rainbow card using products from THIS new release… I inked up the flowers and leaves from the Painted Flowers stamp set with a variety of Distress Oxide Inks. Before stamping the images on white card stock, I stamped them on to the Halftone background stamp. By “kissing” the stamps on to a background pattern, you get some great texture… The kissing technique works well with solid...

Born to Sparkle Release

Hello there, crafty friends. Today’s card features product from THIS new release by Simon Says Stamp… To create this card, I stamped the Color Wheel Background stamp using black pigment ink and clear heat embossed it. I chose to heat embossed to prevent the watercolor from bleeding in between the lines. I used my Zig Clean Color Real Brush Markers to color the top portion of each row and then pulled the color down...

Groovy Cards

Hi, crafty friends. I have a couple of groovy cards to share with you today… I applied neon inks through tie-dye stencils to create the backgrounds. I die-cut the peace & love and good vibes dies from holographic card stock and alcohol ink black card stock. I chose to use that black card stock because of it’s velvety smooth finish. I also added a few flowers from the Mother’s Day die to the Good...

Mini Slimline Bear Hugs

Hello, crafty friends. I’m back with more inspiration featuring products from THIS release… I started by mixing in Picked Raspberry Distress Oxide ink into the white embossing paste. This is a great way to stretch your supplies. Instead of buying lots of colors of embossing paste, I only buy white and mix in ink to add color. I applied the paste through one of the Mini Slimline Patterns stencils on a pink panel cut...

Alcohol Ink Alloy Backgrounds

Hi there, crafty friends. I’ve been having so much fun playing with my alcohol inks again and I wanted to share some backgrounds I created incorporating the Alcohol Ink Alloys… So what are alcohol ink alloys? Alloys are reflective metallic acid free inks specially formulated with unique metal powders to create intense metallic highlights when combined with Alcohol Inks and Alcohol Blending Solution on non-porous surfaces. I purchased these when they first hit the market...

All the Feels Release Blog Hop- Alcohol Lift Backgrounds

Hello, crafty friends. I’m thrilled to be part of THIS blog hop celebrating THIS new release. I have fallen back in love with my alcohol inks after watching THIS live with Tim Holtz. Man, he is an amazing teacher. I’m sharing several cards today featuring alcohol lift backgrounds. For all of the cards, I applied alcohol inks to Yupo paper. To do the alcohol lift technique, you ink up any stamp with alcohol lift...

All the Feels Release

Hello there, crafty friends. Simon has a new release HERE and my favorite stamp set from the release is the Front Porch stamp set along with the add-on stamp sets. I love the uniqueness of the stamp set and decided to make a few scene cards to show you some of the possibilities… For the first card… I used the Front Porch set along with the Front Porch Doormat Sayings to create a spring...

New Ink Blot Shop Release

Howdy, crafty friends. I have two cards to share using THIS new release from the Ink Blot Shop… To create the first card… I started by stamping the image from the Happy Mail Heart stamp set on to a white card stock panel and coloring it with Copic Markers. I used basic rectangle dies to create a thin border frame. I sandwiched some acetate between the layers of the frame and added some small...

Gel Press Backgrounds

Hello there, crafty friends. I recently watched THIS gel press video by Jennifer McGuire and I am hooked. I had so much fun creating backgrounds with my gel press and my MISTI. For the first card, I inked up the gel press with pink and orange inks to create a colored background. I layered the background by inking up the gel press and stamping on top of stencils that I laid on top of...