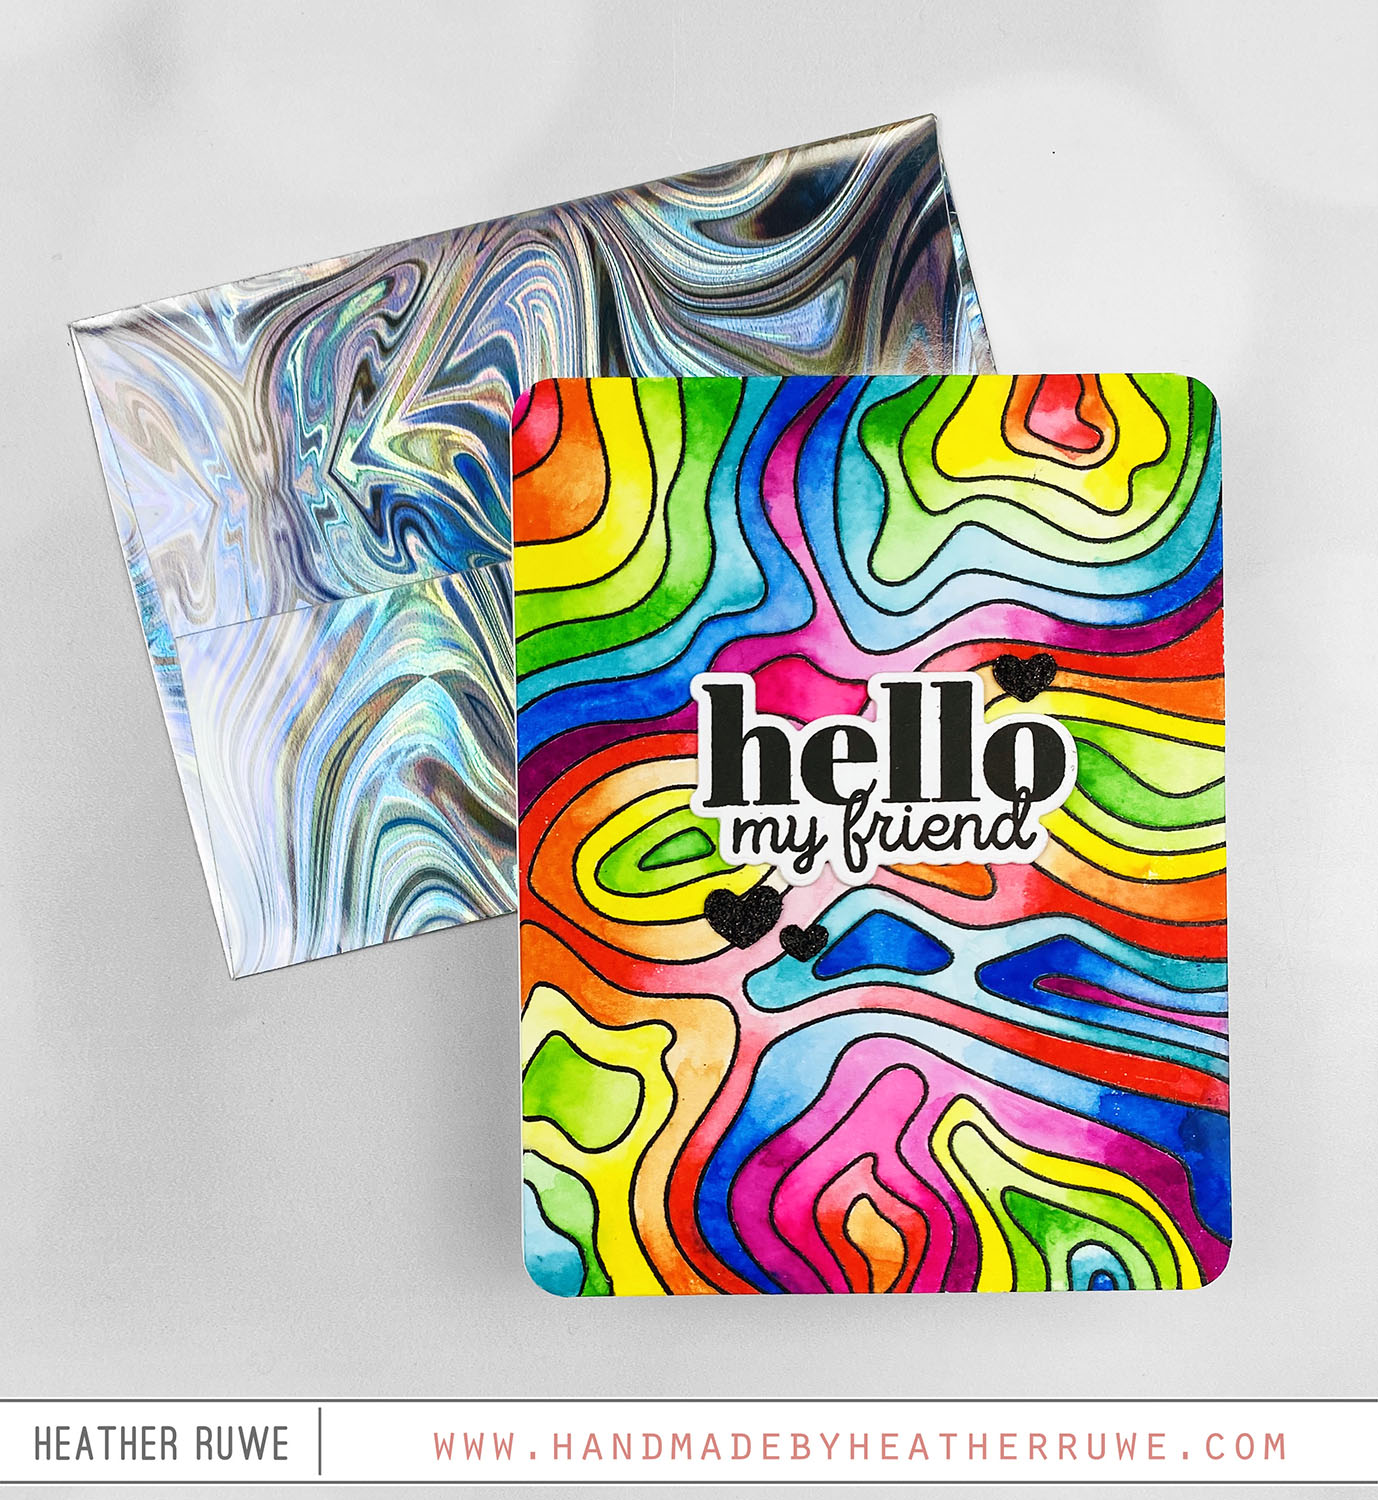
Howdy, crafty friends. I realized that I haven’t shared many watercolor projects lately so I thought I would break out my Karin Brushmarkers and color in THIS awesome background… To create this card, I started by stamping THIS background stamp using black pigment ink and then added clear heat embossing and heat set it. I added color to each corner of the pattern ring with THESE Karin Markers. I scribbled color on each side...
New Tim Holtz-Exclusive Love Notes Bundle
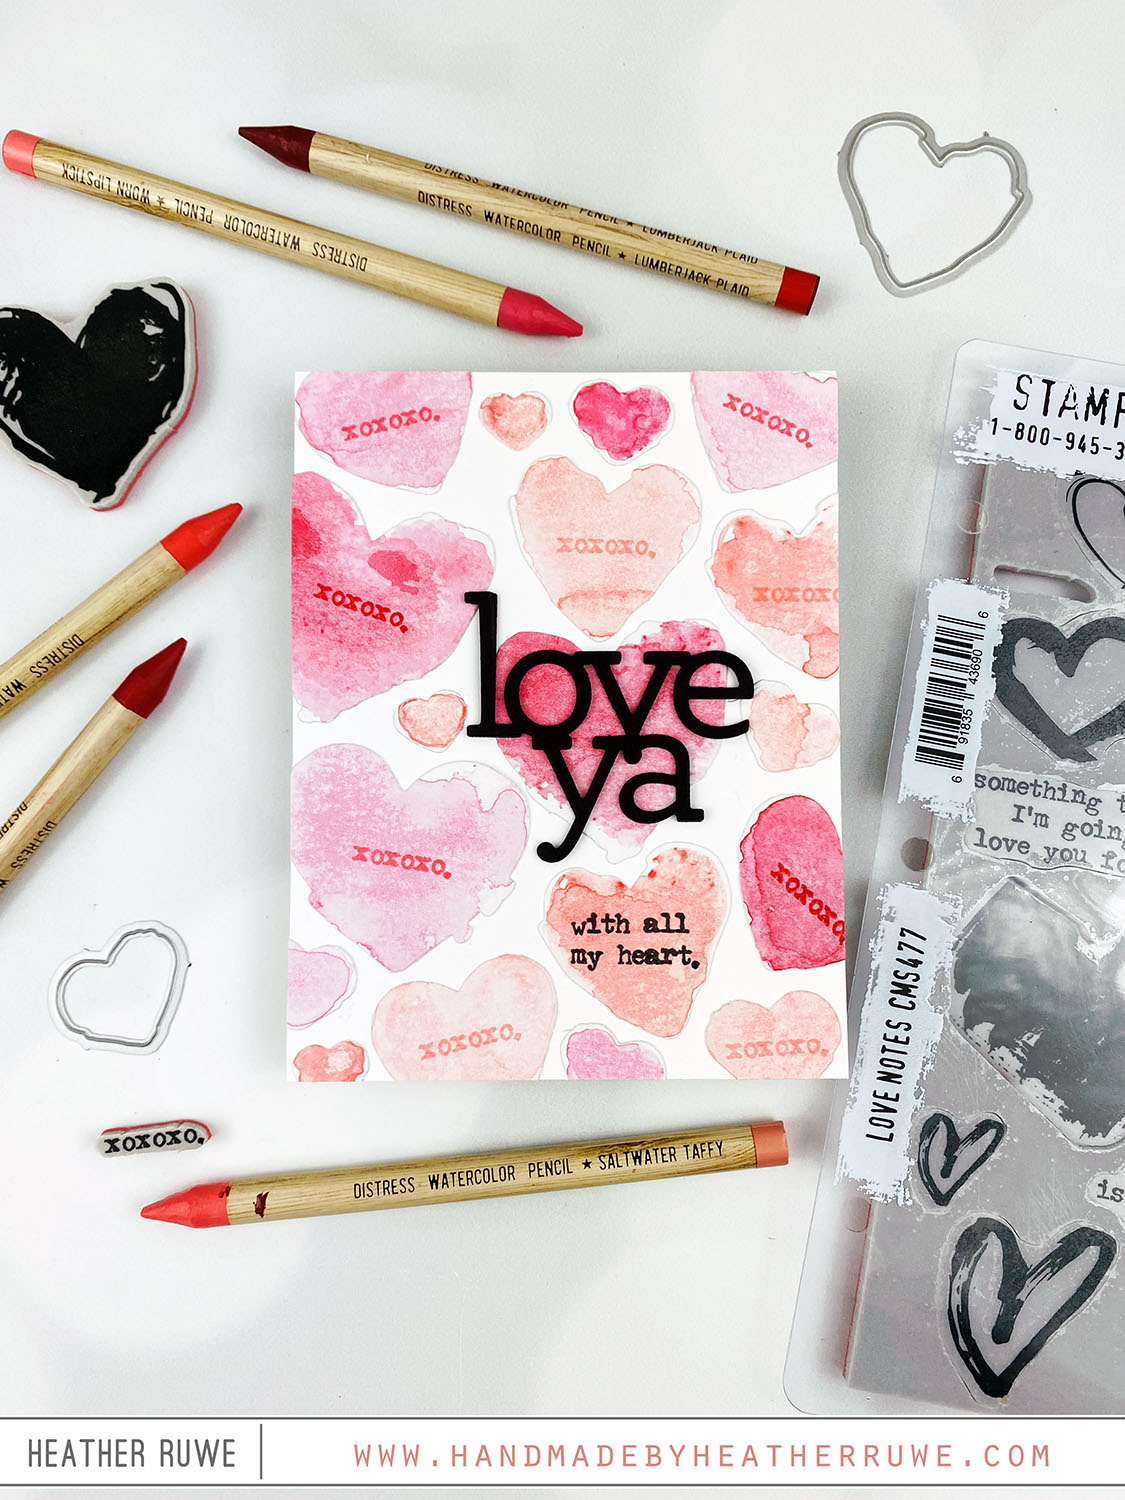
Hello there, crafty friends. Today’s card features THIS new exclusive stamp and die bundle from Tim Holtz and Simon Says Stamp… To create this card, I started by wetting the pinks and reds from THESE, THESE, and THESE Distress Watercolor Pencils and scribbling on the heart stamps from THIS stamp set bundle. I spritzed with water and then stamped on THIS watercolor cardstock. I used the coordinating dies from the set to cut out...
Be Creative Release Blog Hop
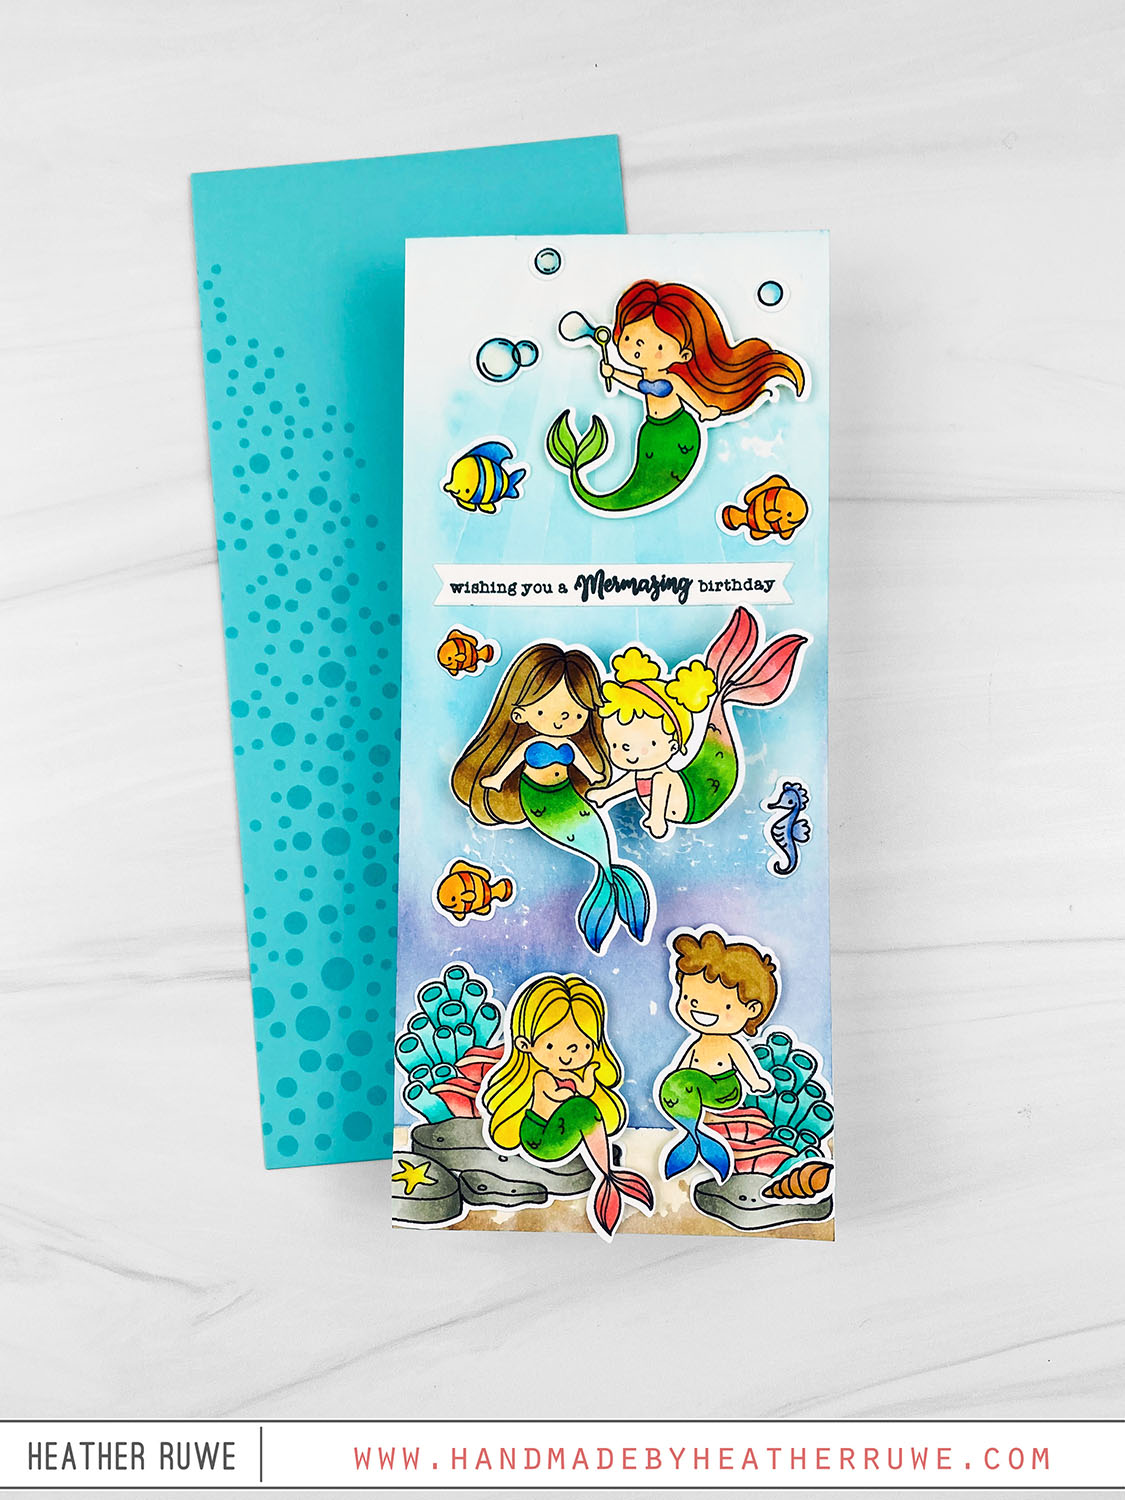
Howdy, crafty friends. I’m thrilled to be part of THIS Blog Hop celebrating THIS new release. Today’s card share features an acrylic block background technique… VIDEO You can watch the video on this technique HERE or click on the video below… To create this card, I started by creating the background. I applied Distress Ink to THIS extra large acrylic block (that came with the Bubble Background Stamp), spritzed with water, and laid it...
More Hello, Gorgeous Release Inspiration
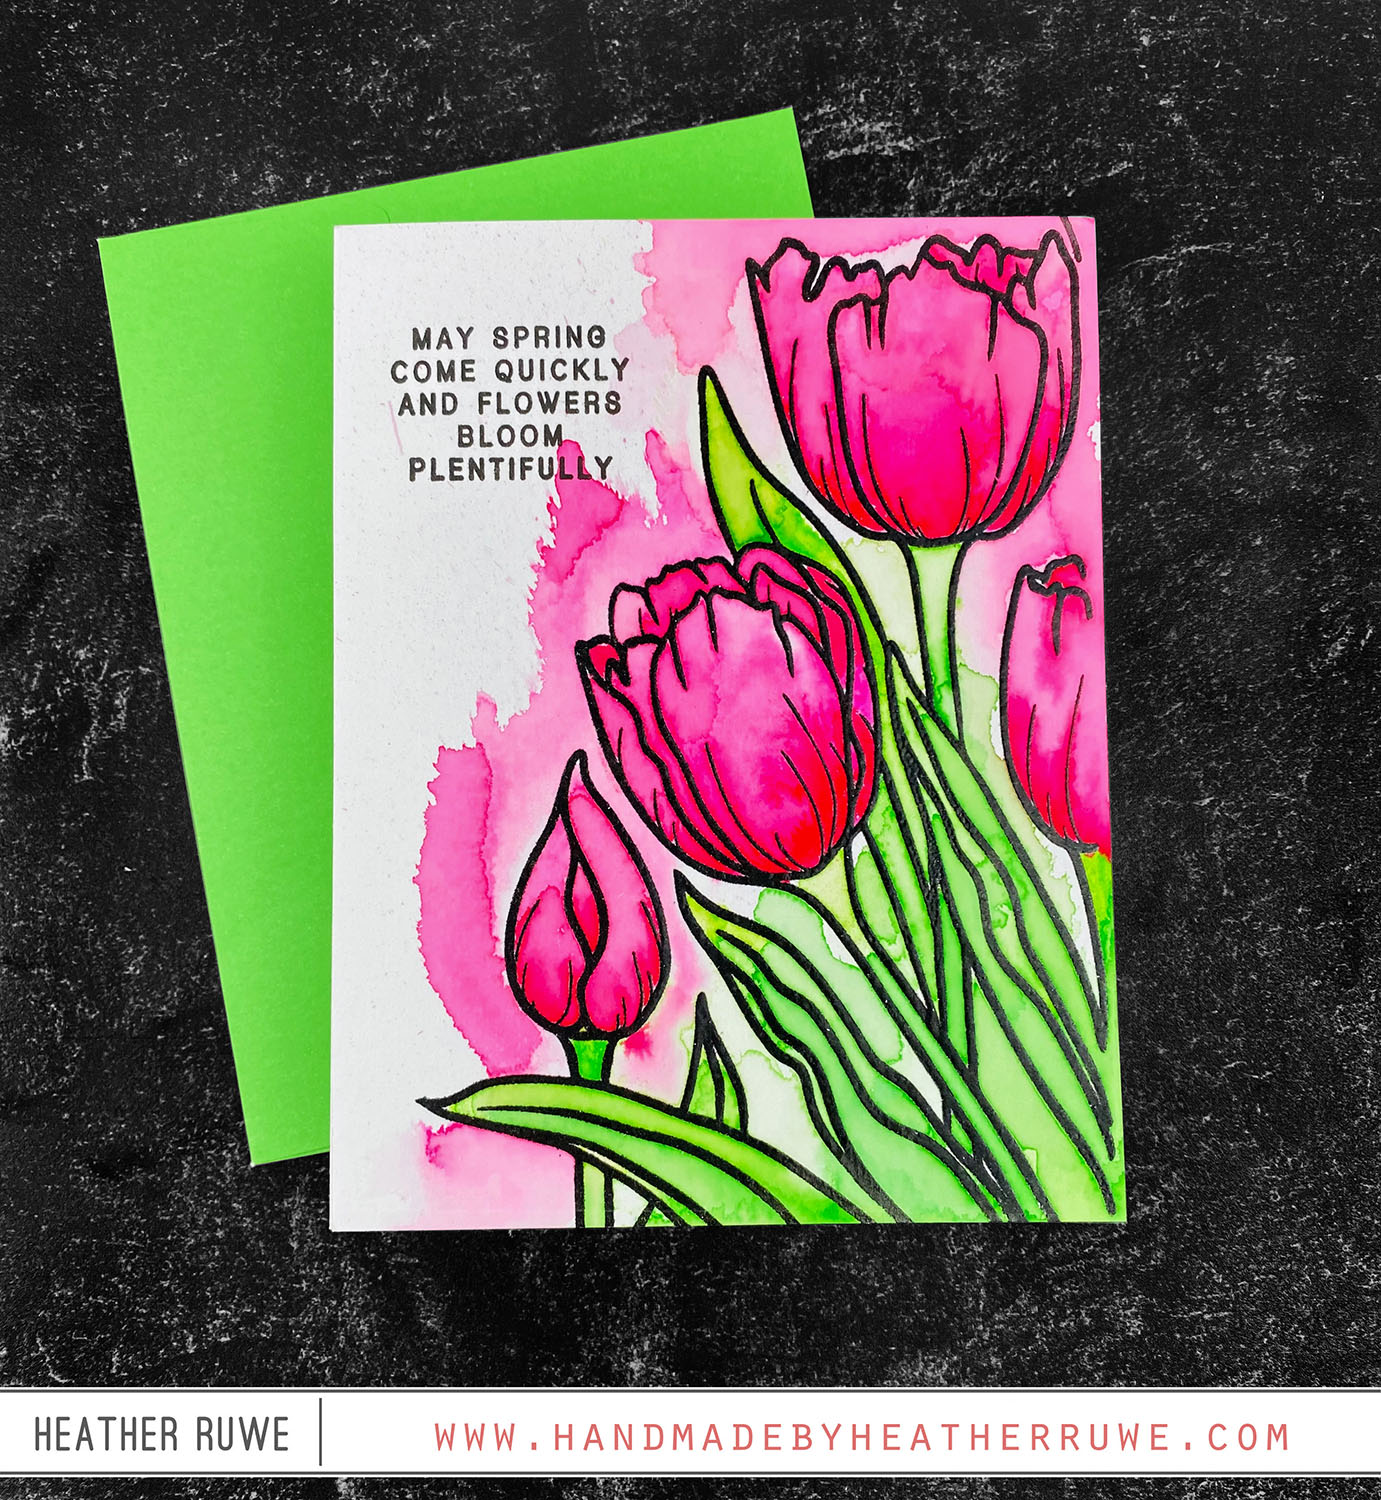
Hello there, crafty friends. I’m back with a super simple card featuring THIS new release from Simon Says Stamp… To create this card, I stamped the large tulip image from the Mother’s Day Tulips stamp set using black pigment ink and clear heat embossed it on watercolor cardstock. Next, I scribbled on color on the leaves and tulip tops with Karin markers and sprayed the piece with water. I was going for an artsy...
Make Magic Release
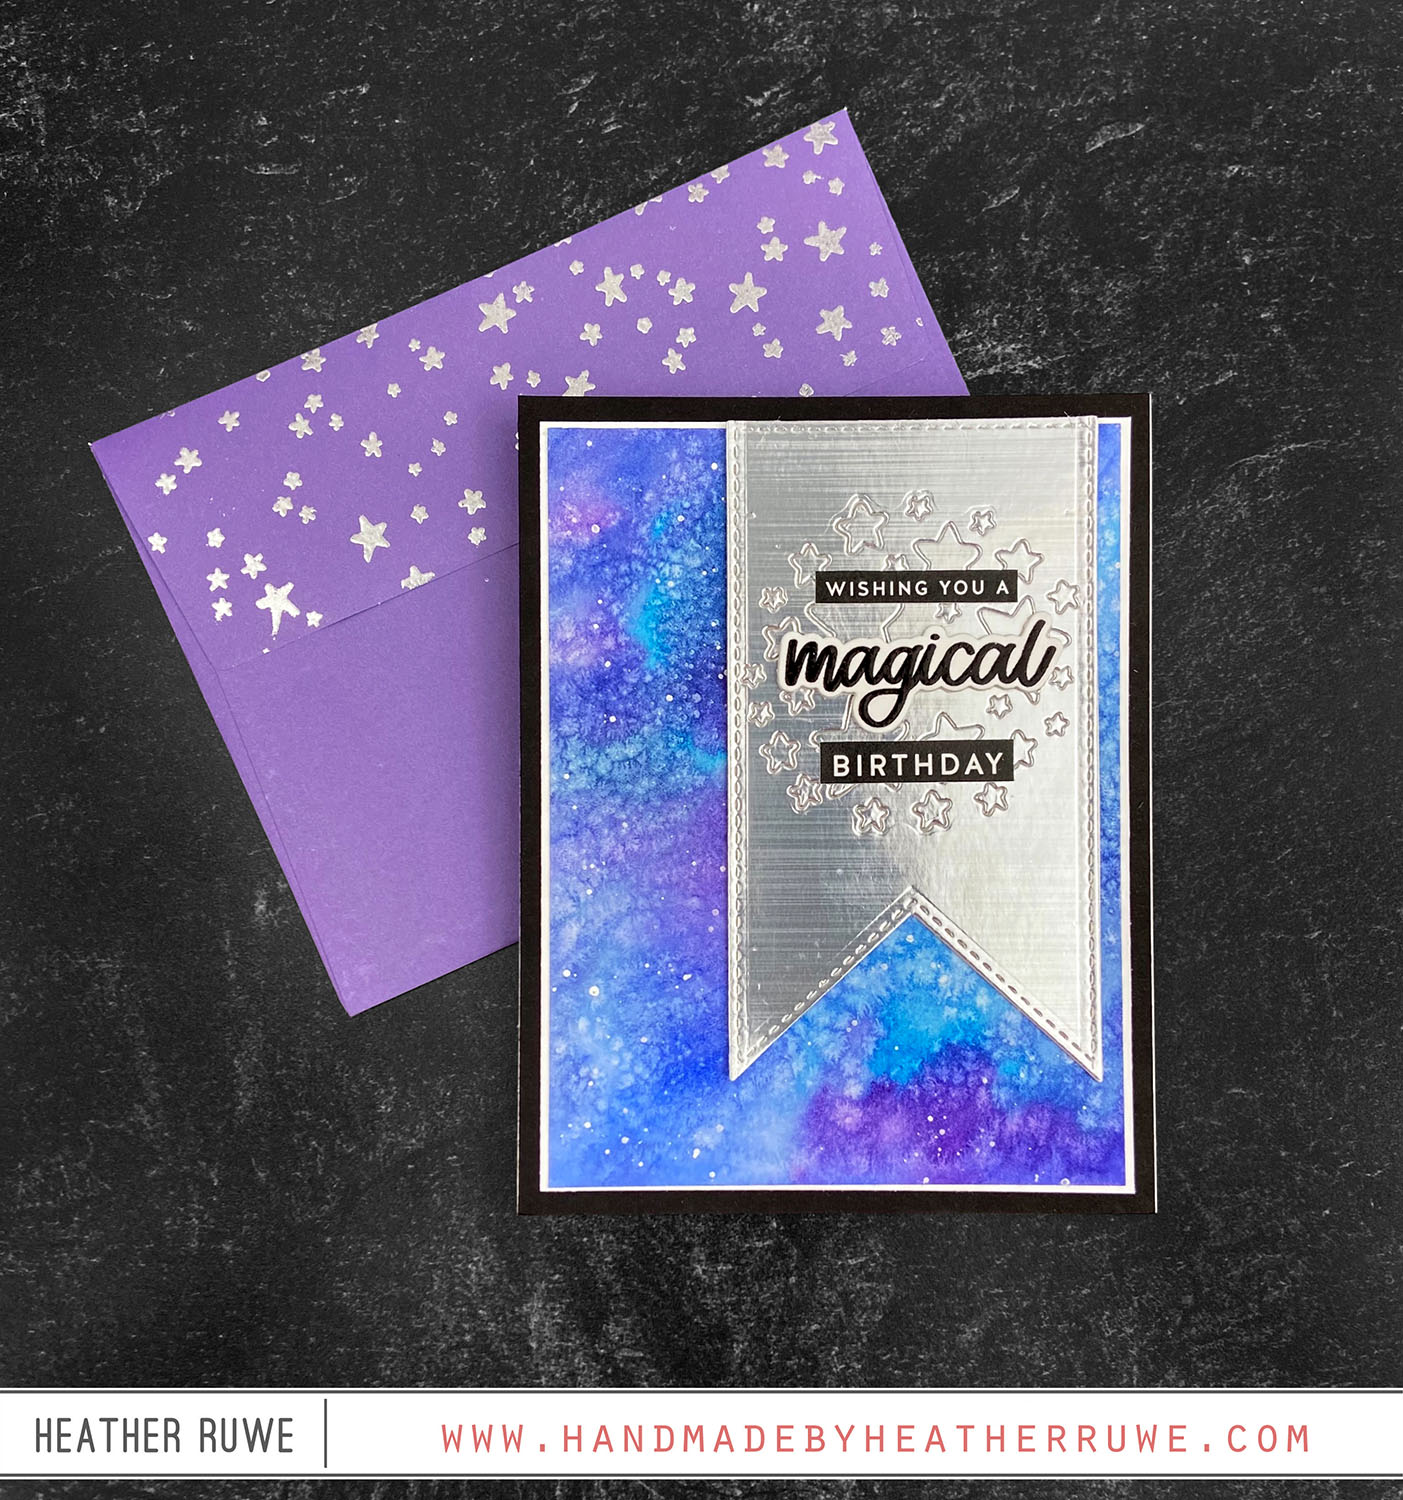
Hello there, crafty friends. Simon Says Stamp has a new release HERE and it is simply magical. I created this card using some of the new goodies… I started by creating the background. I applied water all over a piece of watercolor card stock and added in purple and blue watercolors from my gansai tambi set. While it was still wet, I sprinkled on salt. I just used regular table salt. After it was...
Born to Sparkle Release
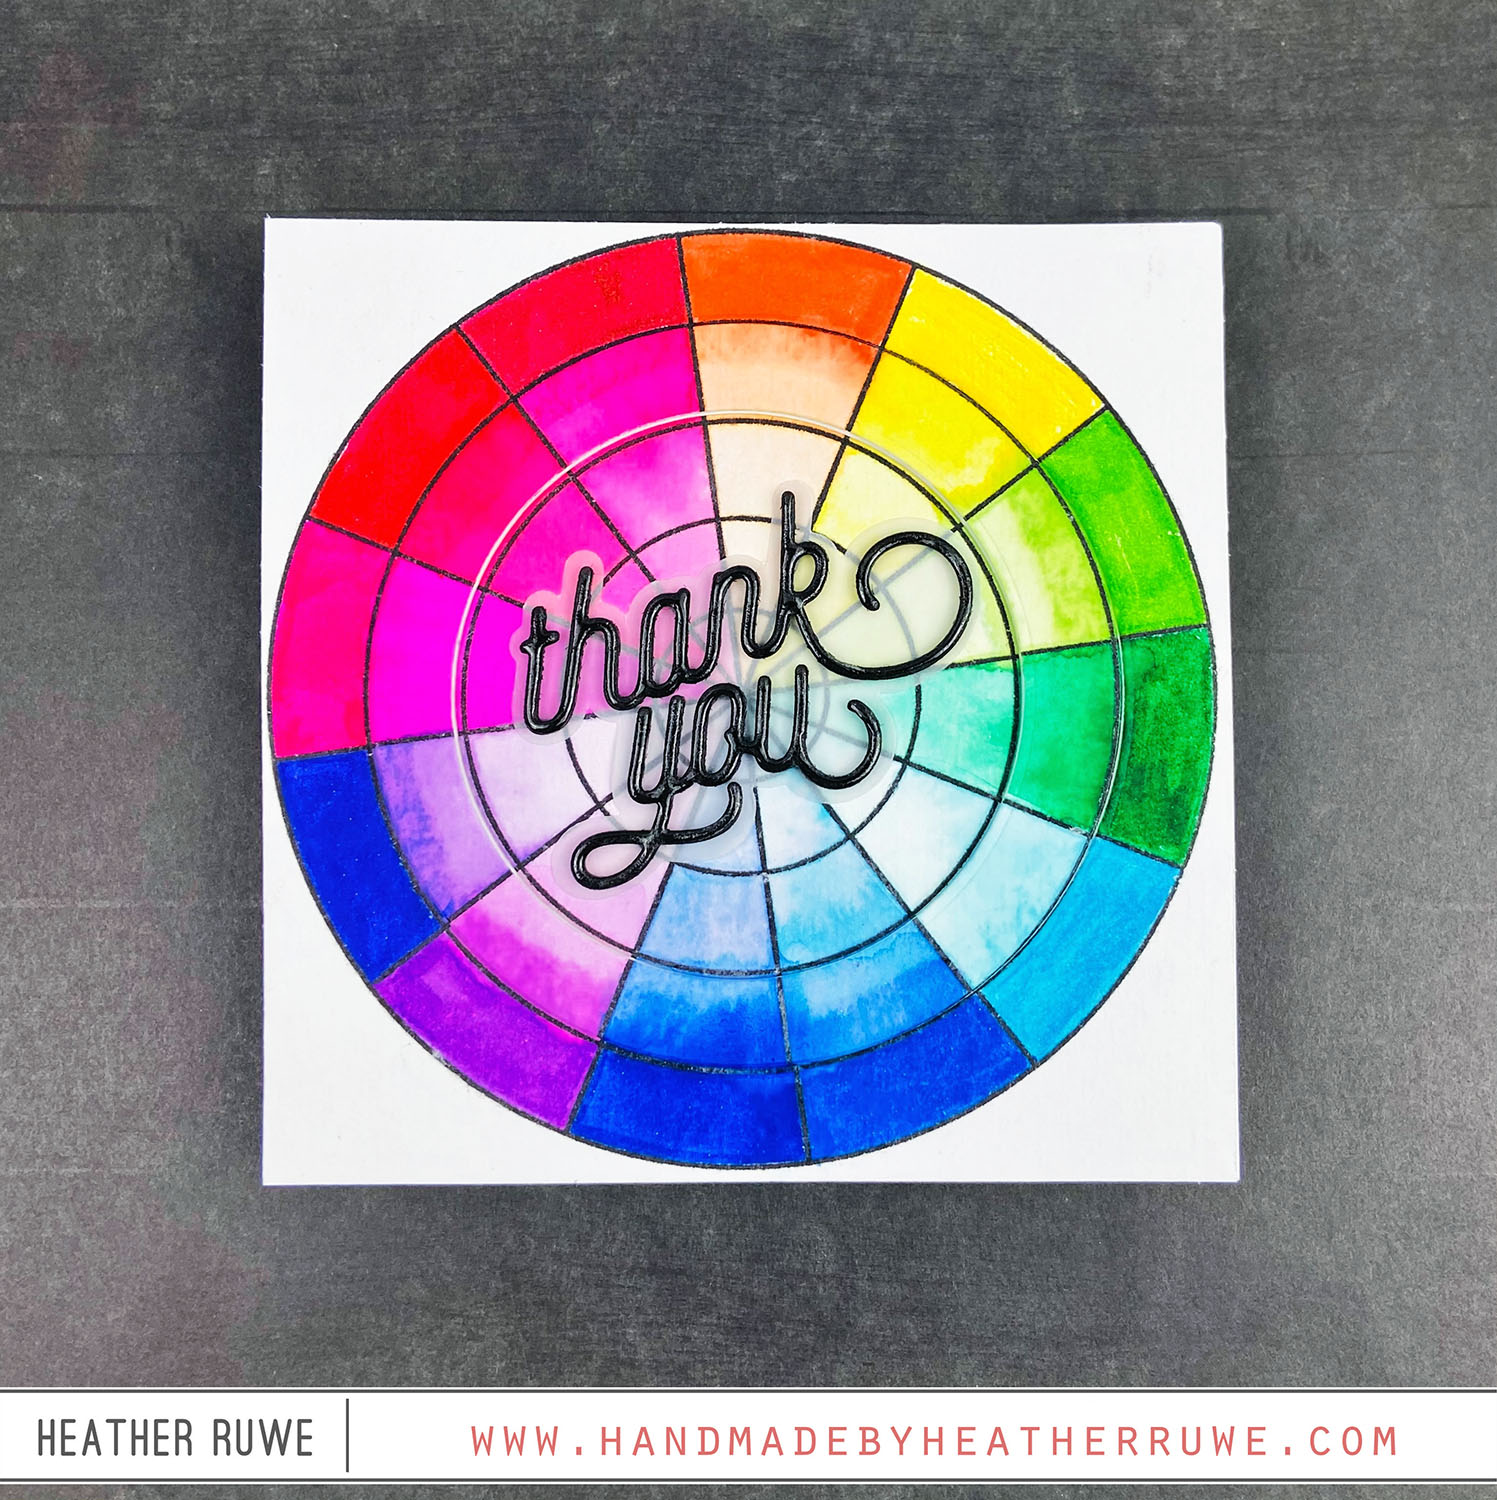
Hello there, crafty friends. Today’s card features product from THIS new release by Simon Says Stamp… To create this card, I stamped the Color Wheel Background stamp using black pigment ink and clear heat embossed it. I chose to heat embossed to prevent the watercolor from bleeding in between the lines. I used my Zig Clean Color Real Brush Markers to color the top portion of each row and then pulled the color down...
Kid’s Artwork Cards
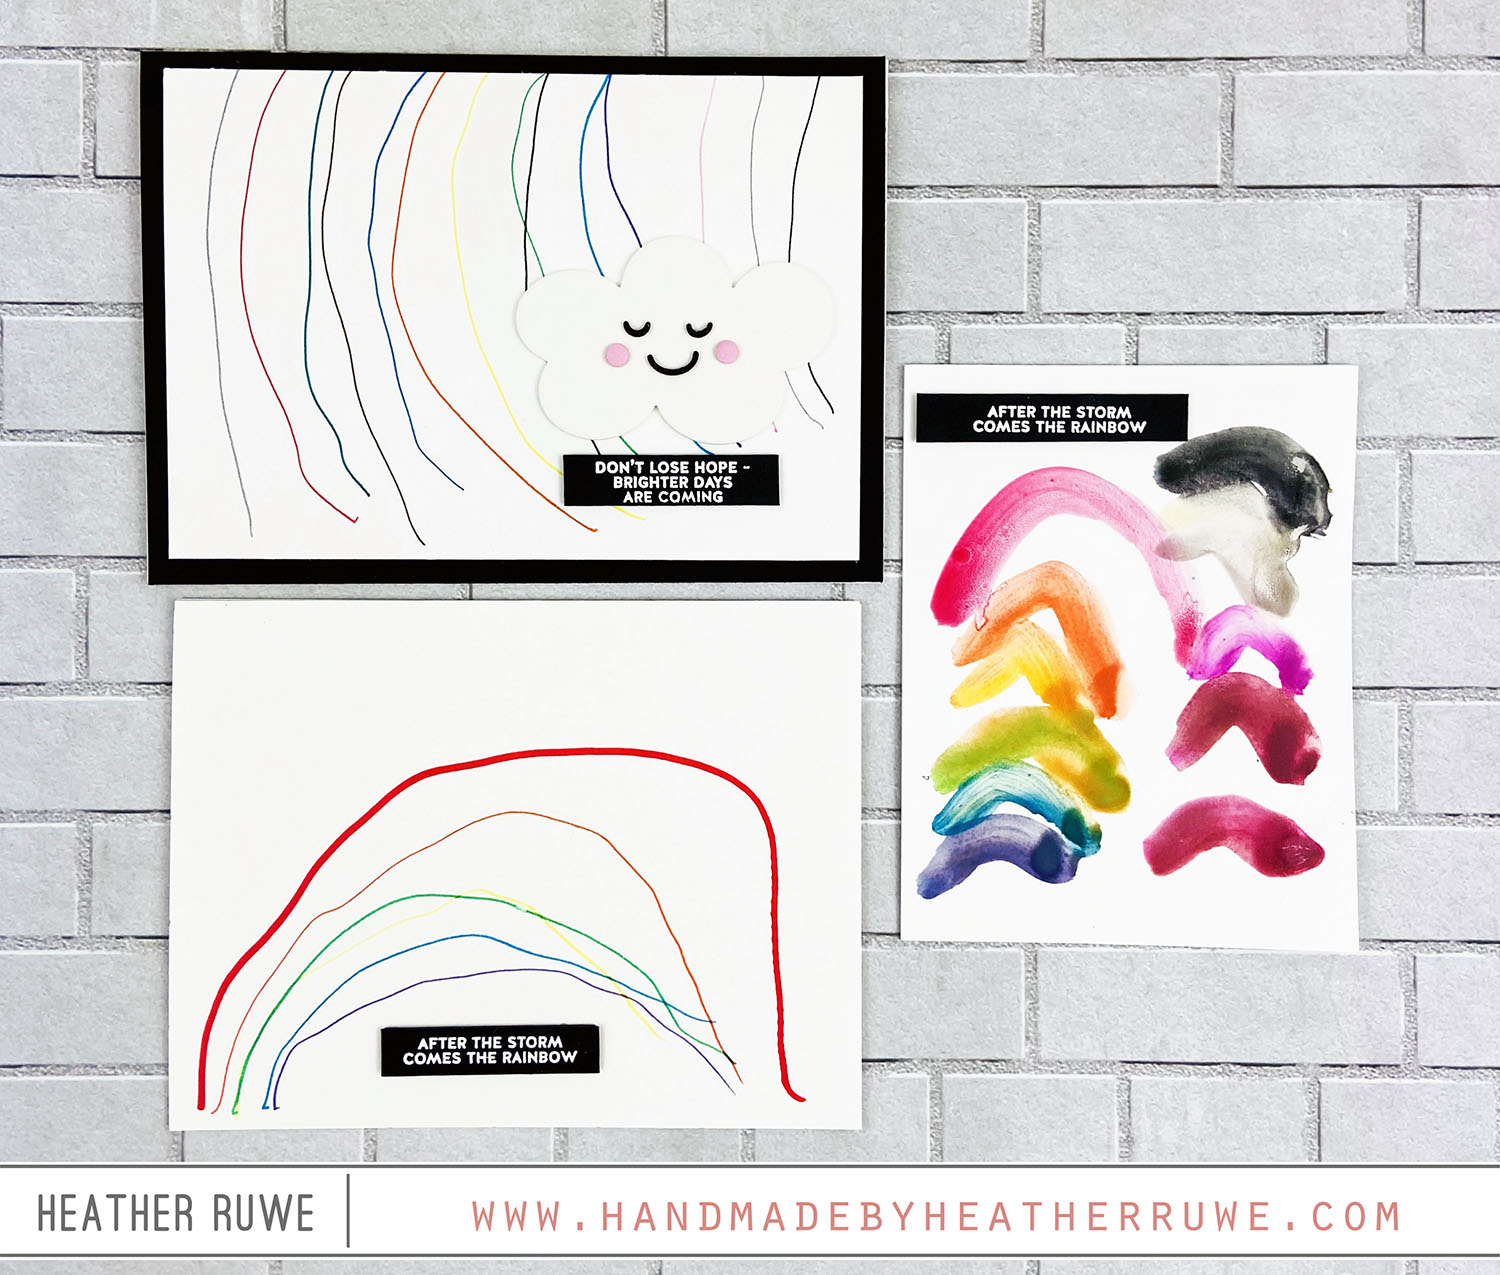
Hello, crafty friends. Today’s cards features art work from my son… I’ve saved many pieces of his sweet little art. Instead of storing all of them, I use some of them to make cards from. For all three of today’s cards, I used his rainbow drawings/paintings to create backgrounds for cards. For all of the sentiments, I white heat embossed a few from THIS stamp set on to black card stock. For the first...
Embossed Resist Watercolor Card
Hello, crafty friends. I haven’t played with watercolor in awhile so I thought I would break them out and create a card… I am not the best with watercolor so I like to do the embossed resist technique because it makes it so easy. I started by white heat embossing THIS background stamp on to THIS watercolor card stock. I applied THESE watercolors on top. While it was still wet, I sprayed some of...
Woodland Whimsy Card Kit
Hello, crafty friends. I hope your week is off to a great start. I have two simple cards to share featuring THIS new card kit from Simon Says Stamp… I started by trimming down a couple sheets of the patterned paper in the kit to 4 x 4 inches. I made card bases from the colored card stock in the kit and they measure 4.5 x 4.5. I die-cut THIS wreath from the patterned...
Simple Watercolor Backgrounds
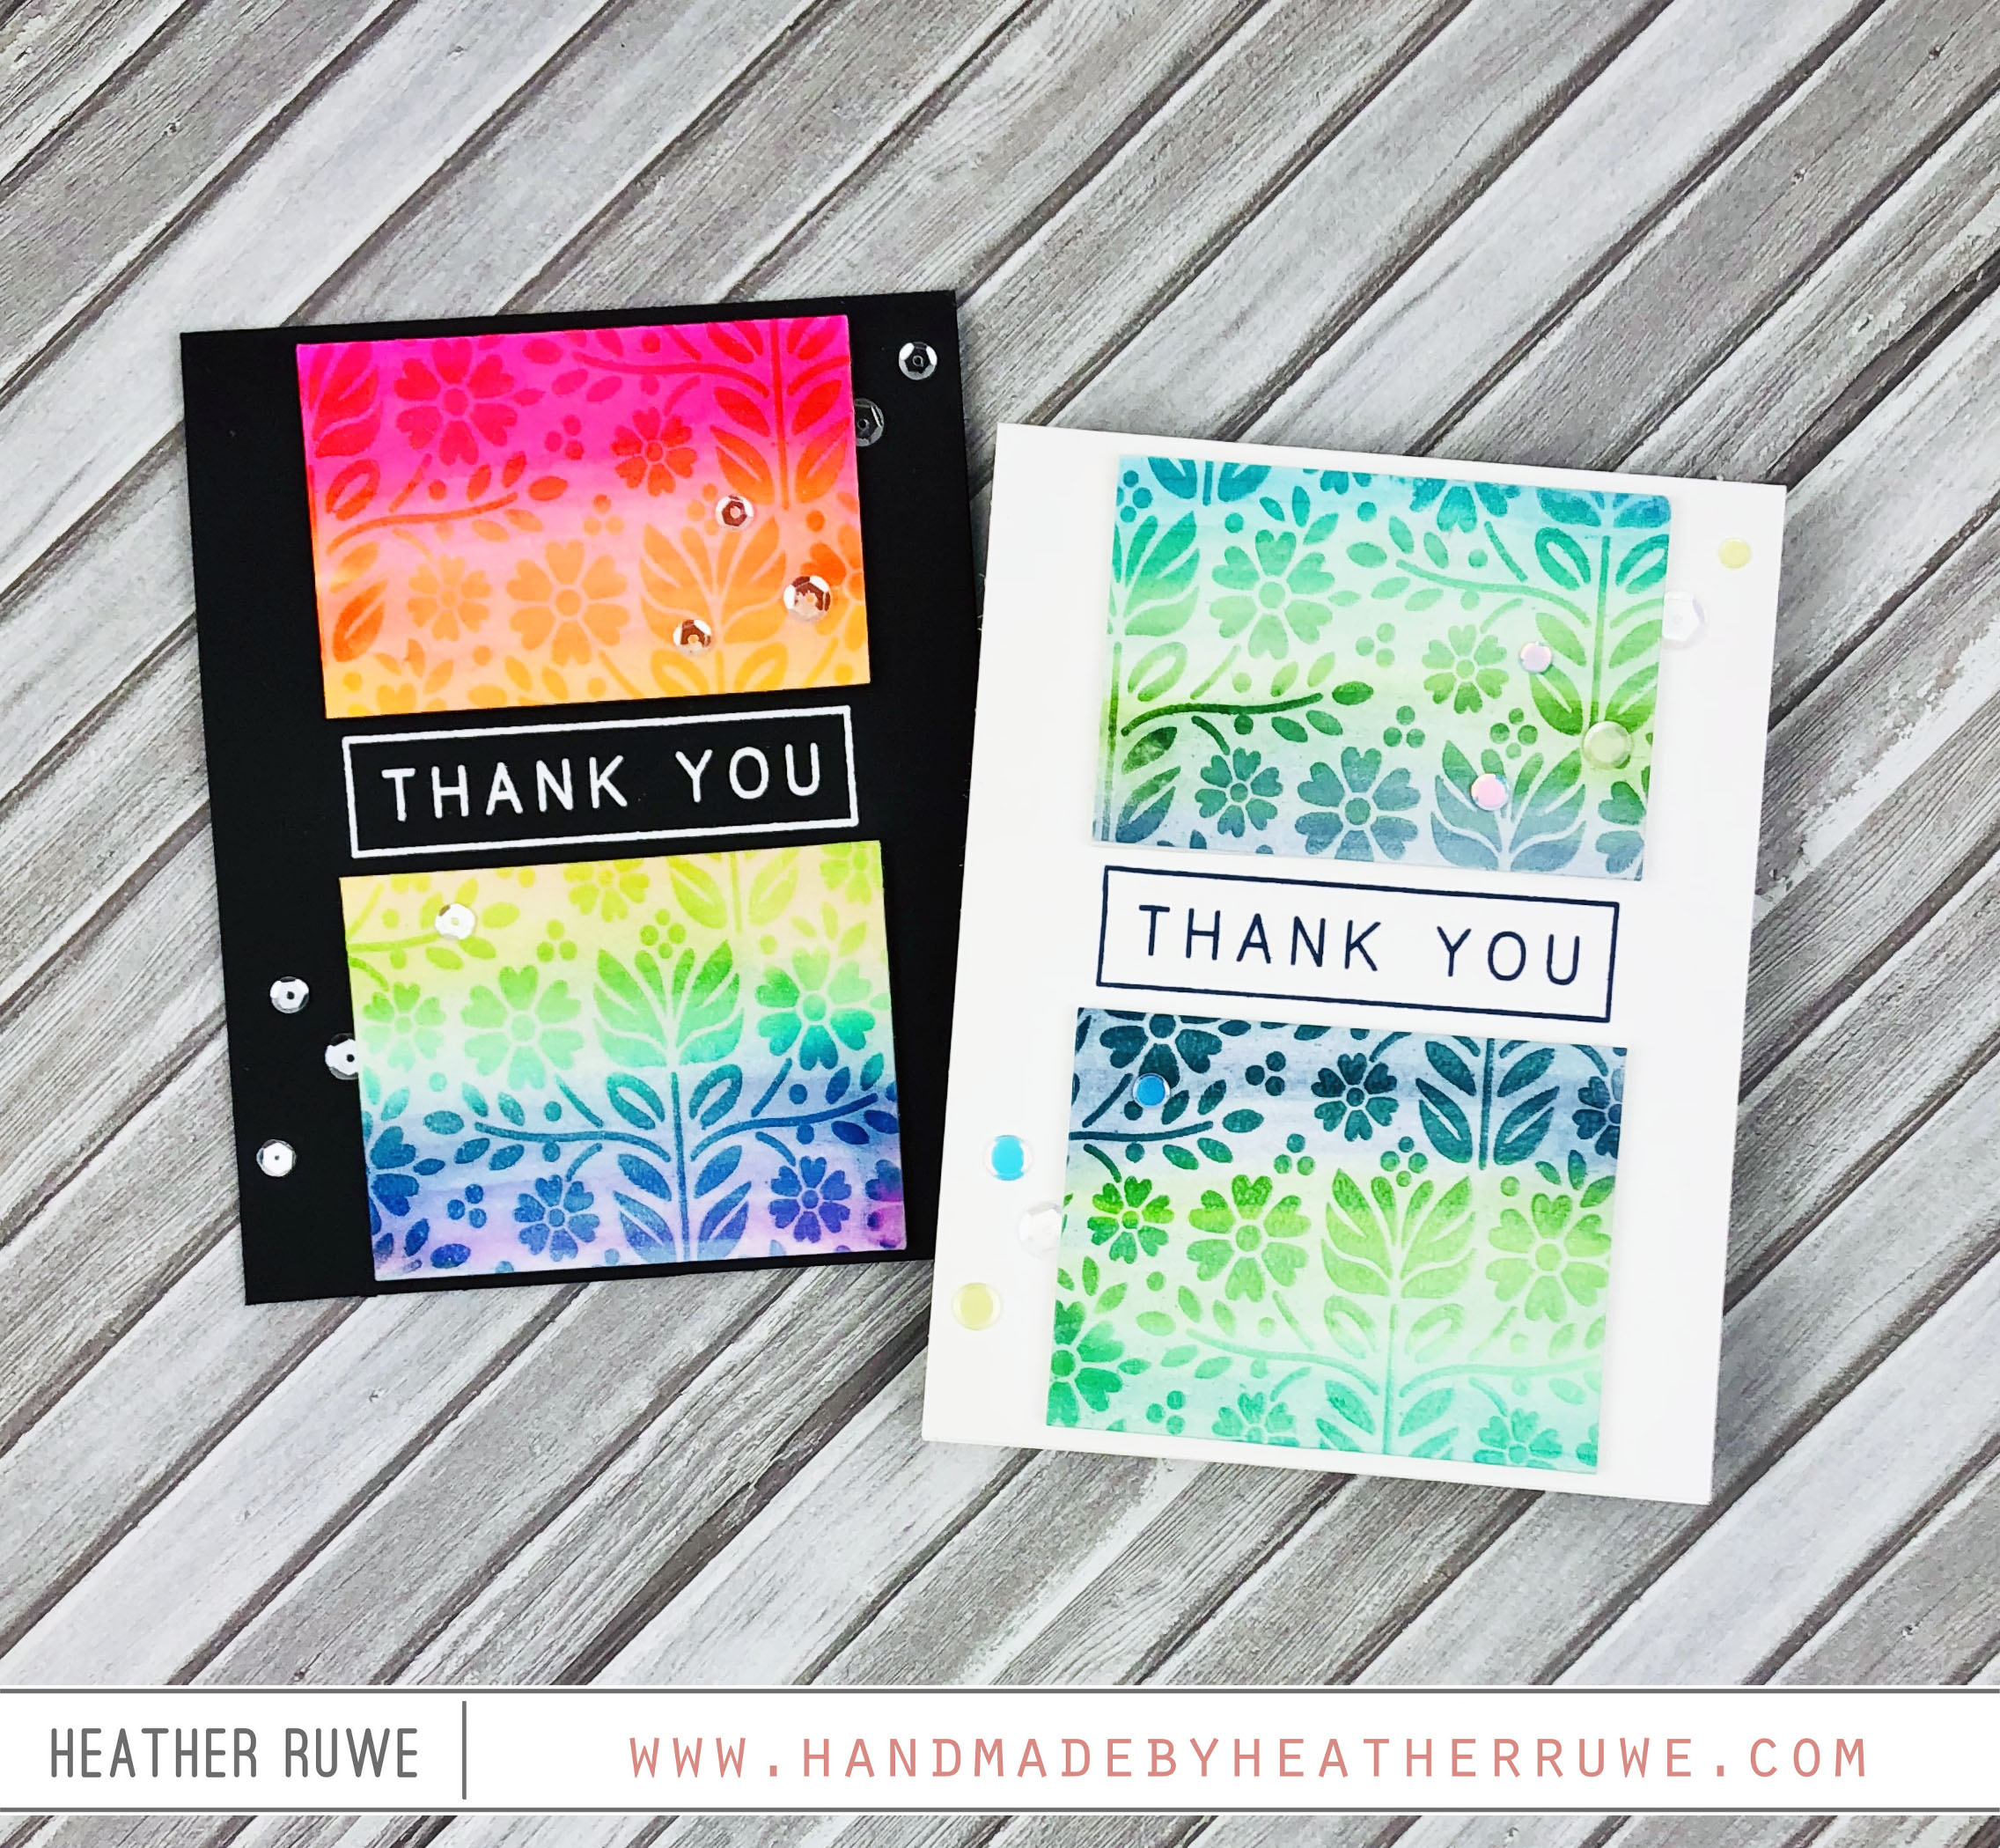
Hello, crafty friends. I have two cards to share today with the same design, but two different color combinations… To create the watercolor pieces, I started by taping down THIS paper with THIS tape to a hard board. I scribbled stripes of colors on each panel with THESE markers and added water to blend the colors a bit. Once it was dry and I added some of THIS on top, I clear heat embossed...

