Hi, crafty friends. I am a big fan of incorporating gift giving into my card making and today’s card does just that… I started by creating the pocket. I die-cut THIS gift card holder die from THIS wood grain paper. I die-cut THIS reindeer from the front panel of the pocket and added acetate behind the opening, creating a window. I assembled the pocket and cut the same die-cut from kraft card stock. I...
BOO Bag
Hi, crafty friends. Today’s project share is a bit different. I’m dressing up a plain gift bag for Halloween using some STAMPtember products… I started with ink blending a panel to go behind the die-cut opening. I applied four shades of purple Distress Oxide inks and sprayed water with THIS on top for some texture. I adhered it behind a black die-cut I created with THIS die and THIS die. I sprayed it with...
Teacher Note Card Set
Hello, crafty friends. School is back in session and I’ve got a teacher gift idea to share today. If you’ve followed my blog than you know how much I adore teachers and feel they deserve to be spoiled. I try to make/buy Aiden’s teachers a little something every month. This month I chose to do some personalized stationary… I started by creating card bases from THIS card stock. On the front panel, I rubbed...
Happy STAMPtember!
It’s finally here! Happy STAMPtember, crafty friends! If you’re unfamiliar with STAMPtember, it’s a month long stamping celebration hosted by Simon Says Stamp. This year is the 10th anniversary of STAMPtember and Heidi (the owner of Simon Says Stamp) and her team have lots of fun surprises in store. Speaking of Heidi, let’s kick off this party with some cards I created for her as a thank you for all she does for this...
5 Favorite Finishing Touches
Hello, crafty friends. Today’s post is a bit different than usual. I’m going to be highlighting five of my favorite finishing touches that I add to my cards. The card I am sharing today features all five… #1 Obsidian Black Ink I’ve been using THIS obsidian black ink for awhile now and I love it. It stamps crisp and is super dark. Since it’s a pigment ink, it’s perfect for heat embossing since it...
Teacher Coffee Card
Hello again, crafty friends. Since school is starting back up soon, I wanted to get a head start on my stash of teacher cards that I give out throughout the year… I started by die-cutting THIS coffee cup die from THIS card stock. I stamped the front with images from THIS new stamp set to create a background. I added a bit of coloring with a Copic marker and added THIS patterned paper to...
Birthday Gift Tags
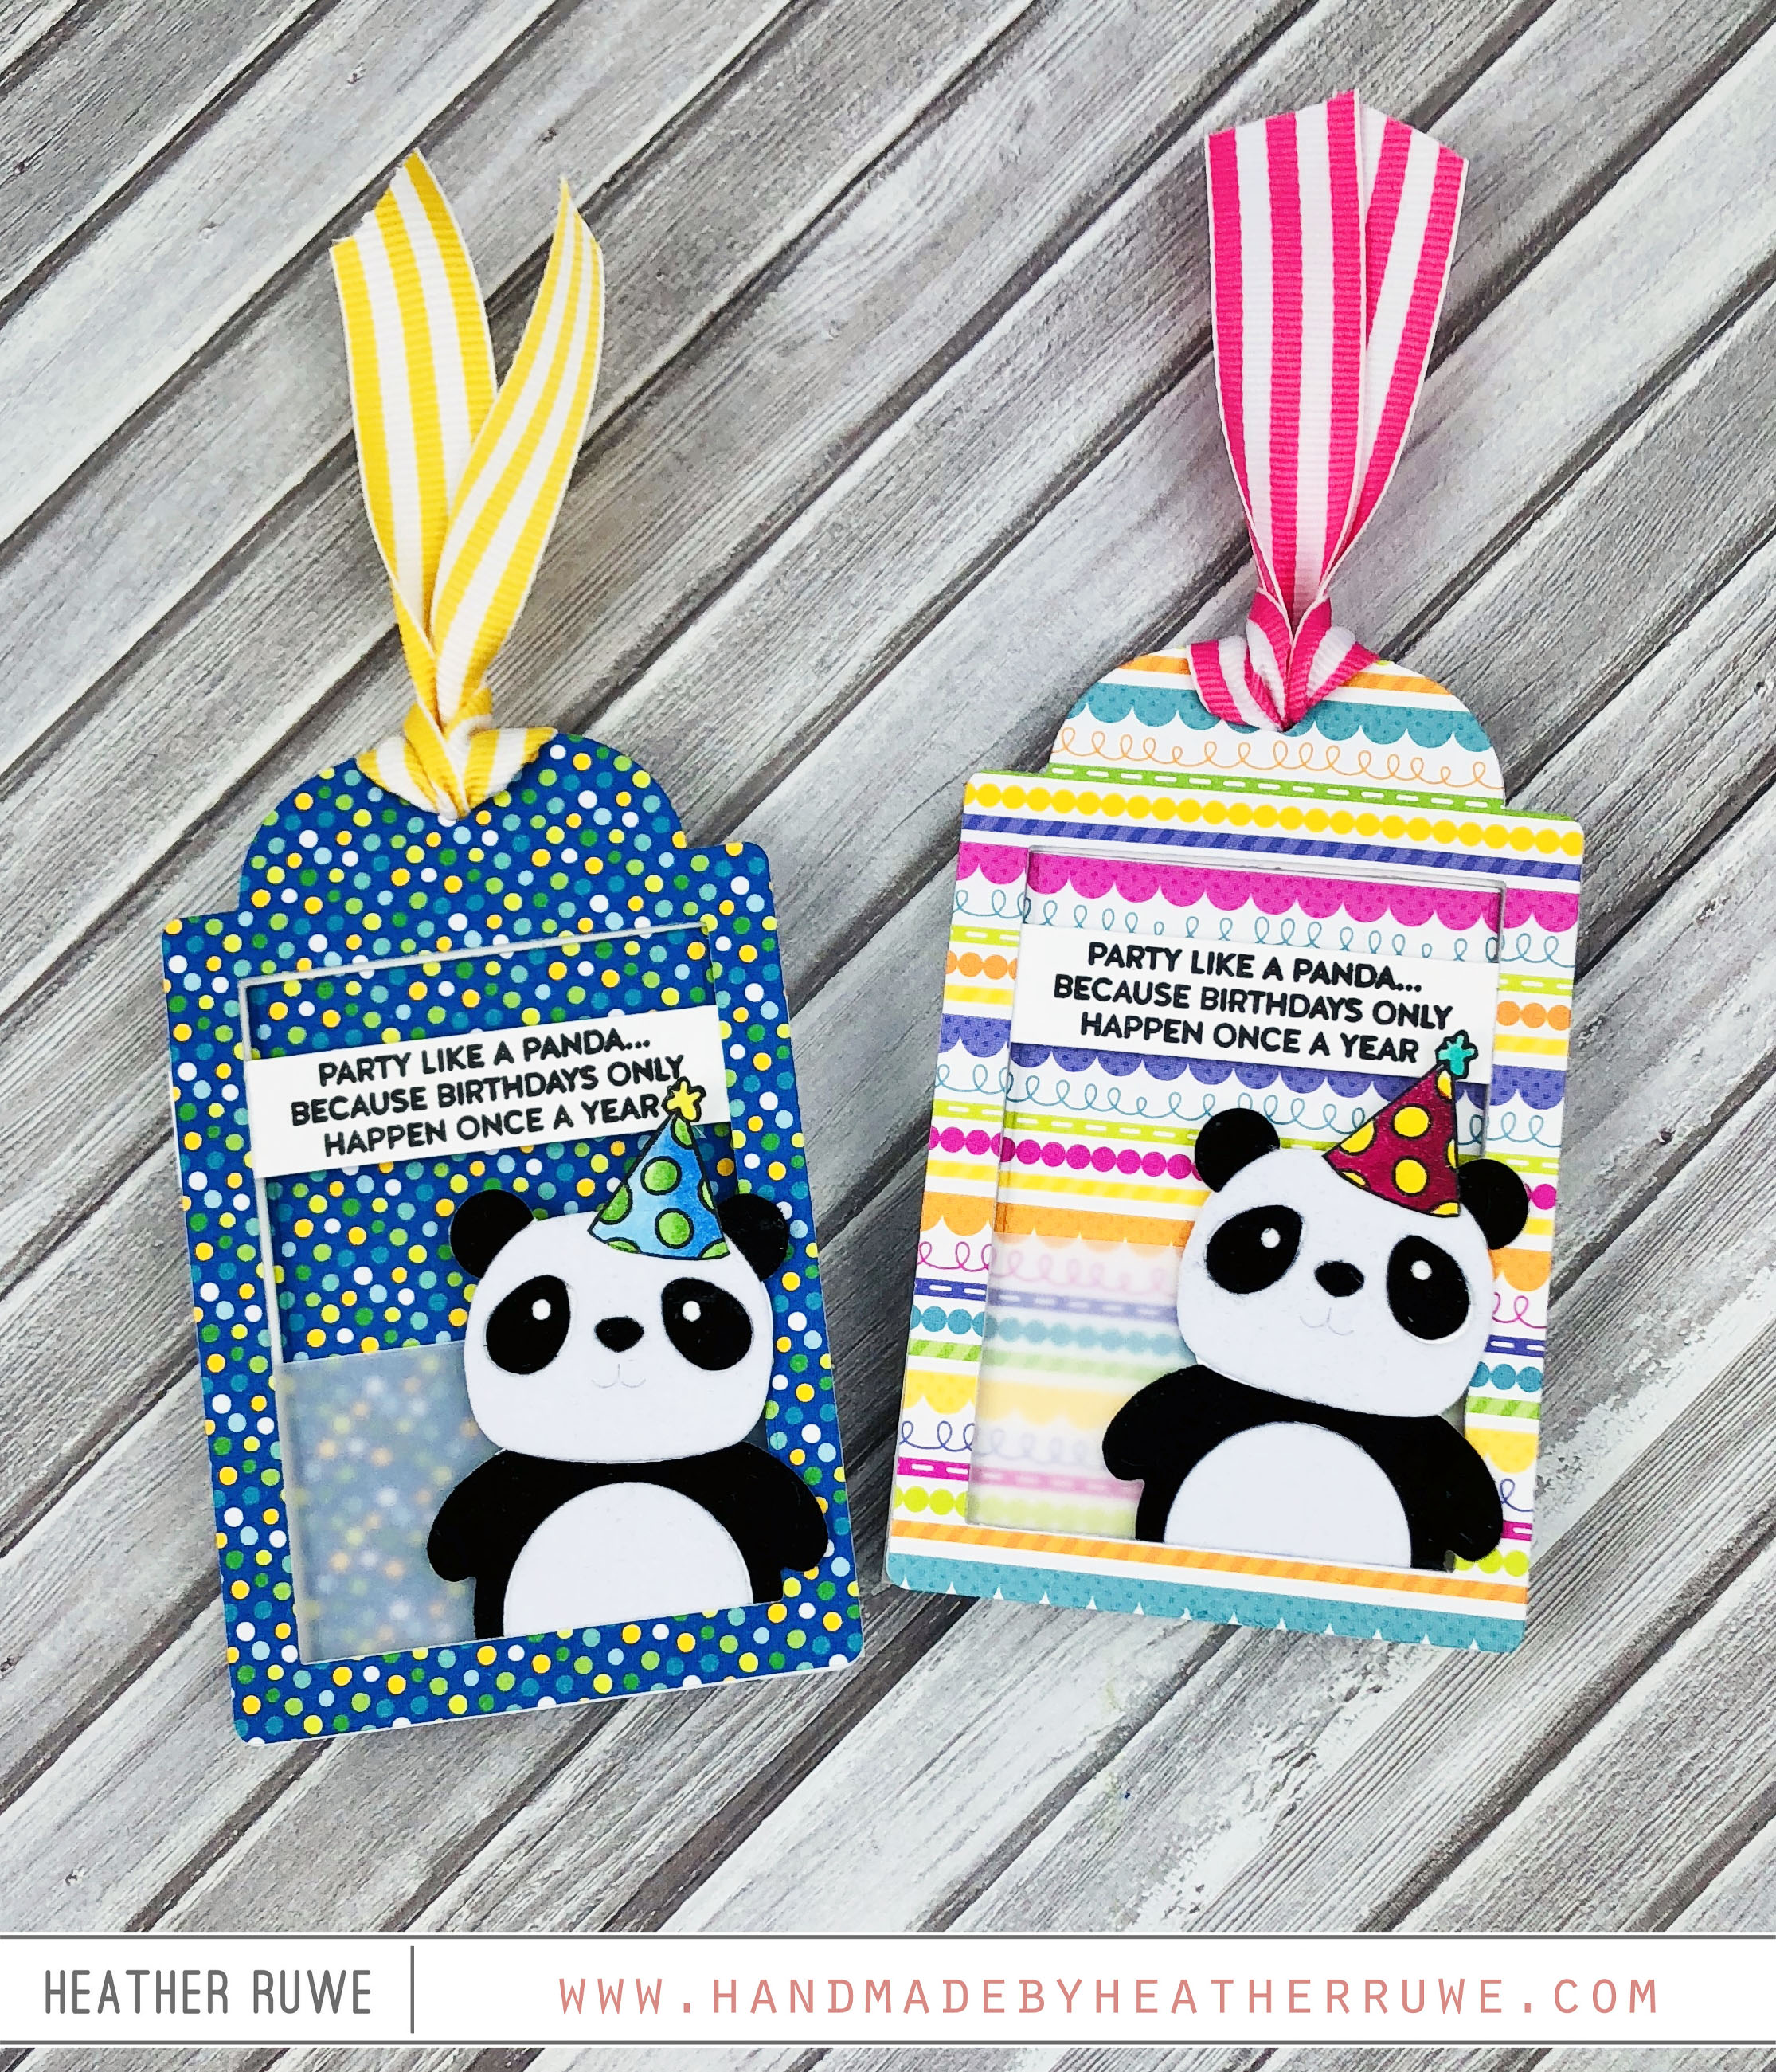
Hello, crafty friends. I’m back with another idea using THIS card kit… I started by cutting a tag shape from the white card stock in the kit as well as a few of the patterned papers. I used a tag die that folds like a luggage tag, but you can use any tag dies you have. After adhering the patterned paper tag to the front of the white tag, I die-cut a rectangle in...
Simon Says Stamp Celebrate You Blog Hop- Day 2
Hi, crafty friends. Today’s project is part of a blog hop celebrating THIS new release from Simon Says Stamp… For both cards, I stamped the adorable dog images from THIS stamp set on to pieces of THIS card stock. I chose that particular paper because I colored in the images with THESE markers and the color goes down great on that paper. I masked off the images and added a scene with Distress Oxide...
New Stamp Company: Crafts by theletterlingo
Hi there, crafty friends. There’s a new stamp company in town and it’s called The Letter Lingo. Michelle (the owner) reached out and asked if I would like to play with one of their new stamp sets. I happily agreed after seeing her adorable designs. I made two cards using THIS stamp set… I stamped, colored, and fussy cut THESE images and adhered them on one of THESE pockets. I stamped smaller images from...
Simple Party Favors for Kids
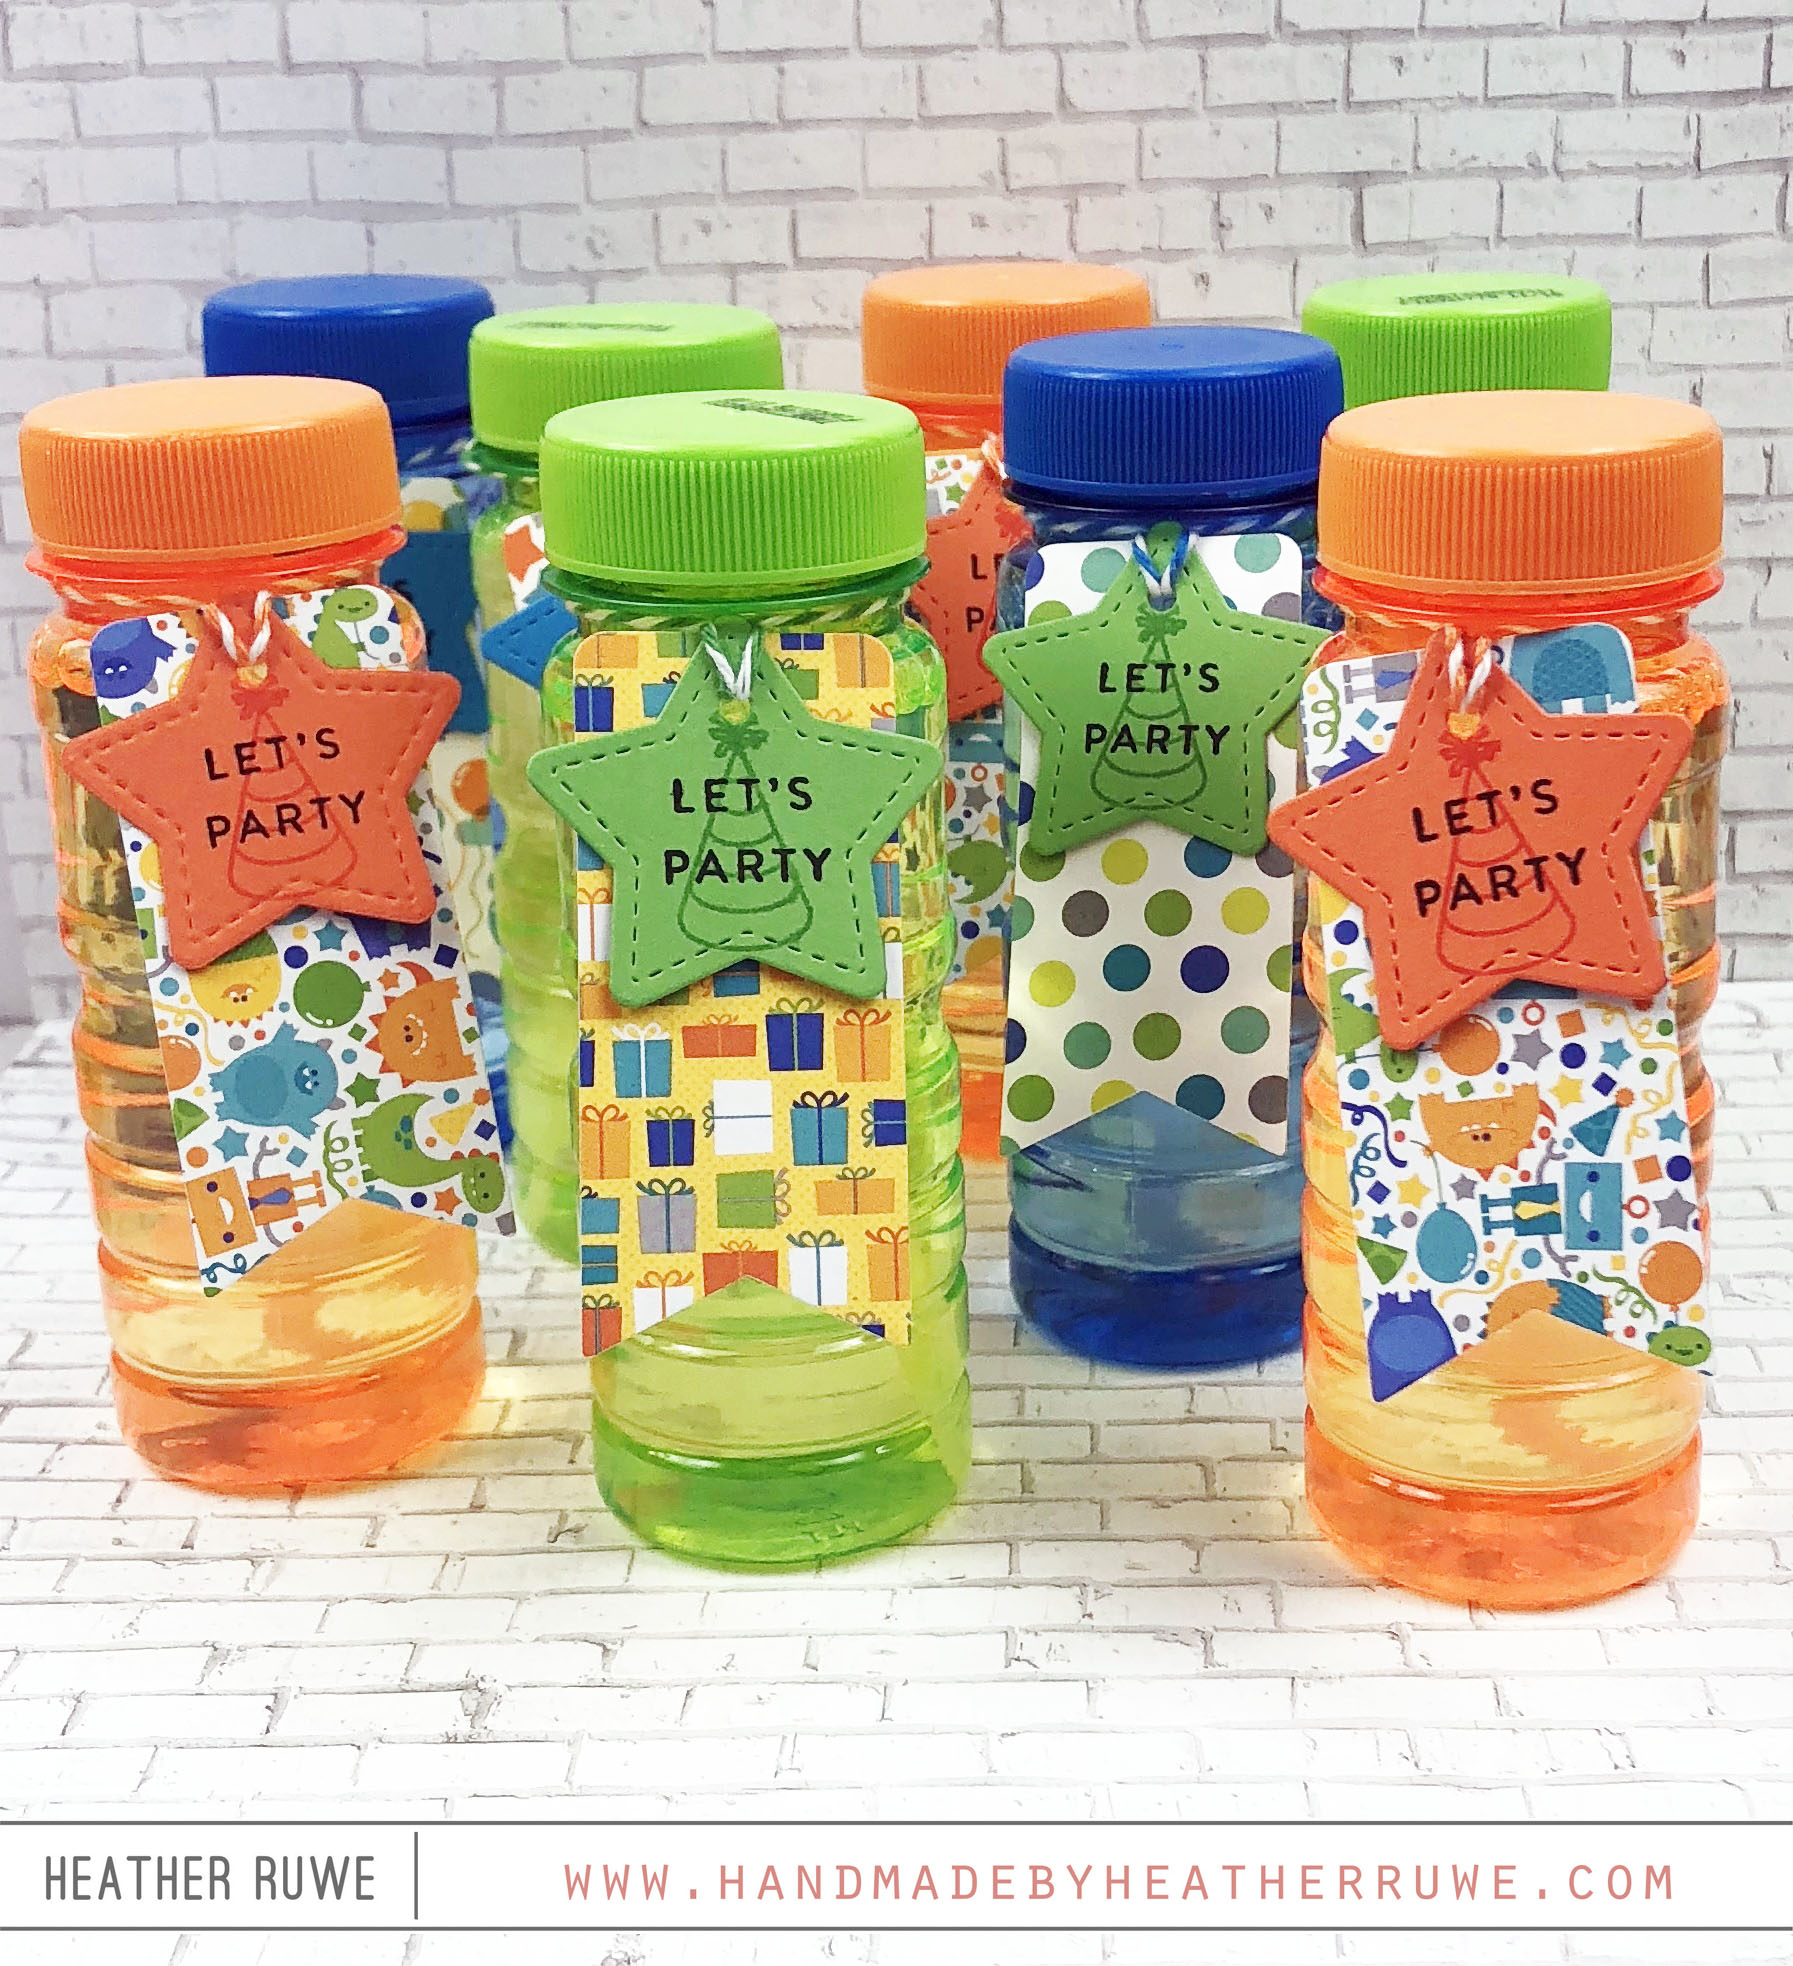
Howdy, crafty friends. Recently, my son celebrated his birthday and I decorated some bubbles to create some simple party favors for his classmates… I started by die-cutting some patterned papers using THIS banner die. I also die-cut some star tags that I stamped a party hat image from THIS stamp set as well as the sentiment. I tied both of the tags around the bubbles. Super simple. This is a great alternative to treats...


