
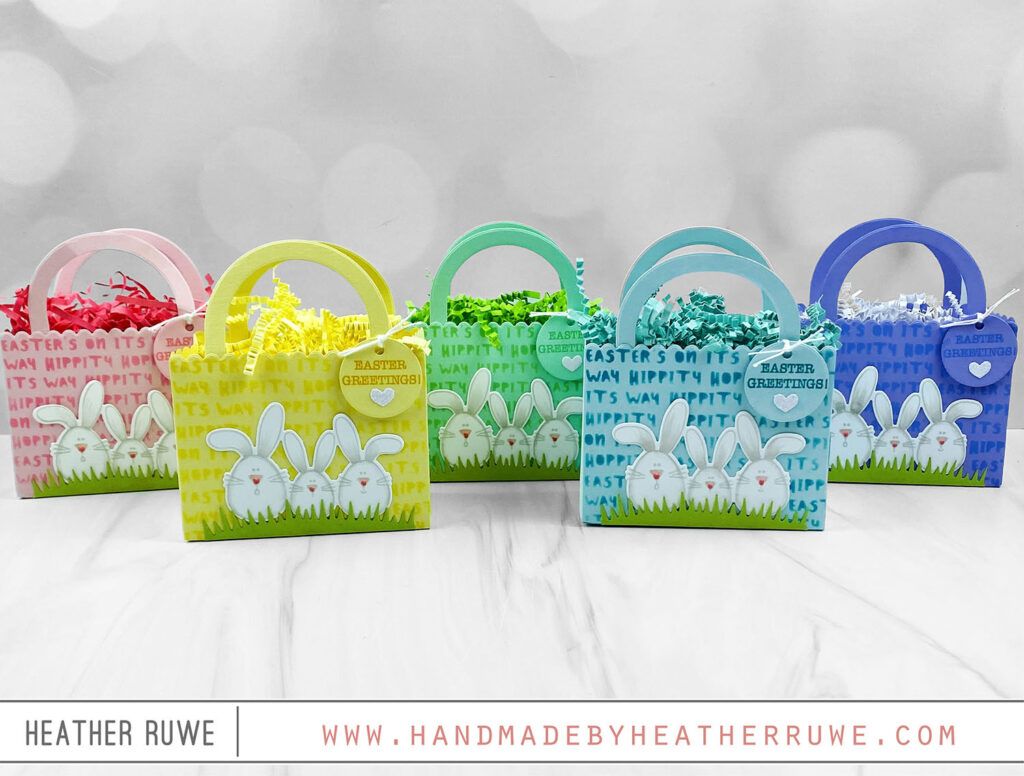
Hello, crafty friends. Today’s project Features THIS new release from Simon Says Stamp. ‘
VIDEO
You can watch the video on how these treat bags came together HERE or click on the video below.
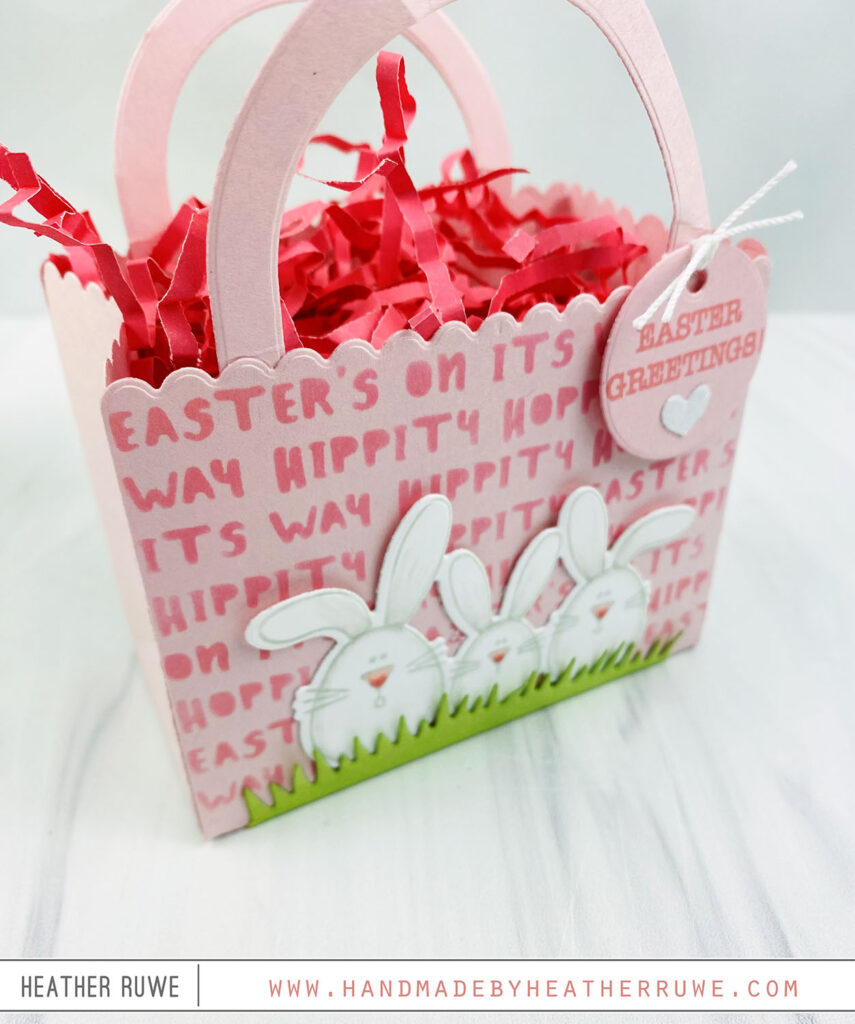
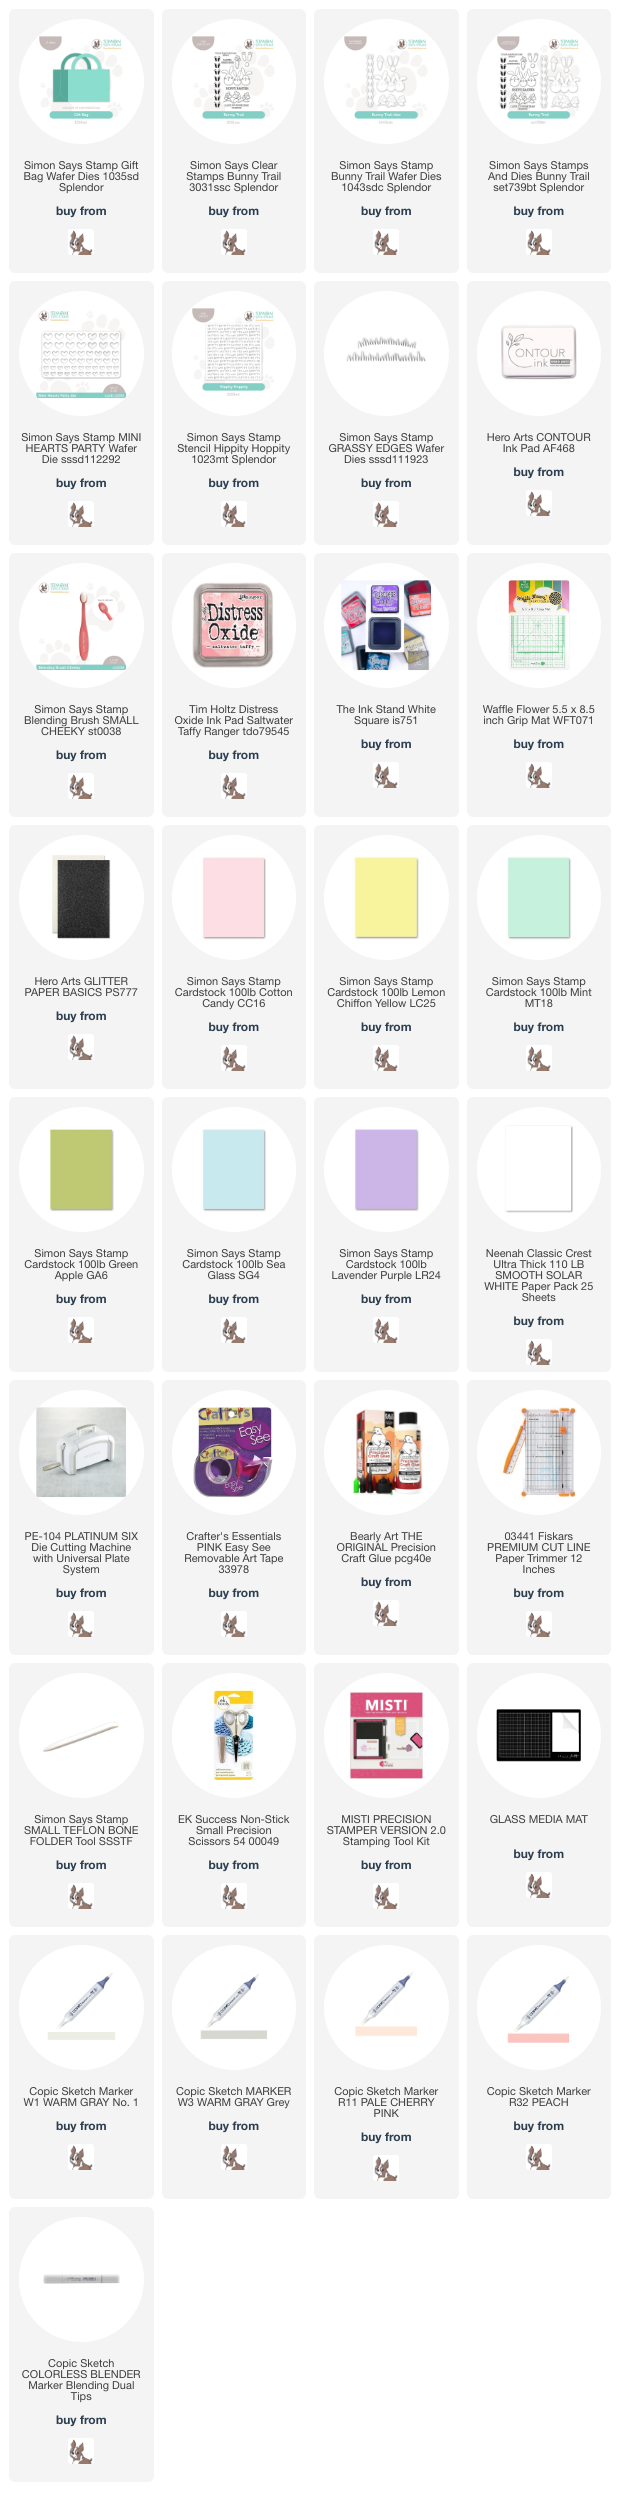
To create the bag, I started with THIS gift bag die. I cut the bag portion and the handle die twice from pink cardstock. I laid one of the bag portions on THIS Grip Mat and used some low tac tape to mask off the areas that I didn’t want ink on. I laid THIS stencil on top and applied saltwater taffy distress oxide ink. Next, I removed the tape and started bending back and forth on the score lines that the die provides. I did this with the second bag die cut as well.
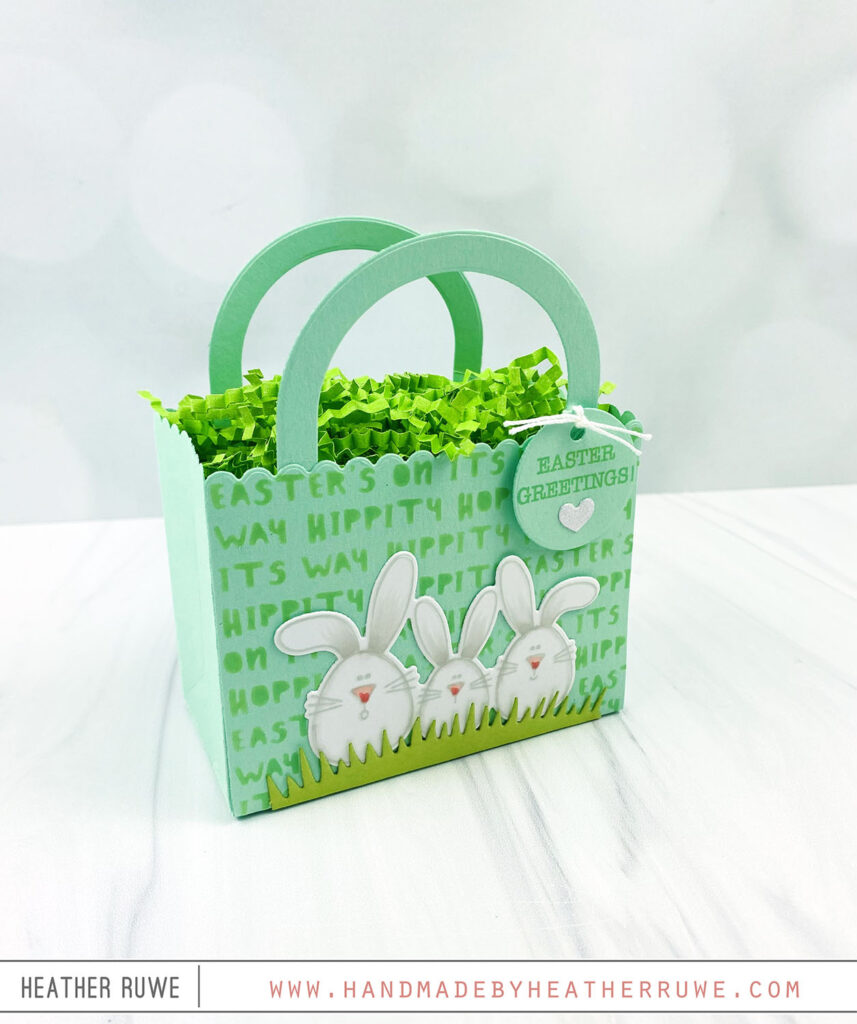
To assemble the bag, I applied glue on all the flaps and the bottom panel. Once all four flaps and bottom piece is adhered down, it’s time to add the handles. I applied glue on the bottom of each handle and placed one on the inside the bag on the front and in the back.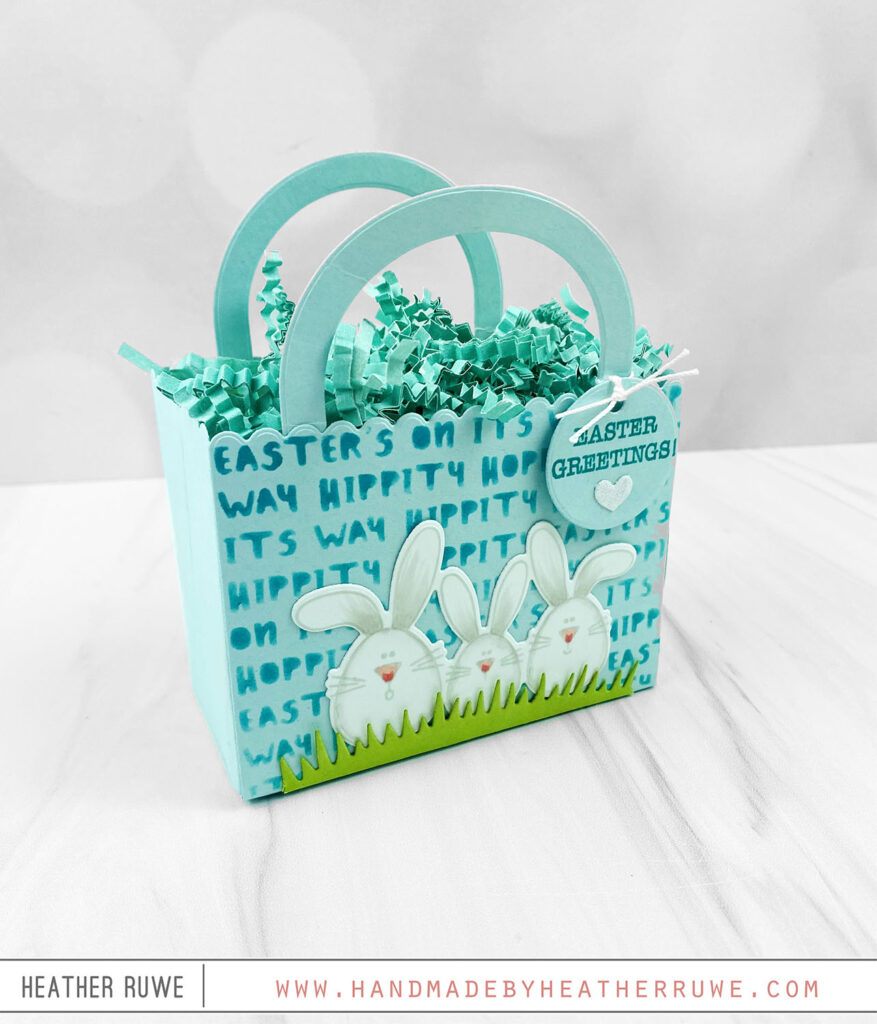
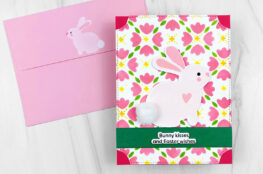
I stamped THIS bunny image and sentiment from this Bunny Trail Stamp set and it’s coordinating dies. I stamped the bunnies with THIS Contour ink from Hero Arts. I usually stamp all my images in black but wanted something a bit softer for this basket with all the pastel colors. This ink is very light so I stamped it multiple times to get it to the shade I liked. I used THESE coordinating die to cut the images out. I like to die cut before I color just in case I mess up the die cutting.
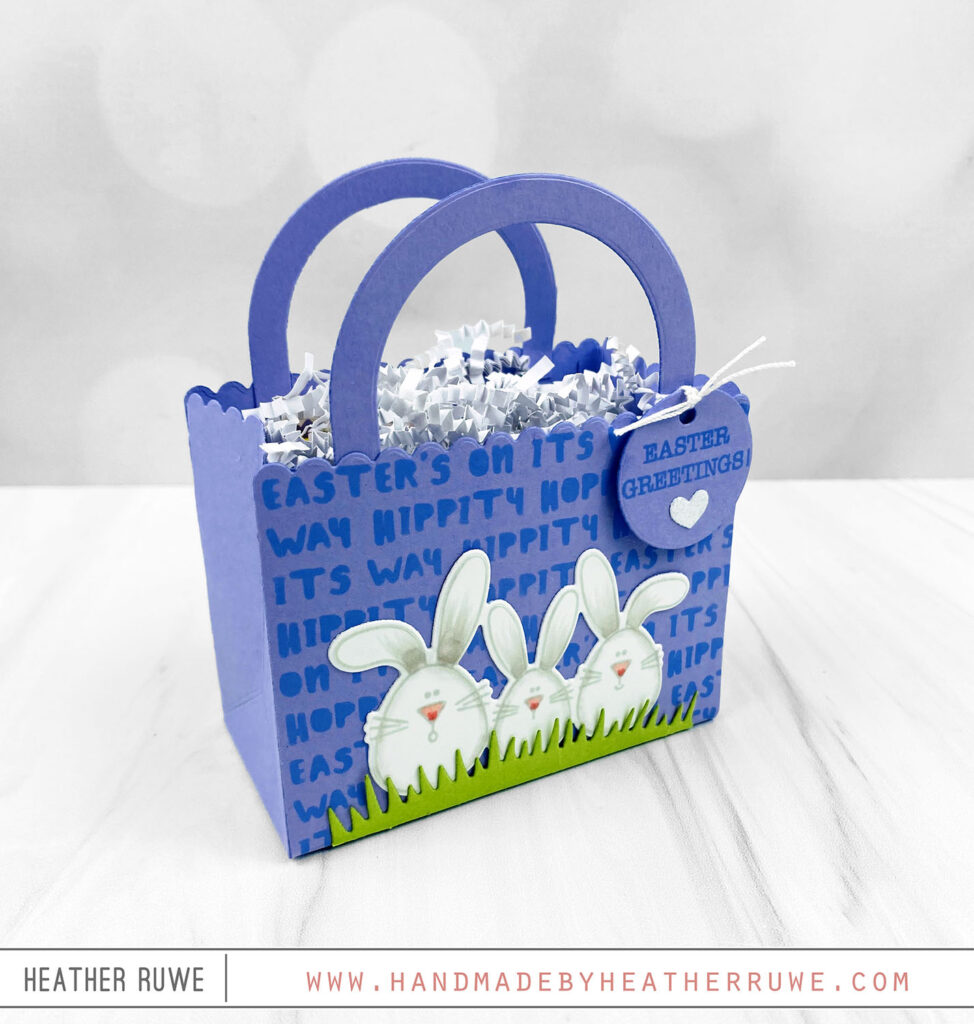 Next, I colored in the image with Copic Markers and die cut the grass using THIS die. I only applied glue to the sides and bottom of the back of the grass die cut. This way, I can tuck the bunnies behind the grass when adhering them down.
I wanted to add one more touch to the gift bag so I die cut the tag die from Hero Arts. 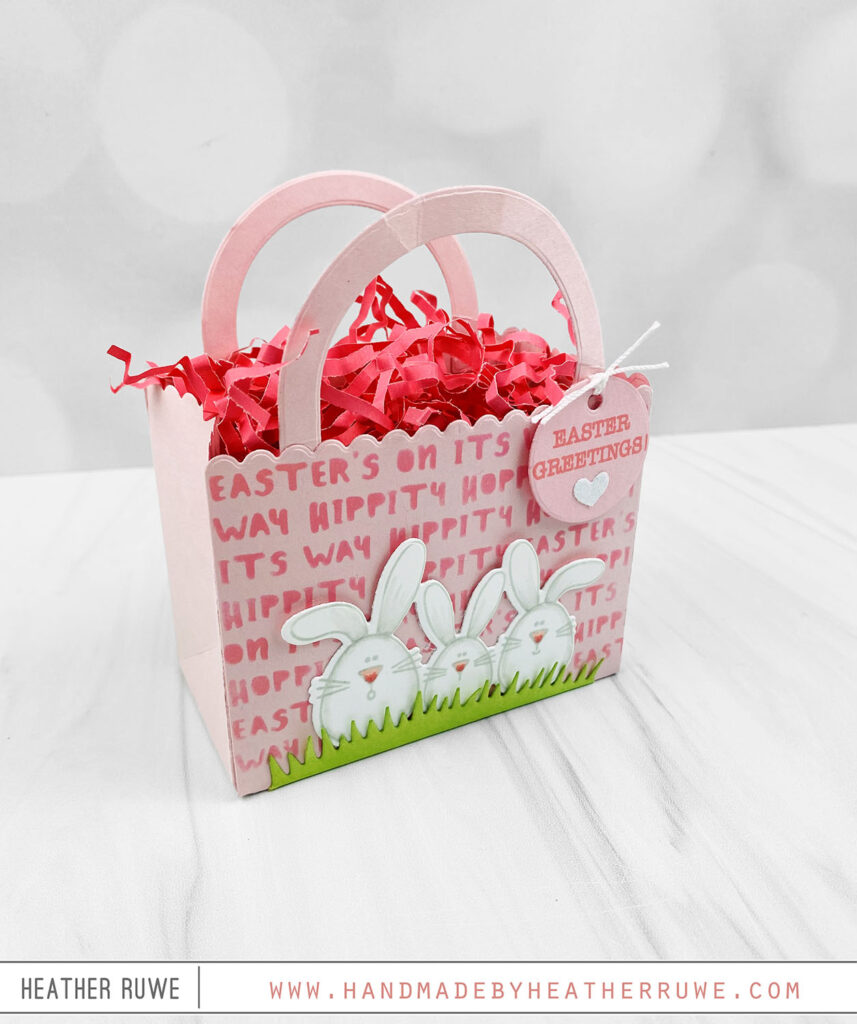
I finished off the tag by die cutting THIS mini hearts party die (one of my favorite dies for creating quick embellishments) from a piece of white glitter paper. I adhered the heart under the sentiment and then used some white string to tie it on the handle of the bag.
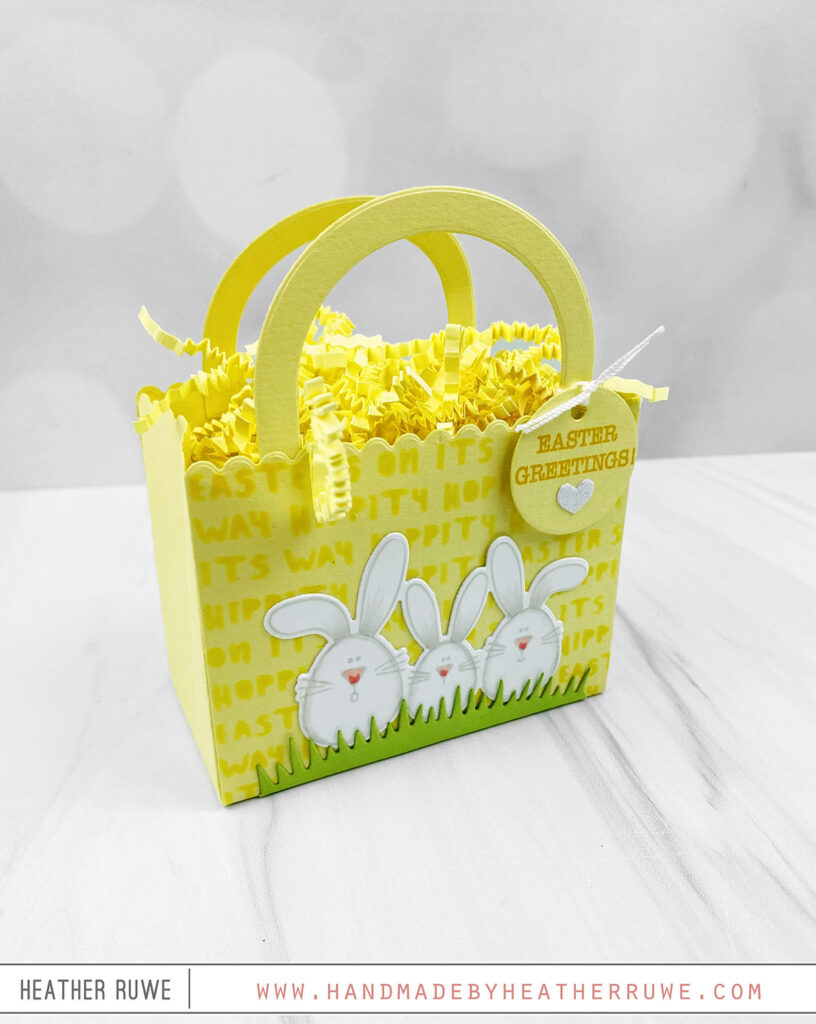
I added some treats inside the bag. I put in some easter candy as well as a gift card. I really like how this bag fits a gift card nicely with room to spare. 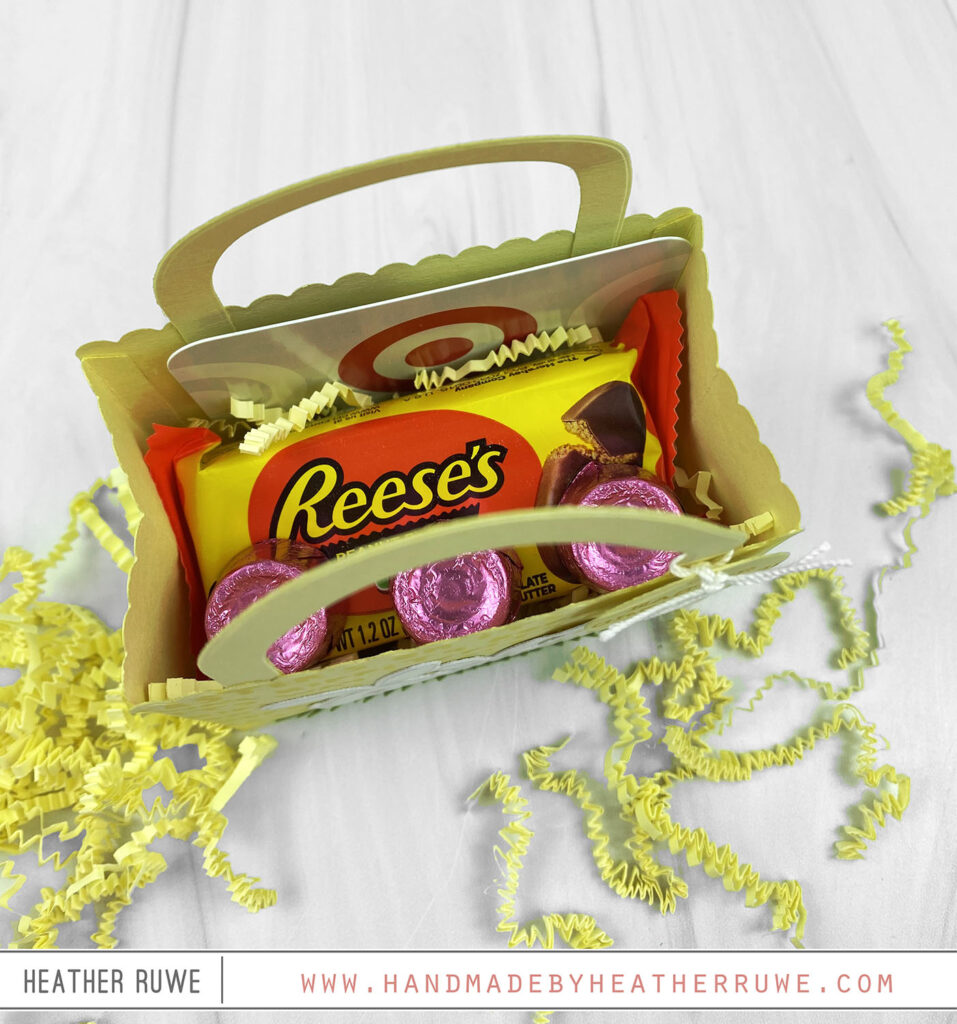
I hope this inspires you to create some treat bags.
Thank you for stopping by. Happy crafting!
P.S. I’ve linked to the entire Splendor Release below as well as supplies used on today’s project.
Click HERE for links to entire Splendor Release.
LINKS TO SUPPLIES USED:
(Affiliate links used at no extra cost to you. Thank you for your support.)
February 17, 2024
Adorable gift bags! I am going to attempt them – thank you for your inspiration!
February 17, 2024
Heather, I love your various projects. The bunny’s tail is so cute and fluffy. My favorite are the gift bags and the bright colors you used to make them. Fantastic job ❤
February 17, 2024
OMG the Easter treat bags are adorable!
February 17, 2024
Heather, these Easter gift bags are so adorable. I really enjoyed your video, thank you.
February 17, 2024
Love these sweet bunnies on your treat bags! Wonderful inspiration!
February 15, 2024
These little gift bags are adorable!!
February 15, 2024
Heather, * just received your blog post and these gift bags are adorable! I love the colors and the stencil and well, everthing! So cute! The teachers will love this!