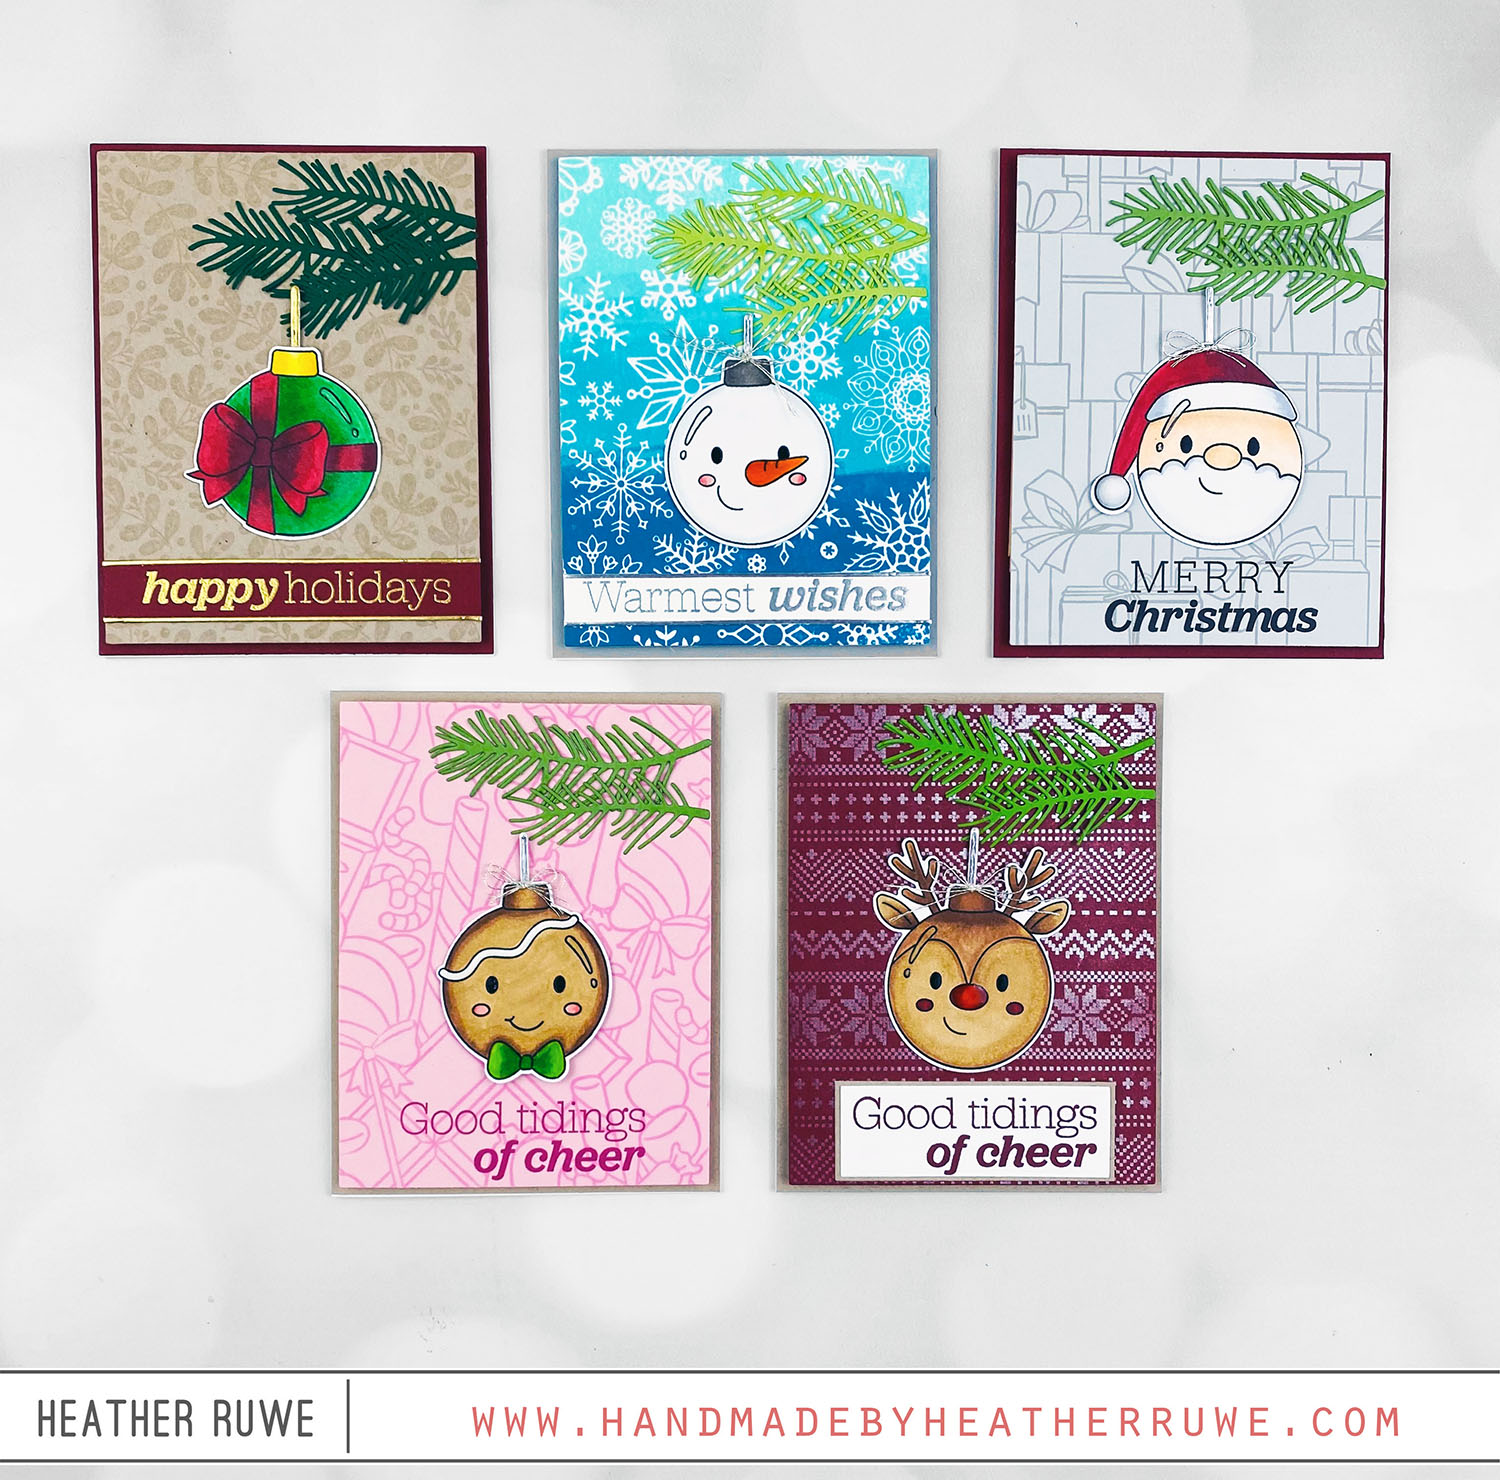
Happy STAMPtember, crafty friends! If you are unfamiliar with STAMPtember, it’s a month long celebration of stamping and crafting. There is so much fun in store for this month but let’s start with a set of cards I created with THIS STAMPtember release by Simon Says Stamp… I couldn’t pick just one ornament from THIS stamp set so I made a card using all of them! I was inspired by THIS video by Jennifer...
My Favorite Stamp Set of all time + Ink Blot Shop Release
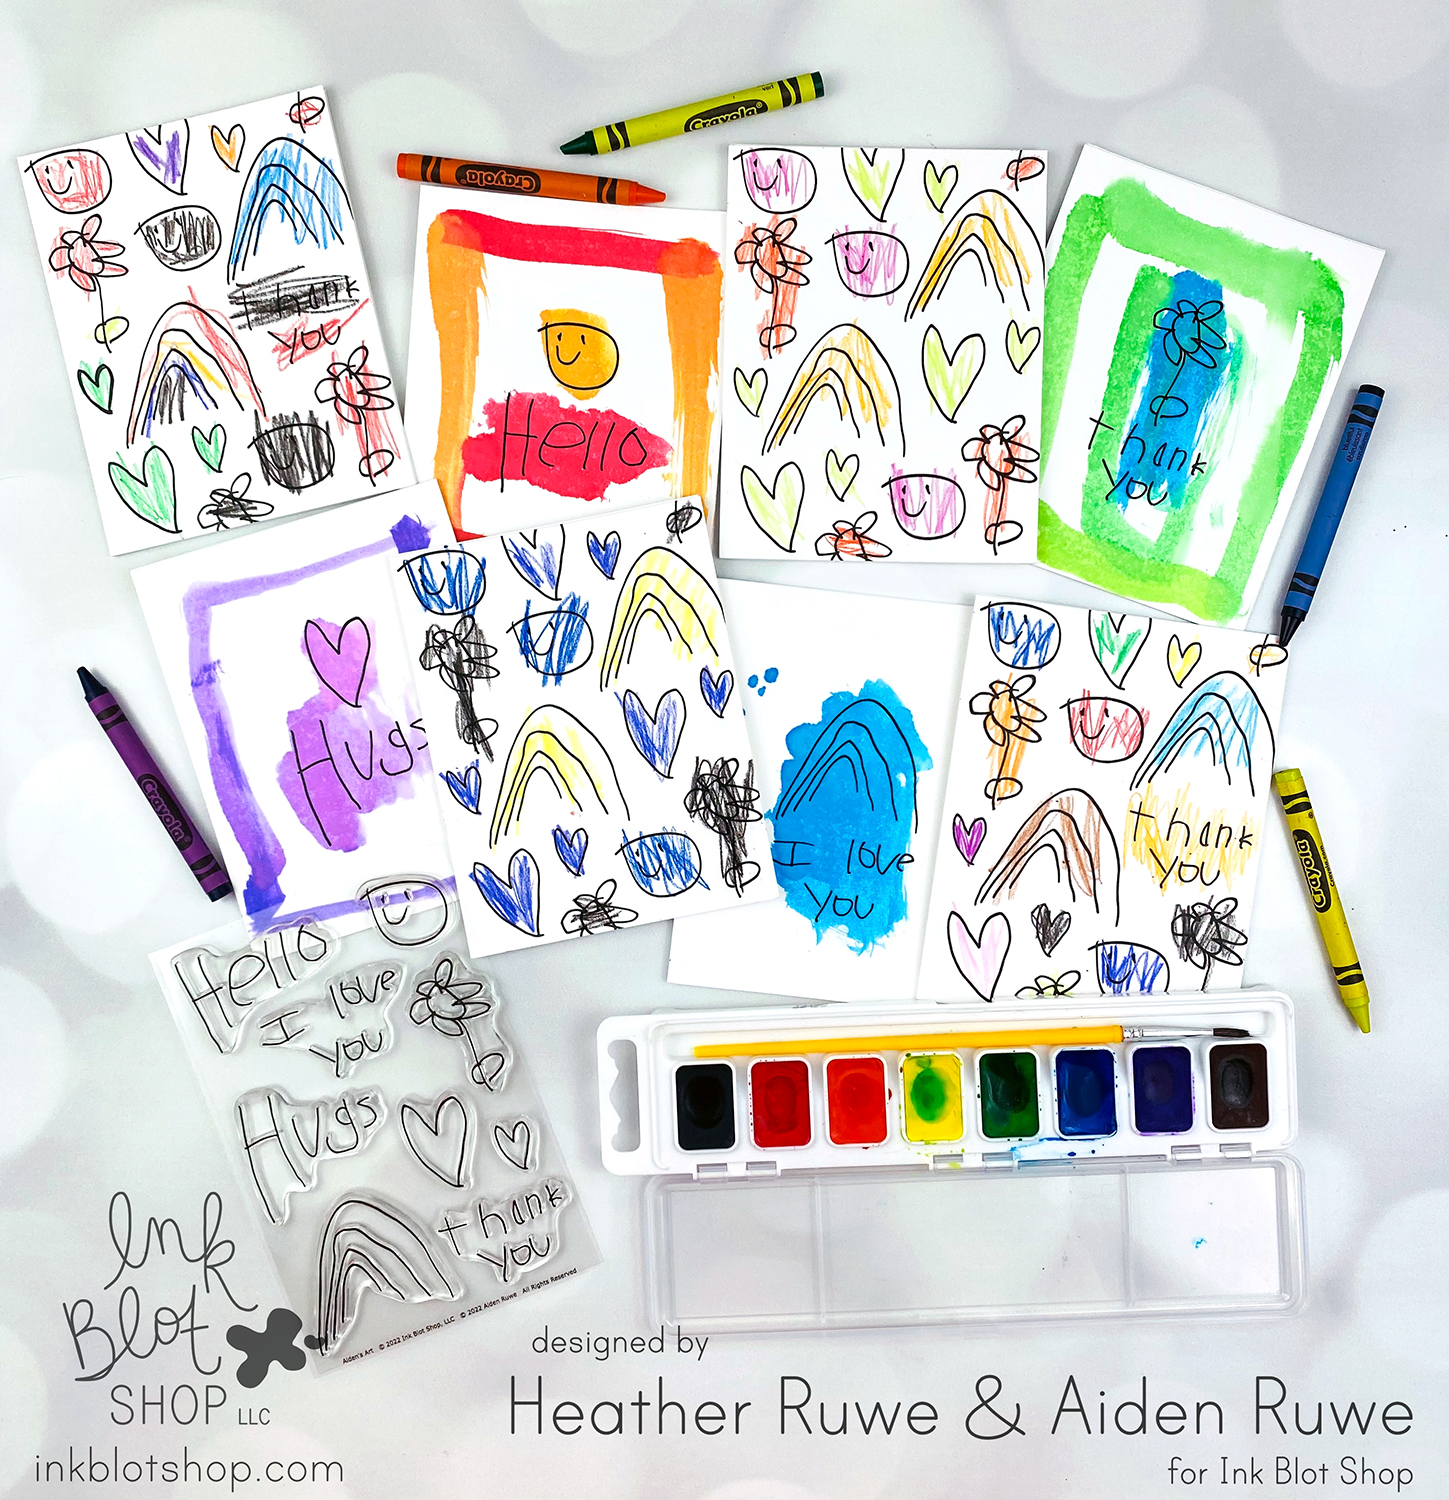
Hello, crafty friends. Today’s post is extra special. I am sharing my favorite stamp set of all time and it’s part of THIS new release from the Ink Blot Shop…. VIDEO I also have a very special guest that helped me create a video and today’s card. You can click HERE to watch or click on the video below… So first, let me explain how Aiden and I created the first batch of cards...
Fab Flower Die Cut Inlay
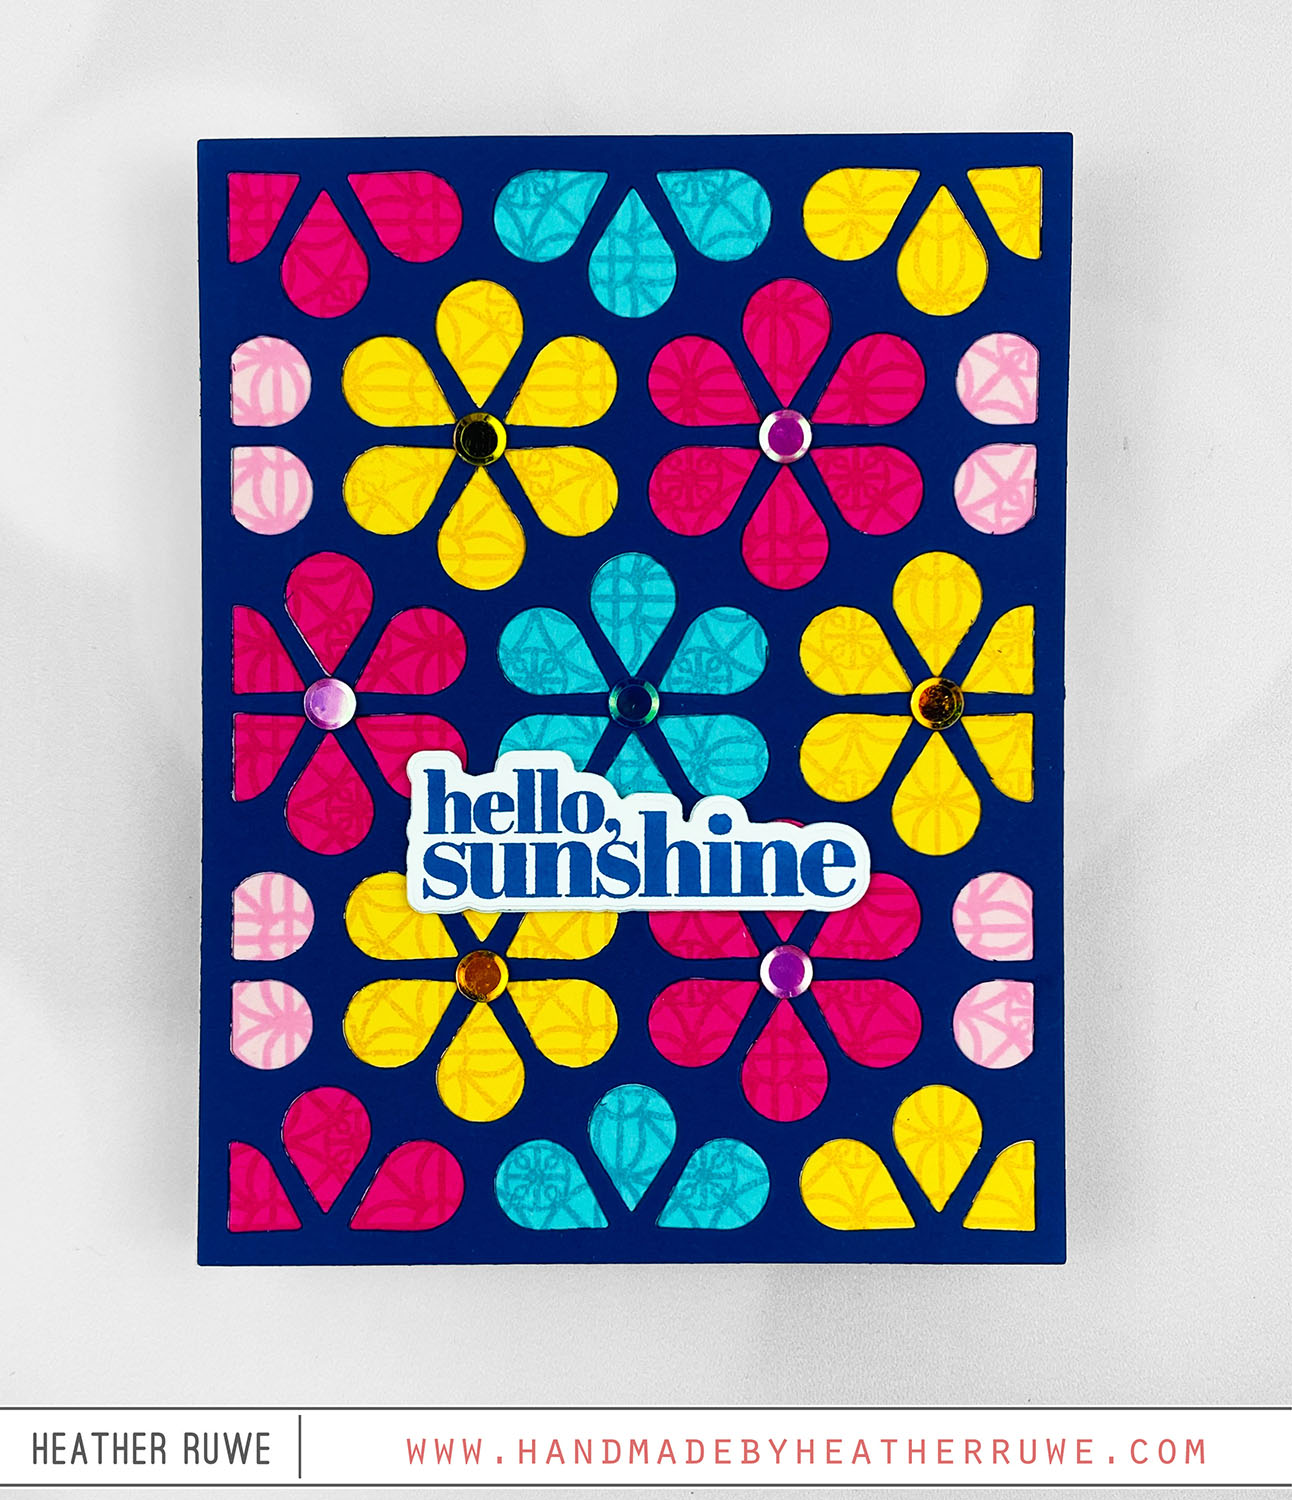
Hi, crafty friends. Today’s card share was so fun to make and features die cut inlay… I started by stamping THIS background stamp on a variety of colored card stocks using coordinating ink colors for a tone on tone look. I cut them plus a blue panel using THIS background die and in laid each piece into place for a smooth look… I finished off the design with a sentiment from THIS stamp set...
Dream Big Release
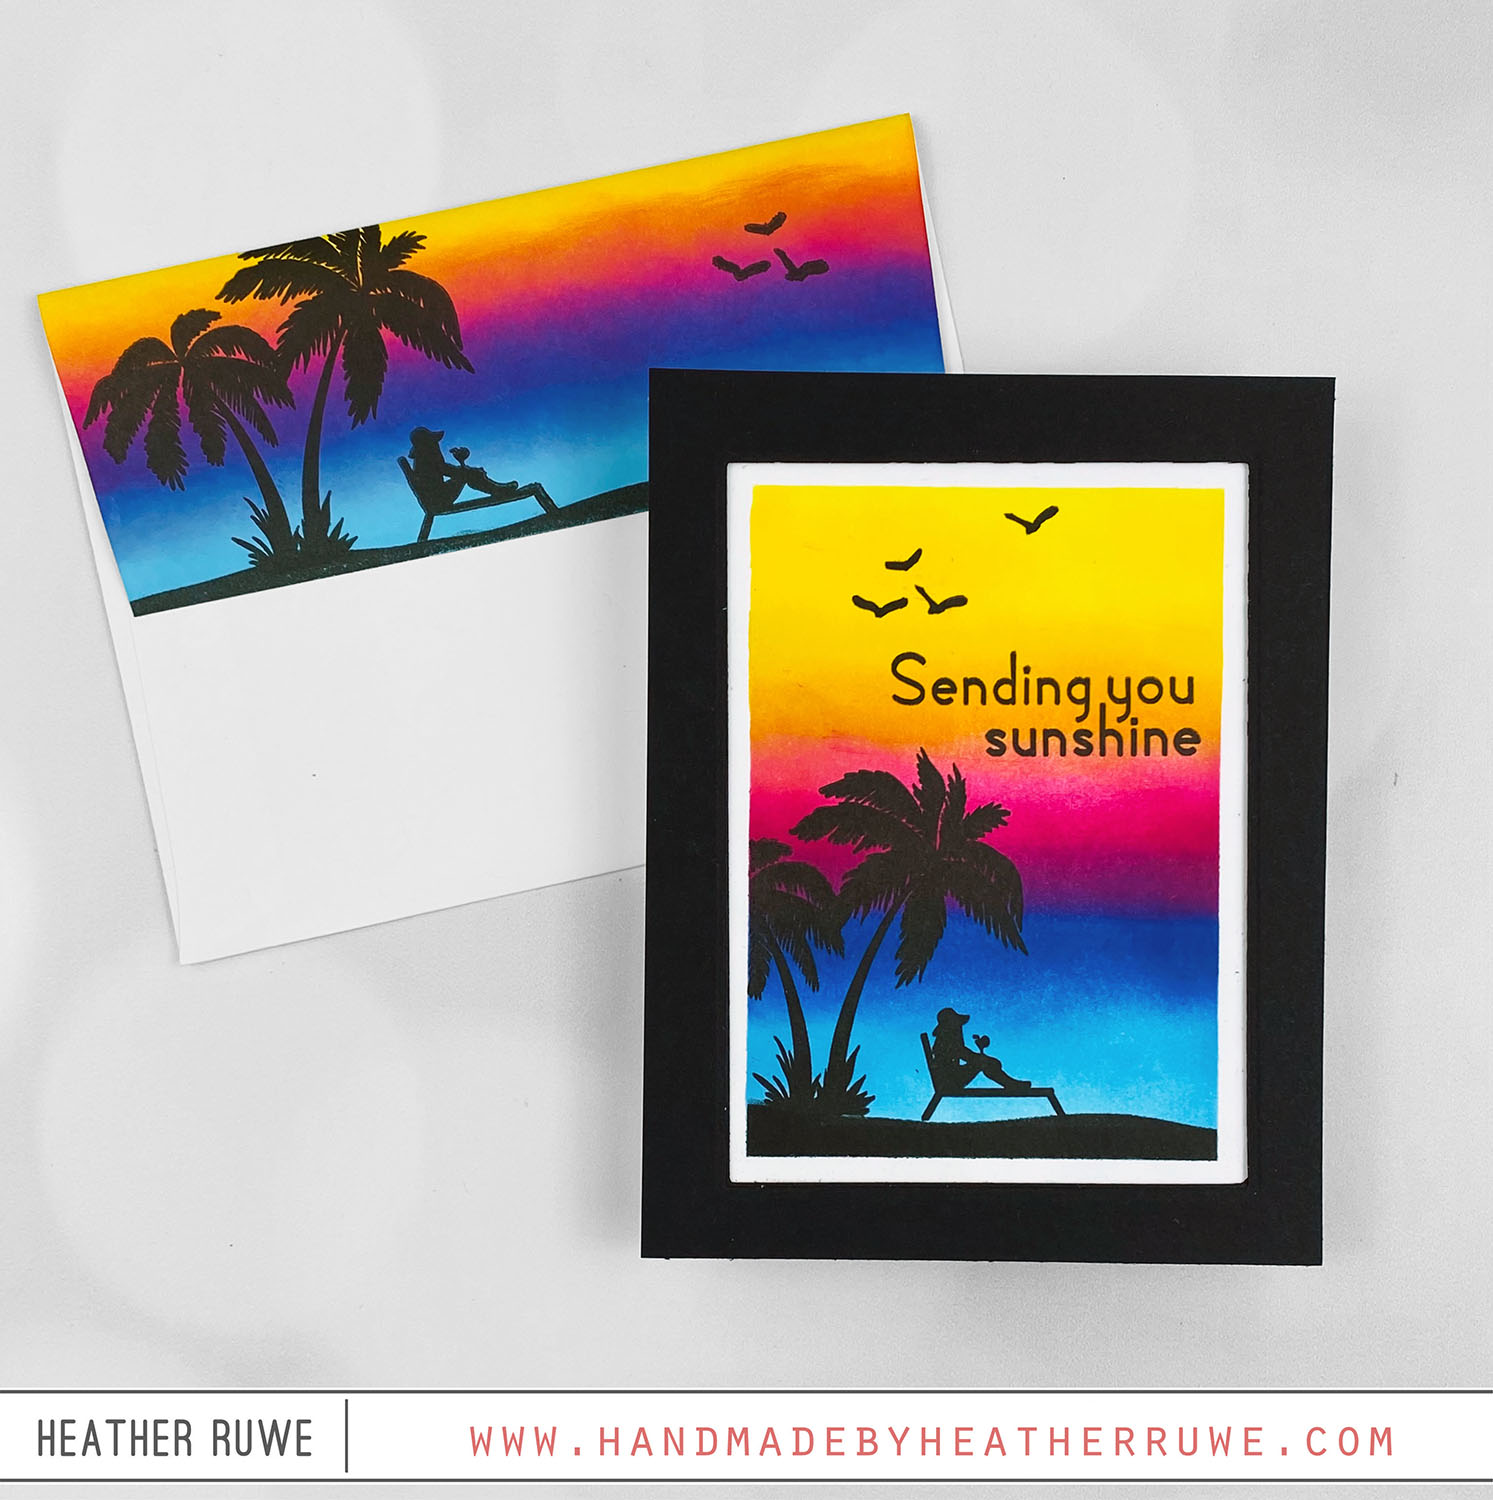
Hi, crafty friends. Simon Says Stamp has a new release HERE and today’s card features one of the new stamp sets… I started by creating the background. I used THIS mask stencil on a panel of white card stock and ink blended several sunset sky colors inside the opening. Once the ink was dry, I stamped the images from THIS stamp set on top using black pigment ink. I created a black frame by...
SSS Let’s Chill Release Blog Hop
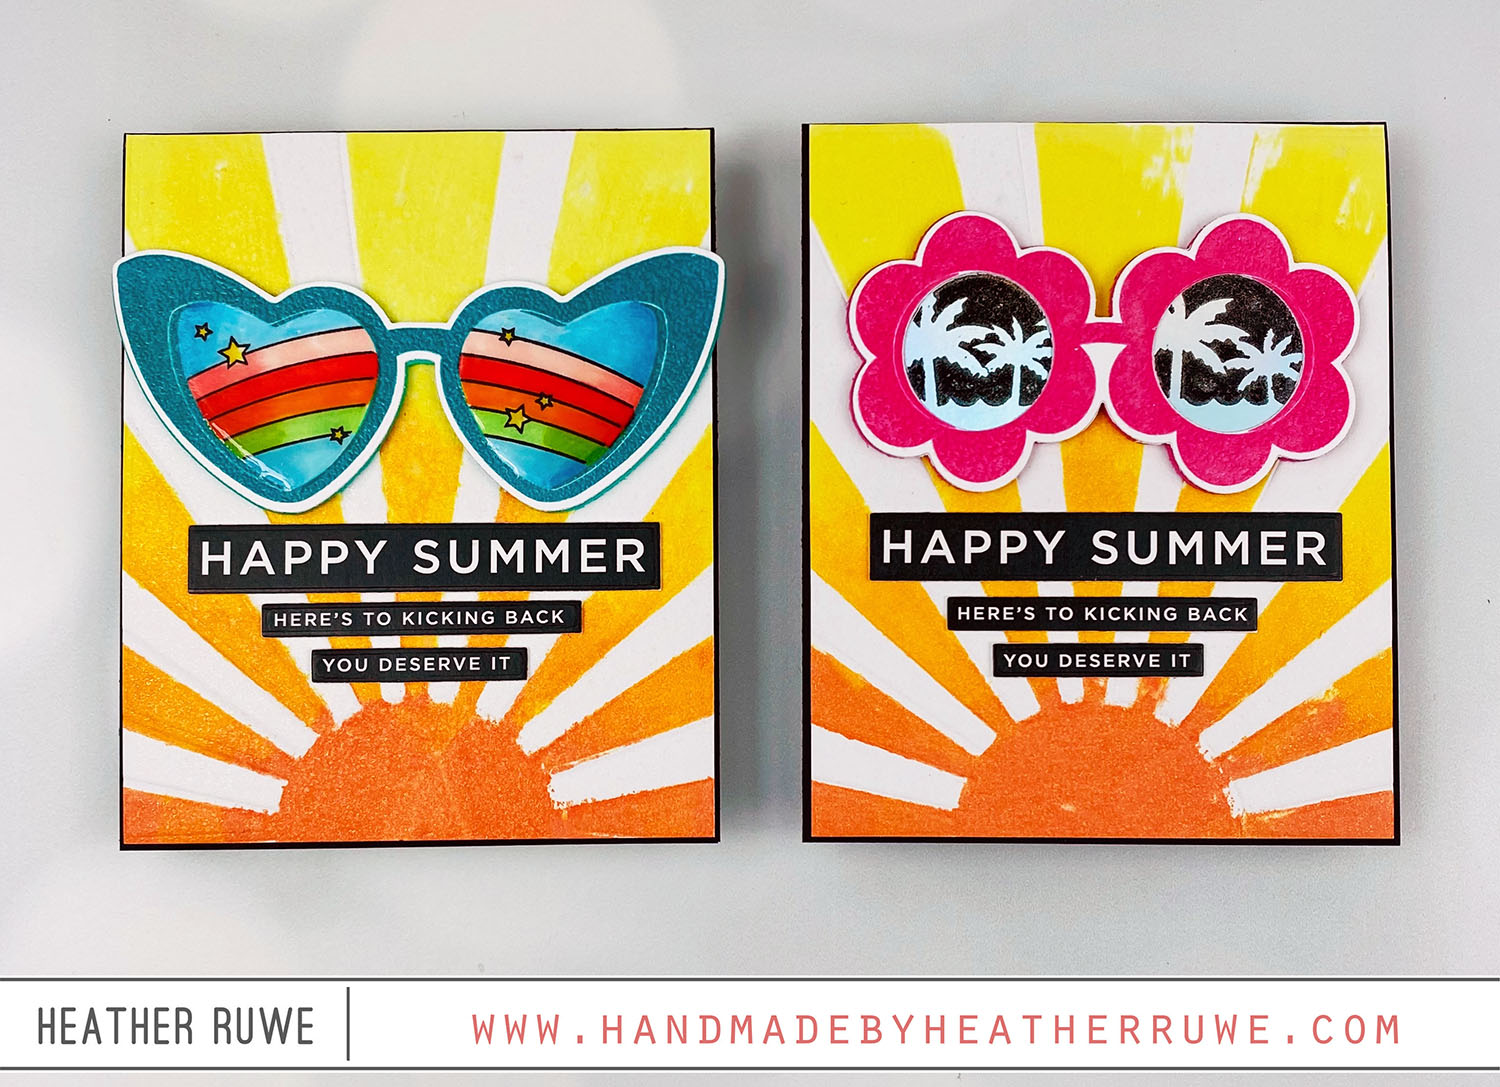
Hello, crafty friends. I’m excited to be part of THIS Blog Hop celebrating THIS new release. I have two cards to share featuring THIS new stamp set… I started by creating the background with the Sunburst Die. I die-cut it three times from cardstock and once from vellum. I adhered them all together with the vellum piece on top. I applied yellow and orange ink on top of the vellum and made an impression...
Alcohol Ink Strips
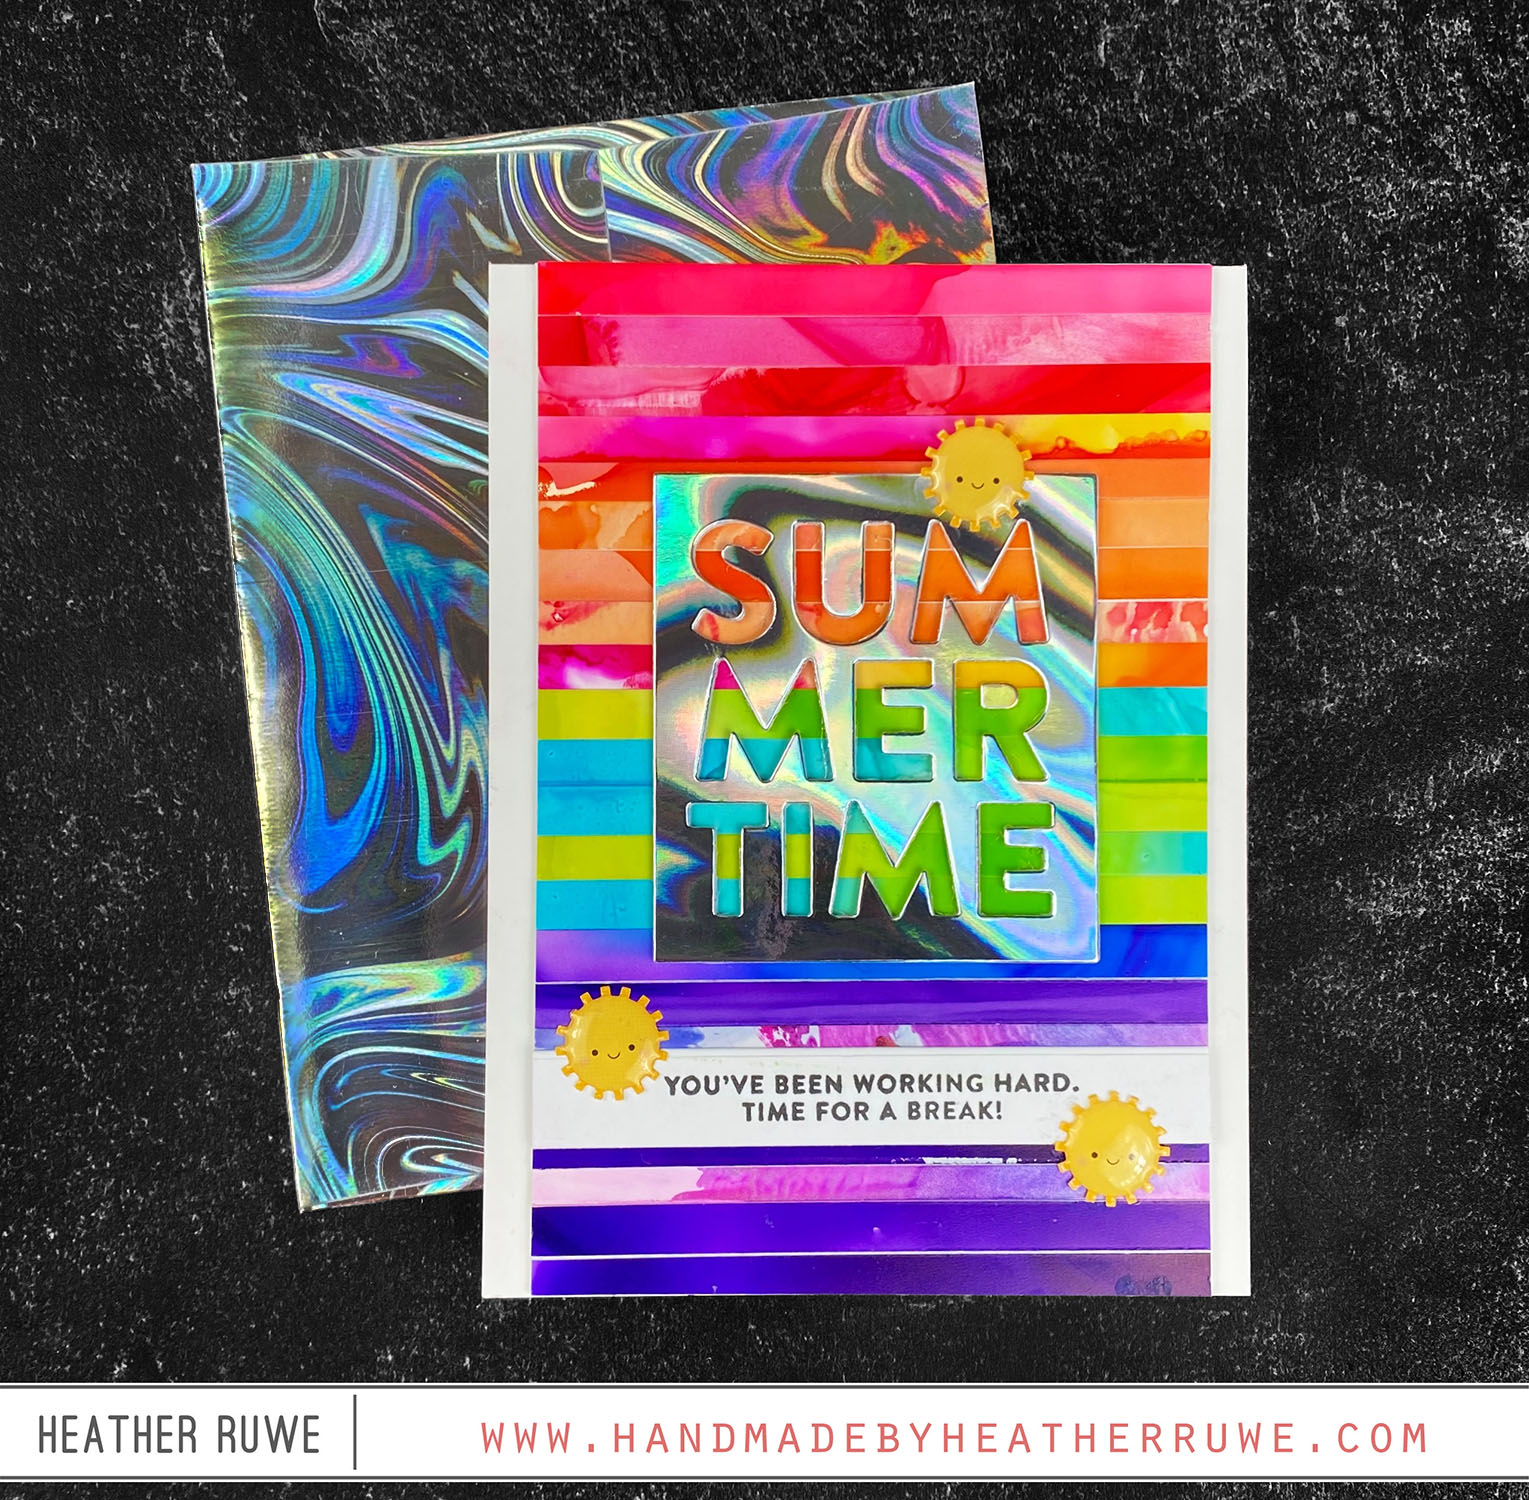
Hello again, crafty friends. Last week, I shared some alcohol inked cards HERE and HERE and I had a lot of good leftover pieces left over… So, I cut them into strips… …and adhered them one on top of the other to create a background… I added an older Summer die-cut on top cut from holographic cardstock… I added a sentiment from an older stamp set (Vacation Time) and finished it off with some...
Stencils and Coordinating Dies
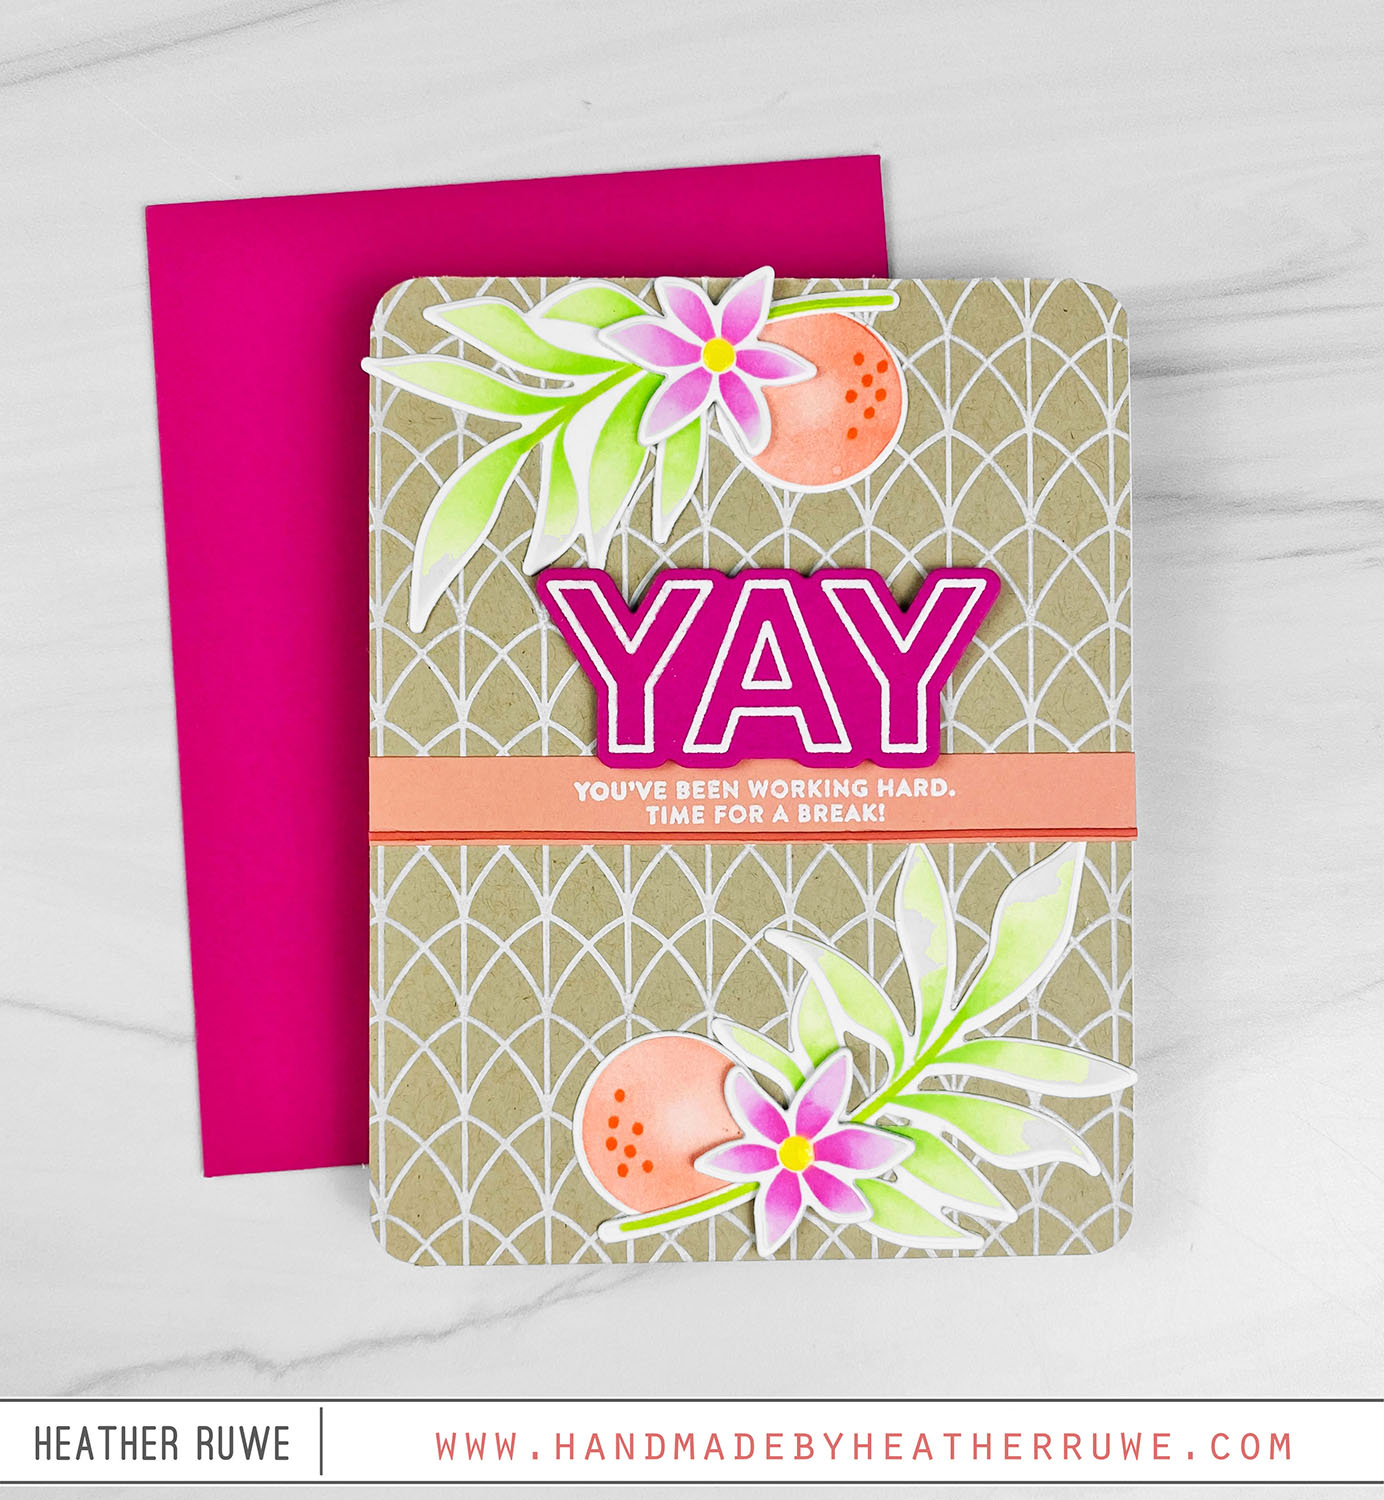
Hello, crafty friends. I’m a big fan of stencil that have coordinating dies and today’s card features THIS set… I started by stamping the Arches Background stamp using white pigment ink on a kraft panel. I applied ink through the Orange Blossoms stencil and used the coordinating dies to cut out the images. I also applied the ink heavier to one side or in the center to add some dimension… I adhered them to...
Spring Card Camp 2022 Class Day One
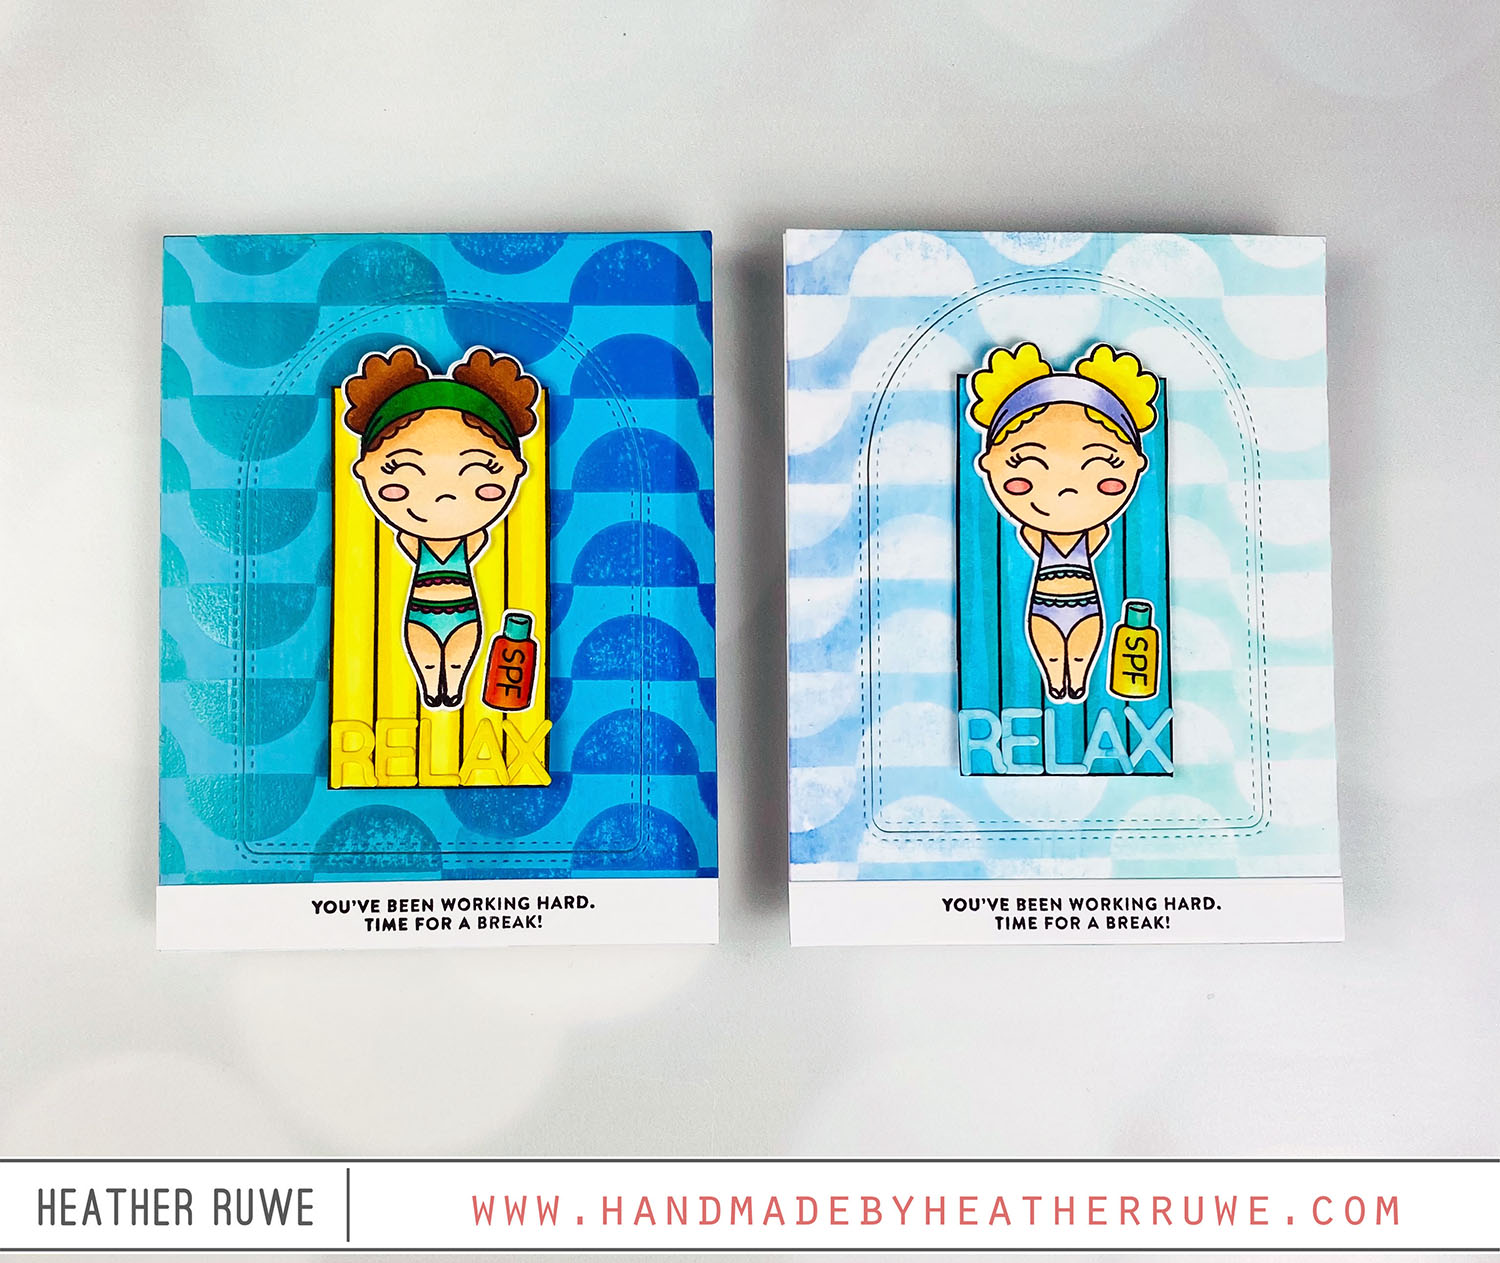
Hello again, crafty friends. I’ve been having so much fun taking THIS Spring Card Camp 2022 class from Online Card Classes and I wanted to share a couple of cards I created inspired by Day One of class… To create these cards, I covered an A2 white cardstock panel with a variety of blue Distress Oxide Inks. After the piece was completely dry, I clear heat embossed the Wavy Circles background on top. I...
Hot Foiling on White Glossy Cardstock
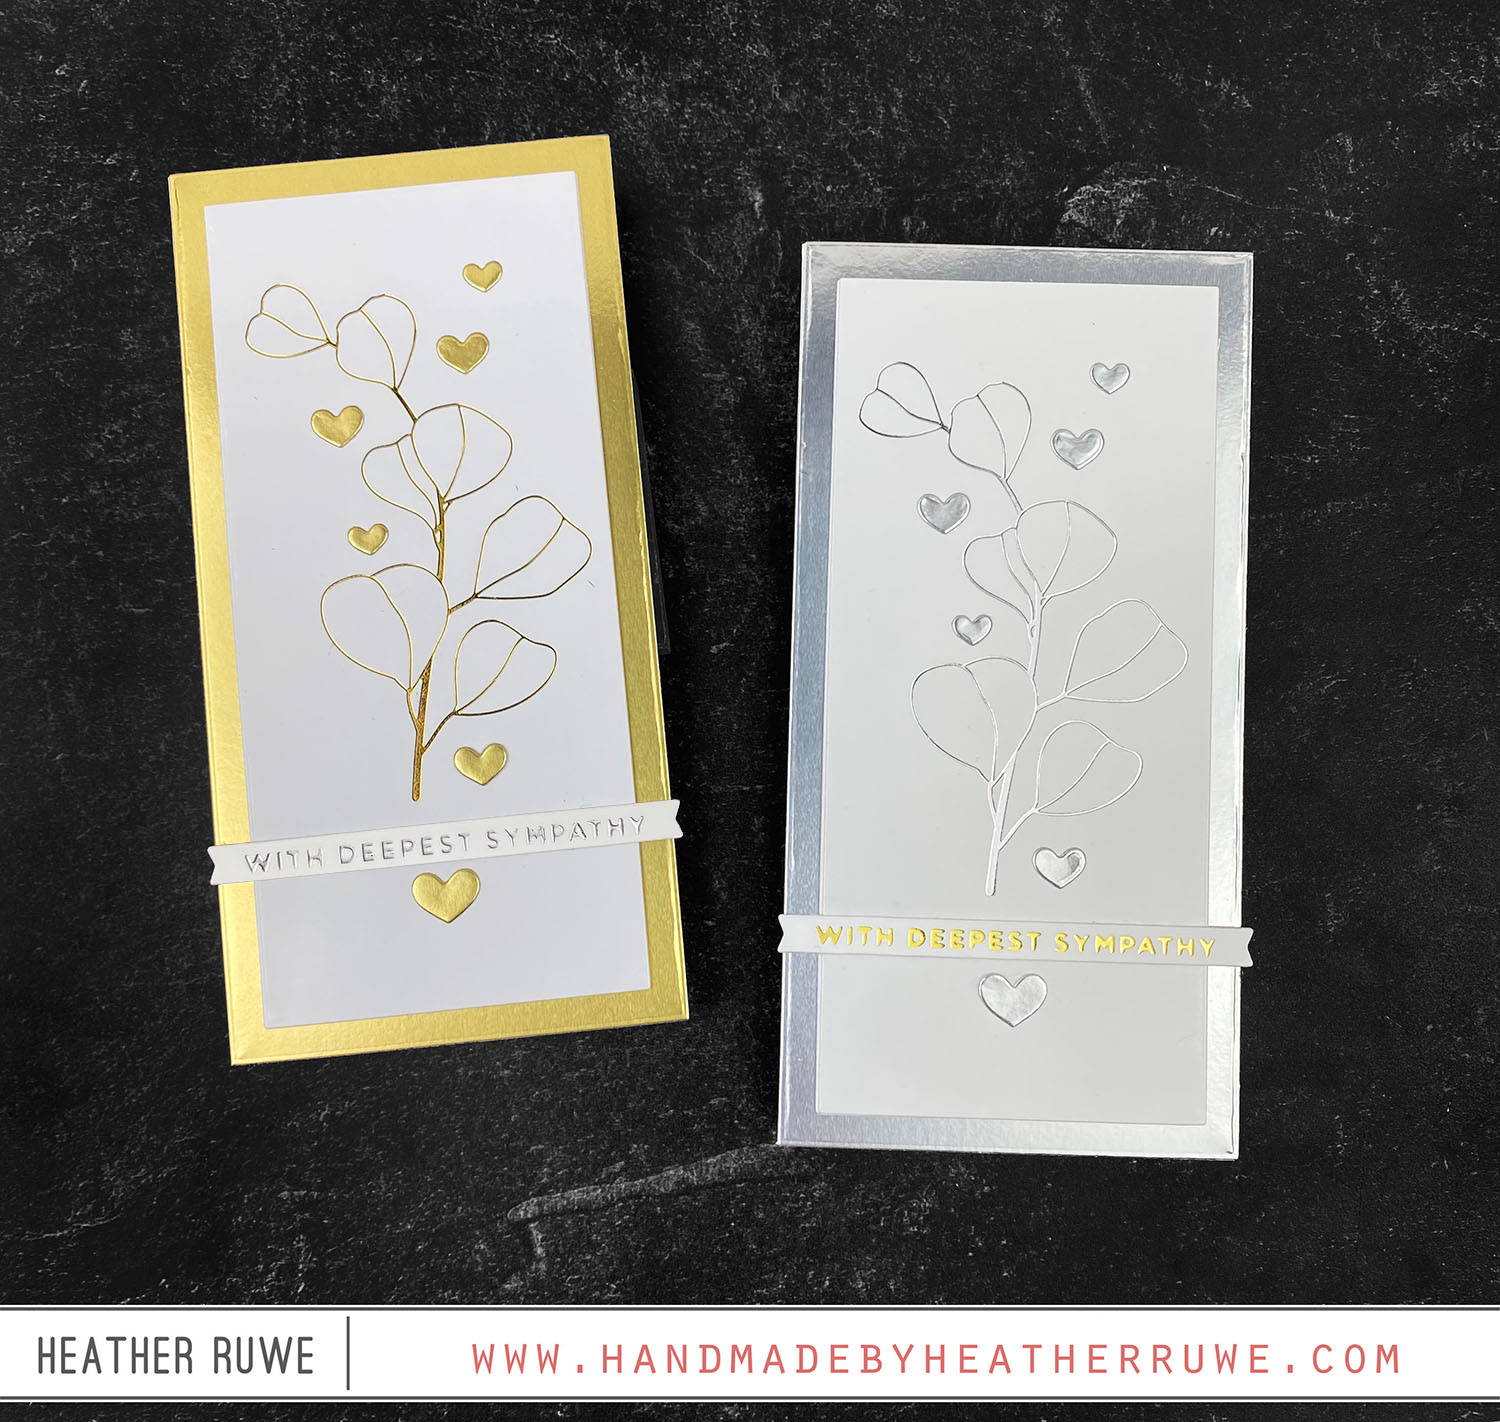
Hello, crafty friends. Recently, I shared a card set where I did hot foiling on black glossy cardstock. You can see those cards HERE. I love how they turned out so I decided to try it on white glossy cardstock… To create these cards, I hot foiled the Eucalyptus Hot Foil Plate with silver and gold glimmer foil on white glossy cardstock pieces. I cut the panel larger than what I needed and used...
5×7 Teacher Card
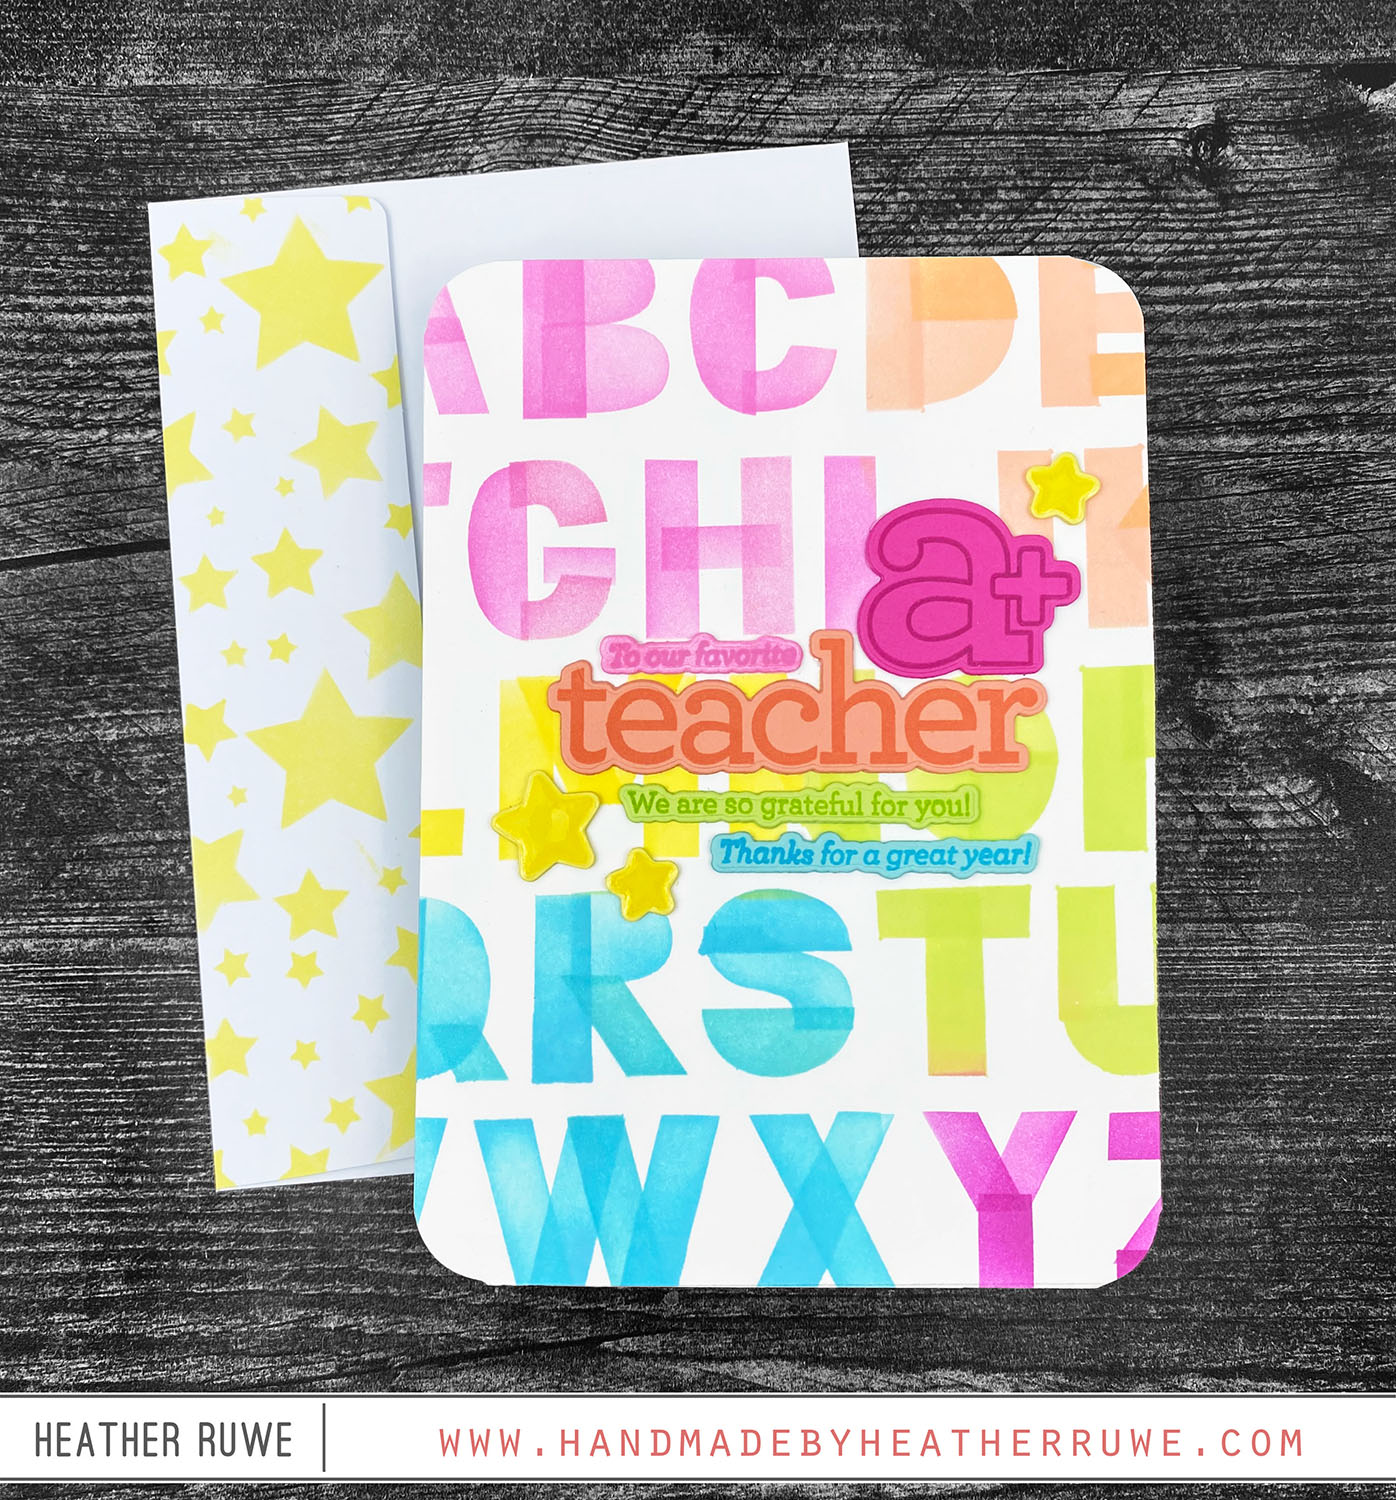
Hello again, crafty friends. I have a teacher card to share today since the end of the school year is quickly approaching… To create this card, I started by inking up each layer of the Layering Alphas Alphabet Stencil. I put the corner of each stencil in the corner of the Stencil mat to line each layer up easily. I trimmed down the piece to a 5×7 background and adhered it to a 5×7...

