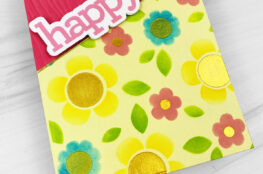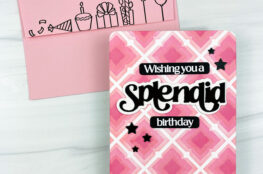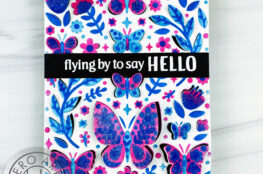
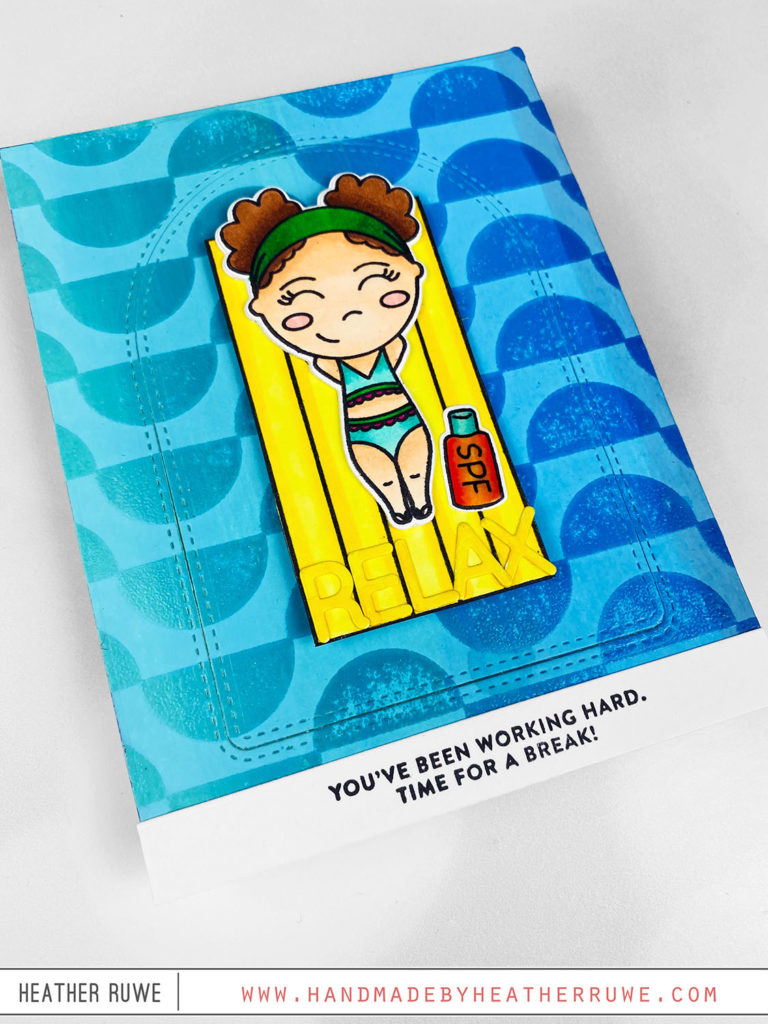
Hello again, crafty friends. I’ve been having so much fun taking THIS Spring Card Camp 2022 class from Online Card Classes and I wanted to share a couple of cards I created inspired by Day One of class…
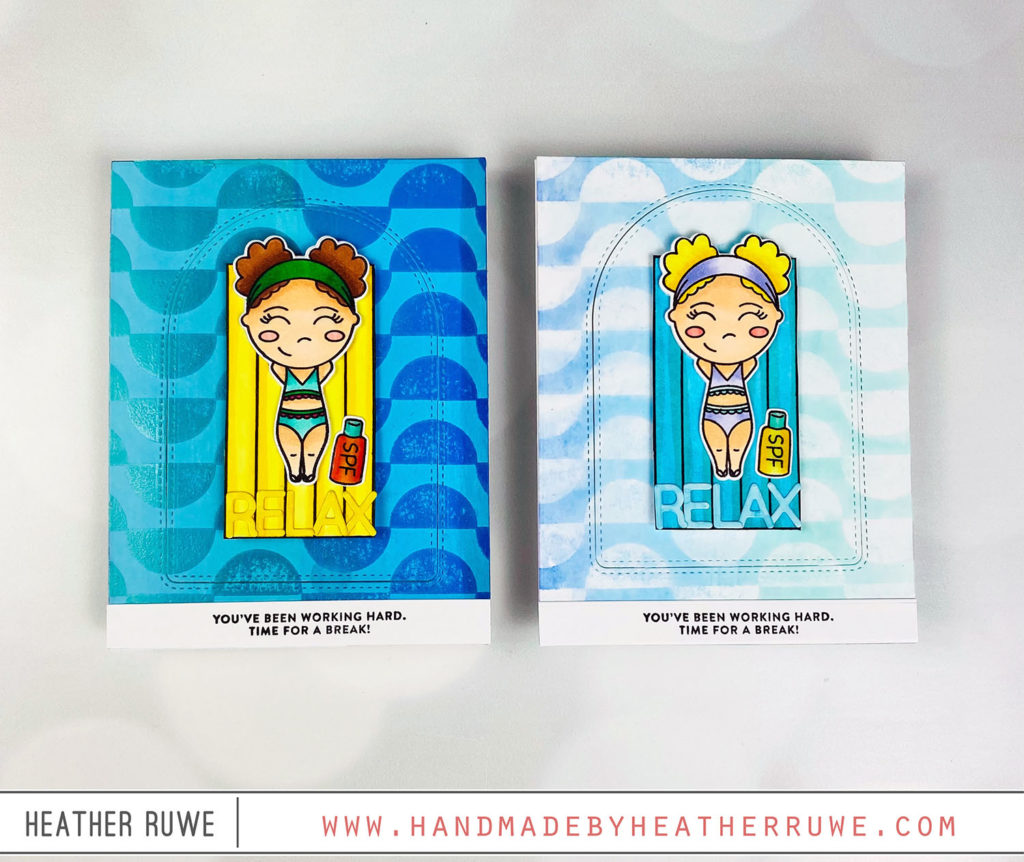
To create these cards, I covered an A2 white cardstock panel with a variety of blue Distress Oxide Inks. After the piece was completely dry, I clear heat embossed the Wavy Circles background on top. I added a piece of washi tape at the top of the piece to create a hinge. I added a white cardstock piece to the other side of the hinge. I spritzed the inked/embossed piece heavily with water and closed the hinge so the white panel would be on top kissing the inked piece. I ran it through my die-cut machine to apply pressure and get the ink to transfer to the white piece. I LOVE that this technique results in two backgrounds.
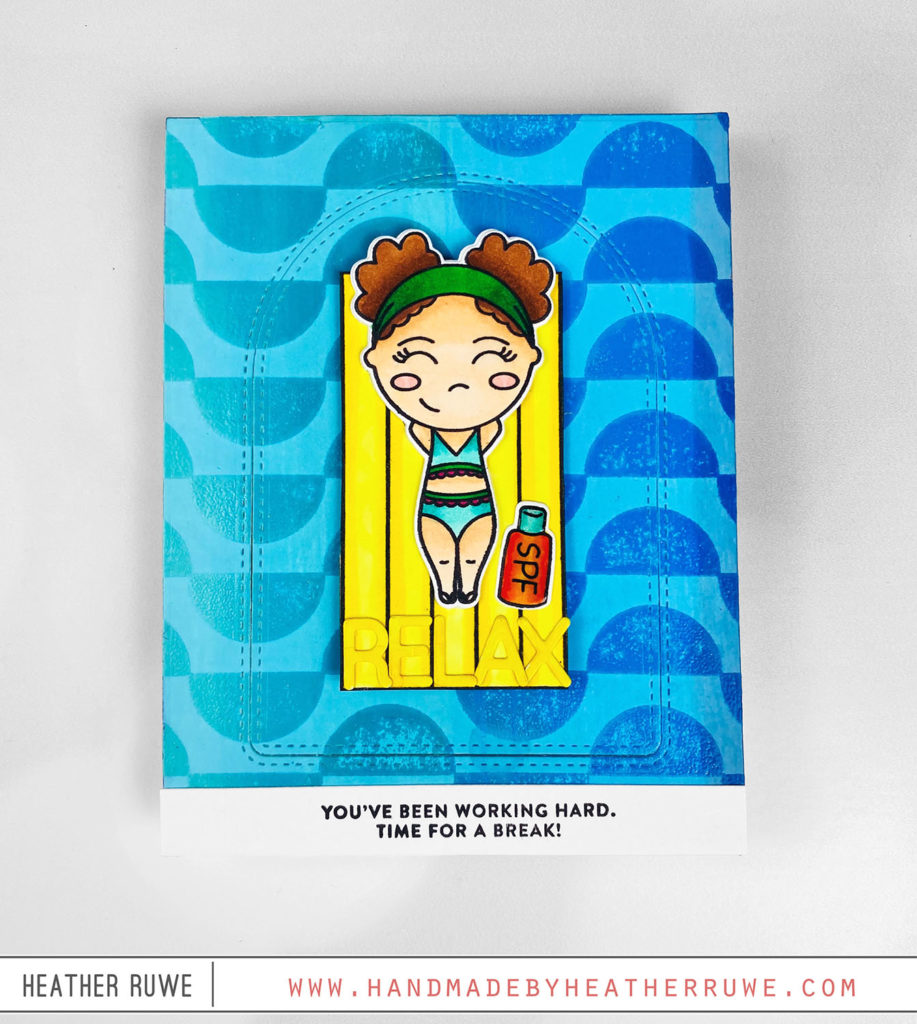
I stamped and colored the images from the Beach Beauties stamp set and used the coordinating dies to cut them out. I also die-cut the backgrounds using the Stitched Arches dies.
I wanted to make the pool float move and resemble floating so I die-cut two small circles from the arched die-cut area. I die-cut a larger circle (just a bit bigger than the first circle) and placed a foam square in the center. I placed the foam square in the center of the small circle opening in the background and adhered the butterfly to the foam square…
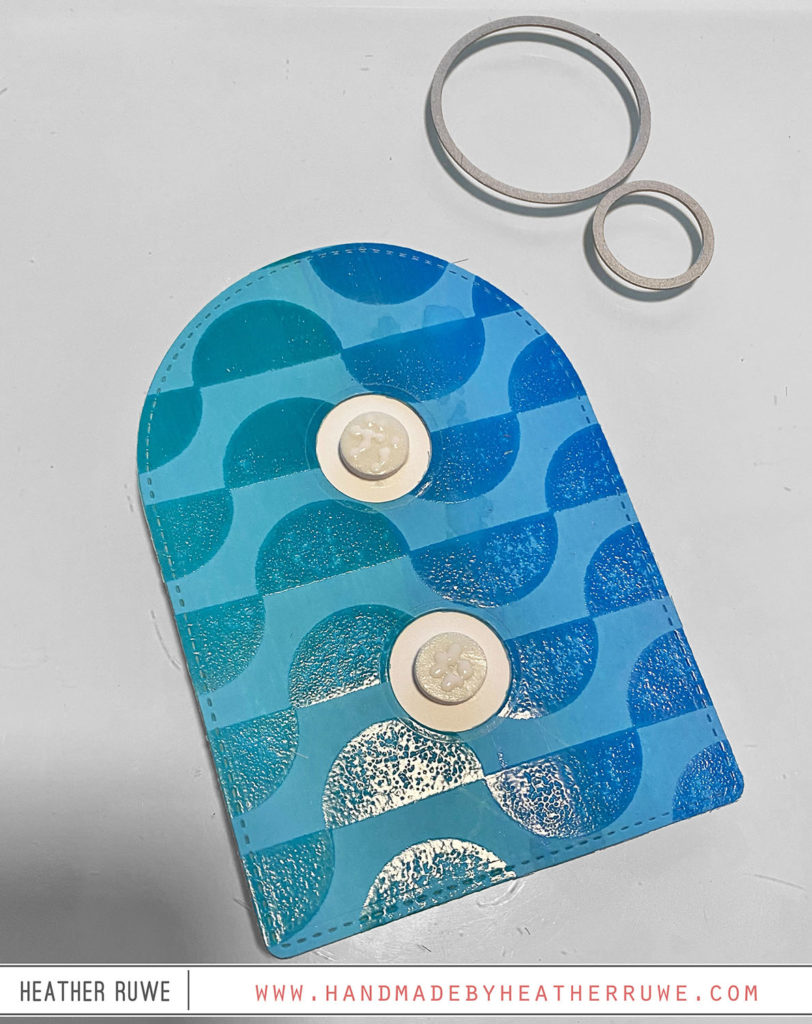
I added foam squares all along the back side of the background panel to adhere to the card base. Make sure to leave room around the circle element so the image can move freely.
Now, the element moves. You can see it in action over on my Instagram HERE.
I did the exact same process as the first card for the second panel that was created. I love that you start with a darker background and get a lighter background from the second panel…
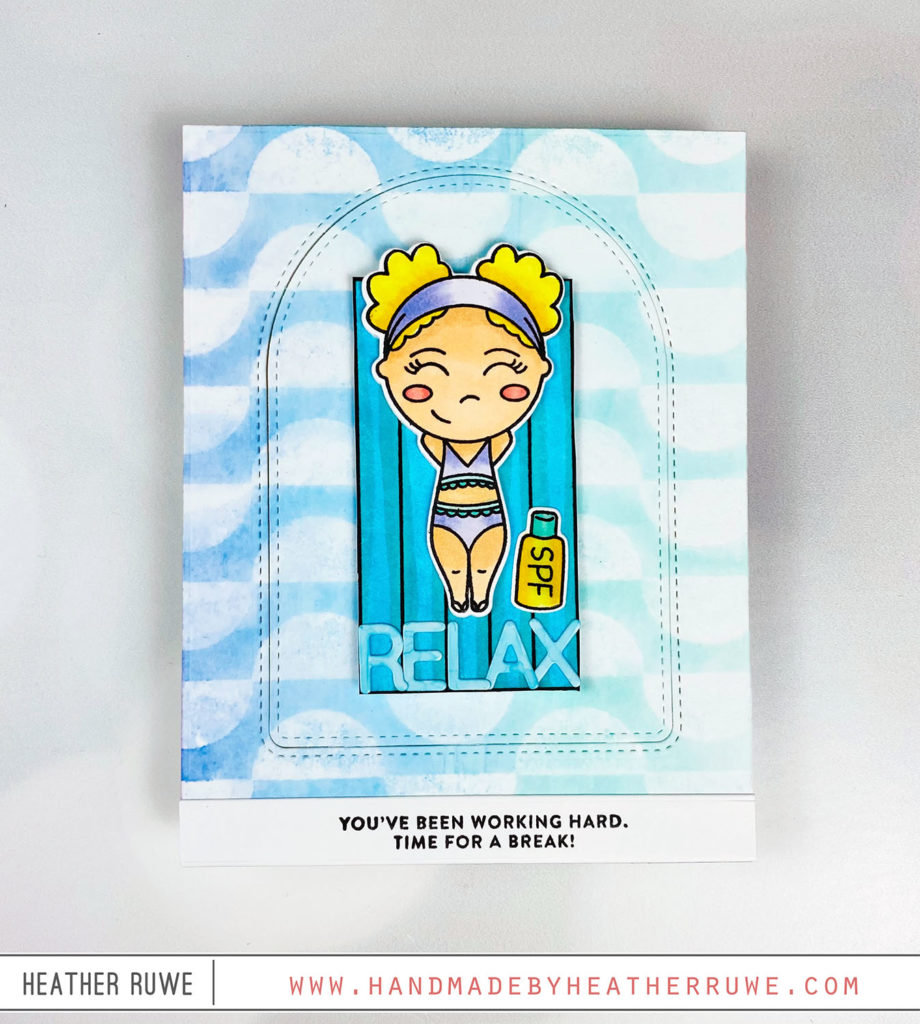
I finished off the card by die-cutting Relax from the Rounded Alphabet Small die set from white glossy paper. I used a Copic Marker to color the letters and adhered them on the pool float. I also added a stamped sentiment from an older Simon Says Stamp Vacation Time Stamp Set.
Here’s a closer look… 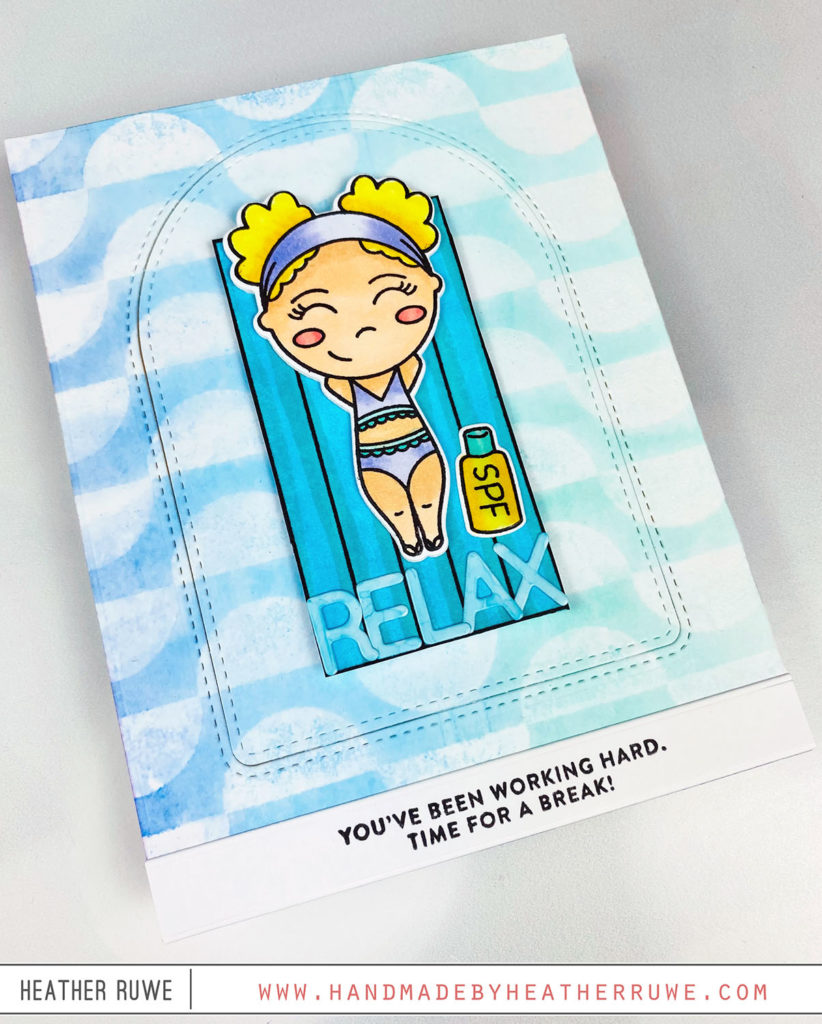
Again, you can find out more information about the class HERE.
Thank you so much for visiting today. Happy crafting!
LINKS TO SUPPLIES USED:
(Affiliate links used at no extra cost to you. Thank you for your support.)