All the Joy Release

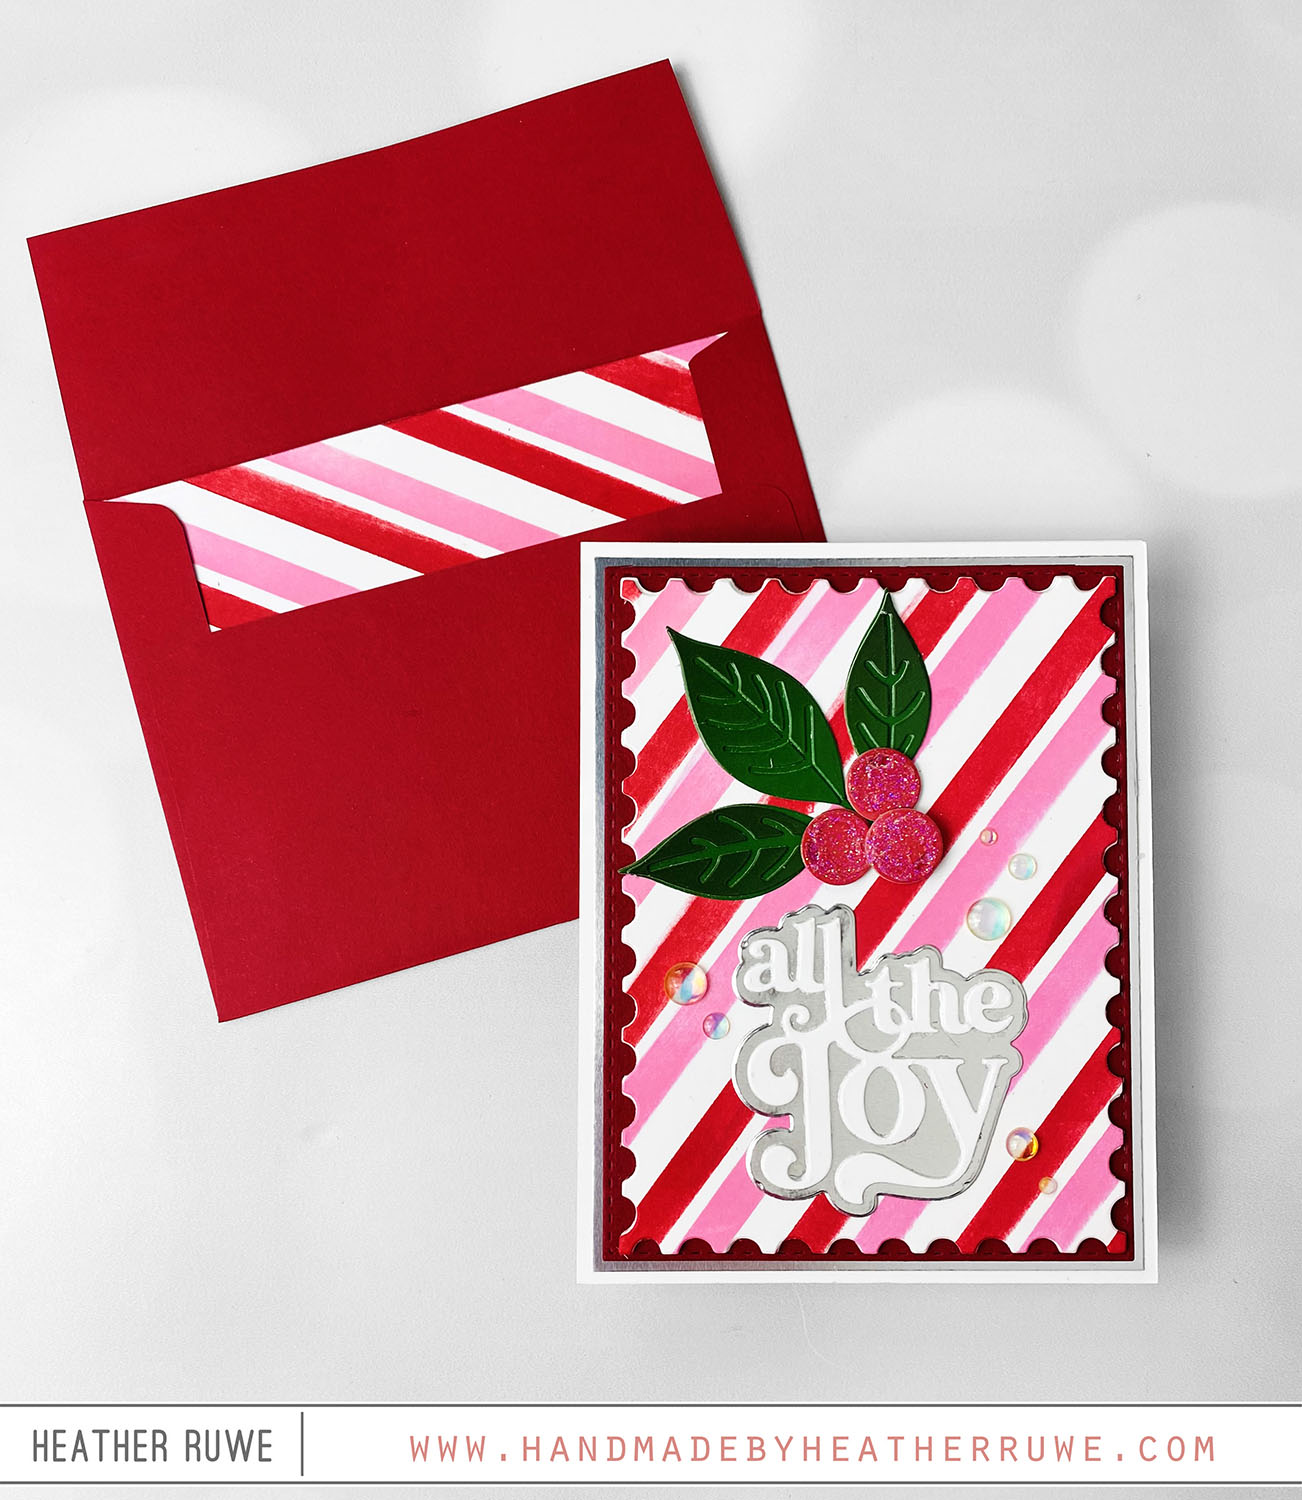
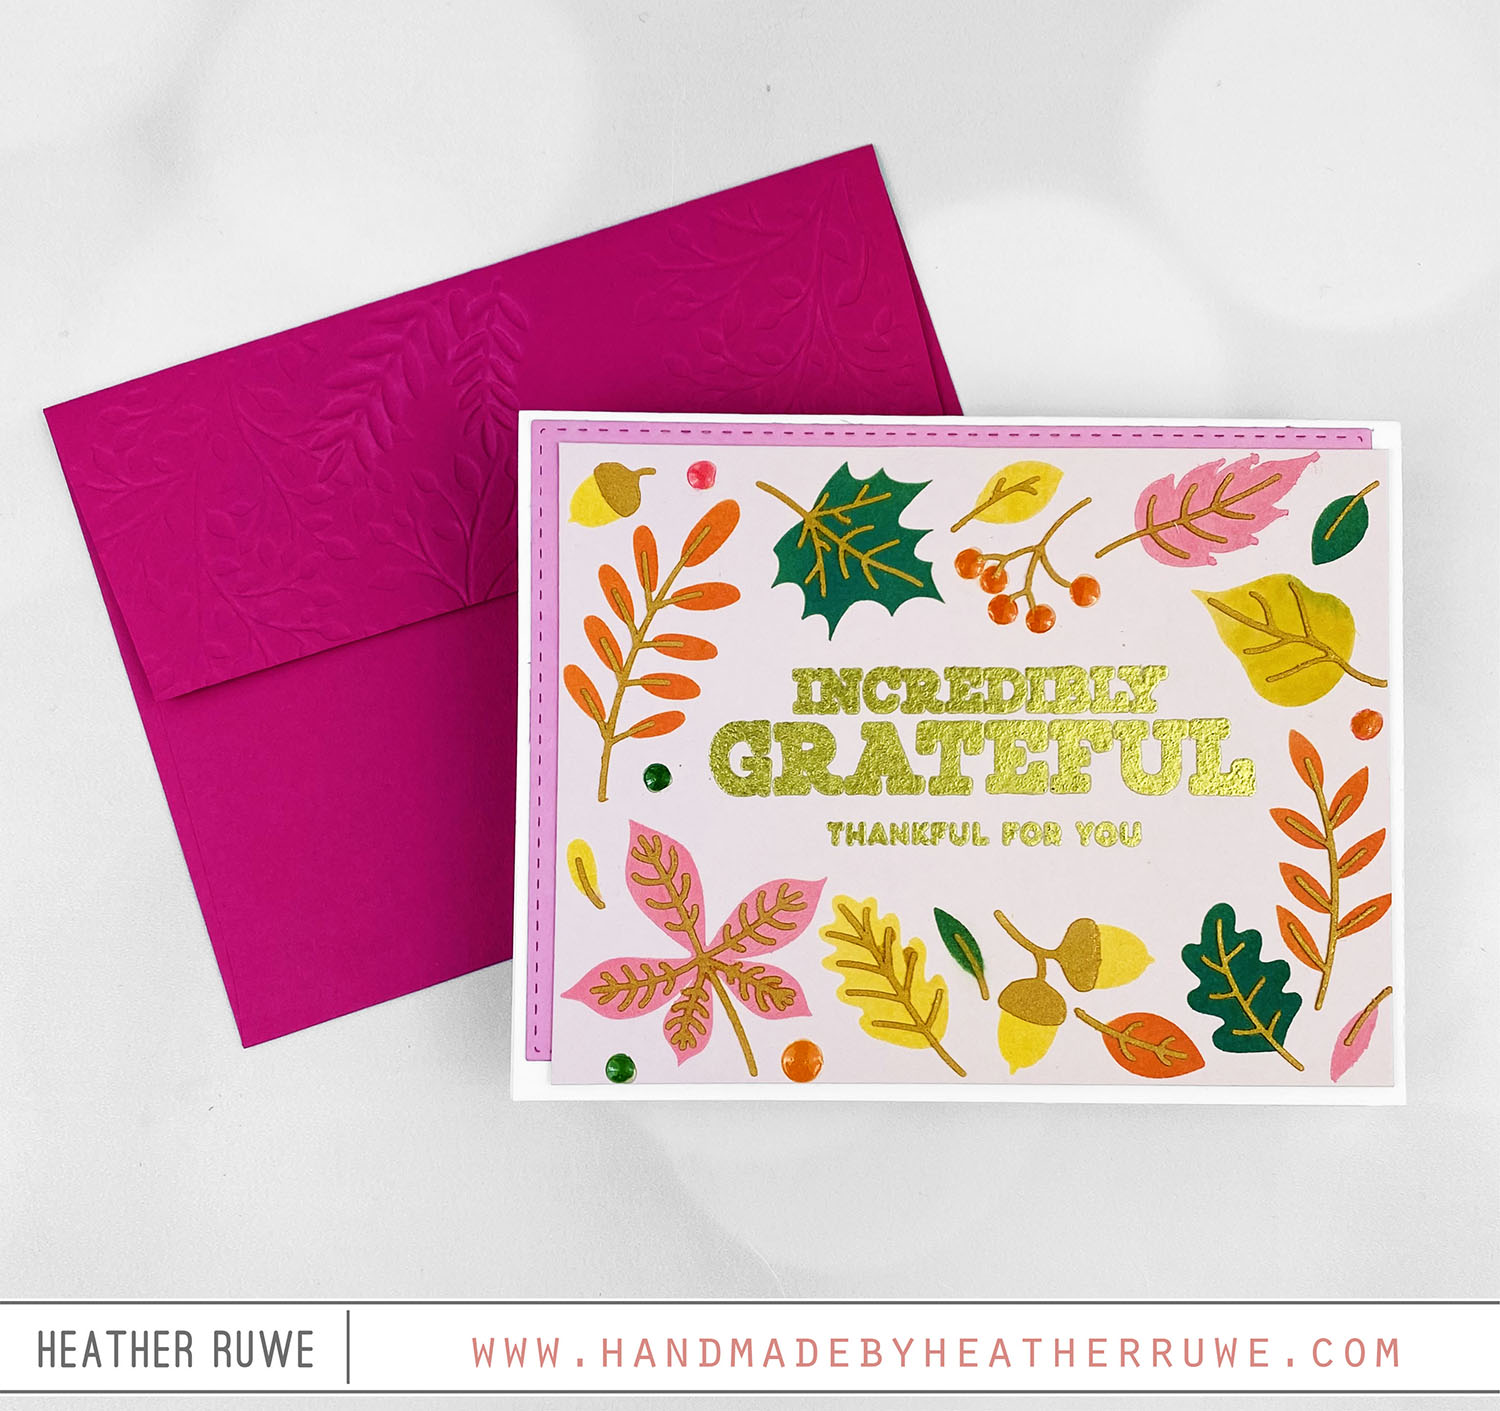
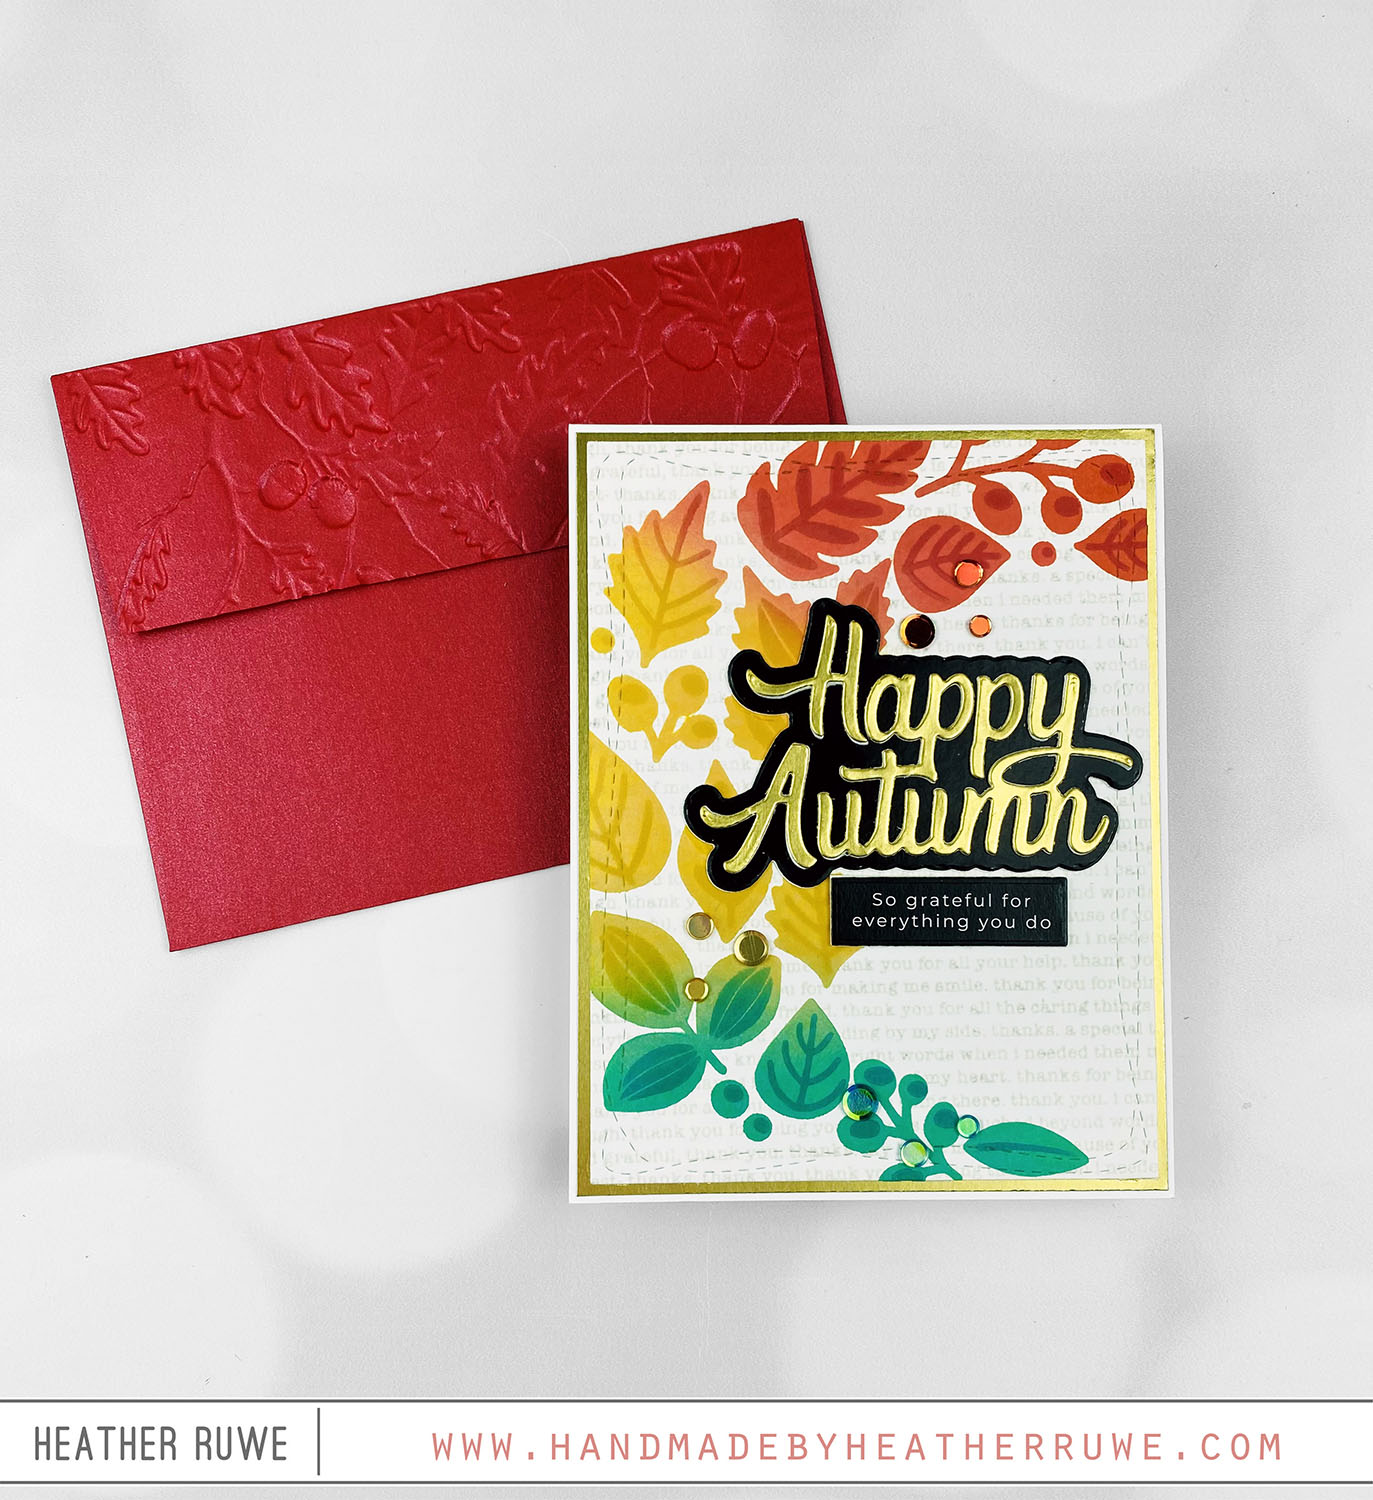
Hello again, crafty friends. Today’s card features products from THIS new release from Simon Says Stamp… To create this card, I applied ink through THESE stencils to create a striped background and used THIS die to cut it out. I added a red mat cut with THIS die behind it as well as a silver matte. I adhered the entire piece to a top folding white note card. I die cut THIS die from...

Halloween Treat Tags

Happy Halloween, crafty friends! I wanted to share the tags I created for the treat bags I created for the kids at my son’s school… To create these cards, I stamped the image and sentiments from THIS stamp set on a tag created from THIS die. I cut the tag reinforcer from orange cardstock and colored in the teeth and eyes with a white gel pen. I colored in the screws with a silver...

Layering Stencils with Embossing Paste

Hello there, crafty friends. Today’s card share features using embossing paste with layering stencils… For the background, I applied paste through THESE stencils. I used THIS opaque paste and colored it with Distress Oxide Inks. I applied the colored paste through the first stencil layer, let that dry, then did the second layer, let that dry, and continued that until all four layers were complete. I added a black mat using THIS black glossy...

Drop The Mic Card Set

Hello there, crafty friends. I’m always looking to have cards on hand to give out to family and friends celebrating their accomplishments… To create these cards, I stamped The layers of THIS stamp set with yellow and black ink on a panel cut with THIS die. I stamped a coordinating sentiment from the same stamp set underneath the main image. I cut a white cardstock panel the same size as the die cut panel...

Cozy Autumn Hugs Card Kit Inspiration

Hello there, crafty friends. I’m back with more inspiration using THIS card kit from Simon Says Stamp… To create this card, I applied Distress Oxide ink through the kit’s layering stencils to create a fall frame on a piece of light pink cardstock. For the second layer, I applied THIS texture paste to add some dimension. I gold heat embossed the sentiment from the kit’s stamp set in the center. I adhered down the...

Happy Mail Kit Gift Idea

Hello there, crafty friends. I just got back from a craft retreat weekend with friends and I wanted to share the gift I gave during our gift exchange. It’s a fun gift idea for a fellow card maker. It’s a Happy Mail Kit filled with items that you need to mail out cards… I started with one of THESE Mesh Zipper Bags. I had my friend, Kelly, cut vinyl lettering on her silhouette (the...

Cozy Autumn Hugs Card Kit

Hello there, crafty friend. Today’s card features THIS new card kit from Simon Says Stamp… I started by die cutting THIS die three times from kraft cardstock and adhered the layers together. I adhered the entire piece to a top folding note card. I die cut the pattern paper from the kit using the same die and adhered the patterned papers inside the squares. I love the quilt look it gives… I gold heat...

Look for the Rainbows Encouragement Card

Hi, crafty friends. One of my favorite types of cards to make is encouragement cards. I believe a card can put a smile on the face of someone who is going through a hard time. I like to make them bright and happy… To create these cards, I stamped the unicorn image from THIS stamp set on the bottom of an A2 white panel. The grass didn’t go all the way across like I...

Season of Wonder Release Blog Hop-Day 2

Hi, crafty friends. I’m thrilled to be part of Day 2 of THIS Blog Hop celebrating THIS new release. I have an Autumn themed card to share today… First, I stamped THIS text background with a light ink on a white panel and die cut it with THIS die. Next, I applied Distress Oxide ink through THIS stencils. I started with a lighter ink color through the first stencil layer and then added a...

Boo Card

Hello, crafty friends. I’m back with more inspiration from THIS new release… I started by spritzing THIS on a piece of THIS watercolor cardstock. Once it was dry, I applied THIS texture paste through one of THESE layering stencils. Once that layer was dry, I applied THIS texture paste (that I tinted with THIS paint) through the other layering stencil in the set to add the eyes and stars. Once that was dry, I...