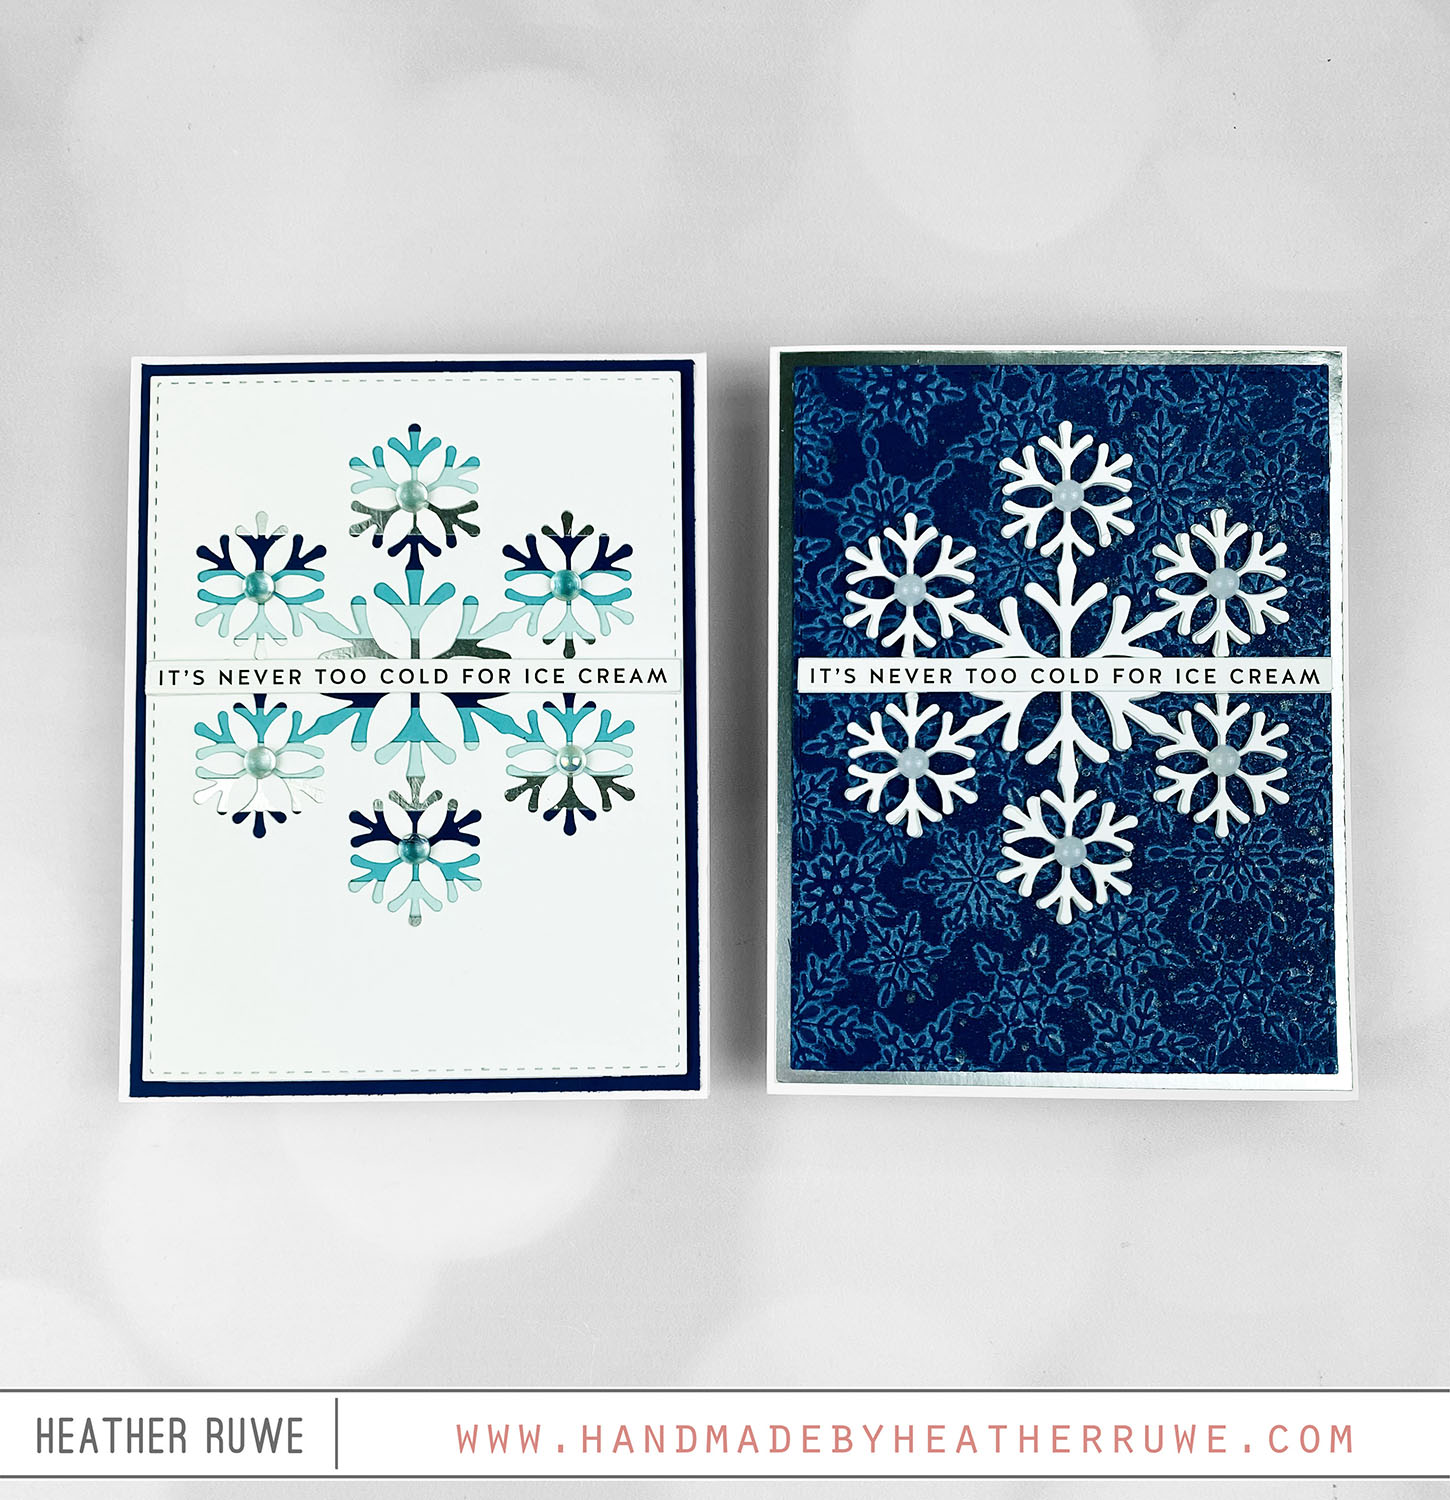
Howdy, crafty friends. Recently, I took THIS class from Online Card Classes and made a bunch of backgrounds. I put two of those backgrounds to use today. For the first card… I applied white ink to the smooth side of THIS embossing folder and embossed it on a piece of A2 navy cardstock. I spritzed it with THIS for some sparkle and shine and added a mat around it using THIS specialty paper. I...
Mix and Match Butterflies Card Kit
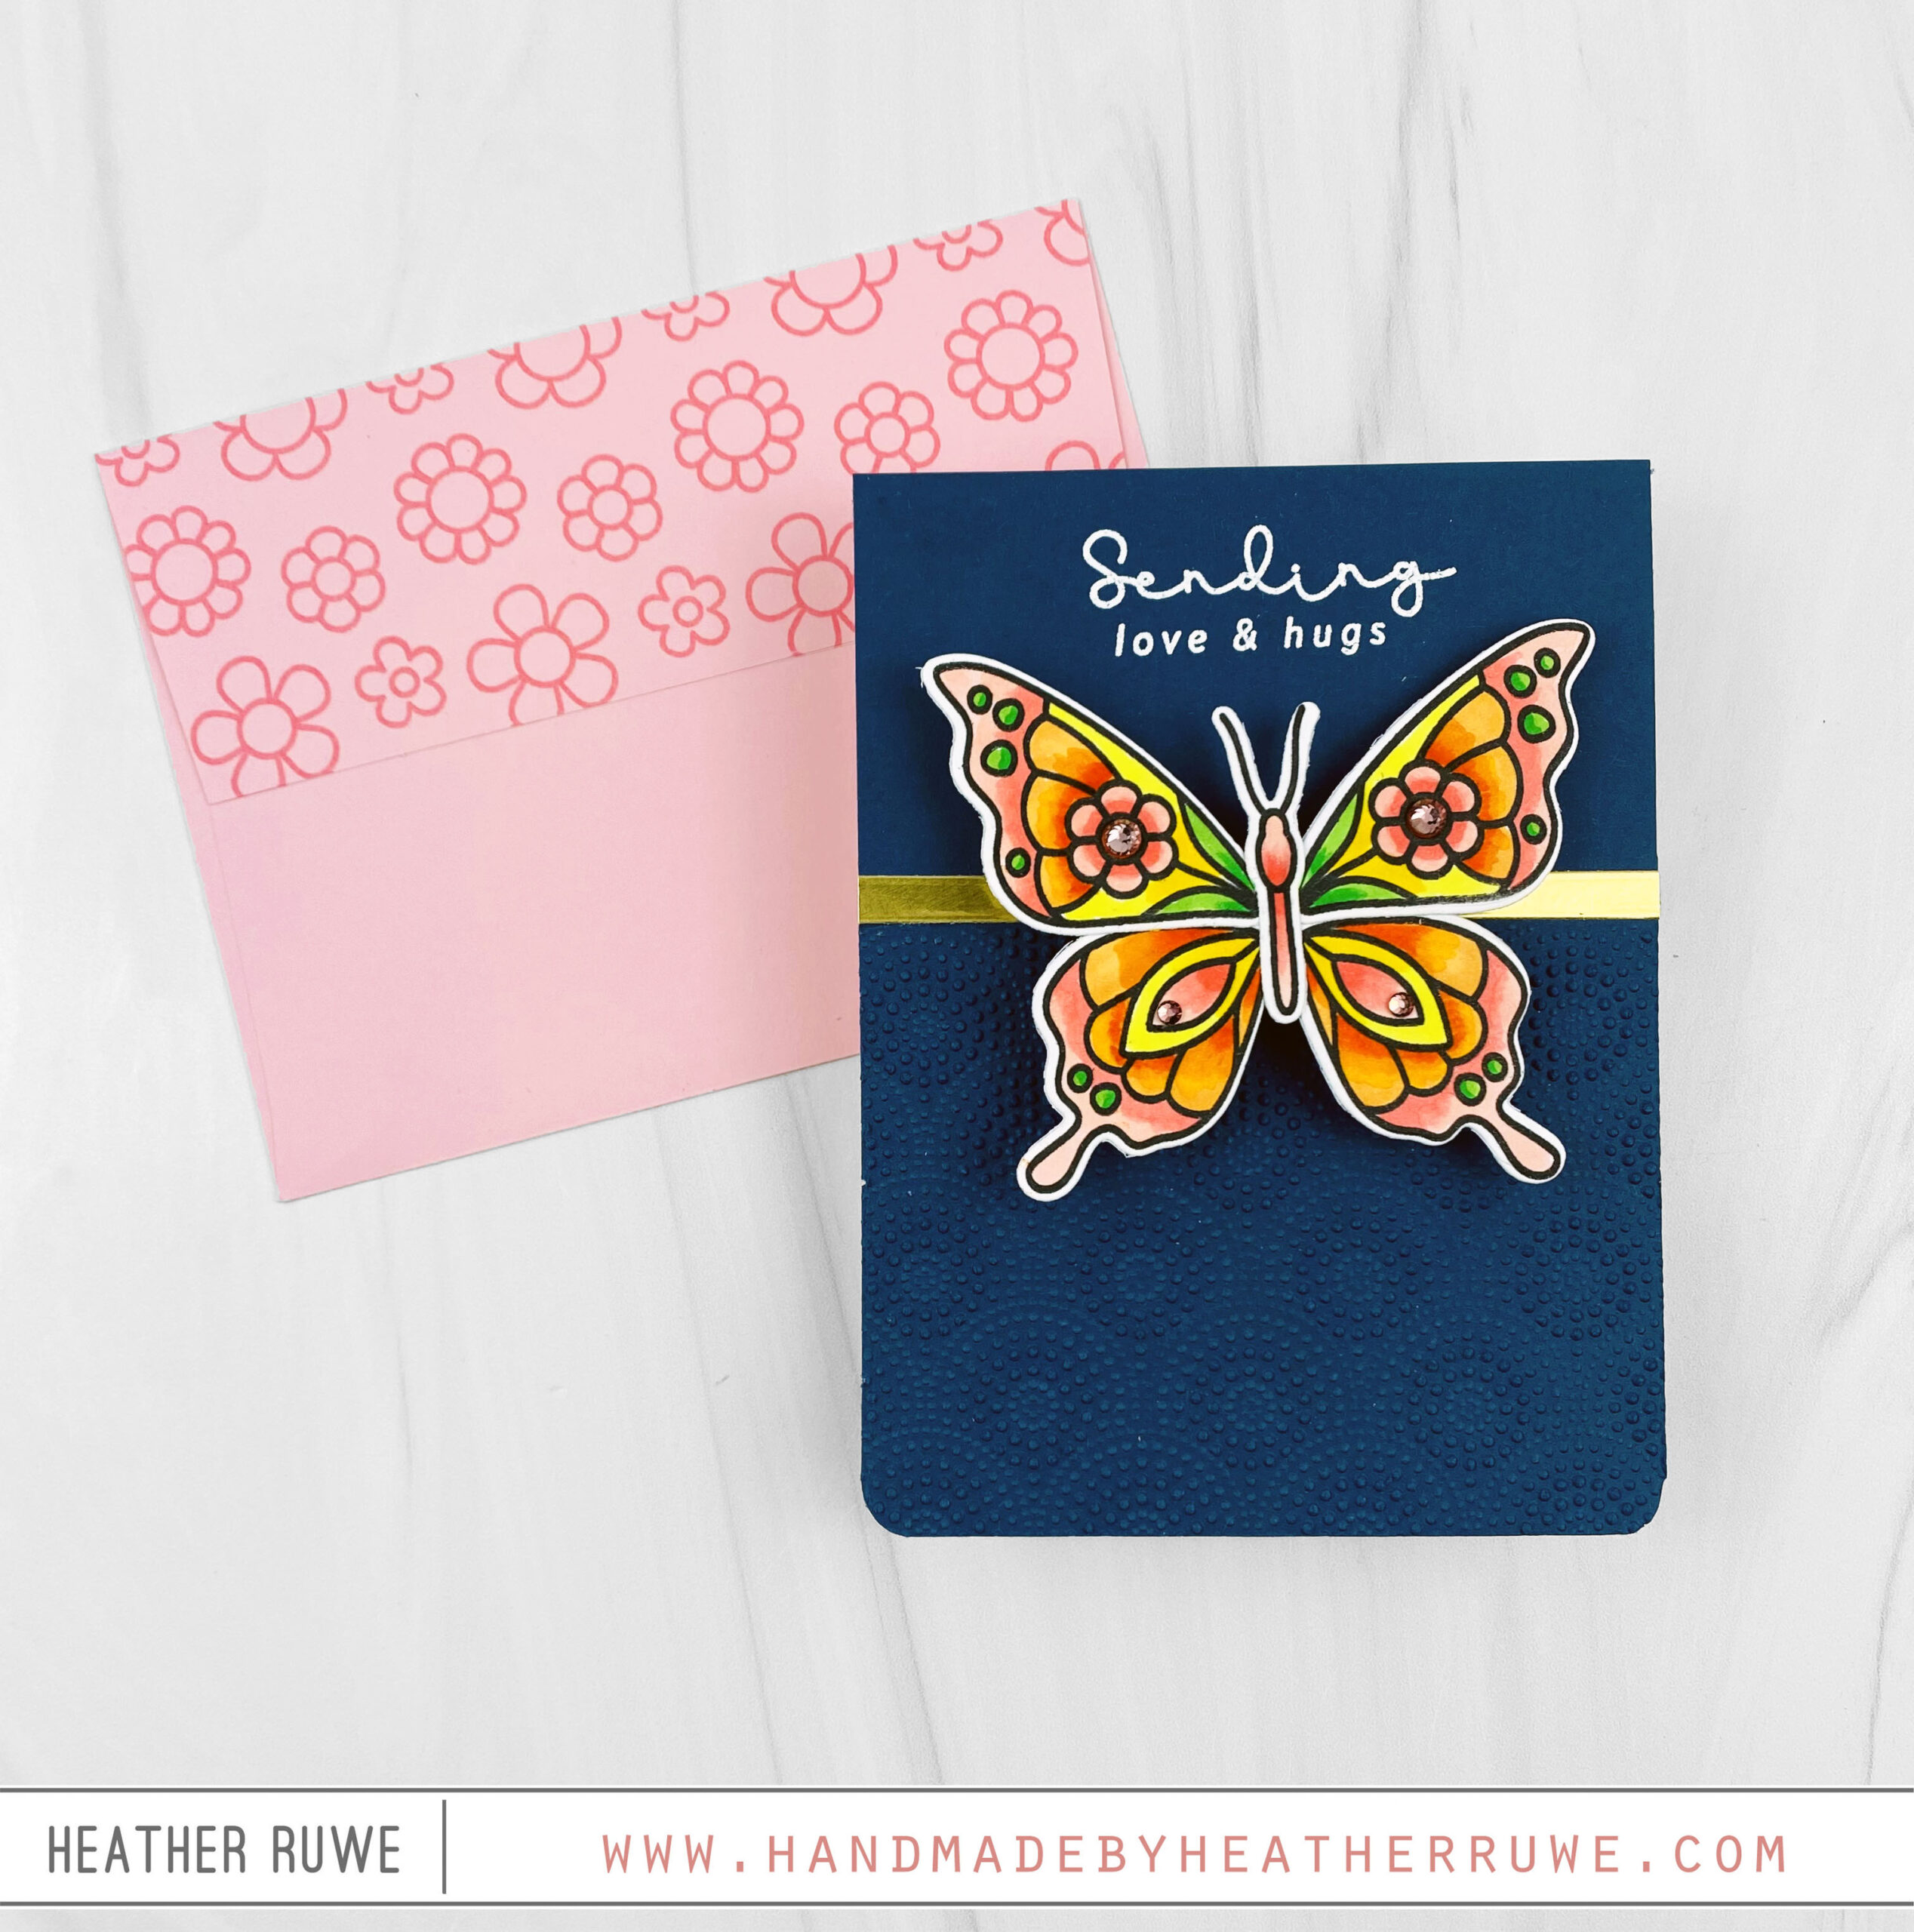
Hi, crafty friends. Today’s card features THIS new card kit… I started by stamping the butterfly image from the kit’s stamp set. I colored it with Copic Markers and used the coordinating dies to cut it out. I added a few gems from the kit to the butterfly design to add some sparkle and shine. For the background I embossed the kit’s embossing folder on the bottom half of a navy A2 panel. I...
Splendor Release Blog Hop Day 2-St. Patrick’s Day Tag
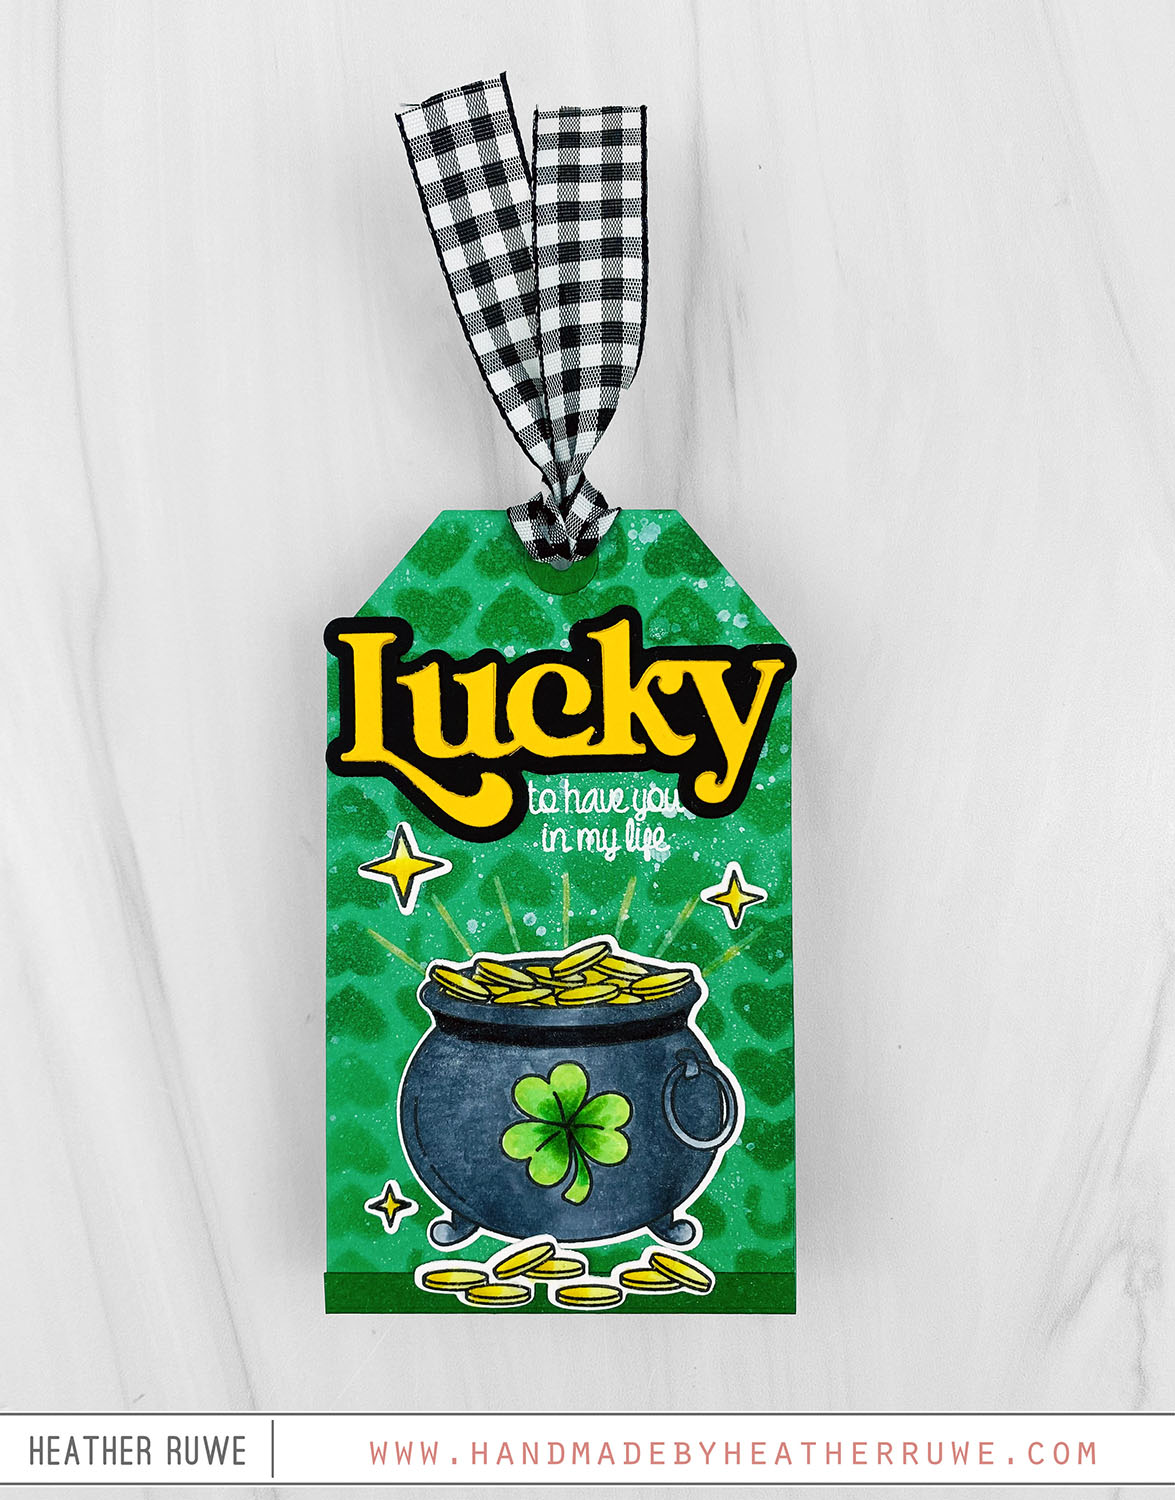
Hi, crafty friends. Today’s project is part of THIS Blog Hop celebrating THIS new release. I have a St. Patrick’s Tag to share featuring some of the new products… I started by creating the background. First, I applied green ink through THIS stencil on a tag cut with THIS die. I spritzed on some of THIS shimmer spray to add some sparkle ands shine. I added a strip of green cardstock along the bottom...
Layering Stencils and Stamps
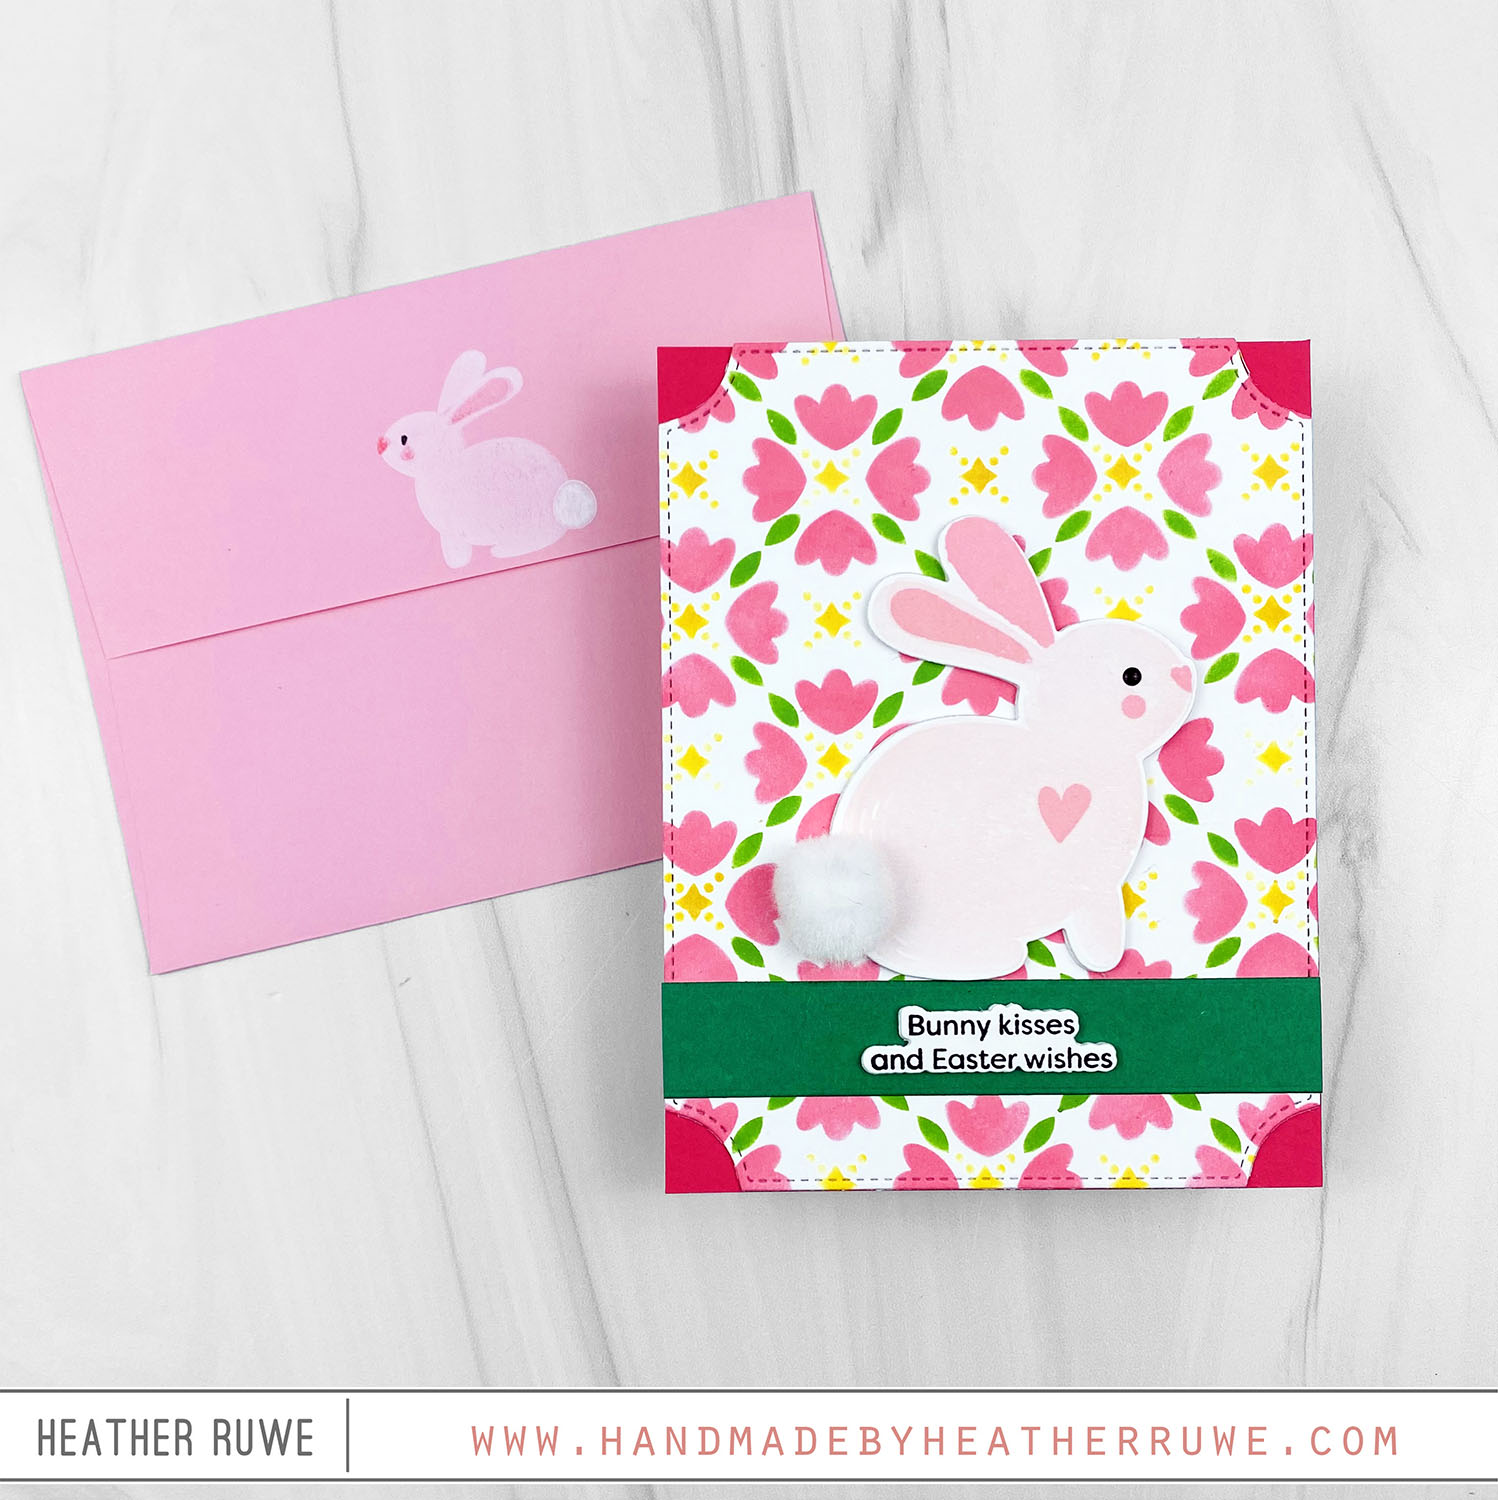
Hello, crafty friends. Today’s card features THIS new release. It also features layering stencils and stamps, which I’m loving lately… To create this card, I stenciled THESE layering stencils on a white panel. I die cut it using an older stitched die and adhered it to a pink note card. Next, I stamped the layers of THIS bunny image on white cardstock and adhered it on the stenciled background. I added a strip of...
Easter Treat Bags + Video
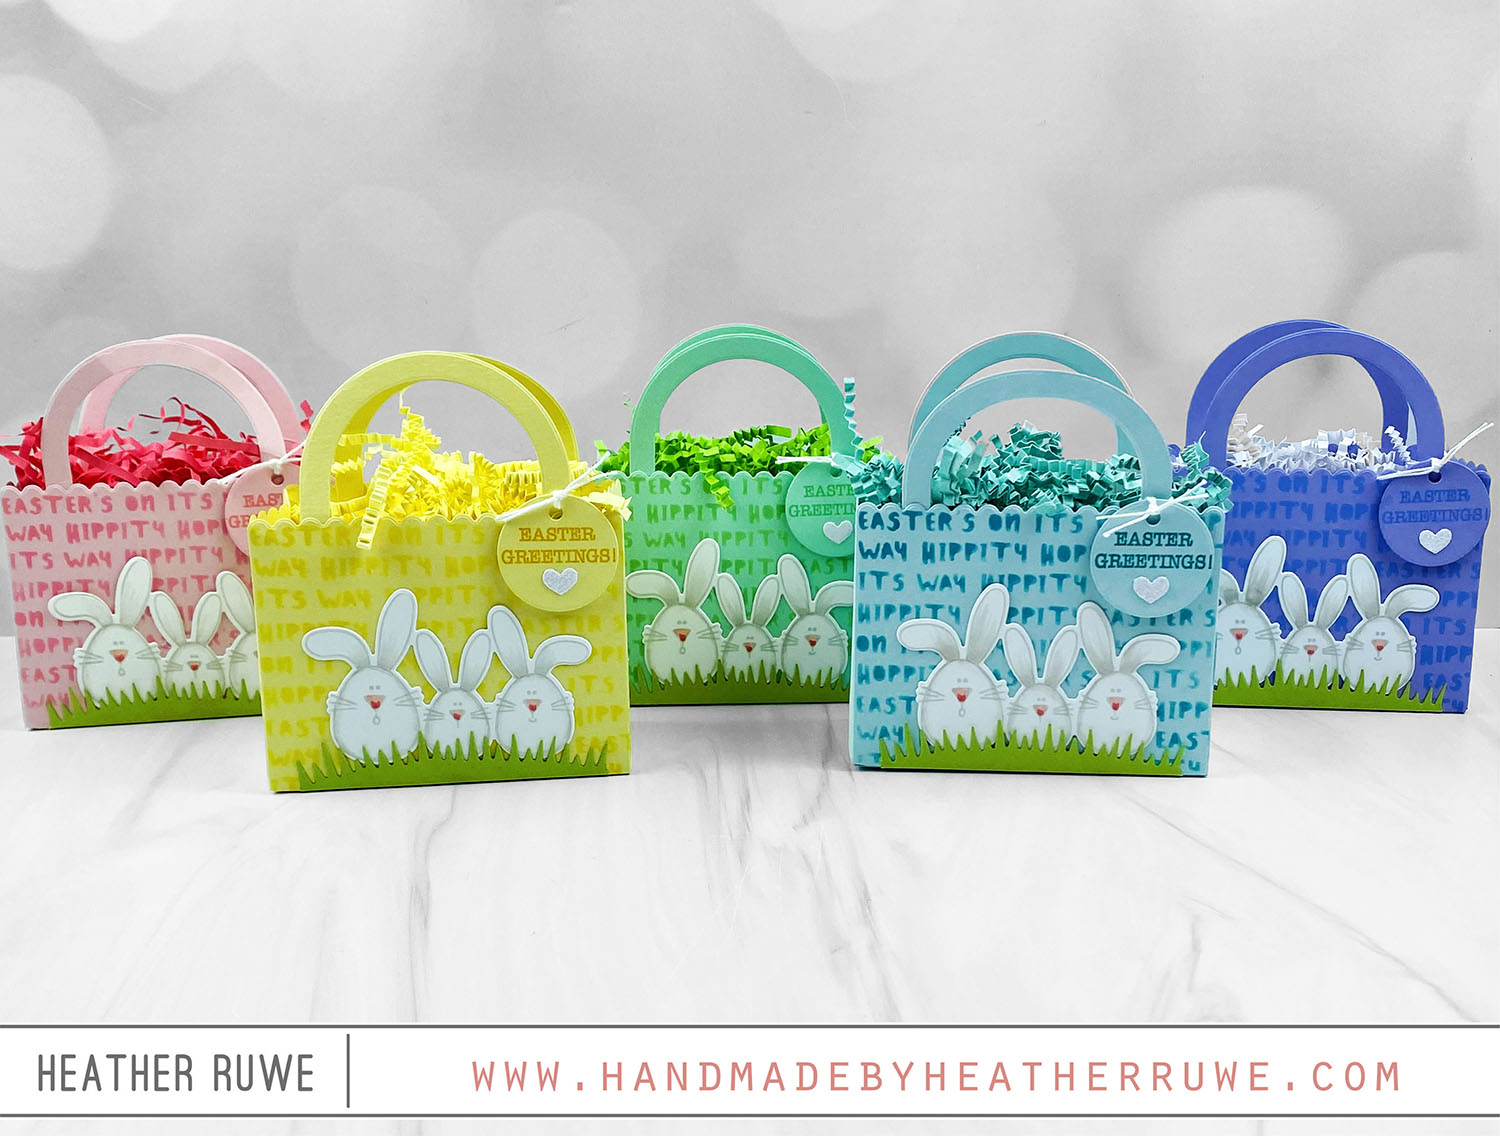
Hello, crafty friends. Today’s project Features THIS new release from Simon Says Stamp. ‘ VIDEO You can watch the video on how these treat bags came together HERE or click on the video below. To create the bag, I started with THIS gift bag die. I cut the bag portion and the handle die twice from pink cardstock. I laid one of the bag portions on THIS Grip Mat and used some low tac...
Valentine’s Day Shaker Tags
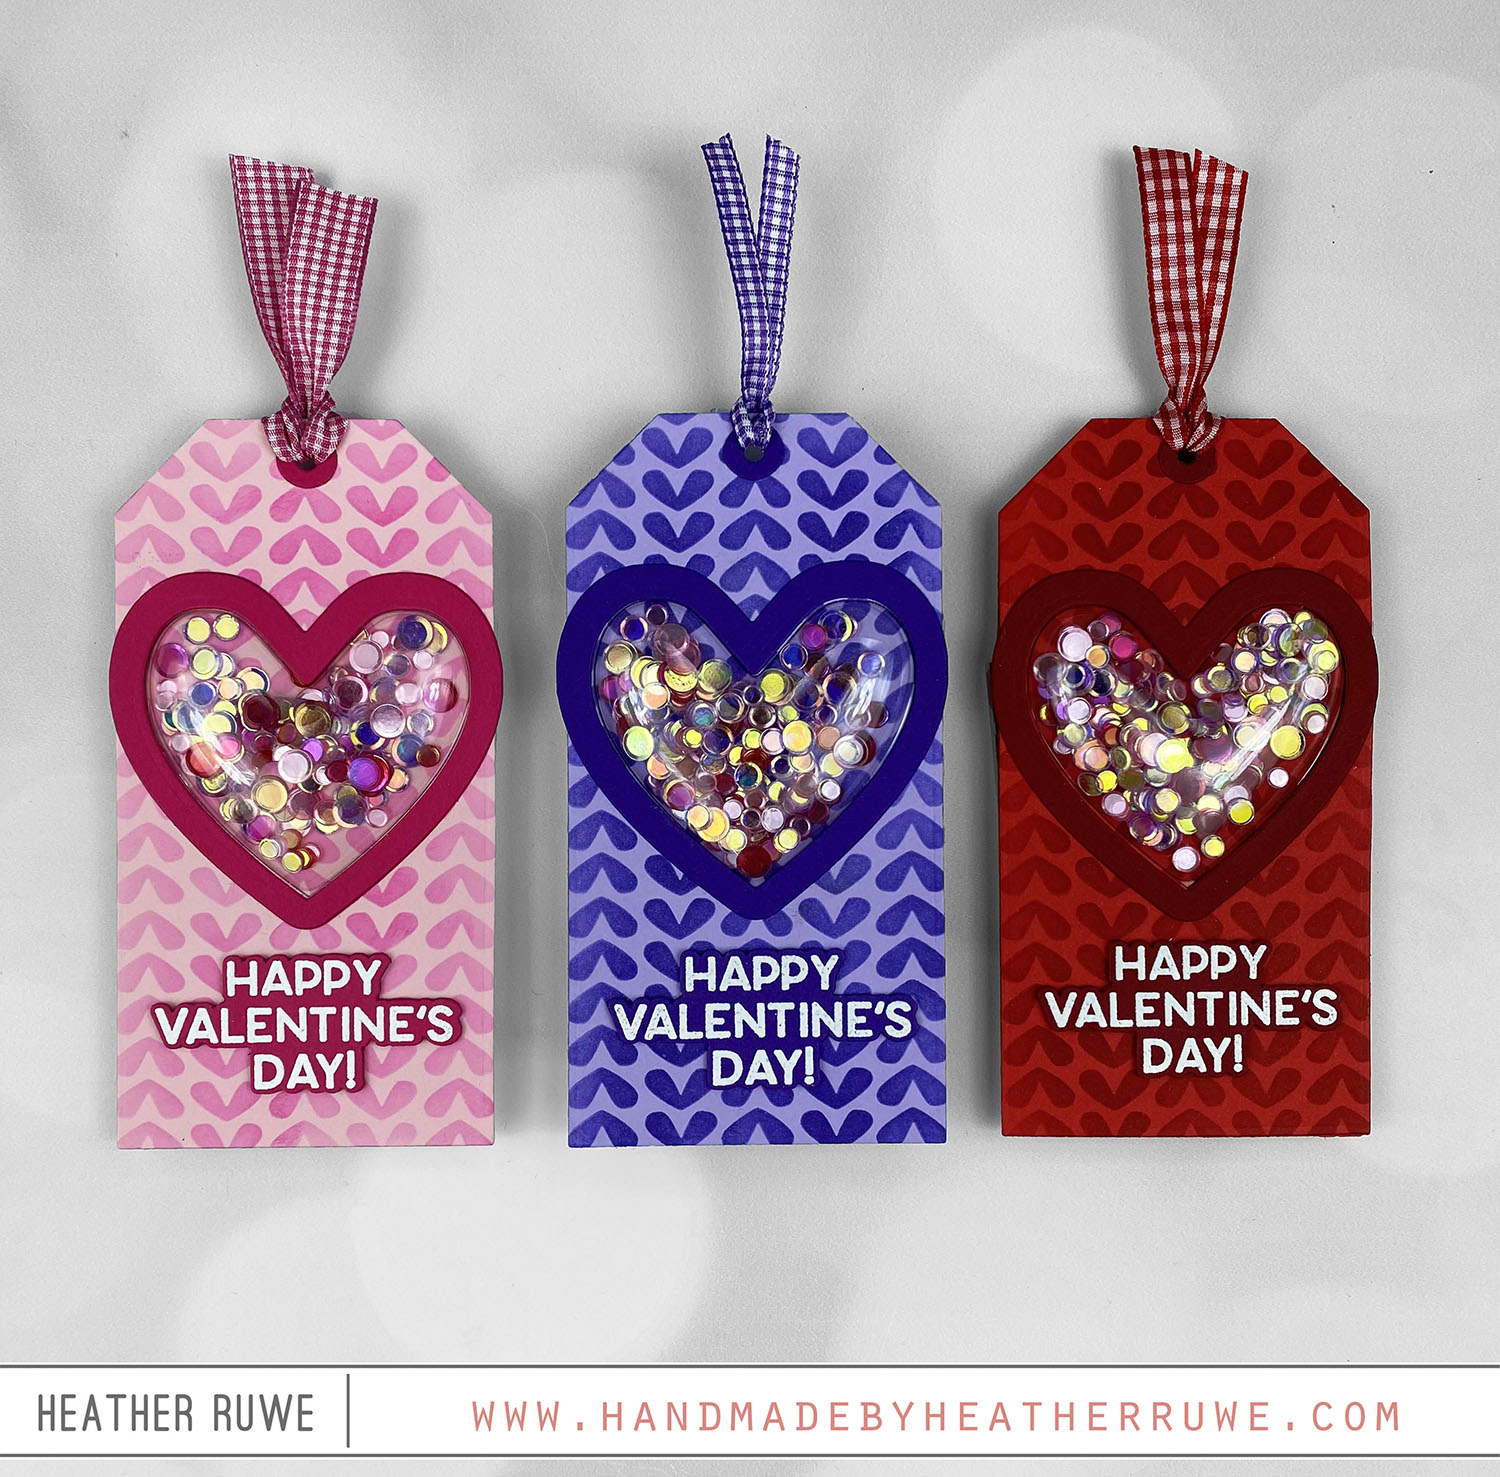
Hi, crafty friends. I thought I’d share the Valentine’s Day tags I created to attach to gifts for my son’s teachers… To create these tags, I die cut the tags from a few colors of cardstock. I cut two for each color, one for the front and one for the back. On the front tag, I applied a coordinating ink color through THIS stencil. I die cut THIS die from the tag. I adhered...
Mini Slimline Valentine’s Day Card
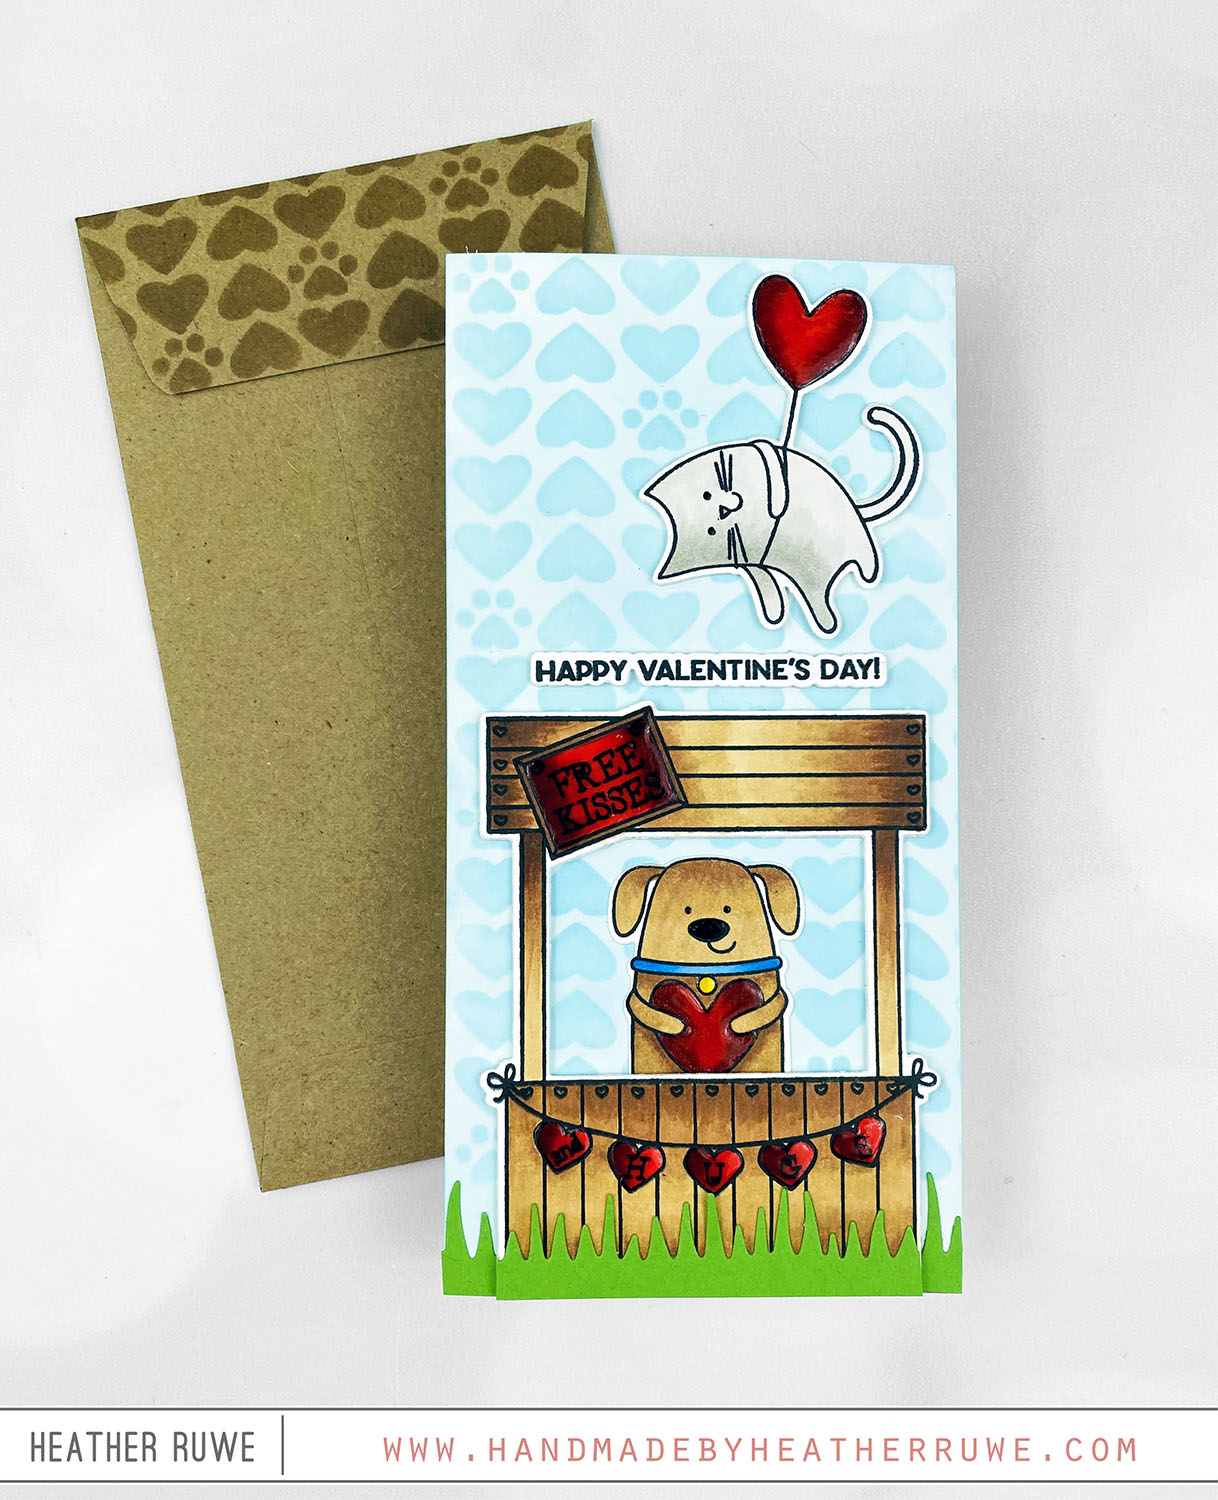
Howdy, crafty friends. I have a mini slimline Valentine’s Day themed card to share today… To create this card, I applied ink through THIS stencil on the front of THIS mini slimline card base. I also lightly ink blended the same color on top to add color to the background. I stamped and colored the image from THIS stamp set with Copic Markers and used THESE dies to cut it out. I also stamped...
New Tim Holtz-Exclusive Love Notes Bundle
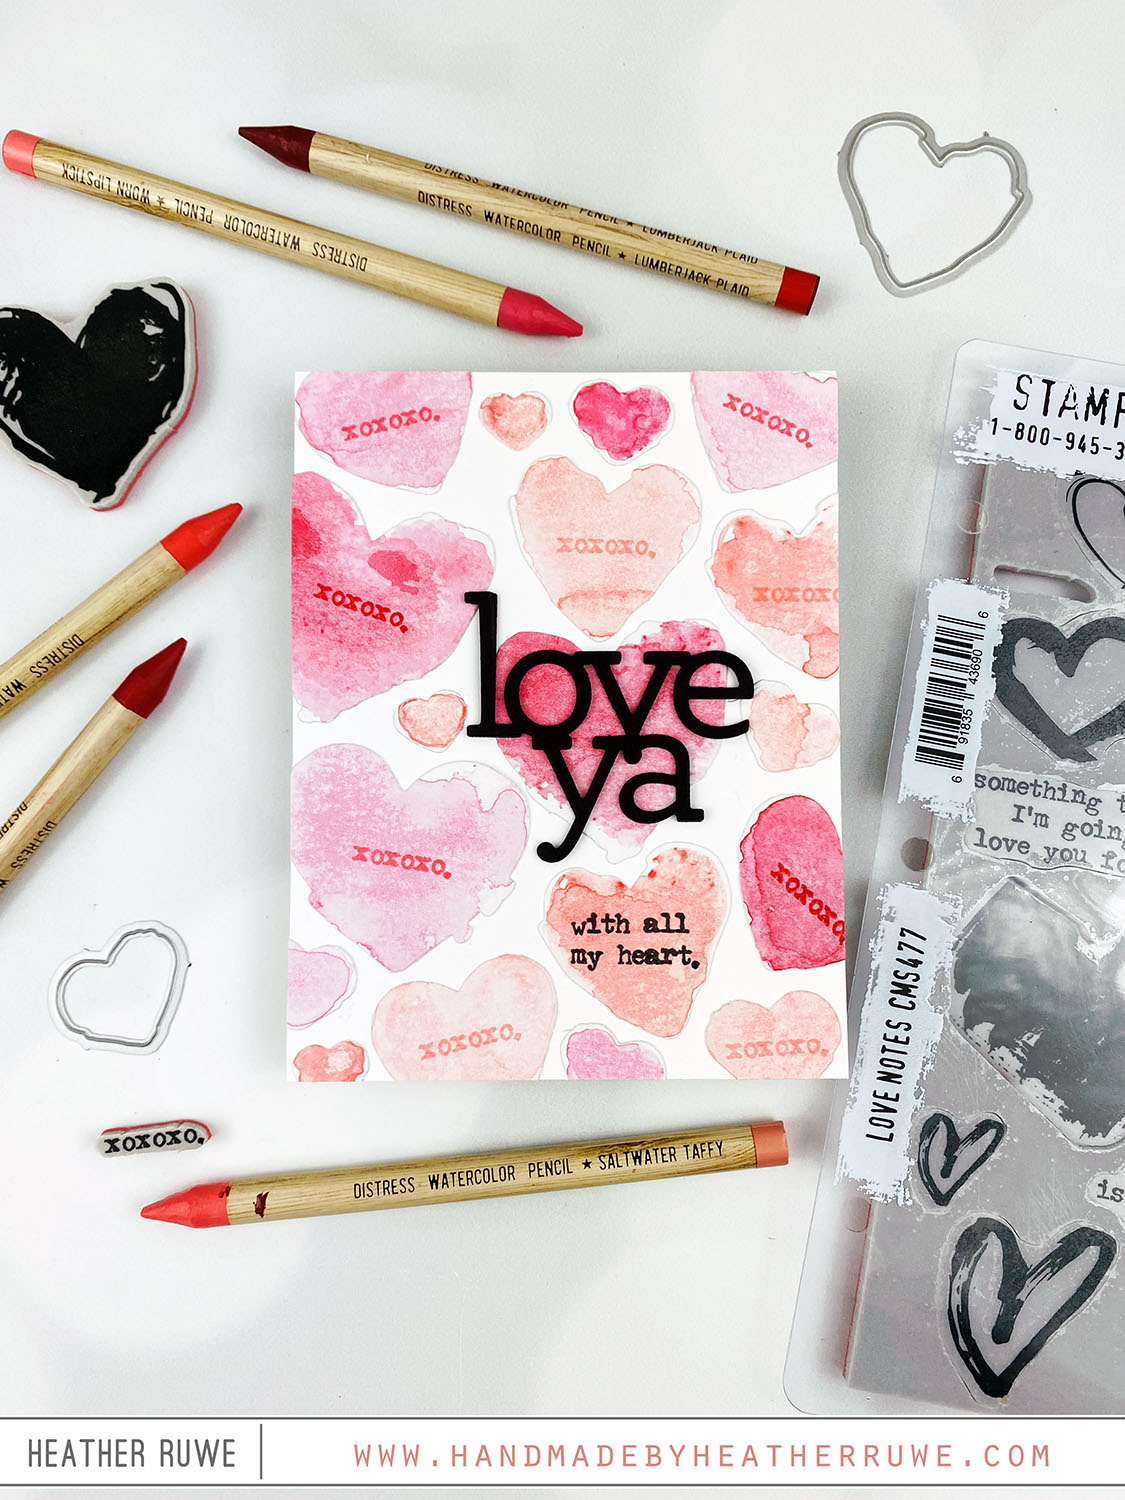
Hello there, crafty friends. Today’s card features THIS new exclusive stamp and die bundle from Tim Holtz and Simon Says Stamp… To create this card, I started by wetting the pinks and reds from THESE, THESE, and THESE Distress Watercolor Pencils and scribbling on the heart stamps from THIS stamp set bundle. I spritzed with water and then stamped on THIS watercolor cardstock. I used the coordinating dies from the set to cut out...
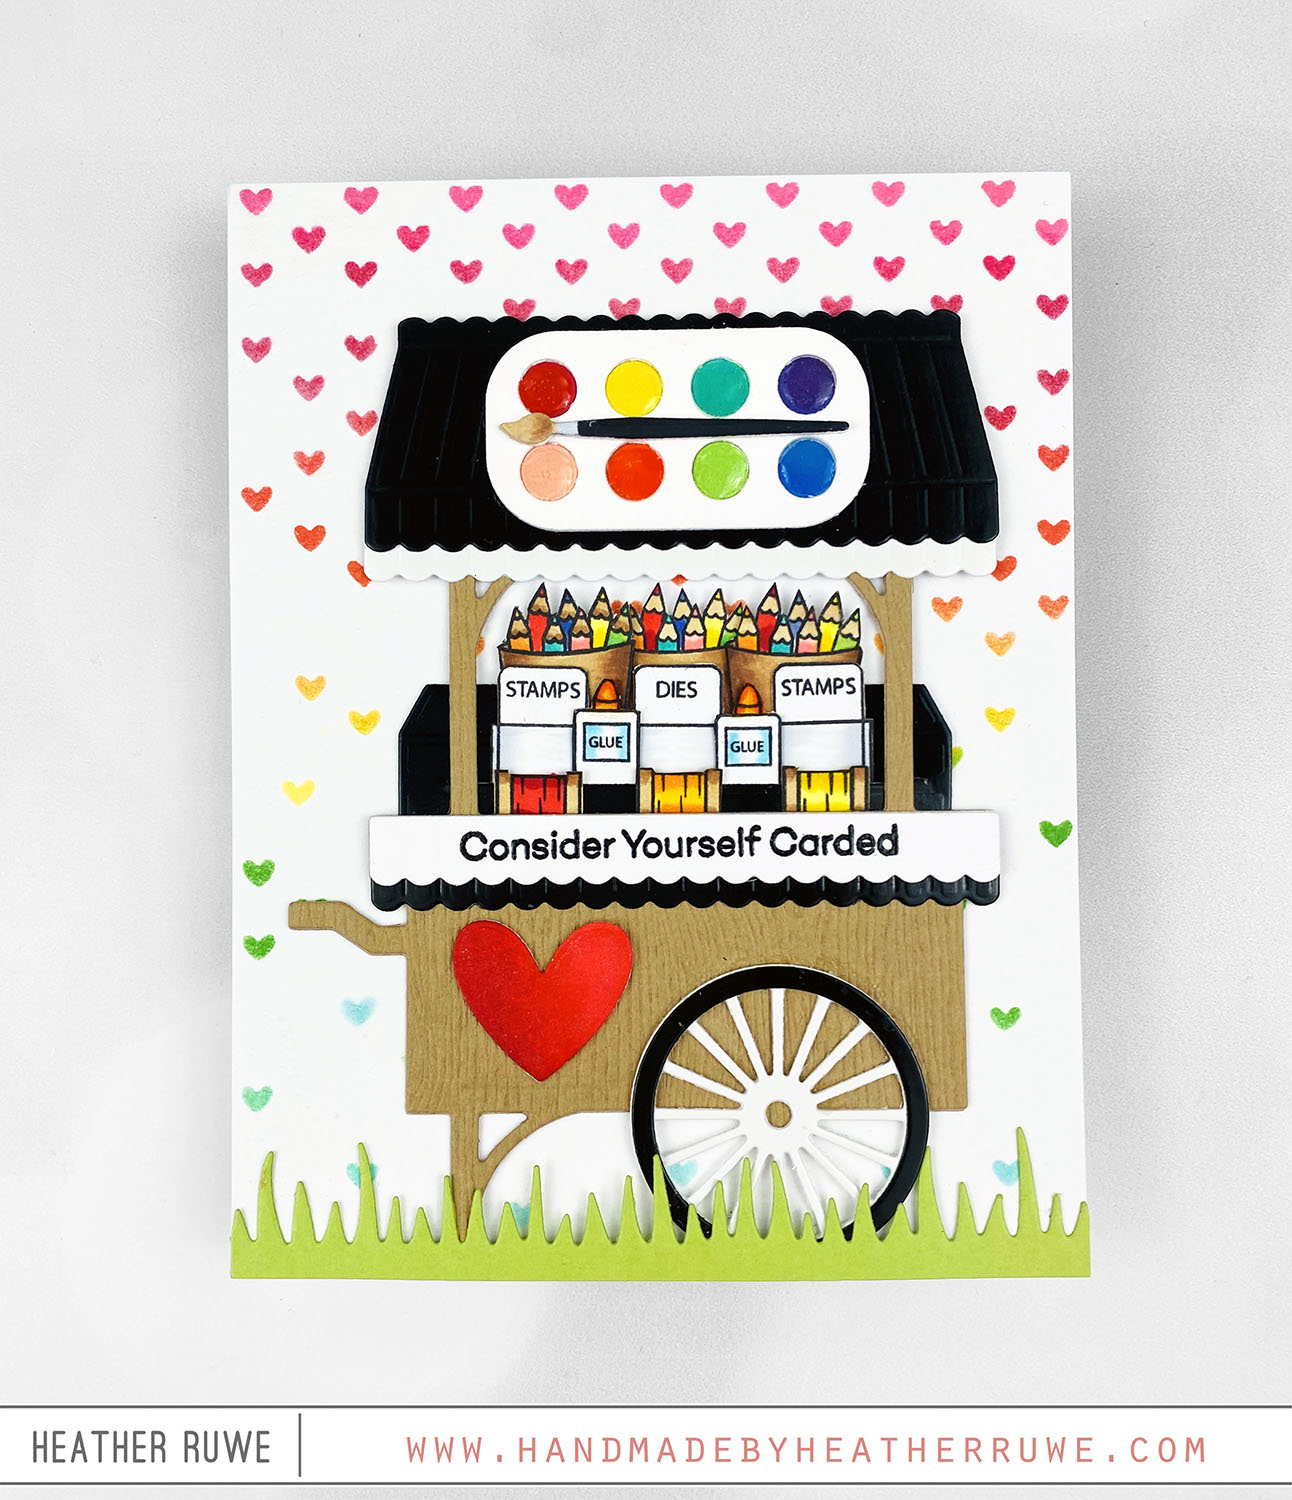
Stretching your Supplies: Crafty Cart Card
Hi there, crafty friends. Today’s card was so fun to make. What crafter wouldn’t love shopping at this crafty cart!? I started by creating the background. I applied a rainbow of inks through THIS stencil on a piece of white cardstock. I die cut THIS cart from black and white glossy cardstock and woodgrain cardstock. I wanted to transform it to a crafty cart. I stamped, Copic colored, and cut out the craft items...
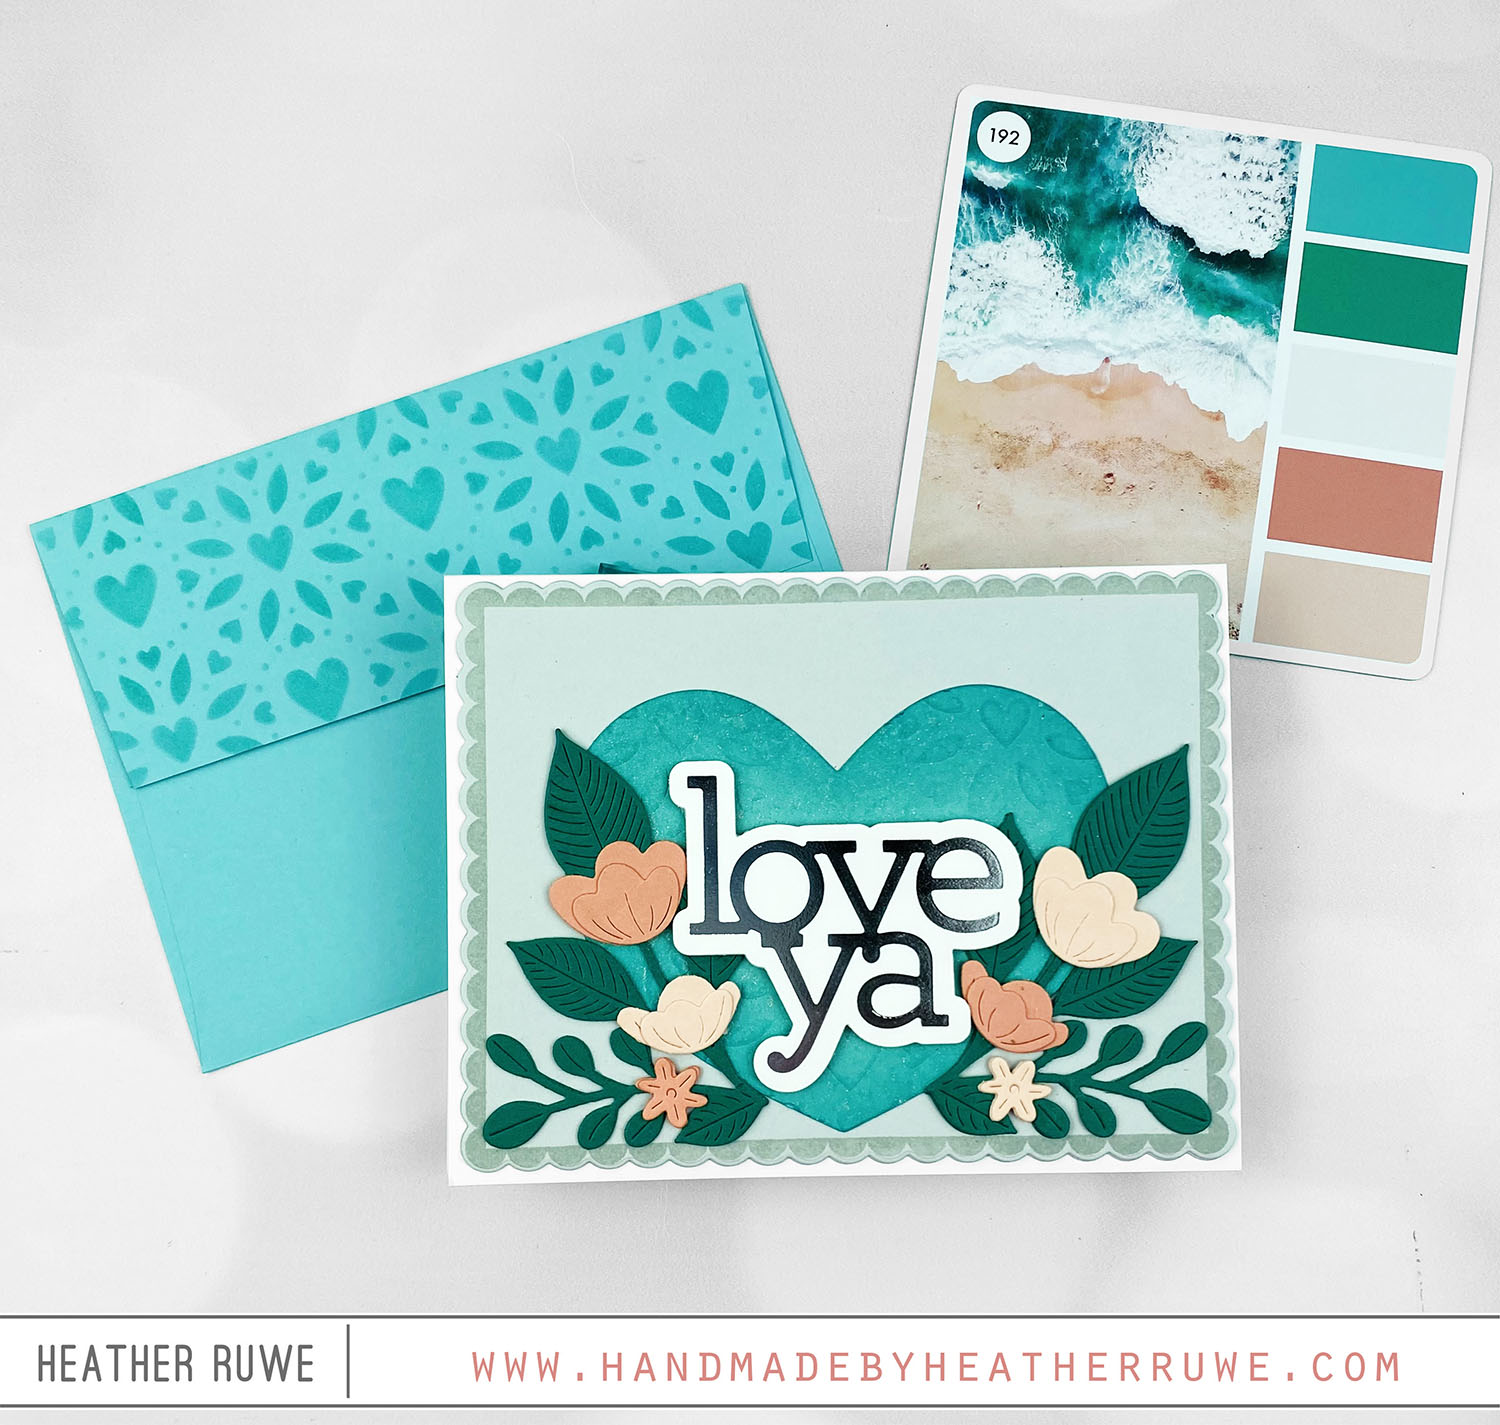
Color Cube Color Combinations
Howdy, crafty friends. I recently shared THIS video talking about how I choose color combinations. Today’s card shares another example of that… To create this card, I cut THESE flower dies and THESE leaves dies from colors of cardstock that matched my Color Cube card. I cut THIS heart die from teal cardstock and ran it through my embossing folder with THIS stencil and THIS embossing mat. This makes an impression of the stencil...

