Color Cube Color Combinations

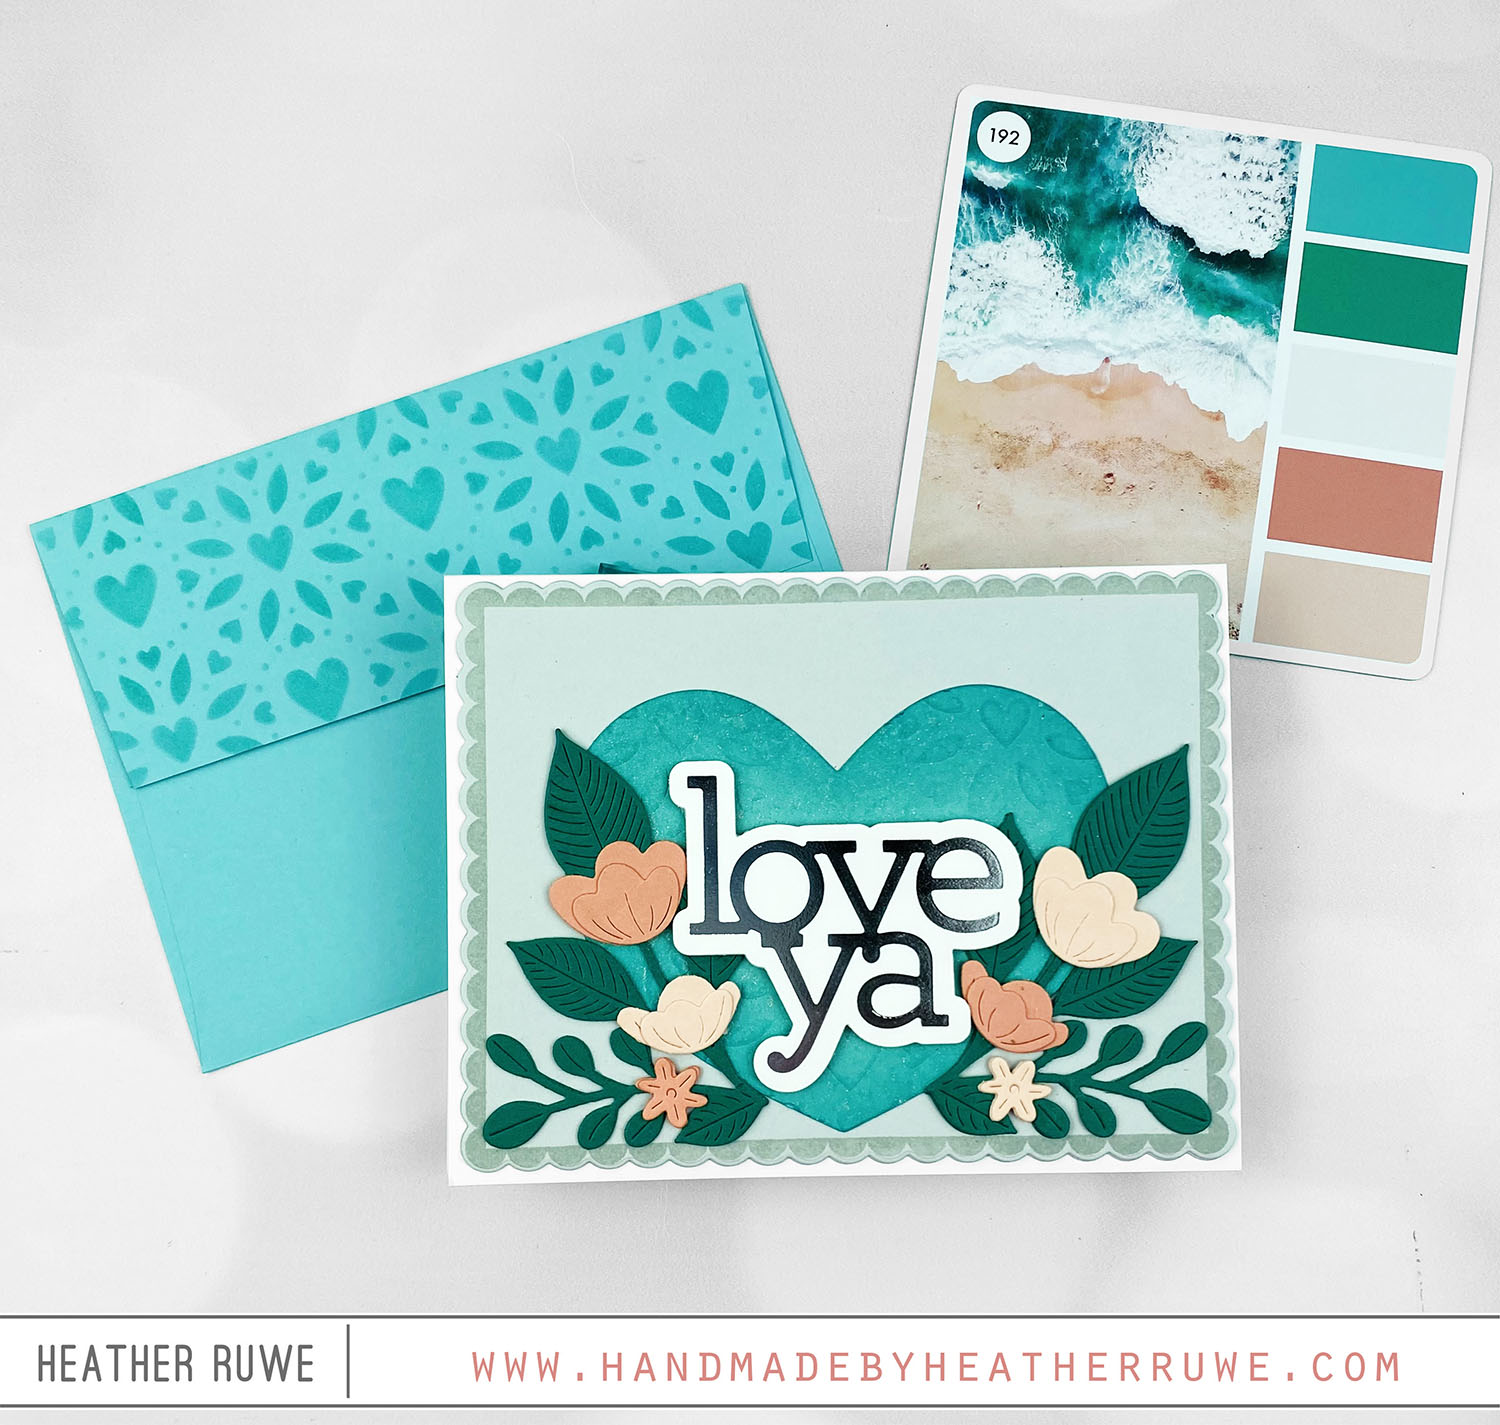
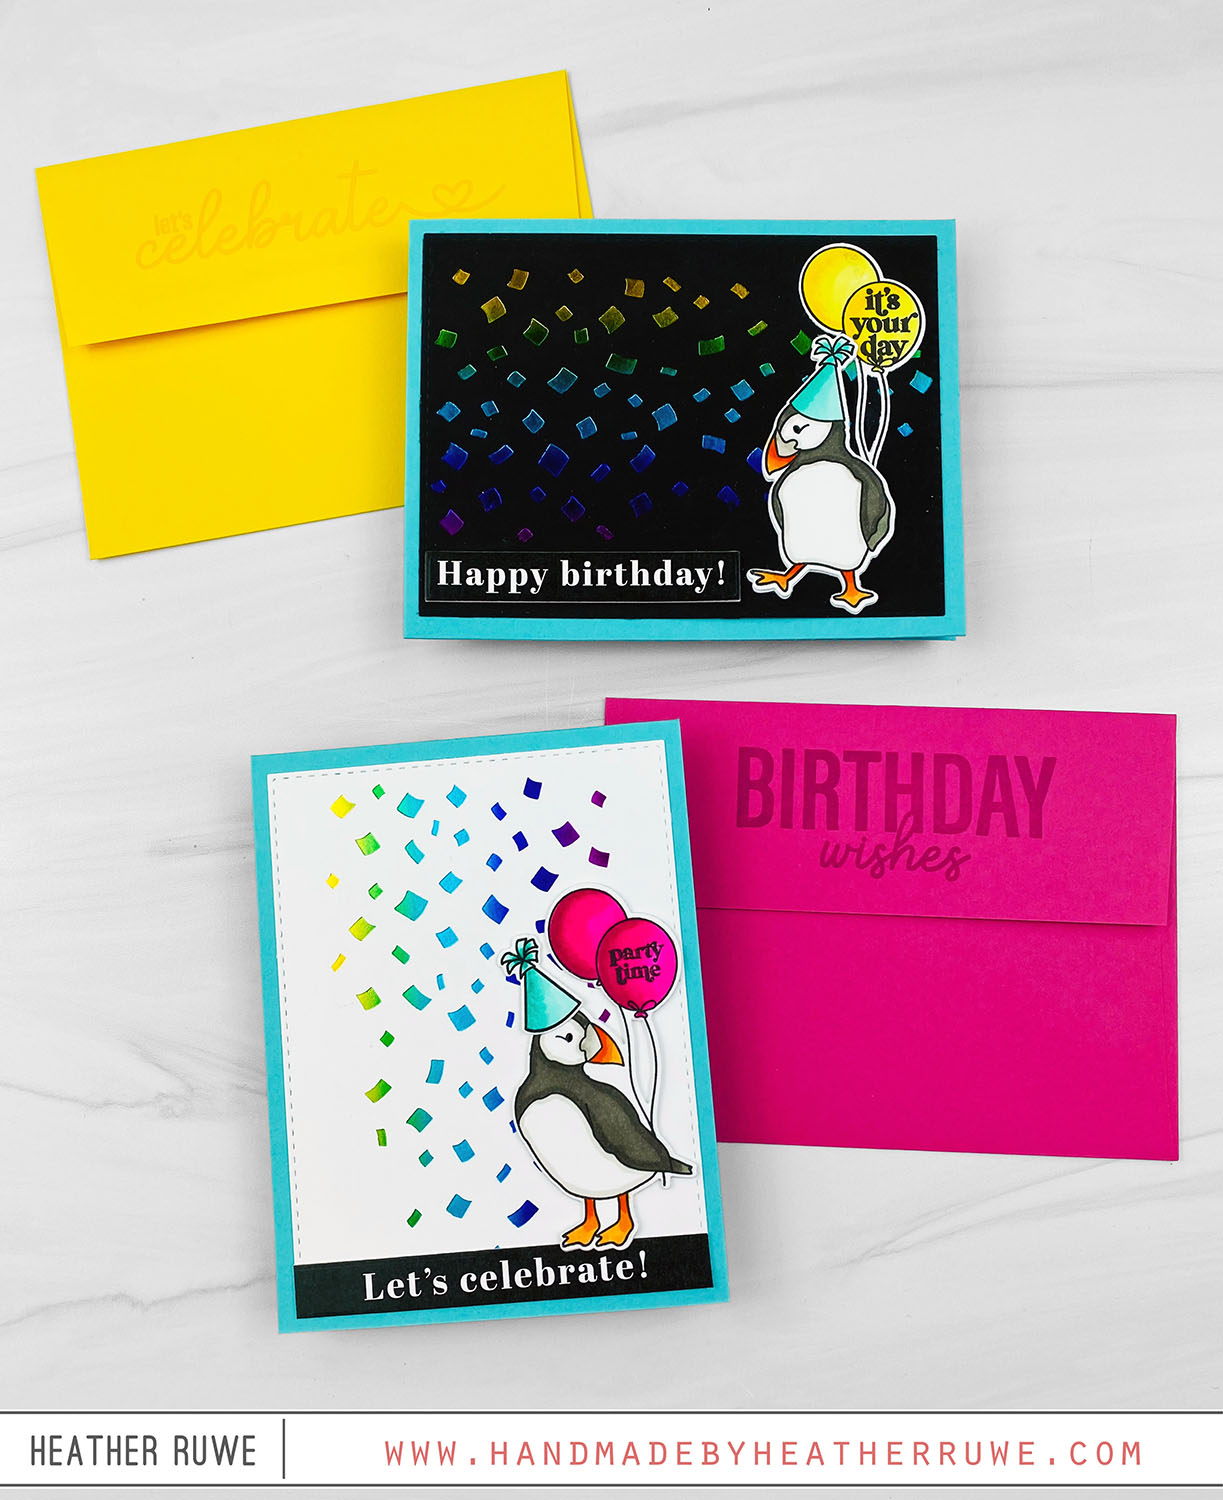
Howdy, crafty friends. I recently shared THIS video talking about how I choose color combinations. Today’s card shares another example of that… To create this card, I cut THESE flower dies and THESE leaves dies from colors of cardstock that matched my Color Cube card. I cut THIS heart die from teal cardstock and ran it through my embossing folder with THIS stencil and THIS embossing mat. This makes an impression of the stencil...

December 2023 My Monthly Hero Release Blog Hop

Hello again, crafty friends. I have two cards to share today featuring new products from Hero Arts as part of THIS Blog Hop. Before we get to the projects, let’s take a look at the kits available… CLASSIC KIT: CLASSIC KIT CONTENTS • XL Alphabet Clear Stamp Set, 8″ x 10″ • Alphabet Cover Plate Die • 10 Pack of Watercolor Pencils • 6 Sheets of Luxe White Watercolor Paper, 8.5″ x 11″ •...

DieCember 2023 Release Blog Hop-Day 1

Hello, crafty friends. Today’s card set is part of THIS fun blog hop celebrating THIS new release. My card set features hot foiling using regular dies… Did you know you do not need Hot Foil Plates to hot foil? You can do the same process with regular dies! To create these cards, I started by hot foiling THIS background die on three colors of cardstock. I also hot foiled THIS cozy wishes die on...

Peace Card

Hi, crafty friends. I have a Holiday card to share… To create this card, I stamped the images from THIS stamp set and used THESE coordinating dies to cut them out. I adhered them to a background that I embossed with THIS background die and THIS embossing mat in my die cut machine. I love the texture it adds to a plain white background… I added a strip of cardstock under the images that...

Be Creative Release

Hi there, crafty friends. Today’s cards features products from THIS new release by Simon Says Stamp… To create these cards, I stared with the backgrounds. I hot foiled THIS Mini Slimline Falling Confetti hot plate using THIS rainbow glimmer foil. I did this on THIS smooth white cardstock as well as THIS black specialty cardstock. (If you are new to Hot Foiling, I share a video on the process HERE if you want more...

DieCember Release Blog Hop

Hello, crafty friends. I’m excited to be part of THIS blog hop celebrating THIS new release. I have two cards to share today that are quick and easy to create and would be great for mass producing. I like to stretch the use of my dies and hot foil with them. I hot foiled THIS die with THIS glimmer foil on colored cardstock. I cut a mask from typing paper to cover the foiled...

Hot Foiling on Acetate

Hello again, crafty friends. Today’s card features hot foiling on acetate… I started by creating the clear acetate front panel. I hot foiled THIS plate using THIS gold foil on a piece of THIS heat resistant acetate. I trimmed down the piece to be 4.25 x 5.5 inches. Next, I trimmed down the front panel of the top folding card base. I cut the front panel so only 1/2 of an inch was left...

Rainbow Positive and Negative Hot Foiling

Hi, crafty friends. Today’s cards feature Positive and Negative Hot Foiling… I started by hot foiling THIS plate using THIS rainbow foil on a piece of THIS black glossy paper. I shared a video HERE explaining the hot foil process. I love the look of the rainbow foil on the black glossy card stock… I used the leftover, negative foil piece with THIS hot foil plate to create this card… I hot foiled the...

Reverse Confetti July 2022 New Release Hop

Hello there, crafty friends. Reverse Confetti has a new release and I have a card and video to share using some of the new goodies… VIDEO You can watch the video on how I created this card HERE or click on the video below… Let’s start by creating the background. I used three colors of Distress Inks and a piece of acetate to create a quick inky background. I applied three colors of ink...

Positive and Negative Hot Foiling

Hello, crafty friends. Today’s cards feature positive and negative hot foiling… I have a video HERE that explains all about hot foiling and how to create positive and negative pieces. For this first card, I foiled THIS plate using gold glimmer foil. I masked off each stripe and ink blended with a different color of ink. I added THIS miss you die cut as well as printed sentiments from THIS sentiment pack. I finished...