Friendship Bingo Card

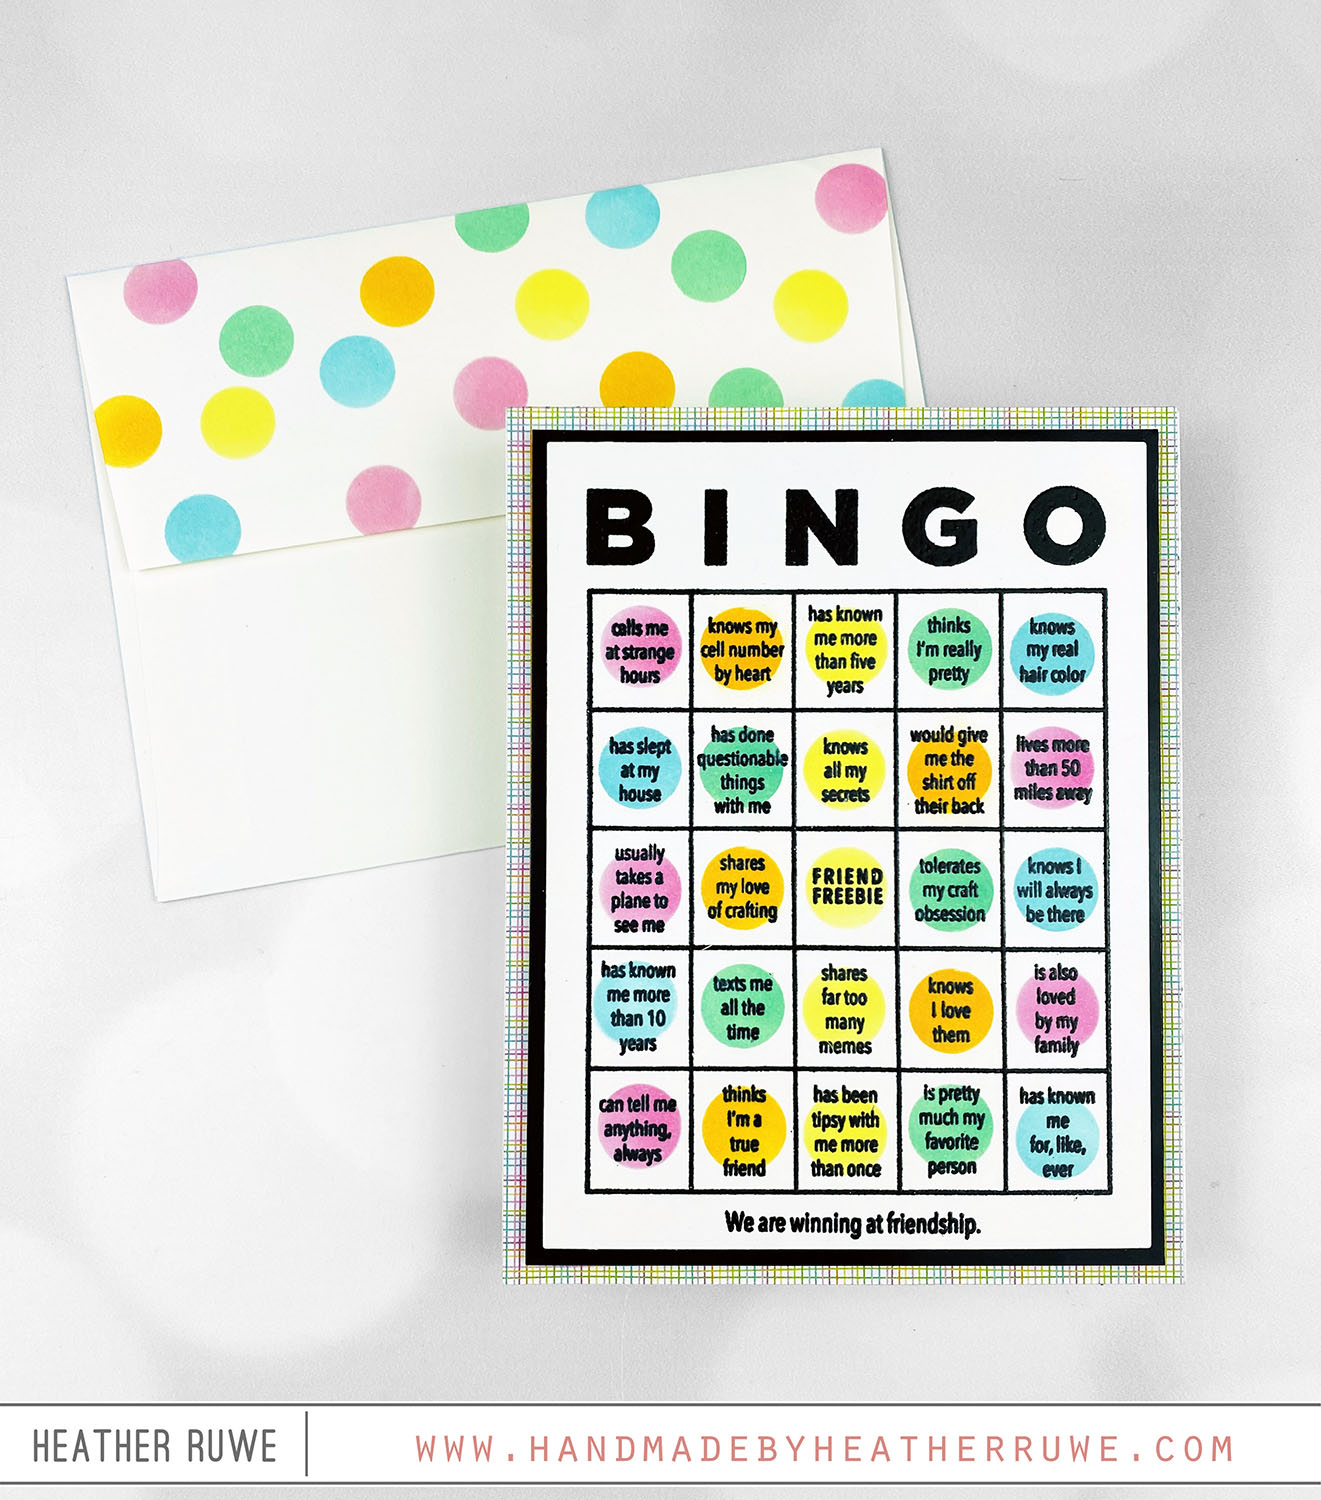
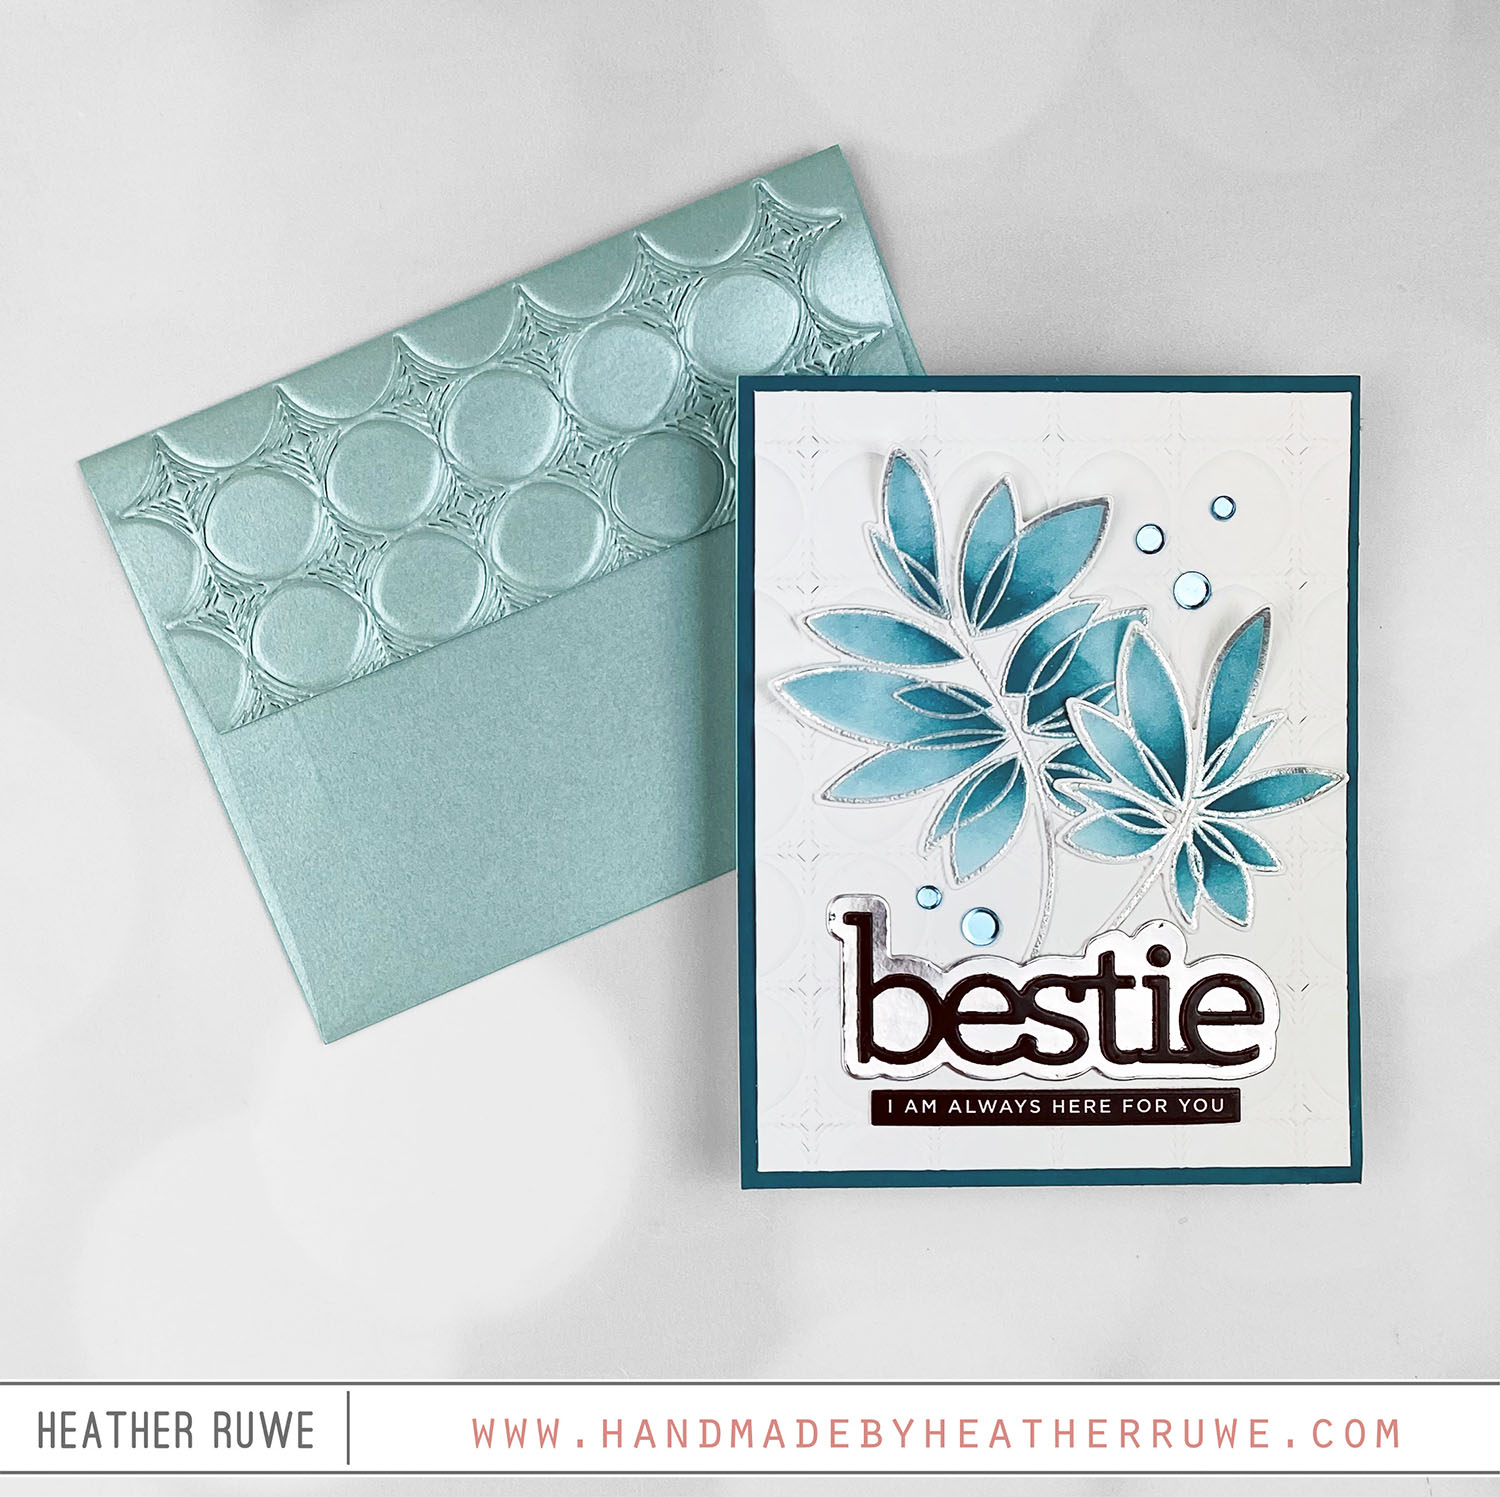
Howdy, crafty friends. I have more inspiration to share from THIS new release… To create this card, I started by stamping images from THIS stamp set on a piece of cream cardstock using black pigment ink. I clear heat embossed it to add some shine. I cut THIS coordinating die circle out of vellum and used it to place over each square and apply ink to create colored circles. I added a black mat...

Love Story Card Kit

Hi, crafty friends. Today’s card features THIS card kit from Simon Says Stamp… To create this card, I trimmed down the pink cardstock from the kit and embossed it with the kit’s embossing folder. I ink blended on top using Worn Lipstick Distress Oxide Ink and sprayed it with THIS for some sparkle and shine. I adhered it down to a piece of A2 black cardstock. I stamped the typewriter image and paper from...

New Distress Color: Scorched Timber

Hello there, crafty friends. There is a new color in the Distress Ink family! Let me introduce you to Scorched Timber… I’m a fan of bold bright colors so I have to admit, I don’t typically gravitate toward brown. However, I feel like it is a great color paired up with other colors. It can really ground other colors. On my card, I paired it with colors that really compliment it like reds, pinks,...

Smitten and Sweetheart Release Blog Hop- Day 1

Hey there, crafty friends. Today’s card set is part of THIS Blog Hop celebrating THIS new release… To create this card set, I stared by stamping the three layers of THIS stamp set on a white A2 panel using three colors in the same ink family. I did this to create a monochromatic look for each card. Using that same stamp set, I stamped a different sentiment along the bottom of each card. I...

Skunk Love Birthday Card

Hello, crafty friends! I have a fun birthday card to share today… To create this card, I started by stamping an A2 panel of Azalea cardstock with the Mini Hearts Bold Prints Background using Azalea ink. Next, I die cut one of the wood frame infinity dies from pitch black cardstock. I cut another one to adhere behind it and add dimension. To create the white panel inside the frame, I applied ink (with...

Sweetheart Release

Hi there, crafty friends! Today’s card features THIS new release… To create this card, I started by embossing THIS die using THIS embossing mat in my die cut machine. Instead of cutting the design, it makes an impression in the paper. I trimmed it down and adhered it to a dark teal mat. Next, I silver heat embossed THESE leaf images and used the coordinating dies to cut them out. I applied the new...

Hero Arts MMH January 2024 Release Blog Hop

Hello again, crafty friends. I have two cards to share today featuring new products from Hero Arts as part of THIS Blog Hop. Before we get to the projects, let’s take a look at the kits available… CLASSIC KIT: Classic Kit Contents: • 5 Color Layering Floral Background Stencils, 5.25″ x 6.5″ • Coordinating Heart Window Frame Cut • Love You Fancy Dies • Love Messages Clear Stamp Set, 4″ x 6″ • 6...

My Monthly Hero Countdown

Hi, crafty friends. Today’s card is part of the My Monthly Hero Countdown to the January 8th Kit release. My card features THIS Classic Kit… To create this card, I applied ink through the layering stencils and cut it using THIS rectangle die. I cut the coordinating die from the center of the pattern and added white pigment ink around the edges to get it to stand out against the background. I cut a...

You’re The Best Card

Hello there, crafty friends. I have a happy card to share today… To create this card, I started by stamping THIS background on a pink A2 panel. I used pink ink for a tone on tone background. I cut thin strips of colored cardstock and adhered them at an angle towards the bottom of the card to create a rainbow strip. I die cut a star from THIS die set and stamped the same...

Alcohol Ink Lift Technique

Hello, crafty friends. Happy New Year. I have two cards to share today that came from one Alcohol Lift technique. To create these cards, I started by applying blue alcohol ink to a piece of THIS Yupo paper. Once dry, I stamped it with THIS background stamp using THIS alcohol lift ink. After each stamping, I made sure to wipe in circular motions to intensify the image. I also stamped off the ink on...