Yay You Release

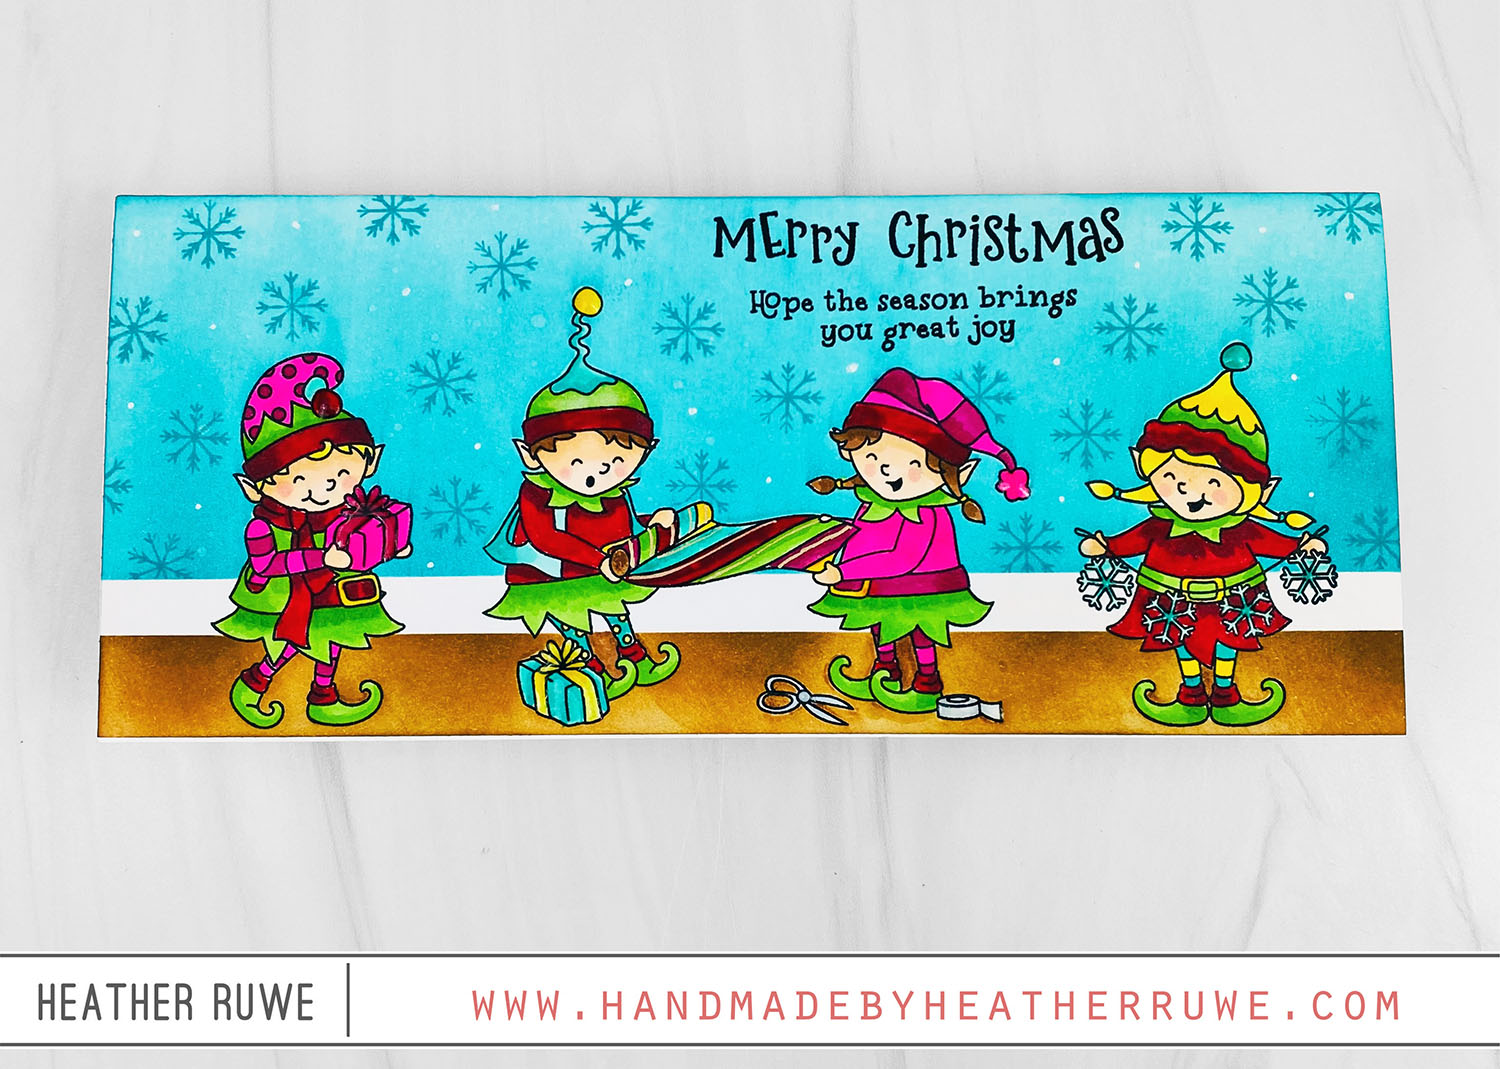
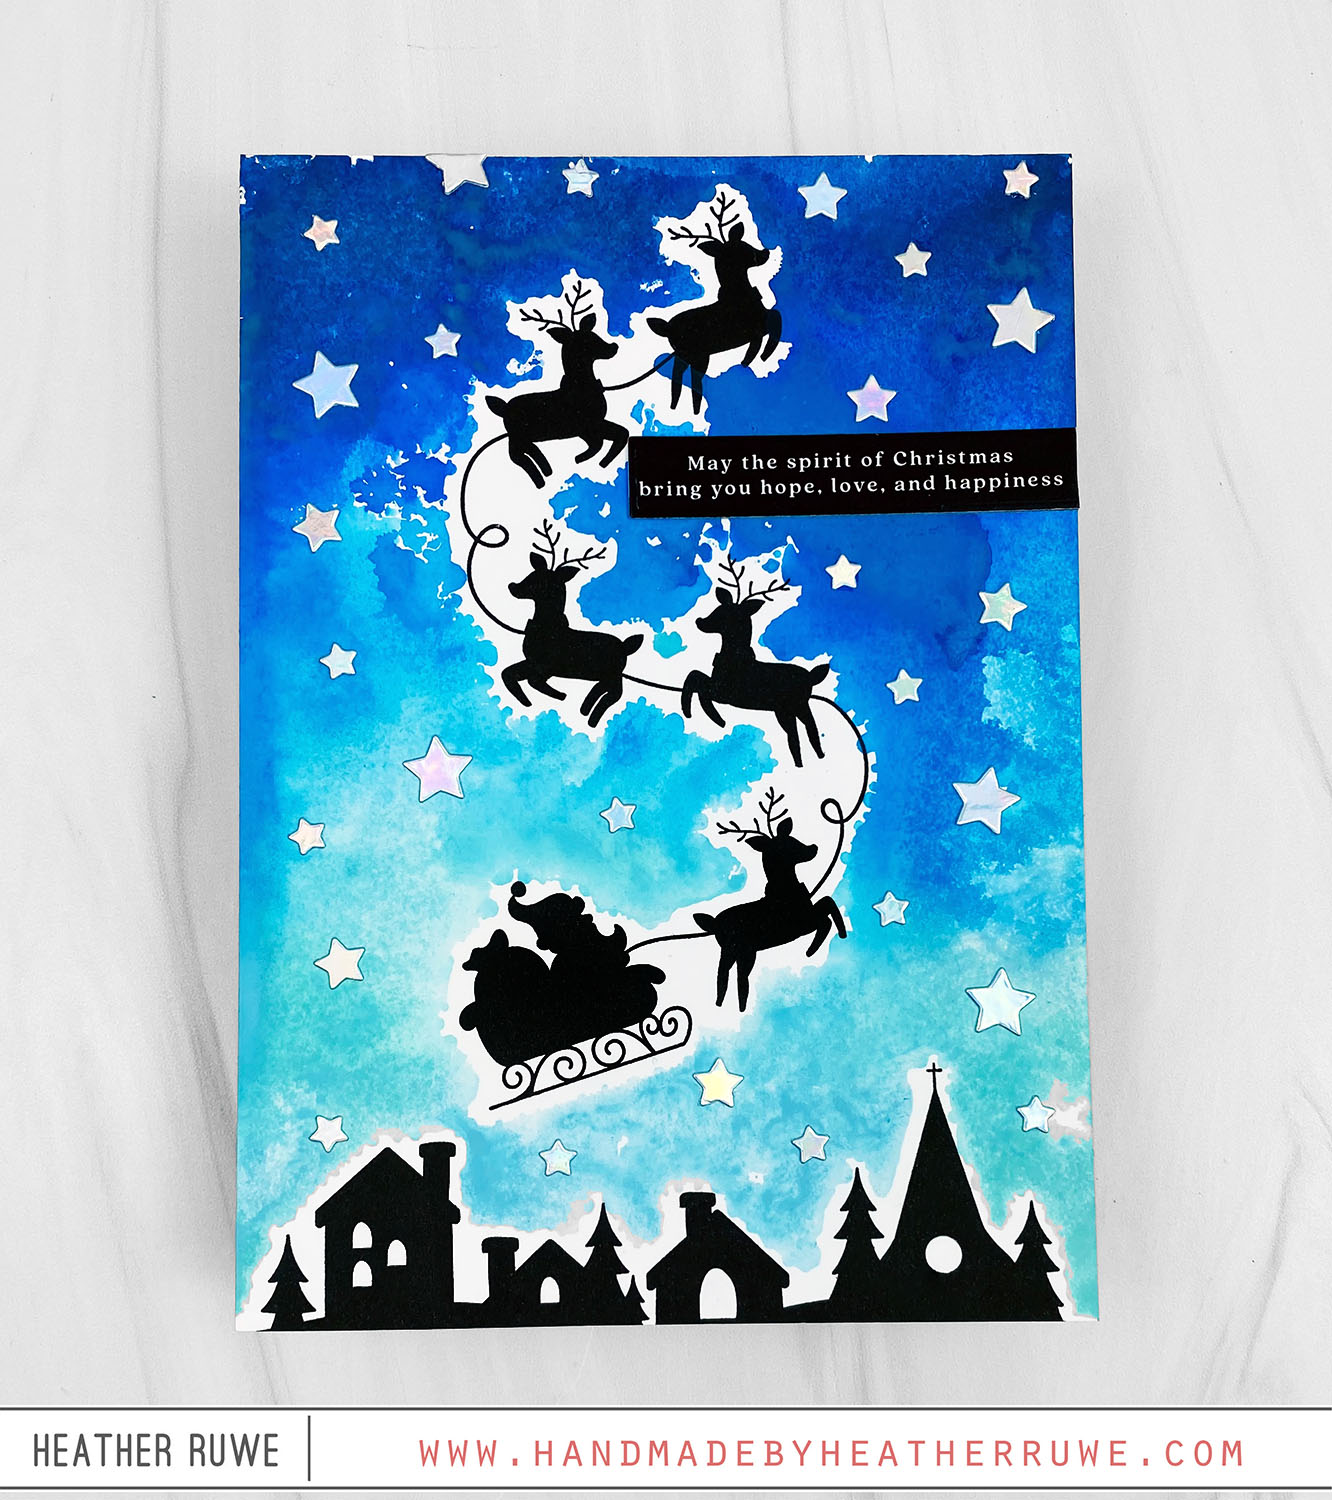
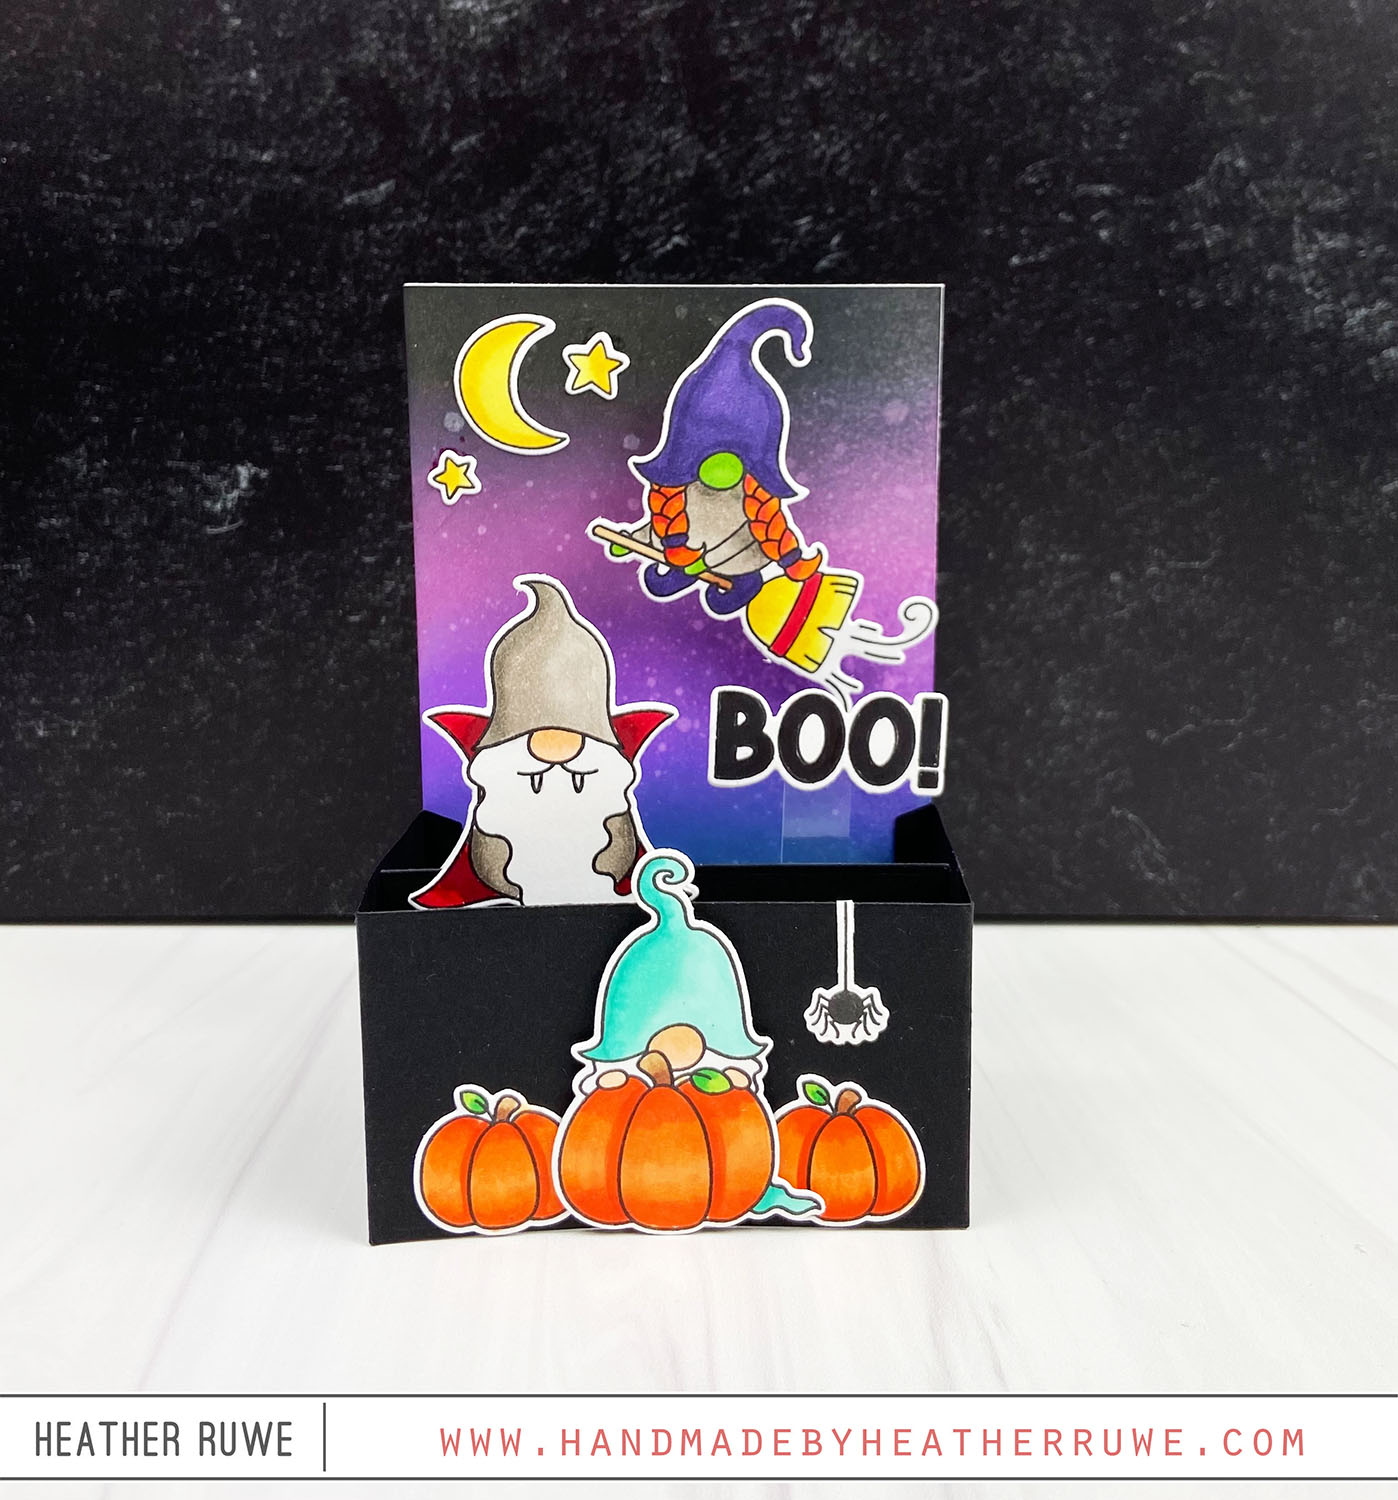
Hello, crafty friends. Simon Says Stamp has a new release HERE and I’m featuring some of the new products on today’s card… I love creating these Basic Box Cards. I recently dedicated a whole week of Box Cards on my blog HERE. To create the box, I cut two of the main die in the Basic Box Card die from light green cardstock. I applied strong double sided tape on the hinges of each...

Santa’s Helpers Card Kit

Hello, crafty friends. Today’s card features the new card kit from Simon Says Stamp… To create this card, I started by stamping a trio of elf images from the Santa’s Helpers stamp set (included in the kit) on a slimline panel and colored them in with Copic Markers. I also stamped the images on masking paper and fussy cut them out. After placing them on top of the stamped images, I applied a strip...

Handmade Holiday Release

Hello, crafty friends. Today’s card share celebrates THIS new release from Simon Says Stamp. I started by inking up the sky portion only of the Night Before Christmas Background Stamp with a variety of blue Distress Oxide inks. I spritzed it with water before stamping for a faux watercolor look. I love that this is a pull apart stamp where you can stamp it all at once or stamp one image at a time. Next,...

Lawn Fawn You Autumn Know Card

Hello, crafty friends. I have a card share today that I had so much fun creating… I started by ink blending the background. I blended a couple of Concord & 9th inks for the sky and the grass. I didn’t have a grass stencil so I created one by die-cutting a grass die from acetate. I used an older Greetery stencil for the pathway. I die-cut the Pumpkin House pieces  from colored card stock...

Too Cute To Spook Halloween Card

Howdy, crafty friends. I’m still on a Halloween card making kick… To create this card, I started by applying ink through a dot stencil using white pigment ink on kraft card stock. I die-cut a grass border to put along the bottom and ground the scene. I stamped, cut, and colored the images from the Too Cute To Spook stamp set and adhered them down to the background. I used a action wobbler on...

New Distress Christmas Collection

Hi there, crafty friends. Tim Holtz just released some new seasonal products with Ranger and they are amazing. I used a few to create this card… I wanted to create a non Holiday card to show you that these products will elevate any style of card. To create this card, I started by creating the background. I sprayed a mix of Distress Spray Stains and Distress Oxide Sprays along with water on a panel...

STAMPtember 2021-Gnome Treehouse

Hello, crafty friends. I’m loving the Gnome Treehouse from the STAMPtember release and I thought it paired nicely wit the new flower dies… To create this card,  I die-cut the Etched Layered Daisy Stem Die, Etched Meadow Flower and Leaves Die, and the Etched Crocus Stems Die from white cardstock. I added color to them using blending brushes and adhered them on top of a blue A2 panel. I also die-cut the Gnome Treehouse...

STAMPtember 2021-Halloween Gnomies

Hello, crafty friends. I’m continuing the STAMPtember party and sharing a card featuring the Halloween Gnomies stamp set and coordinating dies (linked at the bottom of this blog post)… To create this card, I die-cut the Box Card Die from black card stock. I adhered the pieces to a back panel that I ink blended on to create a night sky. I spritzed a bit of water on top for some added texture. The...

You’re tops in my book

Hello, crafty friends. I’m back with a fun scene card today… I started with a 5.25 x 5.25 card panel. I stamped the Mountainscape Background and colored it with Copic Markers. I stamped and colored images from the Den Sweet Den stamp set and used the coordinating dies to cut them out. I die-cut the Stitched Den dies from the card panel and from woodgrain card stock. I layered the woodgrain pieces into the...