Hi there, crafty friends. I’m excited to be part of the MISTI & Pinkfresh Blog Hop. I have two cards to share today plus a MISTI tip. I created two background panels using blue and purple alcohol inks. After they were completely dry, I die-cut THIS die from both of them. I also cut several from white card stock. For the first card… I used the negative pieces to create a background. I adhered...
Send Happiness Release Blog Hop
Hello, crafty friends. I’m excited to be a part of this blog hop celebrating THIS new release from Simon Says Stamp. I started by creating a side fold A2 size black card base. From the front panel of the card, I trimmed 2 inches off the top, creating a shorter flap. This flap was created so the fairy image could be suspended. I stamped and colored the front and back fairy image from THIS...
Crafty Hugs Release Blog Hop-Day 1
Hello, crafty friends. I’m so happy to be part of this blog hop celebrating THIS new release from Simon Says Stamp… To create these cards, I started by applying ink through THIS and THIS stencil with THIS ink. For this card… After inking it with yellow, I laid the stencil back down, shifted it slightly and applied THIS color of ink. Where the yellow and blue overlap, you get green… For the next card…...
Sunny Days Ahead Release Blog Hop
Hi, crafty friends. I’m so excited to be part of the Sunny Days Ahead Release Blog Hop celebrating THIS new release. I’ve created two cards from one background image… I started by heat embossing THIS background image on to THIS card stock using THIS embossing powder. I started with a 6 x 6 sheet of card stock so I could get the entire background image. I colored in the image with THESE markers and...
Lucky to Know You Release Blog Hop
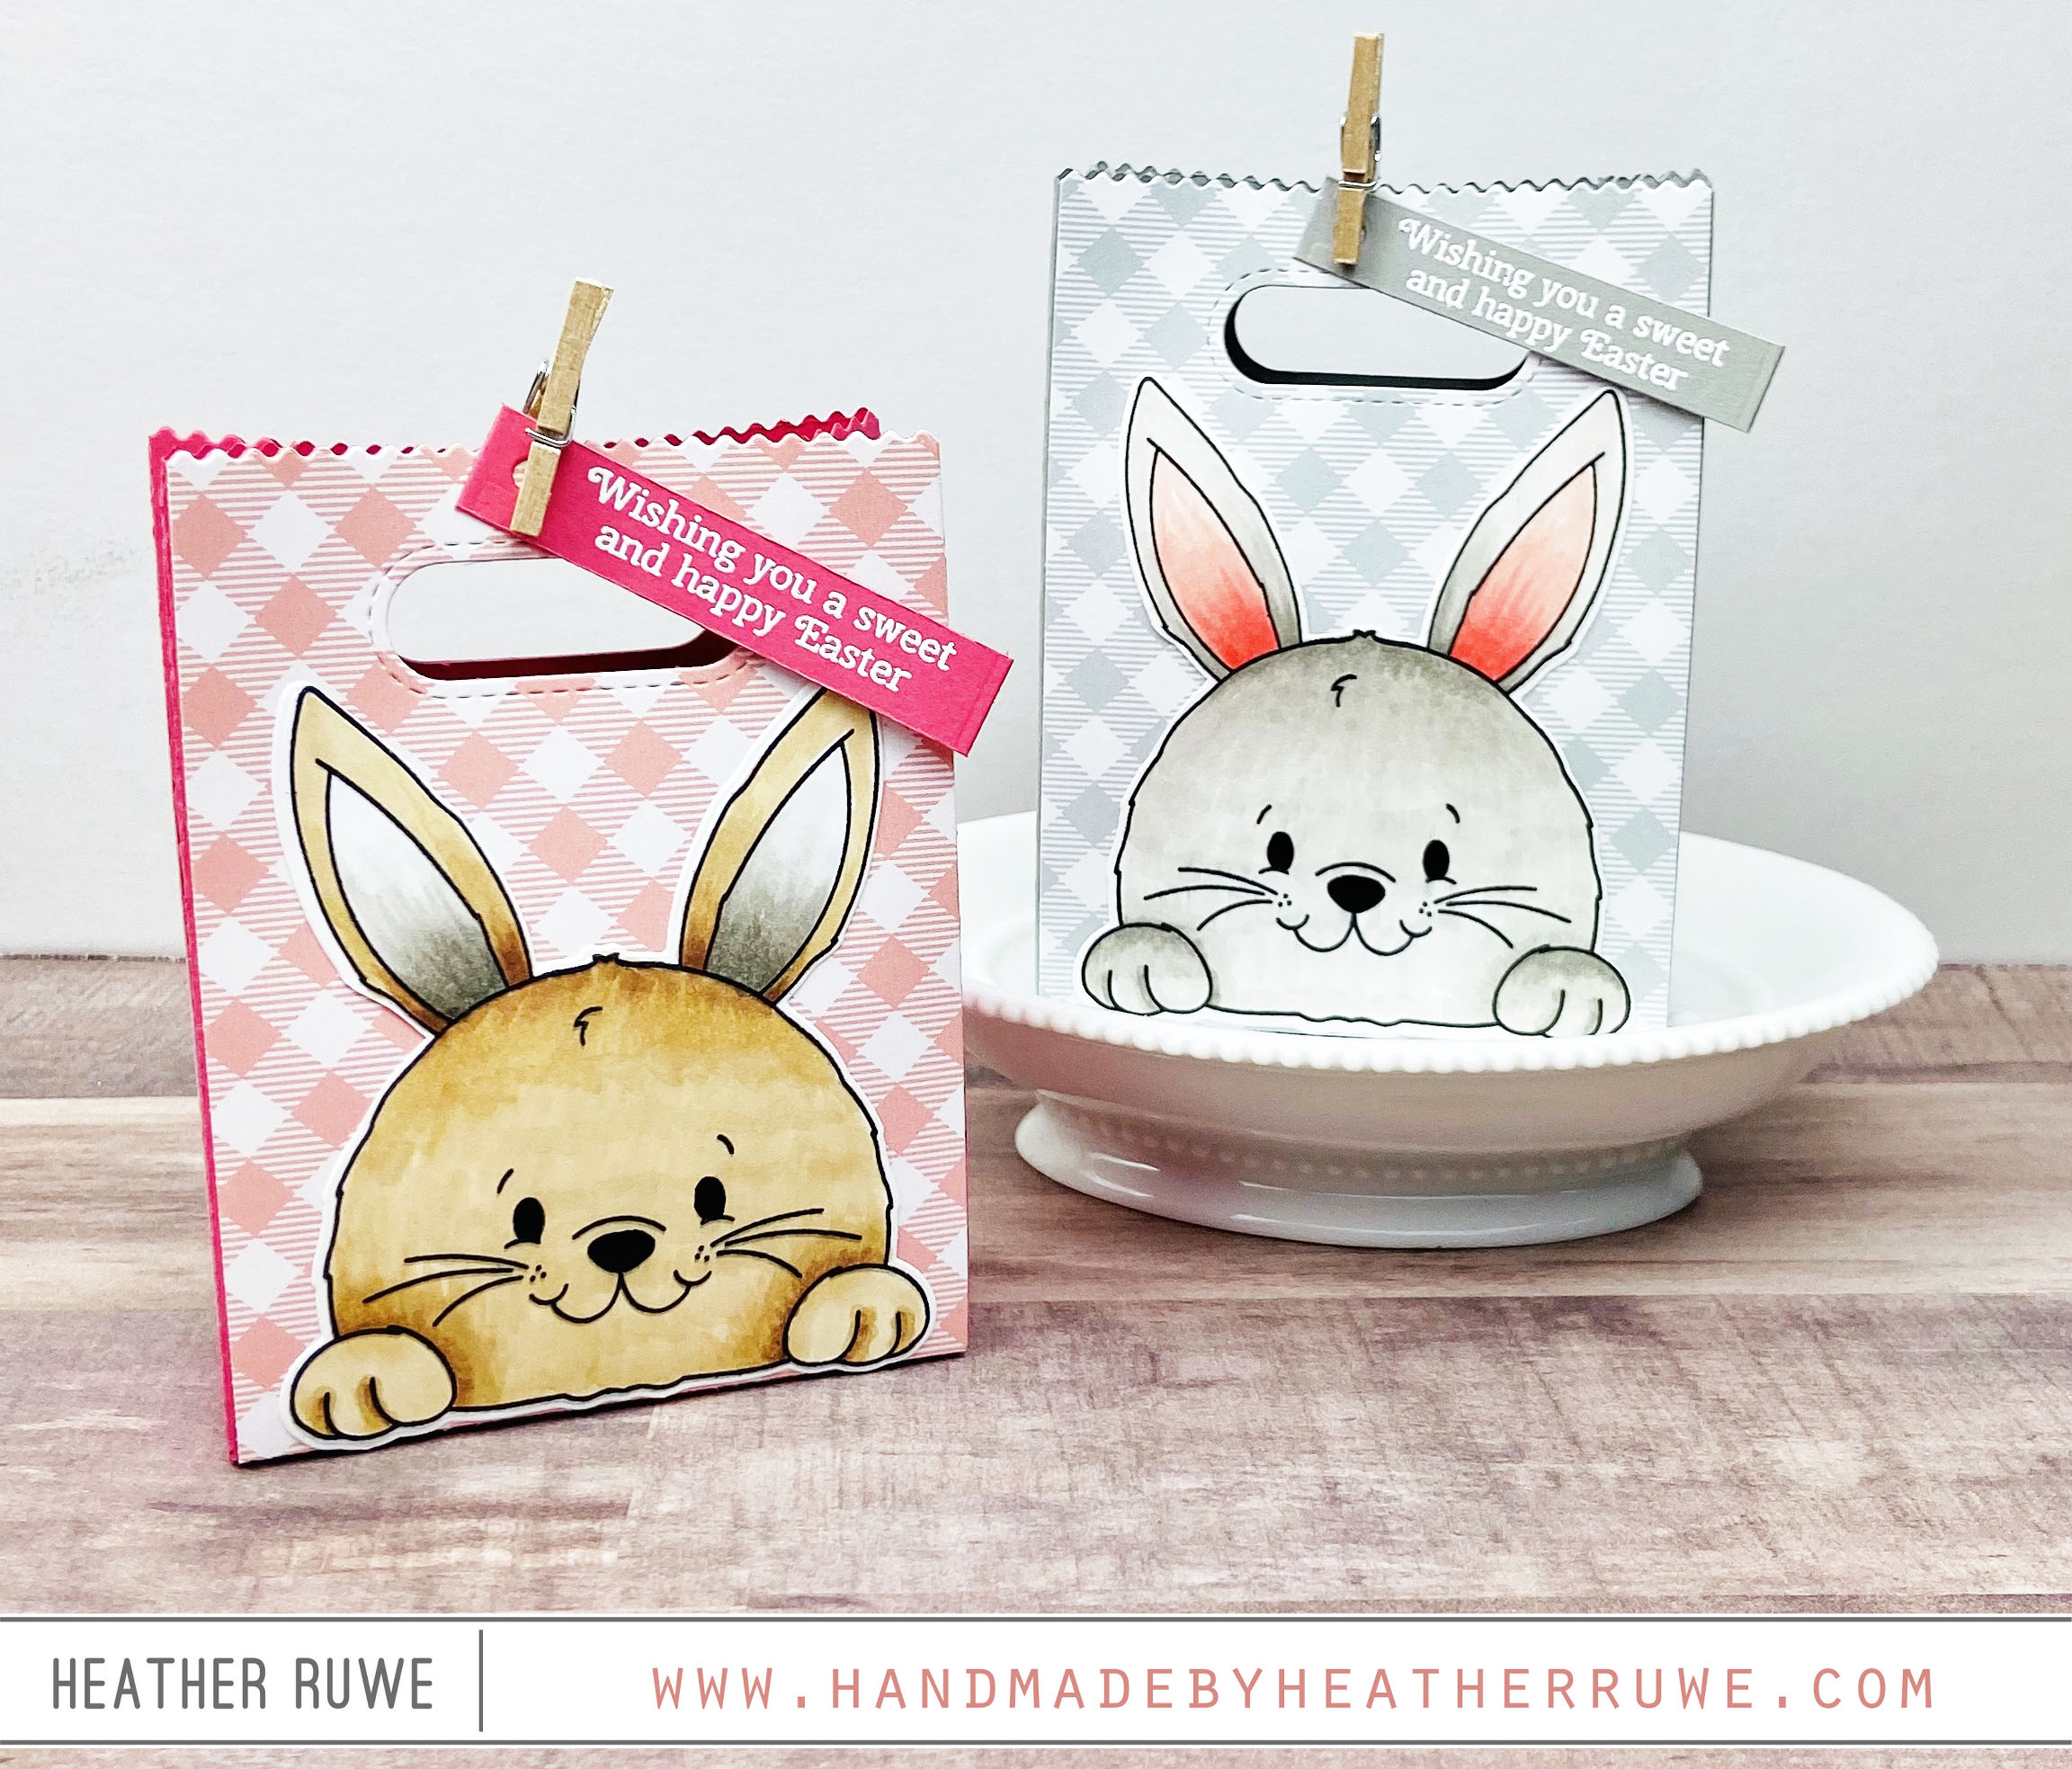
Hi, crafty friends. I’m honored to be part of the Lucky to Know You Release Blog Hop. I have a couple of treat bags to share featuring THIS new stamp, that happens to be my favorite from the entire release… I started by cutting THIS treat bag from colored card stock. I also cut it using some patterned papers and adhered it to the front and back of the bag. I stamped and colored...
Hey Bestie and Love You More Release Blog Hop
Hi there, crafty friends. I’m thrilled to be part of the Hey Bestie and Love You More Release Blog Hop. I’m sharing three cards featuring products from THIS new release… I started by creating three alcohol ink panels. I decided to mix the regular alcohol inks with the alcohol ink pearls and LOVE the results. The alcohol ink pearls catches the light so nicely. I stamped the adorable critters from THIS stamp set and used...
Diecember Release Blog Hop-Day 1
Hello, crafty friends. I’m honored to be part of the Diecember Blog Hop in celebration of THIS new release and all things die-cutting. For the first card, I die-cut THIS new die from THIS card stock as well as THIS and THIS card stock for the paintbrush. For the paint palettes, I dipped the die-cut circles in a variety of Distress Oxide colors mixed with a bit of water. Since there was some ink...
Cheer and Joy Release Blog Hop-Day One
Hi there, crafty friends. I have three cards to share that is all about die-cuts. I’m using products from THIS new release. There are so many things you can do with your dies. I really like to create backgrounds with them. My favorite is to do white on white. This would work with any color, but I love the simplicity of the white on white. It adds so much texture without being too distracting....
Picket Fence Studios + WOW! Embossing Collaboration Blog Hop
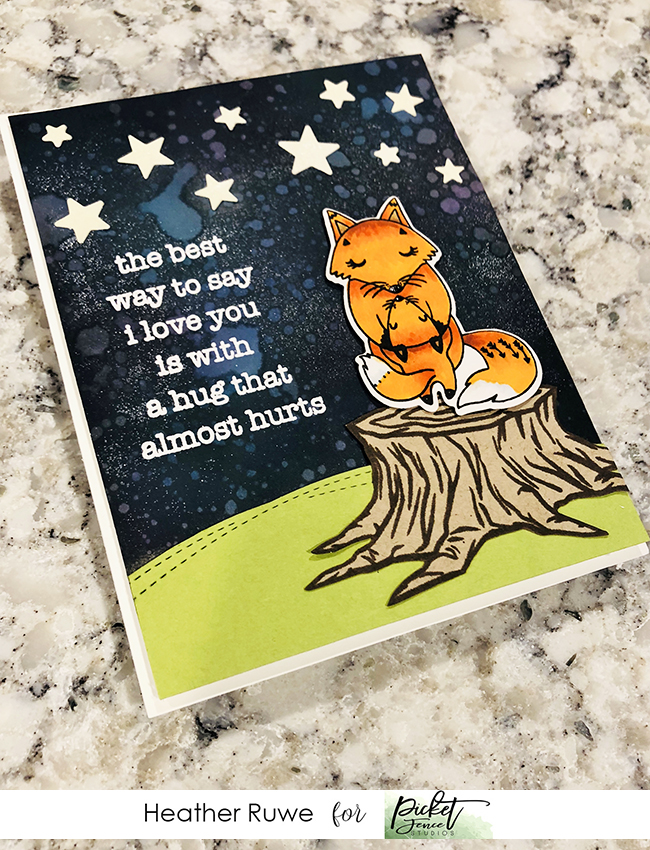
Hi, crafty friends. Today’s blog post is part of a fun blog hop with WOW and Picket Fence Studios. To create this card, I started by stamping and coloring the fox image from THIS stamp set. I used THIS coordinating die to cut it out. I stamped the tree trunk and cut it out as well as a grassy hill from THIS die. For the background, I blended blue and purple Distress Oxide...
Believe in You Blog Hop-Day One
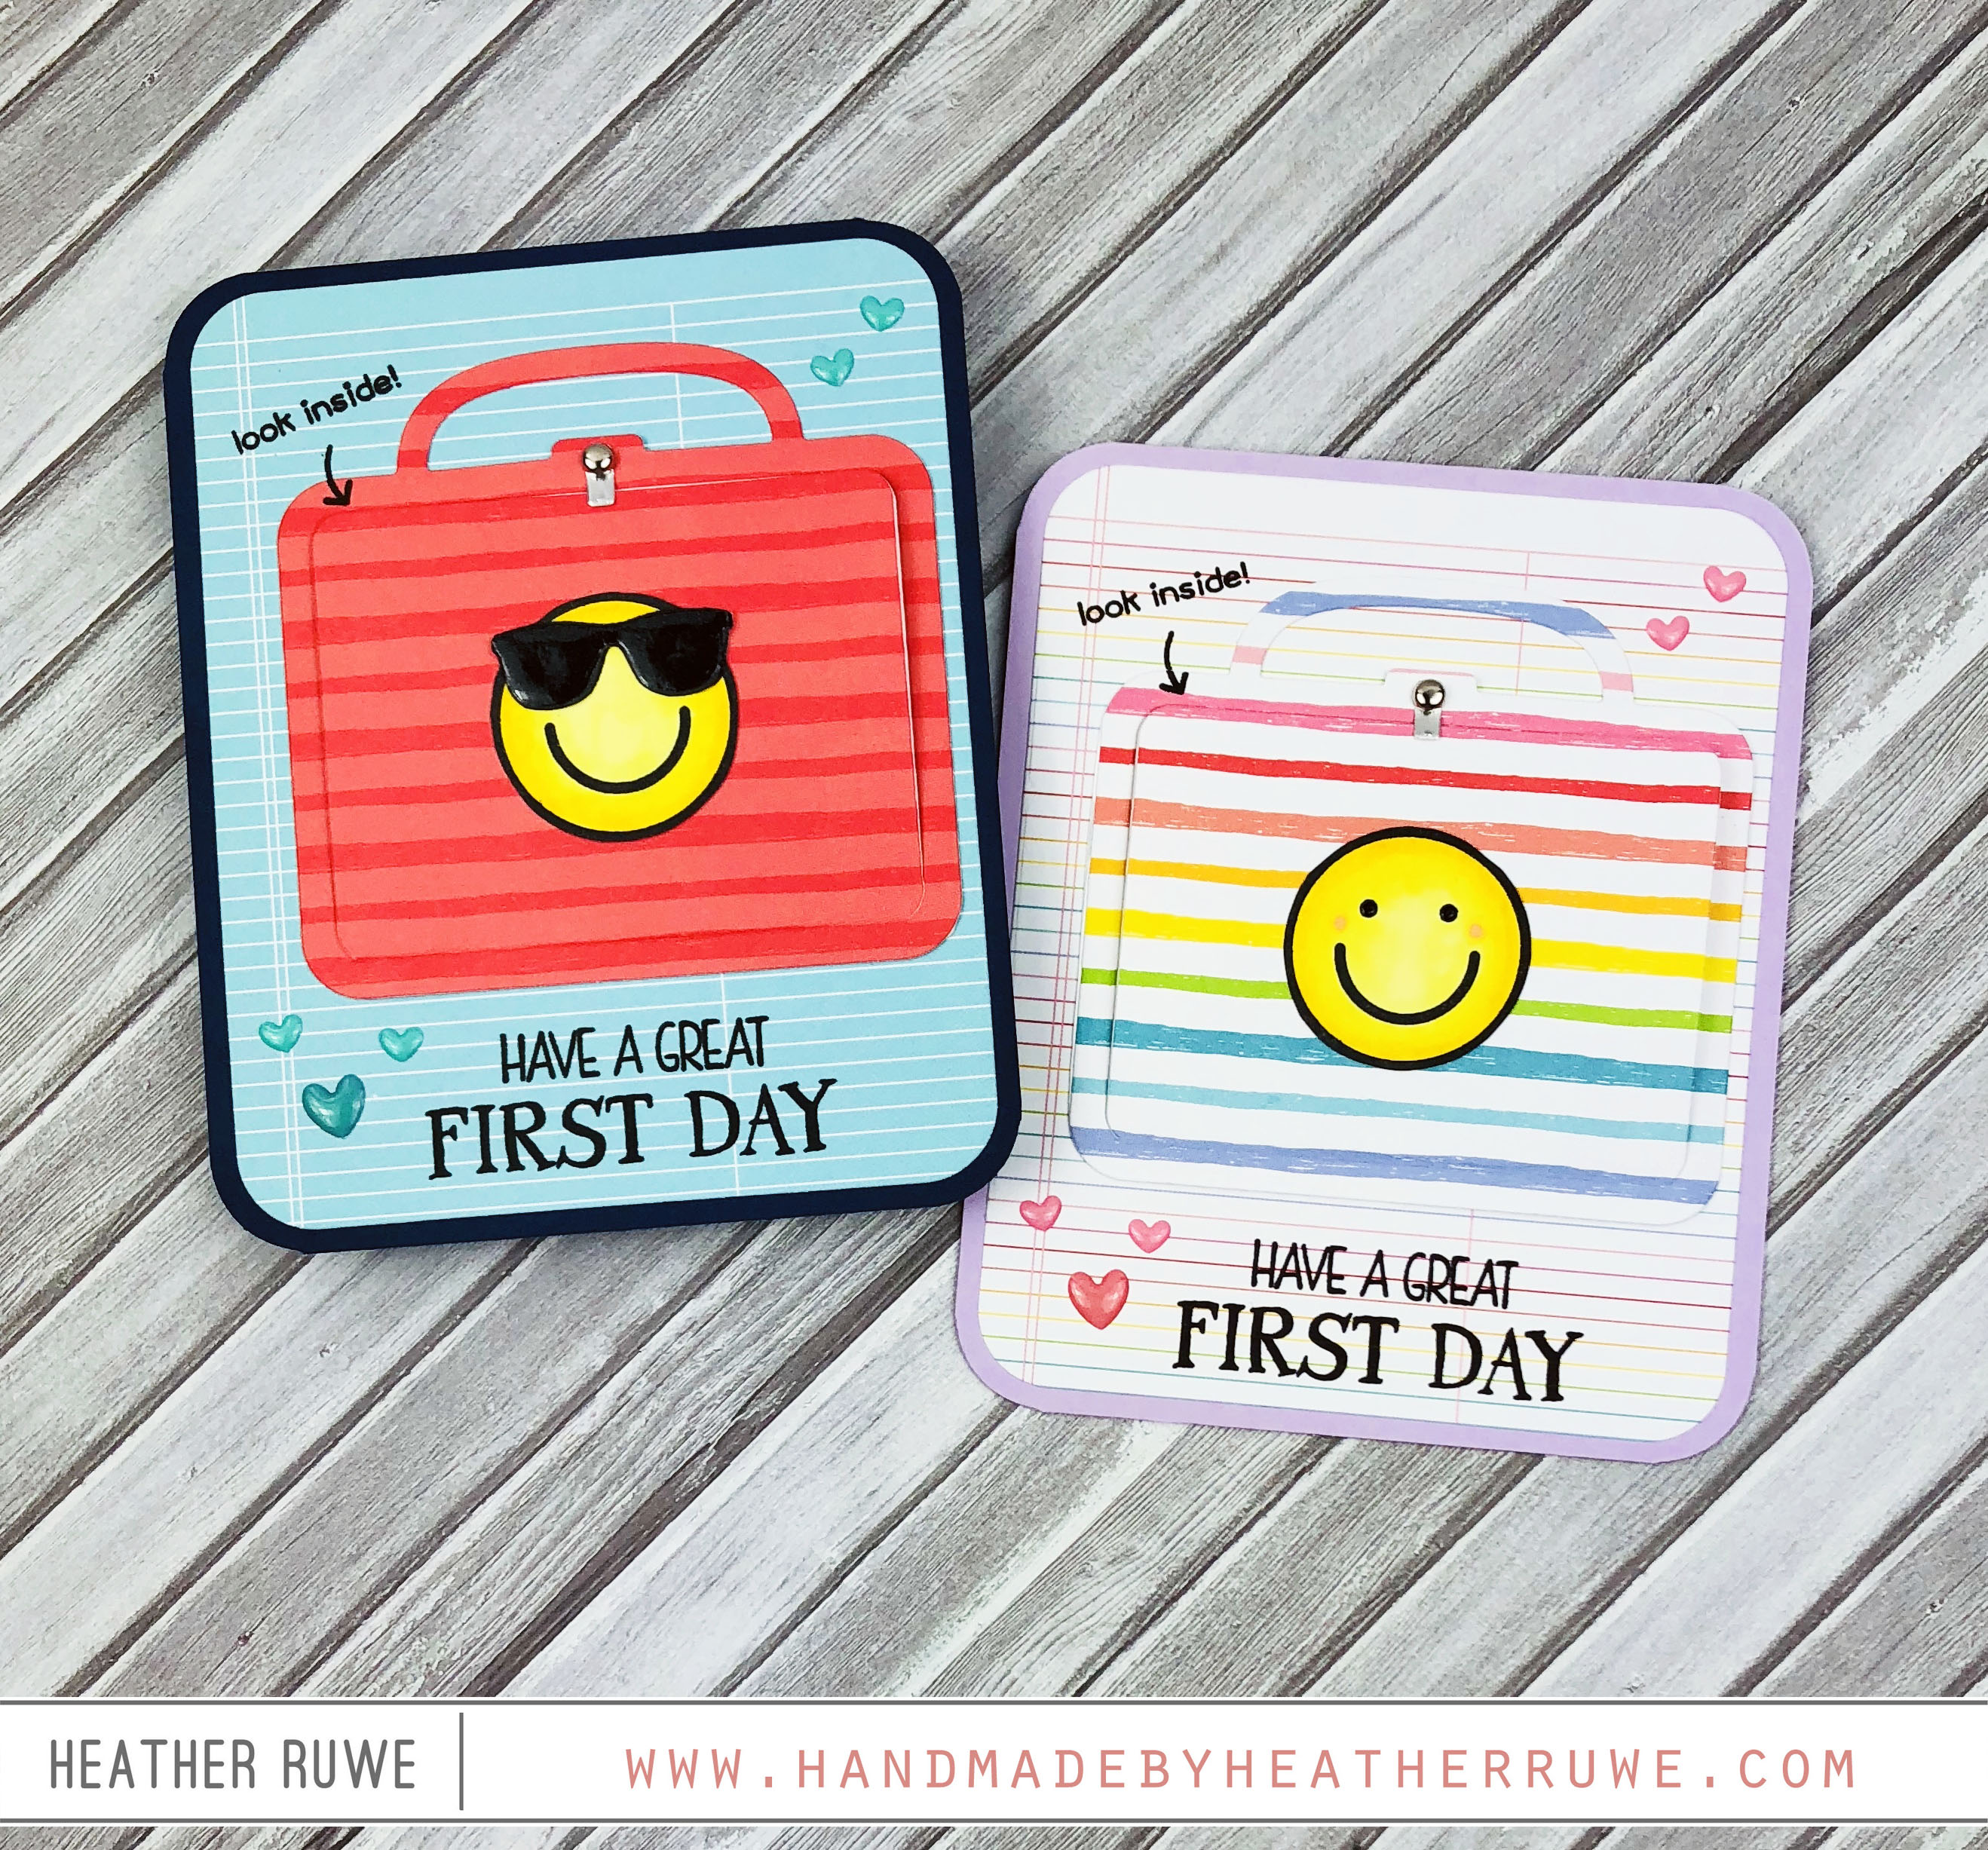
Hi, crafty friends. THIS new die from THIS new Simon Says Stamp release is so fun. I couldn’t wait to make some first day of school cards… I started by die-cutting THIS lunch box die from THIS patterned paper. I added the smiley face from THIS stamp set to the front of each and stamped images and sentiments from THIS and THIS stamp set on the inside of the lunch boxes. I colored the...


