Hi, crafty friends. Today’s card features how to create a shaker card with Nesting Dies…
You can watch the video on how this cards came together HERE or click on the video below…
Let’s jump right in and start with the background. I placed an A2 sized piece of Deluxe Smooth White cardstock on a grip mat to hold it in place while stenciling.
 I used arctic ink with a hero arts blending brush to apply the ink over the stencil. As I moved the stencil up the cardstock and repeat the process, I shift the stencil slightly to one side or the other to get a slight different orientation of the clouds. I keep adding rows of clouds until the panel is covered.
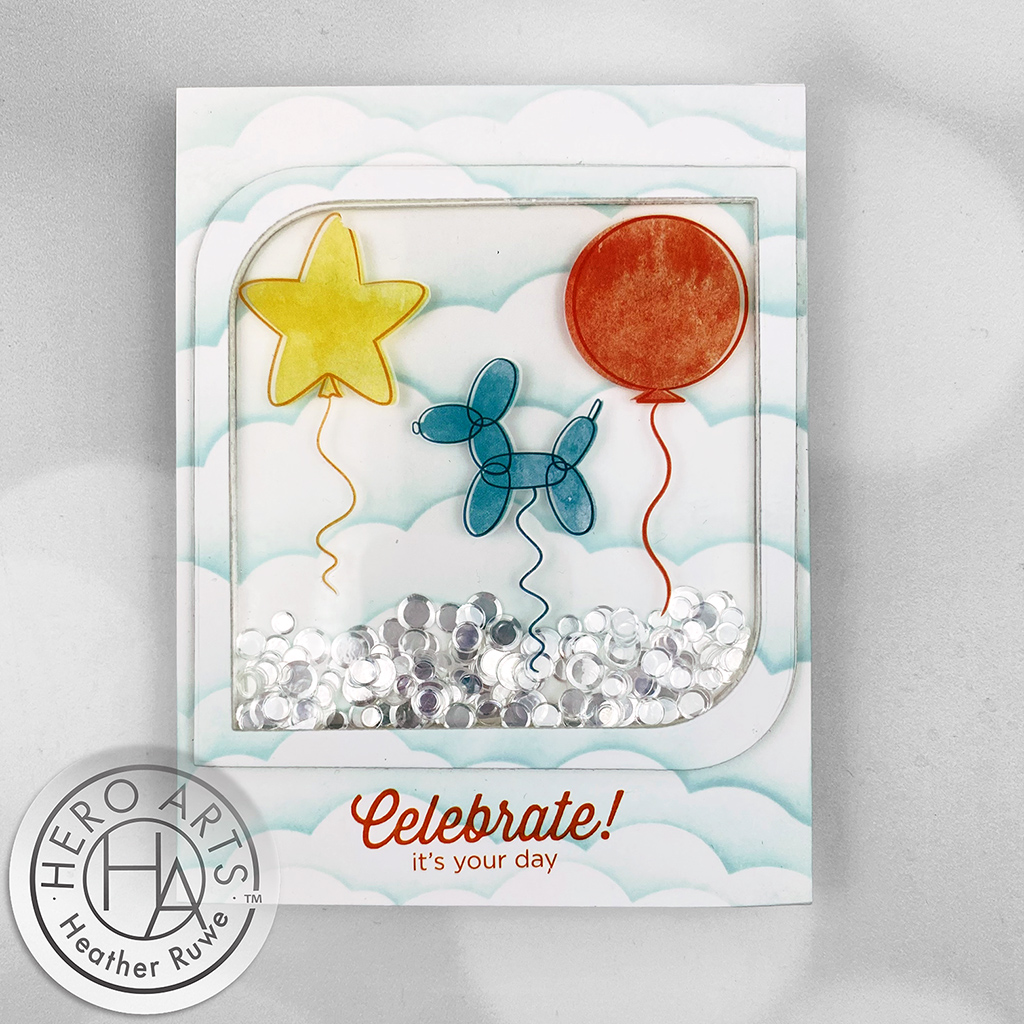
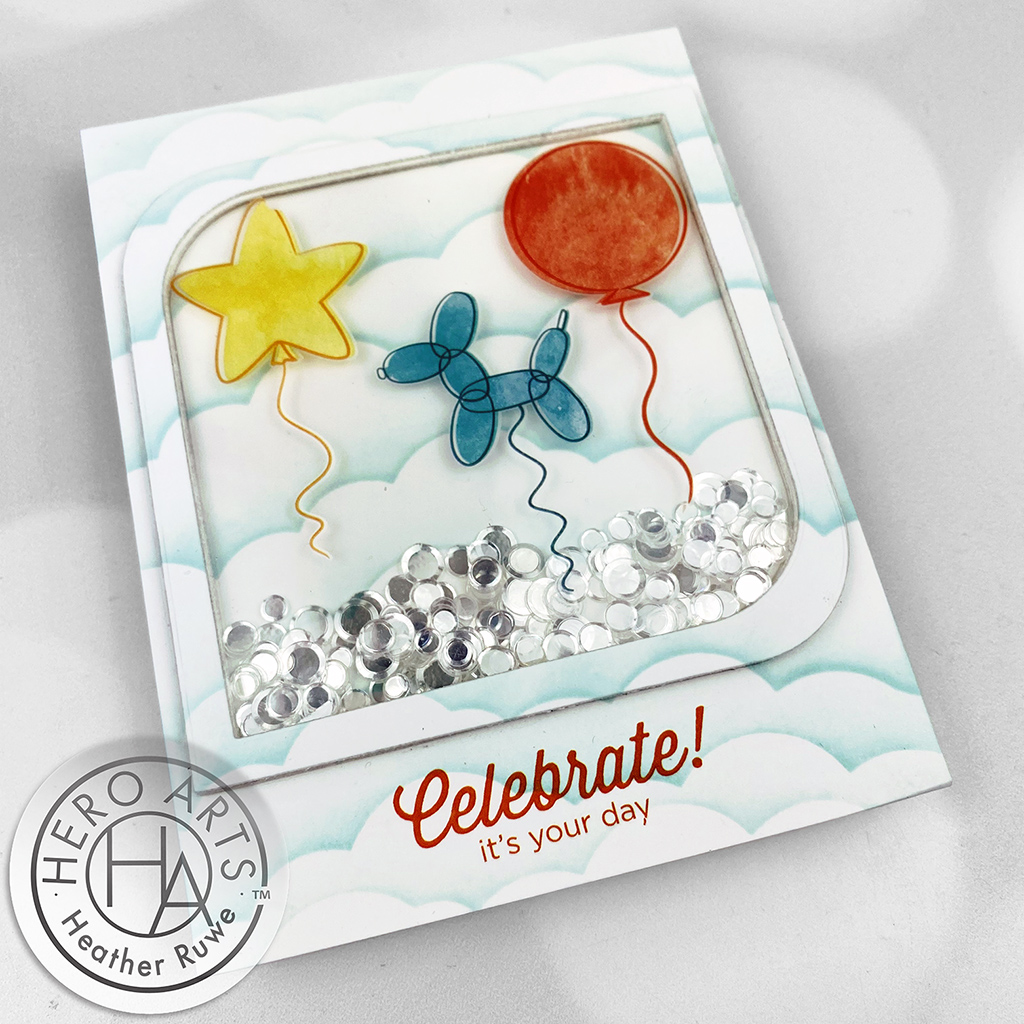 I want my shaker card to have a seamless look, so I am going to cut the background with two of these Rounded Jewel dies. I taped two of them together to create a frame for my shaker. I adhered the large cloud piece directly to the front of a white note card using some precision glue. I die cut several of those frames using the same two dies cut together. These will be the walls of our shaker card.
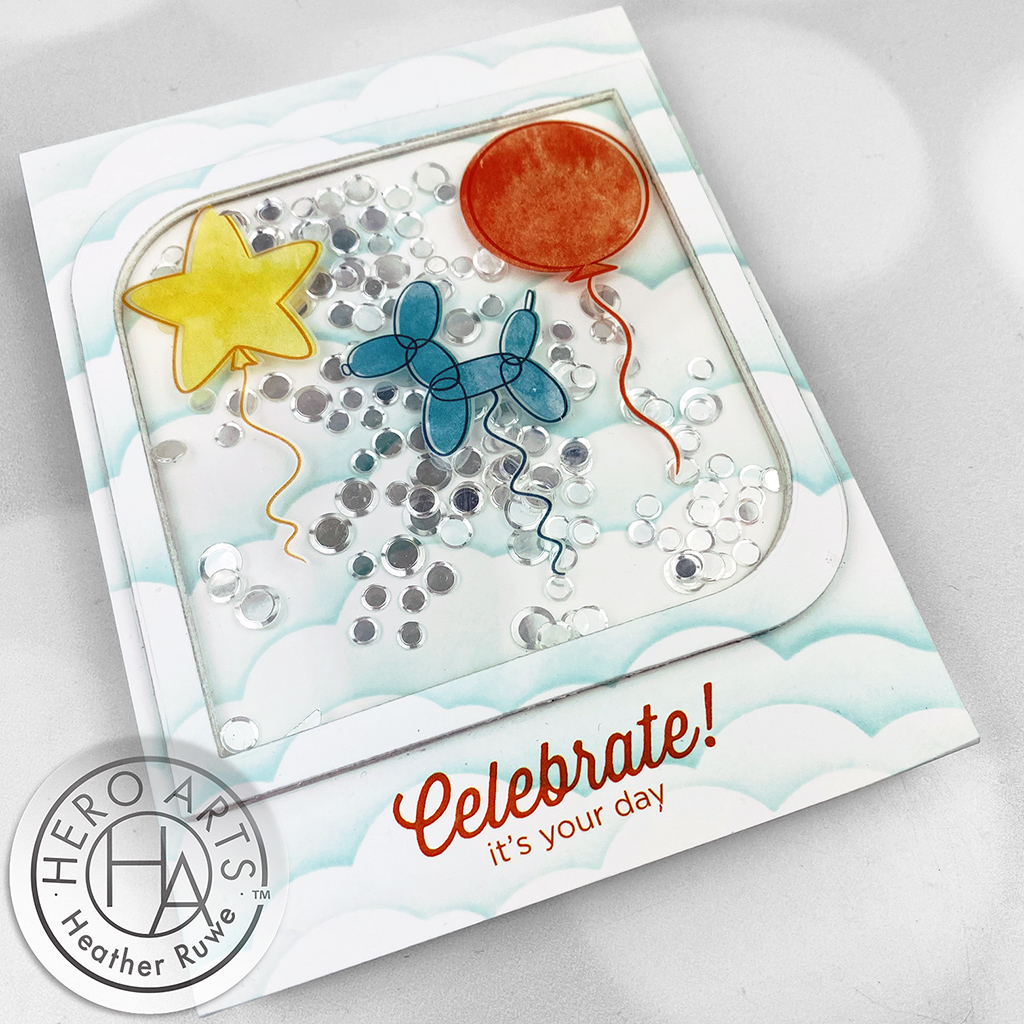
I adhered one of the frames in place and then adhered the center cloud stenciled piece inside of that. I kept adhering those frames on top of one another until I felt the sides were tall enough to accommodate the sequins that I was putting inside.
Before I added the final frame layer on top which is the stenciled cloud frame, I needed to cut a piece of acetate for the shaker window. I used a piece of acetate but you can use recycled packaging as well.
To get the right sized window, I used another rounded jewel die from that same die set. I used the size in between each of the sizes I used for the frame to get a perfect fit. When cutting acetate, I like to cut it on top of a piece of typing paper. I place a piece on top as well and this really helps avoid scratch marks that can be made from your die cut machine plates.
I added in some clear sequins I had in my stash. Once the sequins are in place, I adhered the acetate piece on top and adhered the final frame on top of the acetate which was the cloud frame that we cut from the panel in the very beginning.
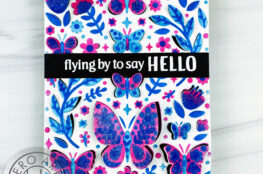
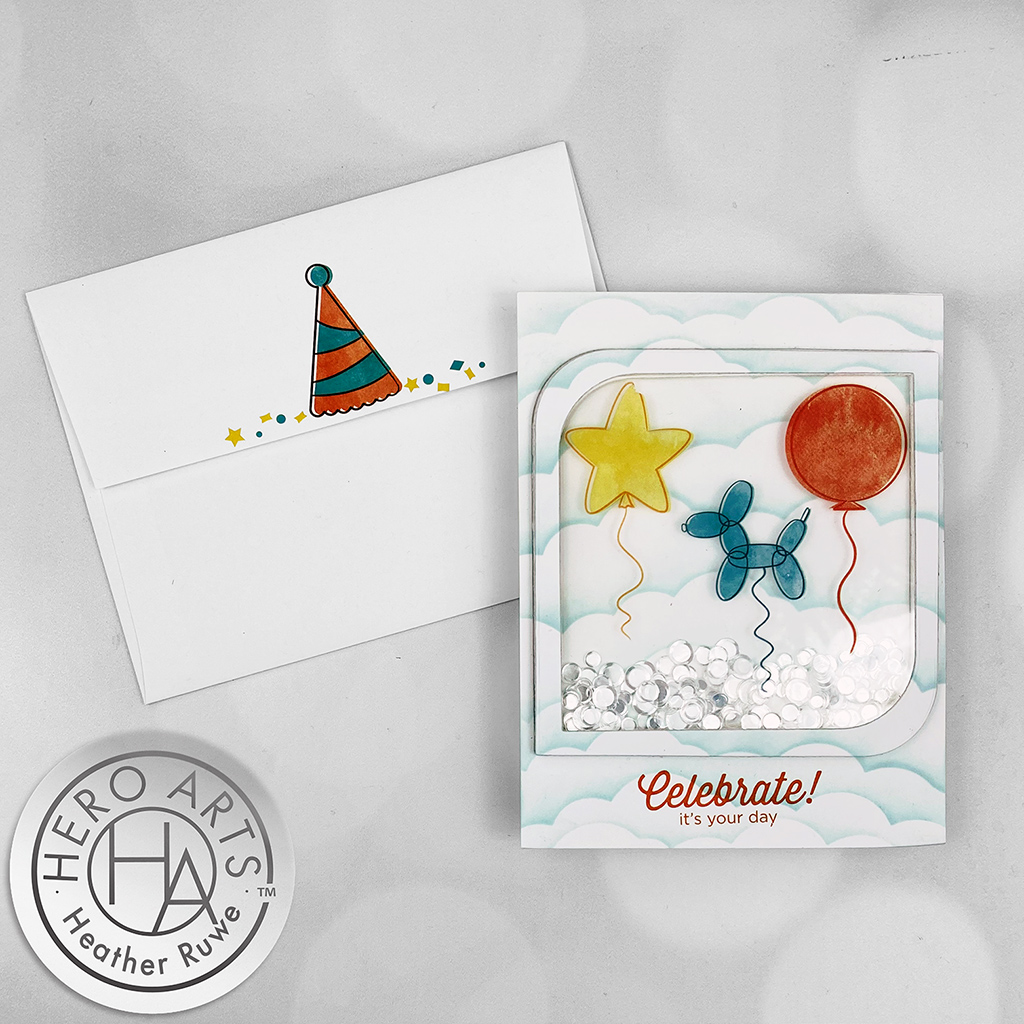
To decorate the front of the shaker window, I used Birthday Party Transfers. I also applied a sentiment rub on from the same sheet along the bottom of the card to finish off the design. I also decorated the flap of the coordinating envelope with a few of the remaining images from the same rub on sheet to tie everything together…
I hope this has inspired you to create a sharper card using your shape nesting dies.
Thanks for spending some time here today!
LINKS TO SUPPLIES USED:
(Affiliate links used at no extra cost to you. Thank you for your support.)