STAMPtember 2020 Party

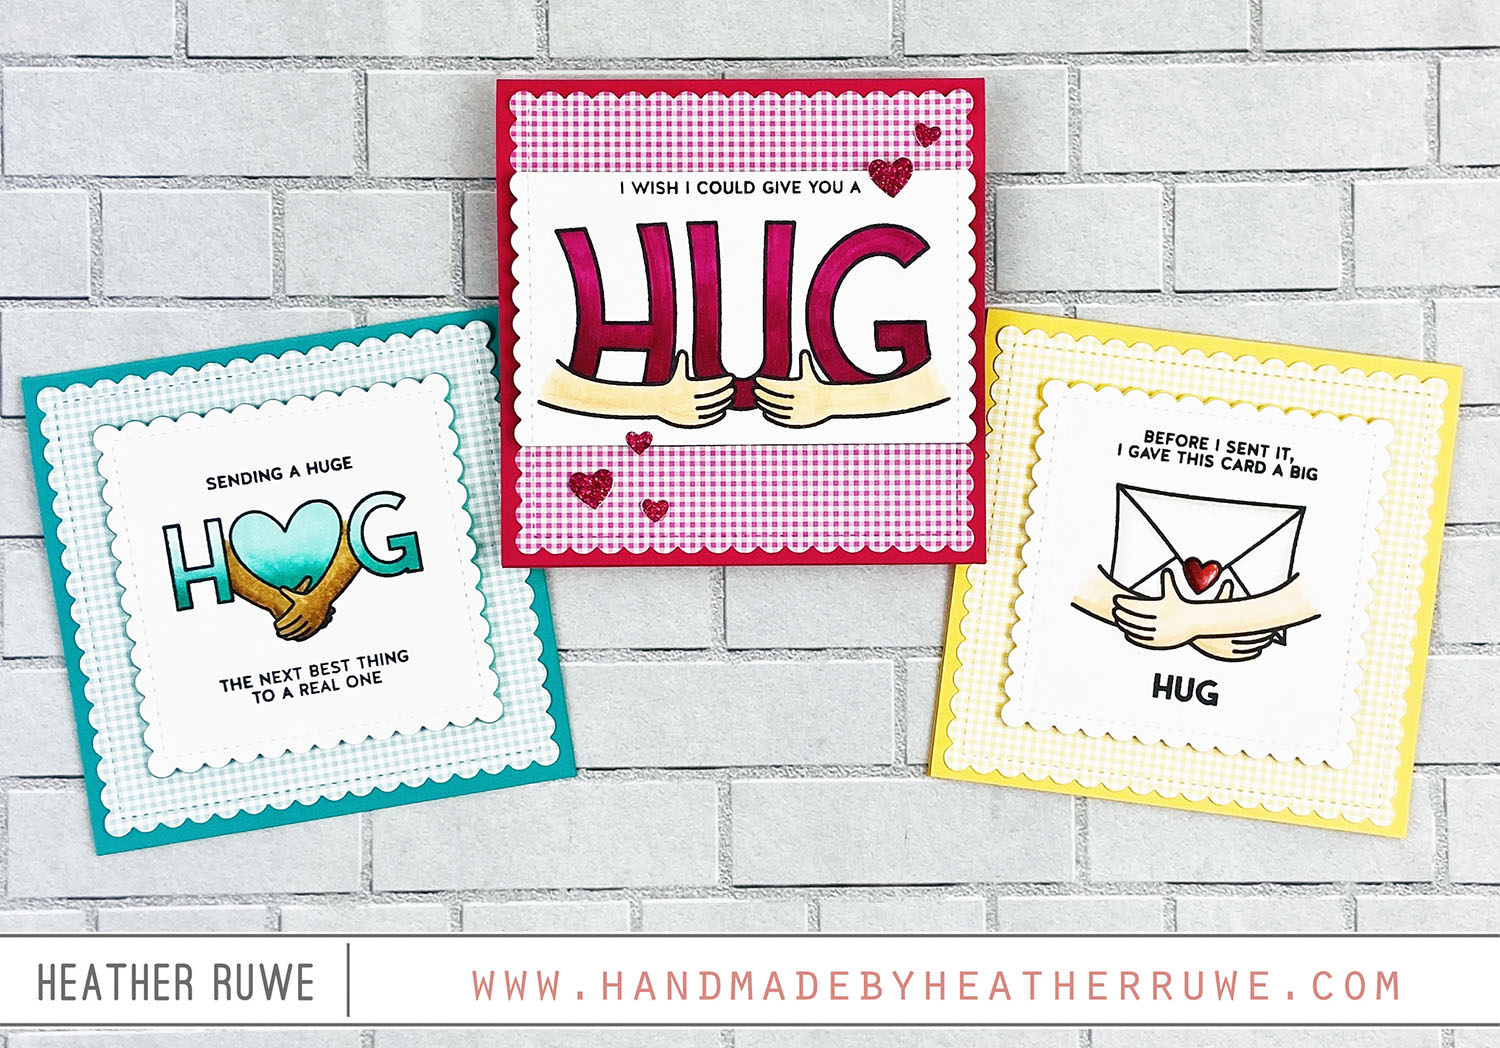
Hello, crafty friends. Welcome to the STAMPtember 2020 Party where we are celebrating THIS new release. I’m sharing three cards using my favorite stamp set from the release… I stamped the images from THIS new stamp set using THIS Copic friendly ink. After I colored the images with my Copic markers, I die-cut the panel using THESE scallop square dies. I also used the larger die from the set to die-cut the background using...

Sending Happy Thoughts

Hi, crafty friends. I’m back today with a slimline card design featuring products from THIS release… I started by die-cutting THIS slimline die from white card stock. I applied a variety of Distress Oxide inks to THIS work surface and spritzed water on top. I laid the die-cut panel panel on the ink, lifted, dried, and repeated the process. I removed a few of the strips so the black background could show through. I...

More Let’s Connect Release Inspiration

Hello, crafty friends. I’m back with a fun card using THIS new release… I stamped and colored THESE cute toilet paper images and used THESE dies to cut them out. I die-cut THIS repeating circles panel from black card stock and adhered a piece of pattern paper behind the openings. After adhering the images and sentiment in the openings, I adhered the panel to a card base that had THIS die-cut panel on the...

Sunny Smiles Slimline

Hello, crafty friends. I’m back today with a little sunshine using THIS new release… I started by embossing THIS die with THIS mat in my die-cut machine three times on a slimline panel that was cut using THIS die. I lined up THESE stencilsĀ on top of the embossed sun image, lined it up, and inked over it using all four stencils. Next, I applied ink through THIS stencil to create a cloud background. I...

Let’s Connect Release Rainbow Cards

Hi, crafty friends. I love creating shaped cards for something fun and unexpected. THIS new rainbow die from THIS new release makes it so easy… I started by die-cutting THIS rainbow card base. I die-cut an extra card base for each card, cut them apart and adhered them to the back of each main card base to add more stability. For the first card, I die-cut the rainbow pieces from patterned paper and the...

You are Loved Card

Howdy, crafty friends. I shared a card a couple weeks ago on Instagram stories just for fun and I received a few questions so I thought I would share it here for all the details… I started by stamping THIS heart border on a rainbow assortment of card stock. I used THIS coordinating die to cut them out and adhered them down to a piece of kraft card stock that was cut down to...

Kid’s Artwork Cards

Hello, crafty friends. Today’s cards features art work from my son… I’ve saved many pieces of his sweet little art. Instead of storing all of them, I use some of them to make cards from. For all three of today’s cards, I used his rainbow drawings/paintings to create backgrounds for cards. For all of the sentiments, I white heat embossed a few from THIS stamp set on to black card stock. For the first...

Post Box Shaped Card

Hi, crafty friends. I love making shaped cards to mix things up and THIS post box die makes it so easy… I started by die-cutting THIS post box die from THIS card stock. After assembling the card, I added some envelopes and hearts (from an older SSS die) as well as a white heat embossed sentiment from THIS stamp set. I added some shine with THIS on the hearts. I also added a die-cut...

Product Showcase: Ink, Mini Blending Brush, and Shimmer

Hi, crafty friends. Today’s post is a bit different. I’ve been playing with some new crafty goodies and they have won my heart so I thought I would share more about them here in a product showcase… I created a card using all three of the products together…. CONCORD AND 9TH INKS First, let’s talk about THESE new Concord & 9th inks… They are a dye ink pad that have a extra firm foam...

Even More Send Happiness Inspiration

Hi, crafty friends. Today’s card share is full of sparkle and shine and features a few products from THIS release… I started by applying three blue shades of Distress Ink through THIS stencil. Before removing the stencil, I applied THIS on top using THIS tool. I stamped, colored, and fussy cut out images from THIS stamp set. I created sand at the bottom of the scene by die-cutting THIS border from THIS card stock....