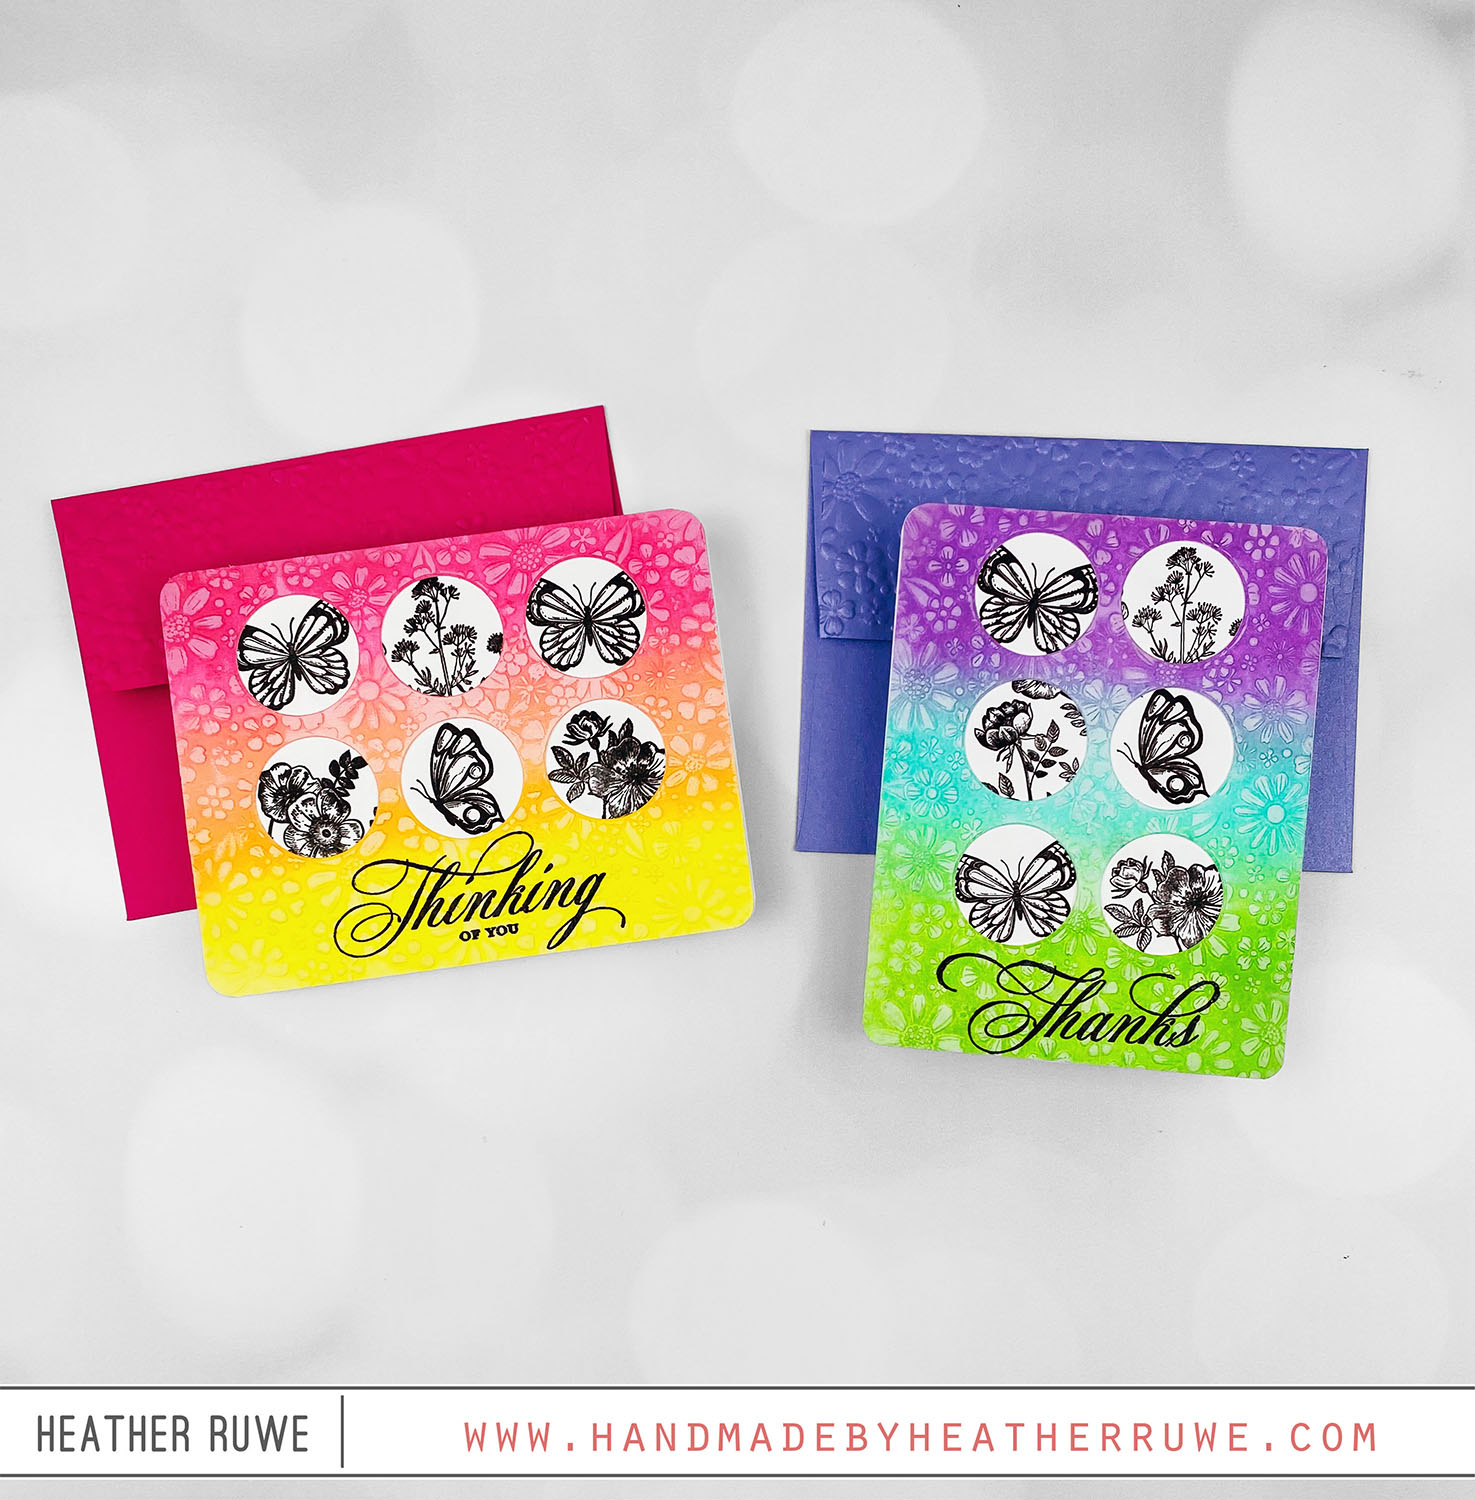
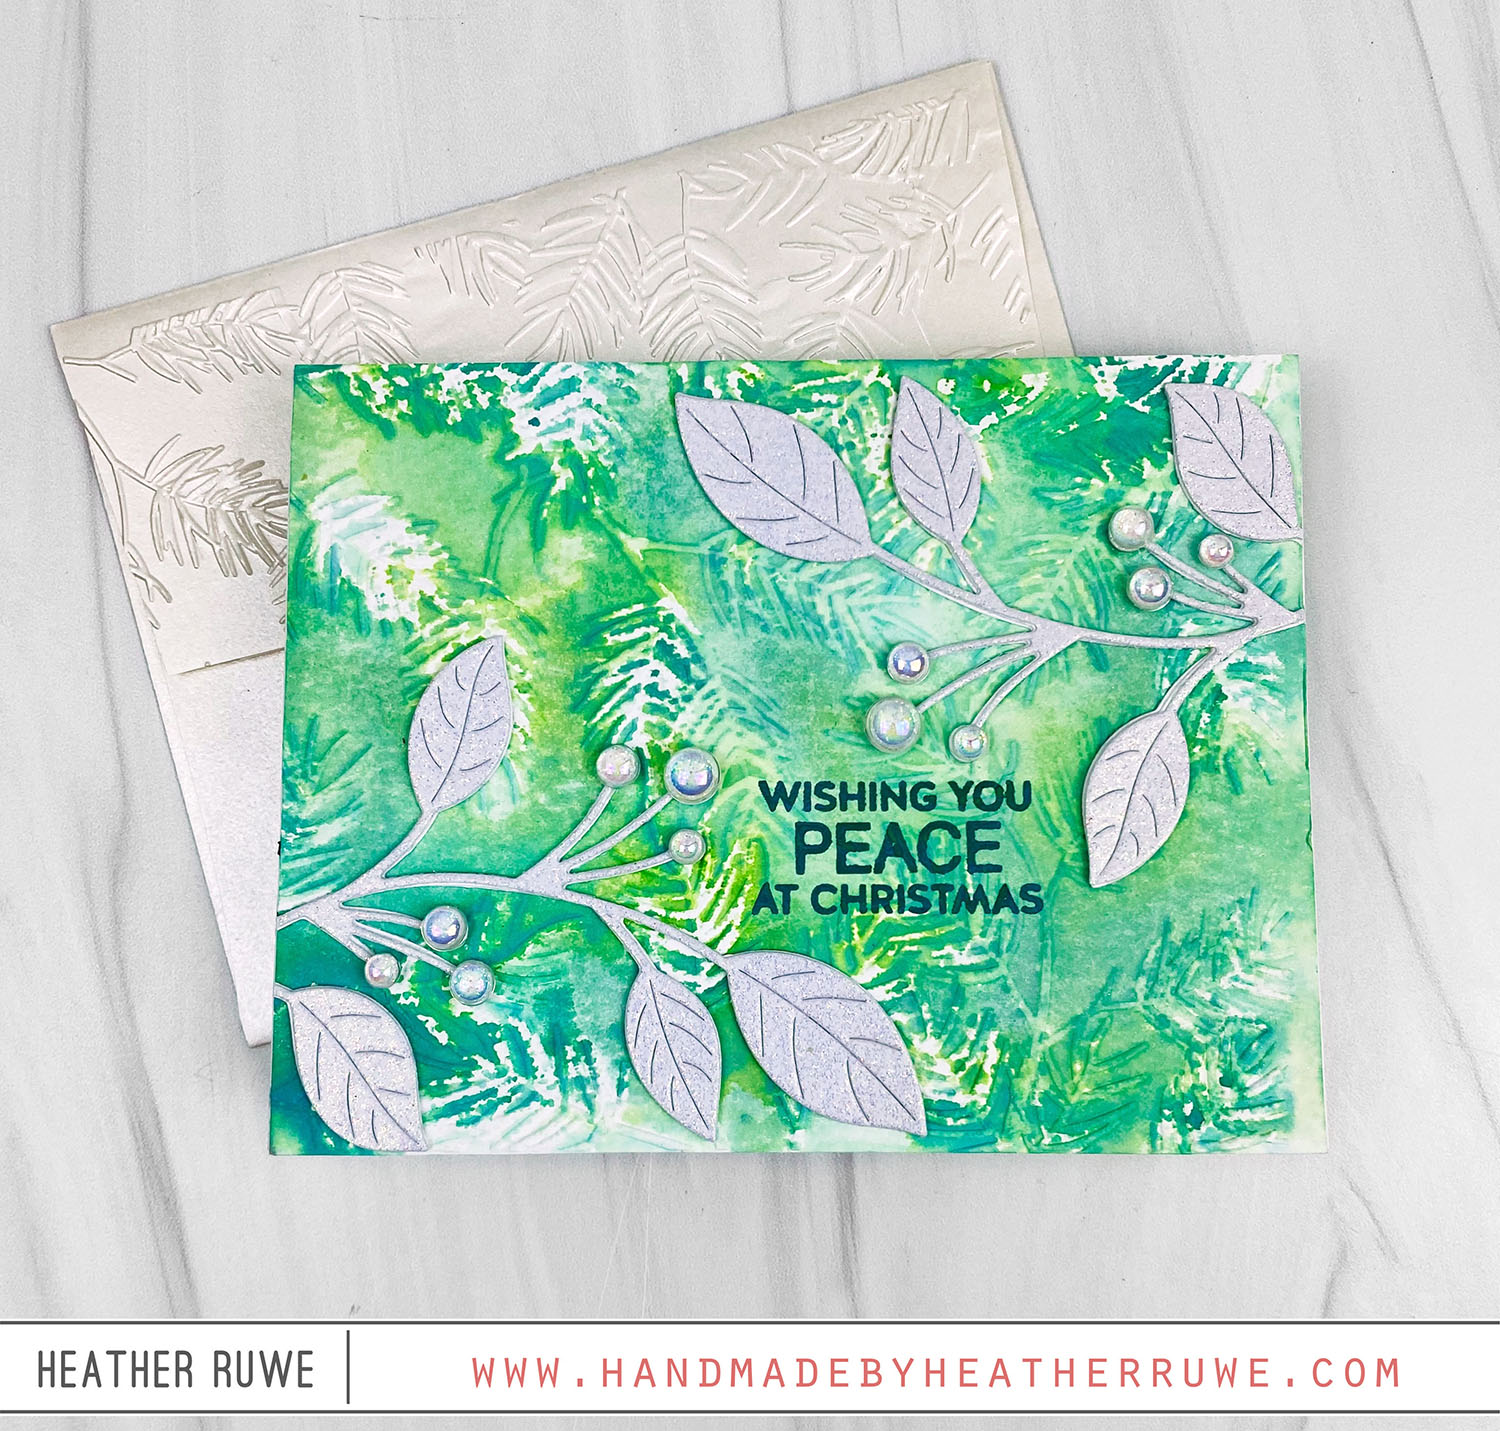
Sunny Smiles Card Kit

Hi there, crafty friends. Today’s card features THIS new card kit… To create these cards, I started by embossing THESE Color Blend Panels with THIS embossing folder (all included in the kit). After adhering the panels to top folding white note cards. I stamped the sun image from THIS stamp set from the kit twice. One i yellow and one in orange. I fussy cut them out and adhered them to the embossed panels...

Embossing Folders + Gel Plates

Hello there, crafty friends. Today’s cards were inspired by the last day of THIS Embossing Folder class from Online Card Classes where Jennifer McGuire taught a lesson on embossing folders and gelli plates… I love this technique as it creates two cards from one technique. For each set of cards, I would ink up THIS gelli plate with Distress Oxide inks, press the embossing folder on top of the gelli plate into the ink...

Double Embossed Background

Hello, crafty friends. Today’s cards were inspired by day four of THIS Embossing Folder class from Online Card Classes where Cathy Zielske shared using two embossing folders on one card… To create this card, I started by ink blending a white panel with Distress Oxide inks. Next, I ran it through my die cut machine with THIS embossing folder. Then I ran it back though with THIS embossing folder. It’s hard to see in...

Embossing on Die cuts

Hello, crafty friends. Today’s cards were inspired by day three of THIS Embossing Folder class from Online Card Classes where Yana Smakula shared embossing on die cuts… To create this card. I started by stamping THIS text background on a gray piece of cardstock and adhered it to a top folding note card. I cut a piece of green card stock with THIS die and then embossed it with THIS embossing folder. I ink...

Adding Ink to Embossing Folders + GIVEAWAY

Hello, crafty friend. Today’s cards were inspired by Day Two of THIS new Embossing Folder class from Online Card Classes… Jennifer McGuire shared how to add ink to embossing folders which I did on today’s card. To create this card, I started by applying blue Distress Oxide inks on the inside (raised side) of THIS embossing folder, spritzing it with water and laying a blue A2 panel on top and running it through my...

Partial Embossed Note Card Set + Giveaway

Hello, crafty friends. Today’s cards were inspired by Day One of THIS new Embossing Folder class from Online Card Classes… Mindy Eggen shared some examples of partial embossing and I thought I would experiment with THIS glossy Color Blend Cardstock. I LOVE the results. I used THIS stamp set and THIS coordinating die set for all of the sentiments. For the first card… I used THIS embossing folder to emboss the bottom of the...

Happy Retirement Card

Hello, crafty friends. I have a retirement card to share today featuring THESE layering stencils, THIS embossing folder, and THIS sentiment set… To create this card, I applied ink through THESE layering stencils on a yellow A2 sized panel. On the last layer, I applied THIS gold paste for the flower centers to give some shine and dimension. Next, I embossed a piece of pink cardstock with THIS embossing folder. I cut it and...

Be Bold Release-Cherry Blossom Embossing Folder

Hello there, crafty friends. I have more inspiration to share today using THIS new release… To create this card, I die cut one of THESE hearts from a center of  THIS watercolor cardstock and embossed it with THIS embossing folder. I also cut a heart from the front of a white note card in the same spot as the panel. Before embossing the cardstock, I spritzed it with a fine mist of water on both...

Bee Happy Card Kit

Hello there, crafty friends. Today’s card features THIS new card kit… I started by applying ink through the kit’s layering stencil to create the main focal image. I die cut it using THIS stitched rectangle die and then added dry embossing on top using the kit’s embossing folder. I love adding texture to an inked background! Next, I added a brown mat behind the panel and adhered it to a top folding white card...

Dry Embossing over Inking

Hello, crafty friends. Lately, I’m all about adding dry embossing over an inked background to add lots of texture and interest . Today’s card features that technique… To create this card, I started by inking up stripes diagonally across a white A2 panel. I used THIS tape to tape off random strips and create a rainbow pattern. Next, I temporarily adhered the panel to a top folding card base and used THIS coordinating die...