Let’s Get Coffee Card

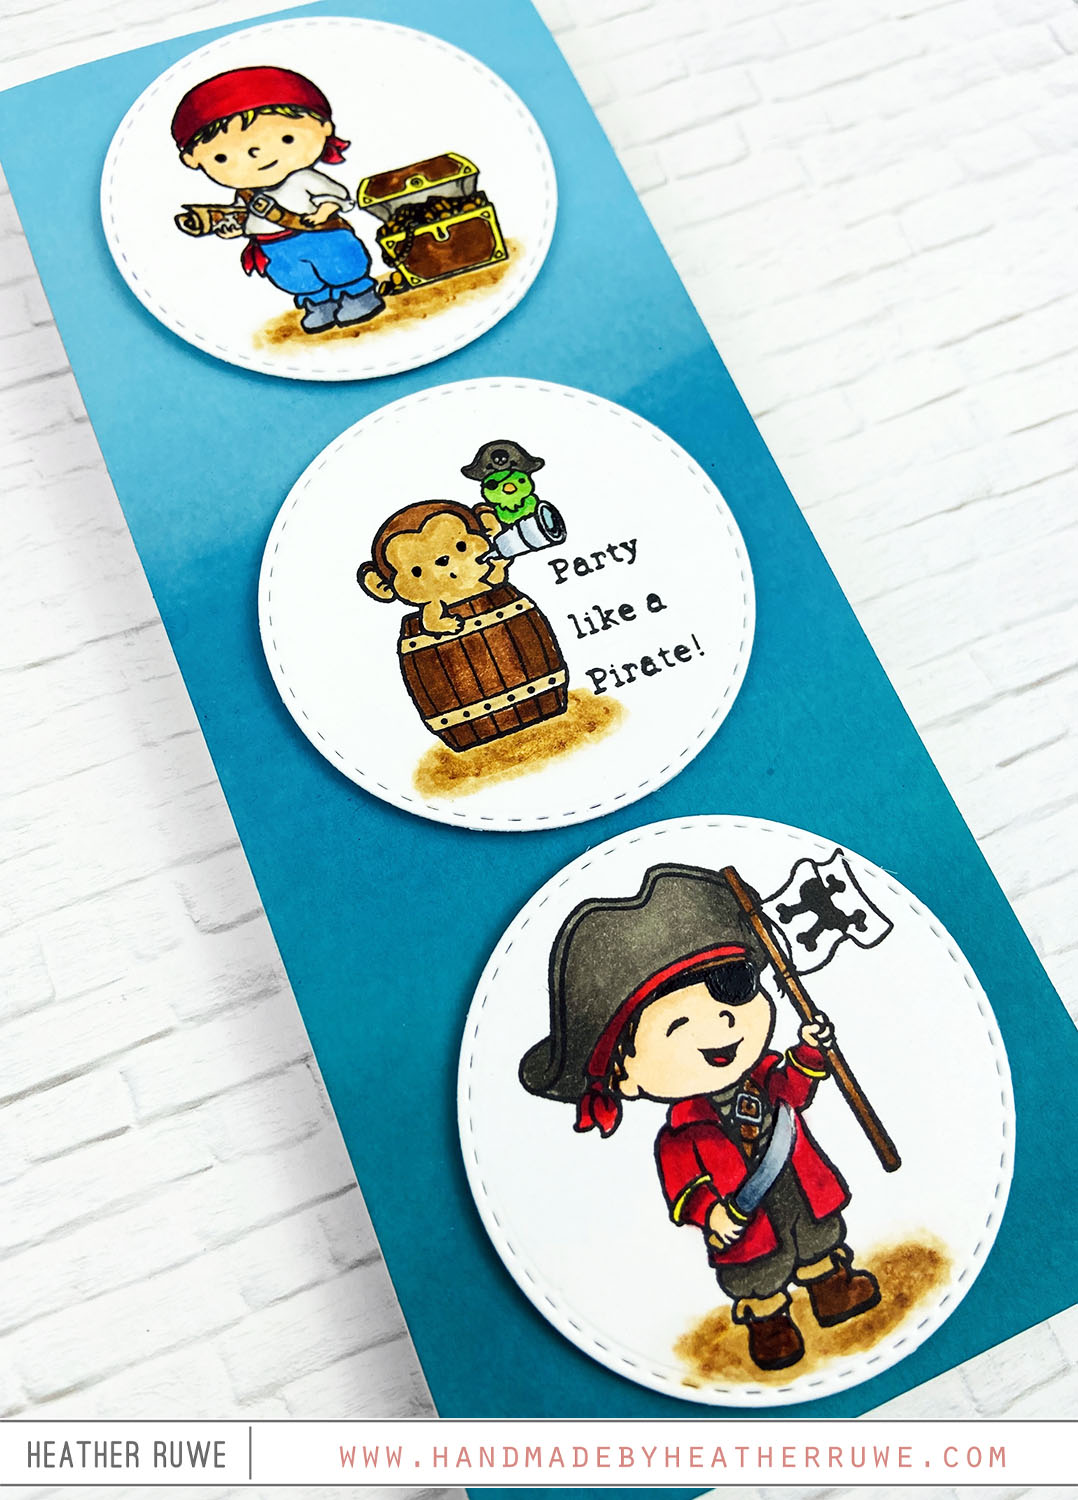
Happy October, crafty friends. STAMPtember has wrapped up but there are still a few projects that I didn’t get a chance to share… I started by stamping the background with THIS background stamp. Next, I used a single image from THIS stamp set and used THIS stencil as a guide to create a repeating circle pattern with it. I colored in the images with Copic Markers and stamped a sentiment from the same stamp...

Art Impressions STAMPtember 2020 Collaboration

Hello, crafty friends. THIS is the final STAMPtember collaboration stamp set and it from Art Impressions. I started by stamping the main image from THIS stamp set on THIS paper. I chose Bristol paper because I colored the images with THESE markers and the Zig markers blend well on that paper. I die-cut THIS border to create a snow bank and adhered it to the bottom of the card. I added lots of THIS...

Ink Blot Shop New Release

Hi, crafty friends. I’m sharing several cards today featuring products from THIS new release from the Ink Blot Shop… For the first card… I stamped THIS background and die-cut it with THIS stitched rectangle die. I stamped, colored, and fussy cut out THIS teacher image and adhered it to the top of the stamped sentiment from THIS stamp set. I added the panel to a black note card and finished off the design with...

Happy Fall Y’all October Card Kit

Hi there, crafty friends. Today’s card features THIS new card kit from Simon Says Stamp… I started by stamping all of the images from the kit’s stamp set. Since this is a one layer card, I stamped the images that would be in front first. I stamped the pumpkin, the owl and the leaf on the left first. I also stamped them on THIS masking paper and cut them out. I laid the mask...

Concord & 9th STAMPtember 2020 Collaboration

Hi there, crafty friends. THIS stamp set from Concord & 9th is the next STAMPtember collaboration stamp set… I stamped the wreath image from THIS stamp set and colored it with Copic markers. I stamped a sentiment from the same stamp set in the center and fussy cut out the image. I adhered it to a panel cut with THIS die and stamped with THIS background stamp. I added some of THIS and THIS...

Sugar Pea Designs STAMPtember 2020 Collaboration

Hello there, crafty friends. Happy STAMPtember! The party continues with another exclusive collaboration stamp set. This time it’s from Sugar Pea Designs… I started by swiping three different colors of Distress Ink direct to paper, across a slimline panel. I die-cut three of THESE stitched circles and stamped the adorable images from THIS stamp set and colored them with Copic markers. I stamped a sentiment from the same stamp set on the center circle...

Lawn Fawn STAMPtember 2020 Collaboration

Hello, crafty friends. I’m so excited about today’s collaboration stamp set from Lawn Fawn… Isn’t THIS stamp set the cutest!? I stared by inking up a slimline panel using THIS ink. I just swiped the color on generously to create a quick sky background. Next, I stamped and colored the images from THIS stamp set and used THESE coordinating dies to cut them out. I black heat embossed a sentiment from the same stamp...

Let’s Connect Release-Gnome School

Hi there, crafty friends. I have another card to share using THIS release… I started by stamping, coloring, and cutting out images from THIS stamp set. I clear heat embossed THIS background stamp on a kraft panel and die-cut THIS banner. I added a miss you sentiment from THIS sentiment strip set and added THIS die-cut teacher word to complete the sentiment. After adhering down all the pieces to the card base, I added...

Let’s Connect Release-Unicorn Love

Hello there, crafty friends. I’m back today with more inspiration using THIS new release… I started by stamping and coloring THESE unicorns. I cut from one corner of the card diagonally to the next corner of the card. I repeated that on the other side, creating four pieces. I adhered them back together on a card panel that was covered in THIS holographic card stock. When adhering them down, I separated the pieces a...

One Layer Card

Hello, crafty friends. I have a simple one layer card to share featuring lots of Copic coloring… I stamped THIS image using THIS Copic friendly black ink. I colored it in with Copic Markers and stamped a sentiment from THIS stamp set in the upper right hand corner. It’s hard to see in the photograph, but I added THIS to all the flowers for some shine and THIS to some of the centers of...