Hello there, crafty friends. Today’s card features product from THIS new release by Simon Says Stamp… To create this card, I stamped the Color Wheel Background stamp using black pigment ink and clear heat embossed it. I chose to heat embossed to prevent the watercolor from bleeding in between the lines. I used my Zig Clean Color Real Brush Markers to color the top portion of each row and then pulled the color down...
Sunshine and Rainbows Watercolor Prints
Hi, crafty friends. I thought I would kick off the week with a rainbow card… I’m a big fan of Suzy’s Watercolor Prints because they make quick cards and they are great to throw in your bag for on the go coloring. I colored one of the prints from the Sunshine and Rainbows pack. In that pack, there are two prints of each design. I colored in the rainbow with Copic Markers… and used...
All the Feels Release
Hello there, crafty friends. Simon has a new release HERE and my favorite stamp set from the release is the Front Porch stamp set along with the add-on stamp sets. I love the uniqueness of the stamp set and decided to make a few scene cards to show you some of the possibilities… For the first card… I used the Front Porch set along with the Front Porch Doormat Sayings to create a spring...
New Ink Blot Shop Release
Howdy, crafty friends. I have two cards to share using THIS new release from the Ink Blot Shop… To create the first card… I started by stamping the image from the Happy Mail Heart stamp set on to a white card stock panel and coloring it with Copic Markers. I used basic rectangle dies to create a thin border frame. I sandwiched some acetate between the layers of the frame and added some small...
Reverse Confetti March Release Blog Hop
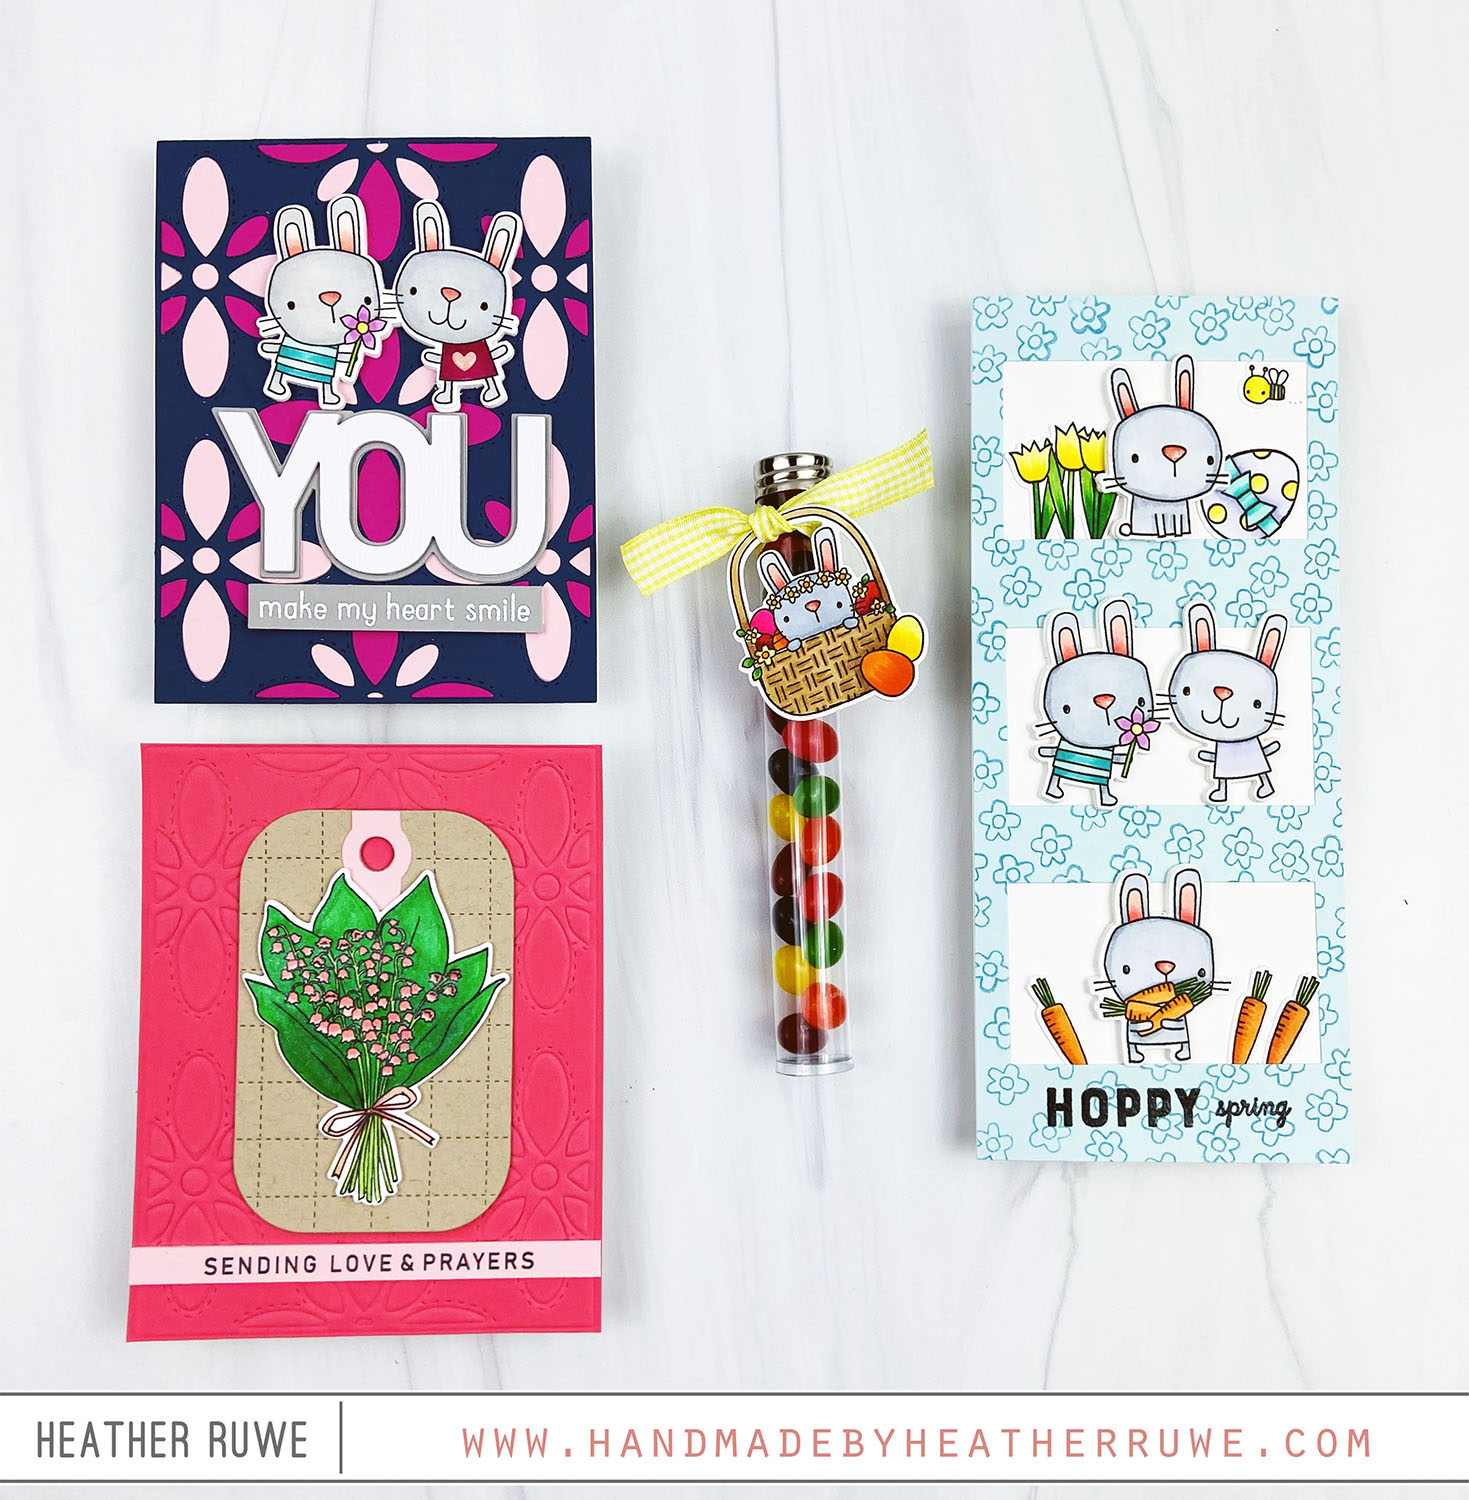
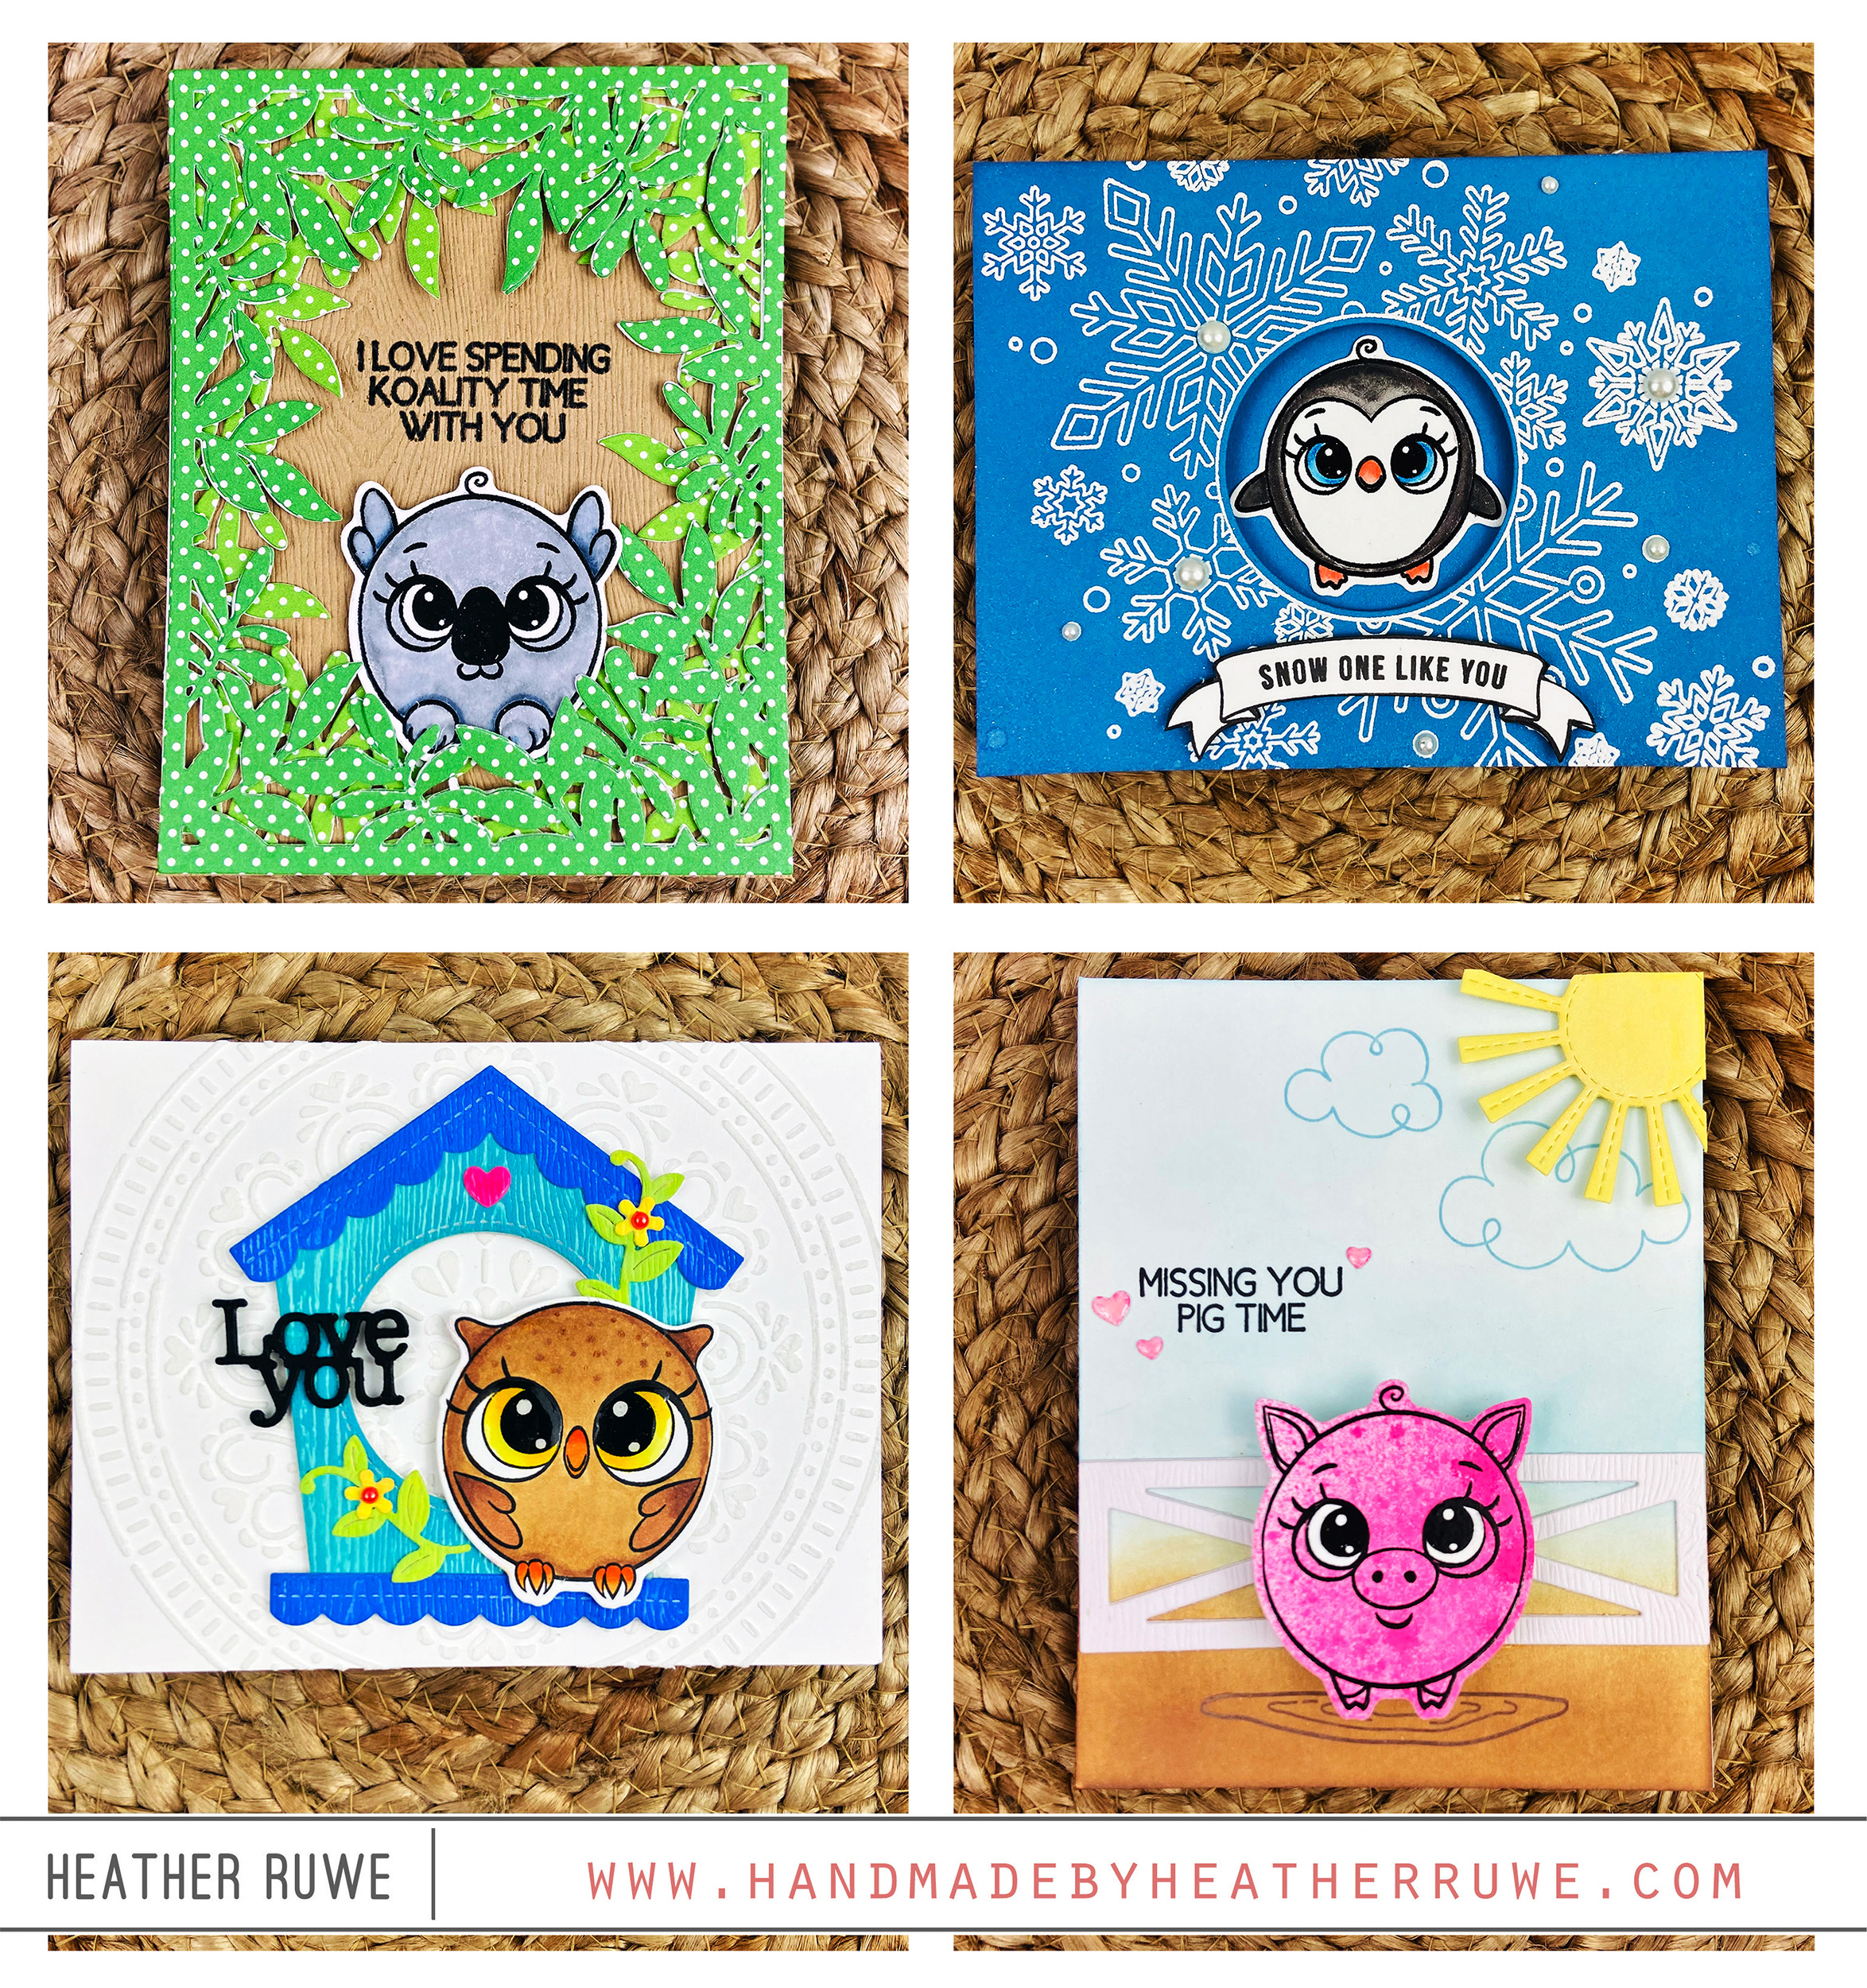
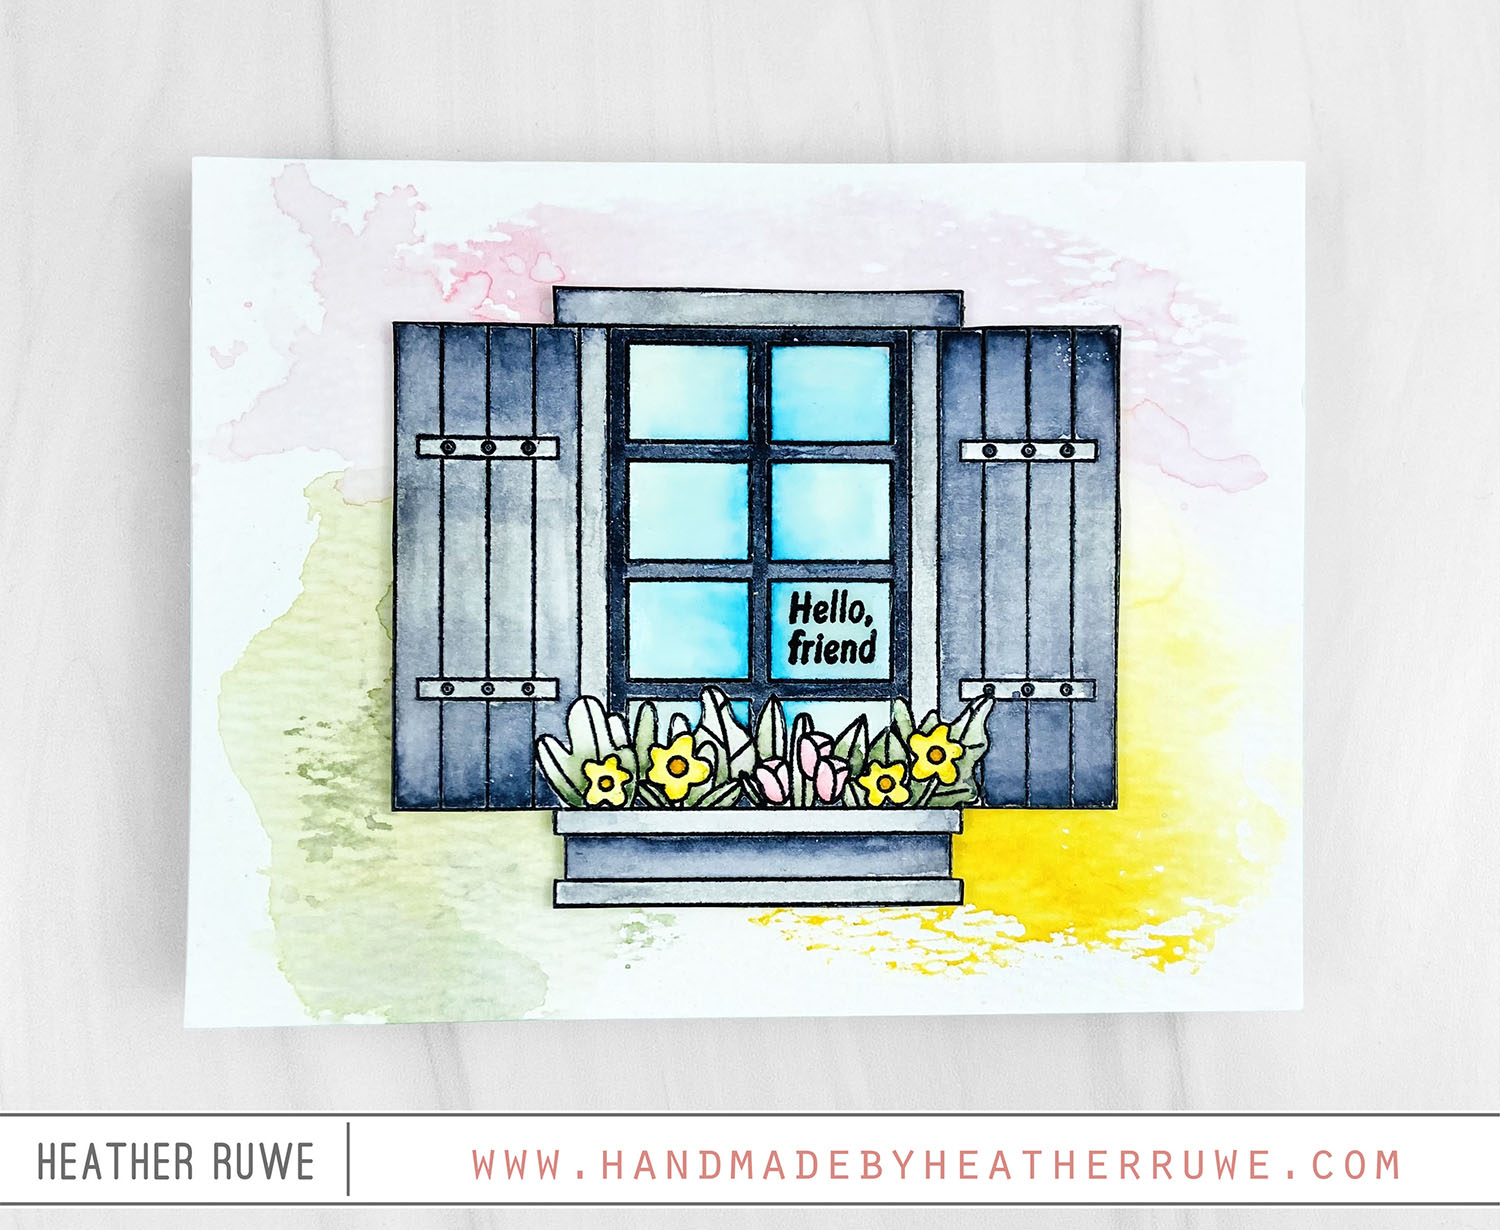
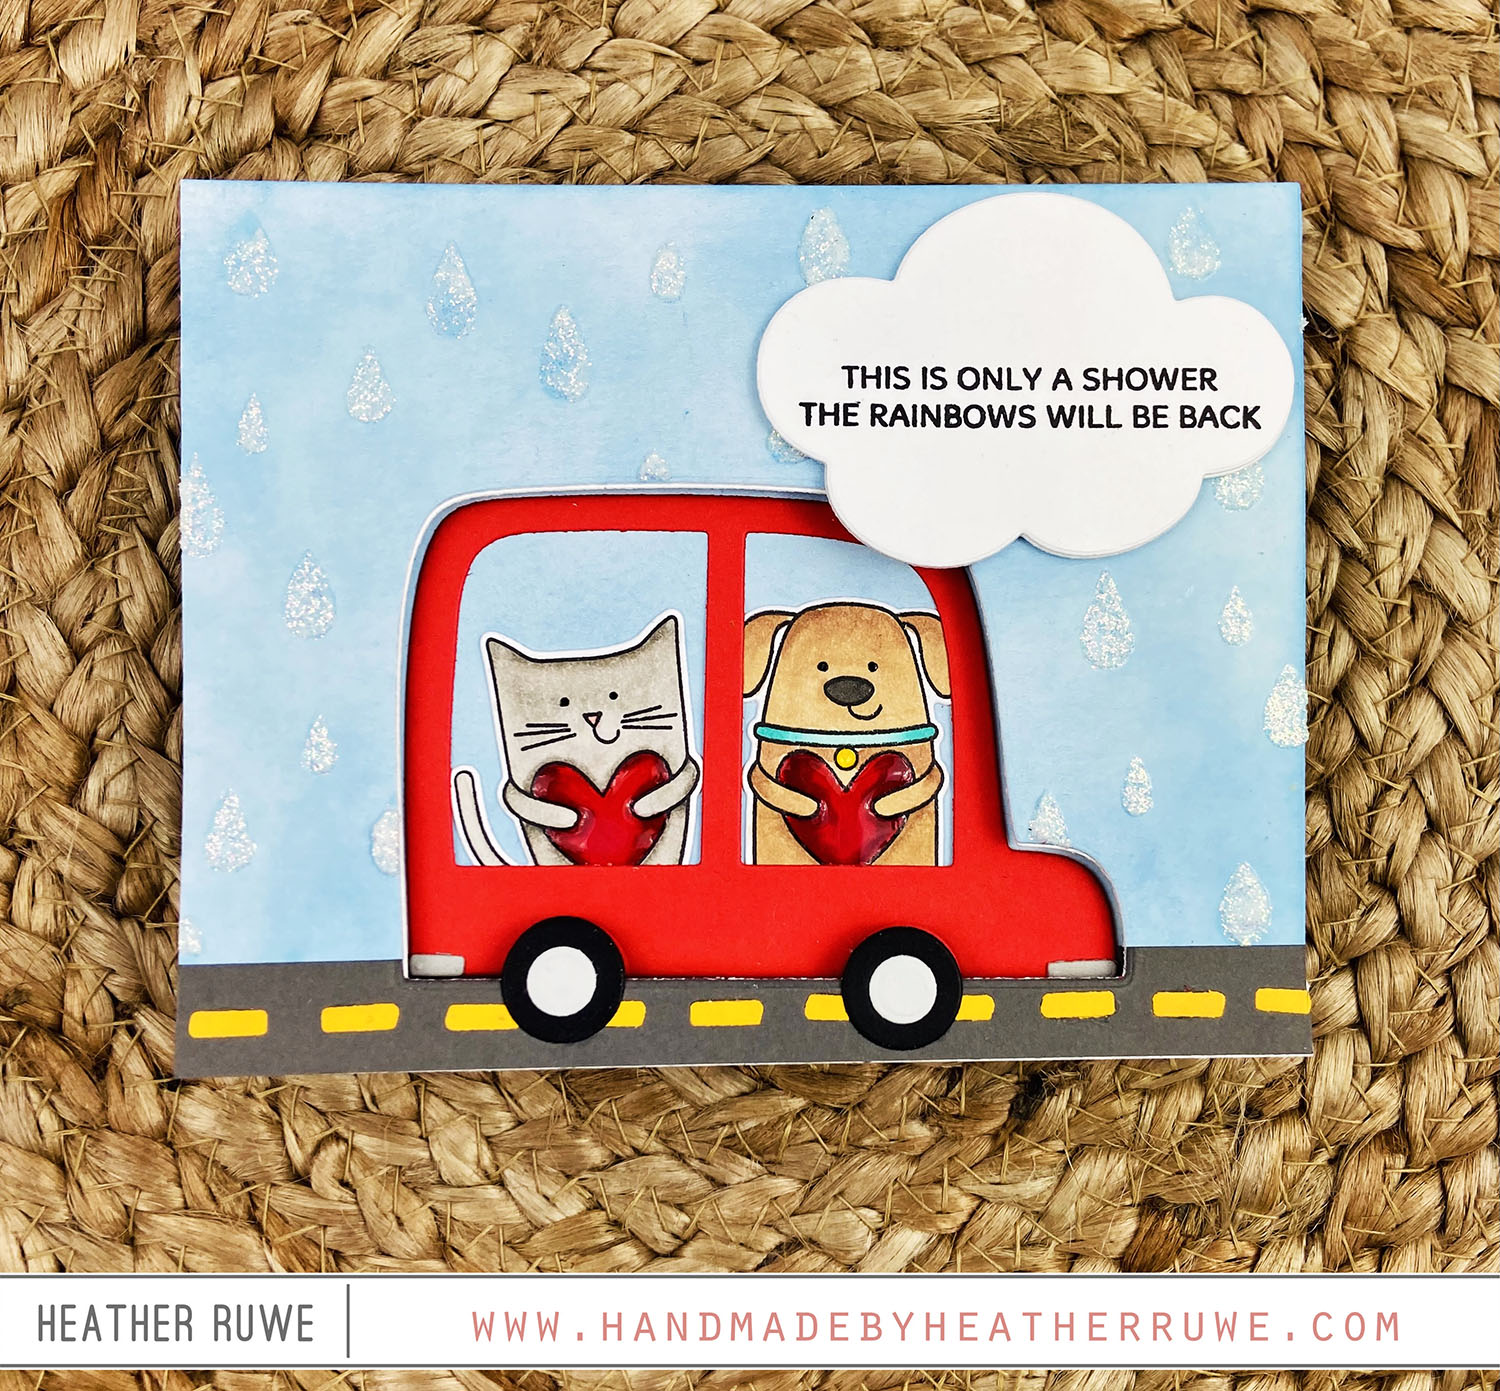
Hi, crafty friends. I’m thrilled to announce that I will be joining the Reverse Confetti team during their blog hops to celebrate their new releases. I have four projects to share today featuring THIS new release… For the first card… I started by die-cutting the big flowers cover panel from a few different colors of card stock and inlaying the pieces to create a fun background. I stamped and colored the bunnies from the...
Roundimals Roundup
Howdy, crafty friends. Have you seen the Roundimals stamps and dies from Brutus Monroe? They have stolen my heart and I wanted to share the projects I made with them… For the first card… I stamped and colored THIS adorable owl and used the included coordinating die to cut it out. I started by applying white texture paste through THIS stencil to add subtle interest to the background. I die-cut the pieces from THIS...
Spring Windows Card Kit
Happy Valentine’s Day, crafty friends. Today’s card share features THIS March Card Kit from Simon Says Stamp… I started by scribbling the three distress marker colors (included in the kit) over a piece of acetate. I just recycled a piece of packaging. I spritzed a bit of water on top and laid it on top of a watercolor card stock panel. I stamped the window image as well as a coordinating sentiment from the...
Scene Changing Card
Hello there, crafty friends. I have a scene changing card to share today… I started by inking up the front and inside of the note card with Tumbled Glass Distress Oxide ink. After it was dry, I applied glitter glitz gel through THIS stencil and die-cut three clouds. I stamped a sentiment from THIS stamp set on the top layer and adhered the remaining clouds underneath for dimension. I added a strip of gray...
Boho Circle Card
Happy Friday, crafty friends. I’m back today with a project featuring a faux stained glass look… I die-cut THIS die through two pieces of A2 sized white card stock at the same time. It cut through the top layer completely and it only made an impression through the bottom piece. With any intricate die, I use a metal shim in my cutting sandwich. I used the bottom impression piece as a guide on where...
Wonderful Banner Card
Hi, crafty friends. I have a bright and bold card to share today… I die-cut THIS background die three times and adhered them on top of a white note card. I stamped and colored THIS banner image and used THIS coordinating die to cut it out. I added THIS to the flowers for some shine. What I love about the stamp set is it comes with individual flower images so you can color and...