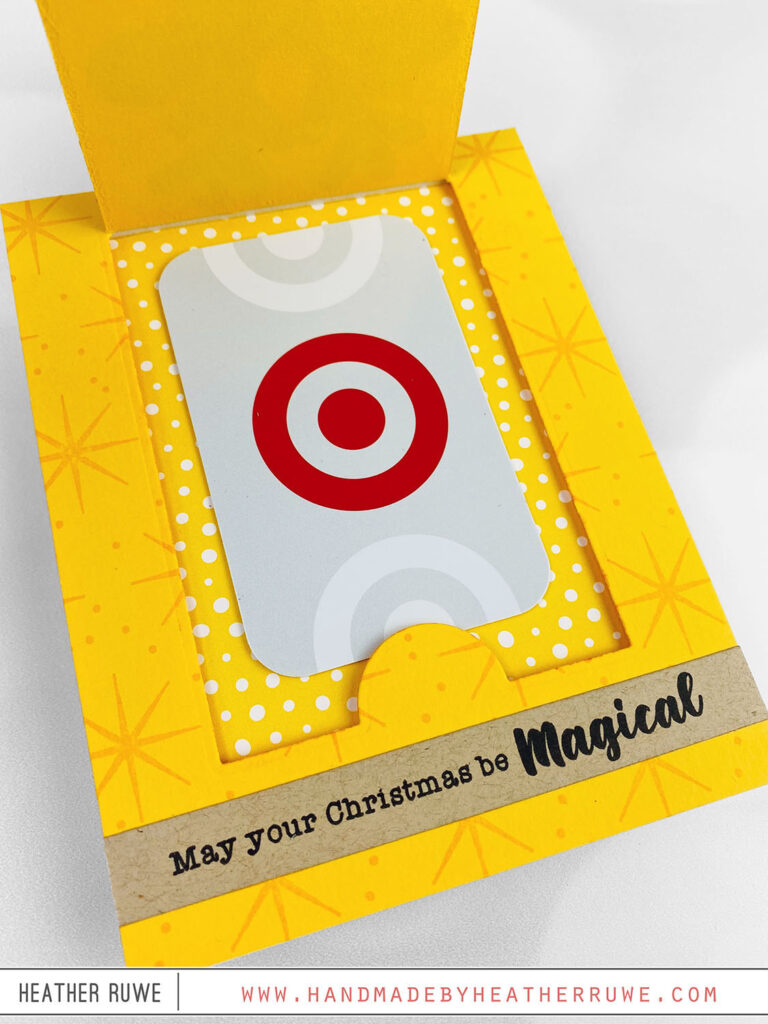
Hi there, crafty friends. I’m excited to be part of THIS Blog Hop celebrating THIS new release. I have a card set to share that features a reveal window that can hold a gift card…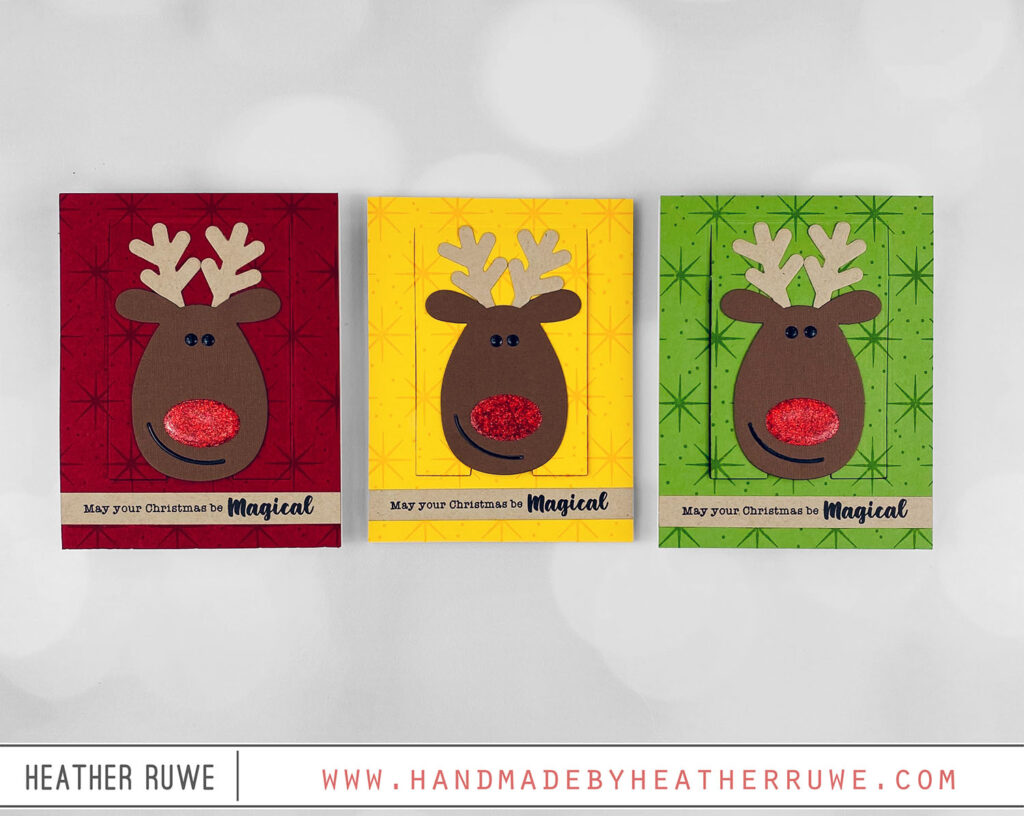
VIDEO
You can watch the video on how I created these cards HERE or click on the video below…
I started by die-cutting THIS Reindeer Parts die using a variety of cardstocks. I cut the main portion from a textured cardstock, the antlers from Kraft cardstock, the eyes and smile from black glossy cardstock, and the nose from red glitter paper. Specialty cardstocks are such an easy way to add texture and interest to a die-cut image.
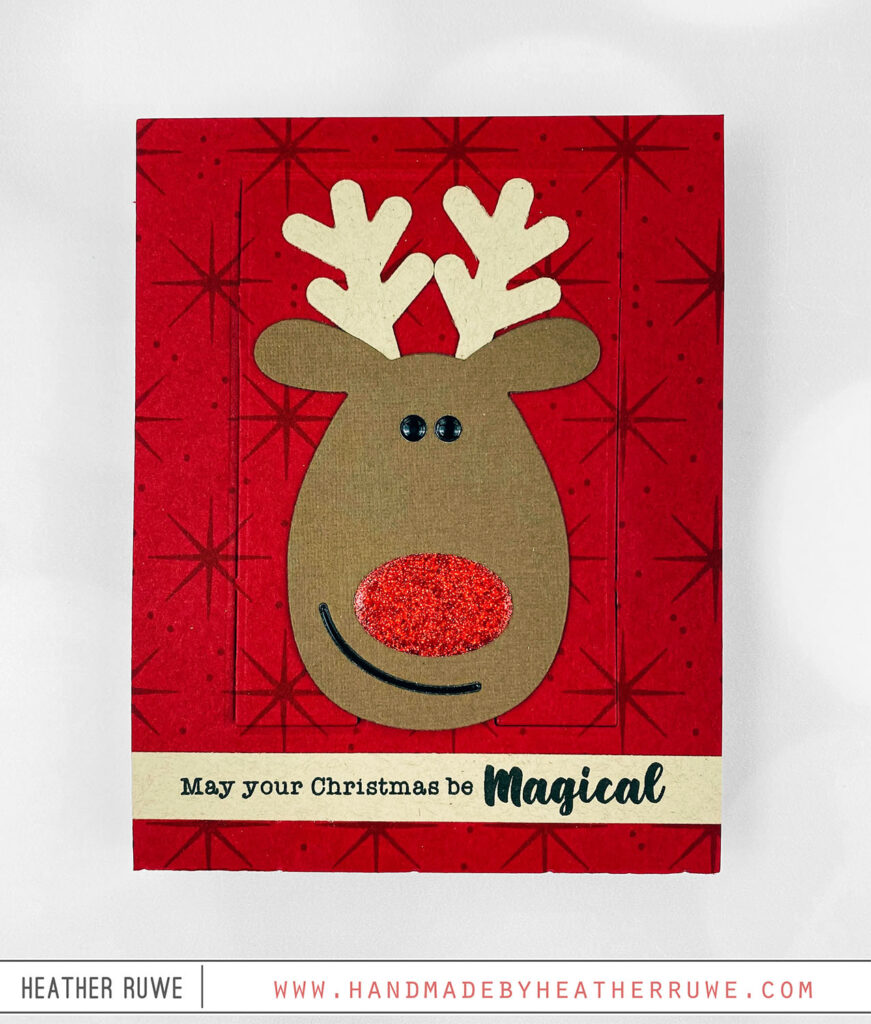
I wanted the smile to be inlaid so I cut the smile die from the reindeer head and then cut another solid head piece so I could glue the smile flat inside the opening. This also allowed for the antlers to be sandwiched inside the two die-cuts.
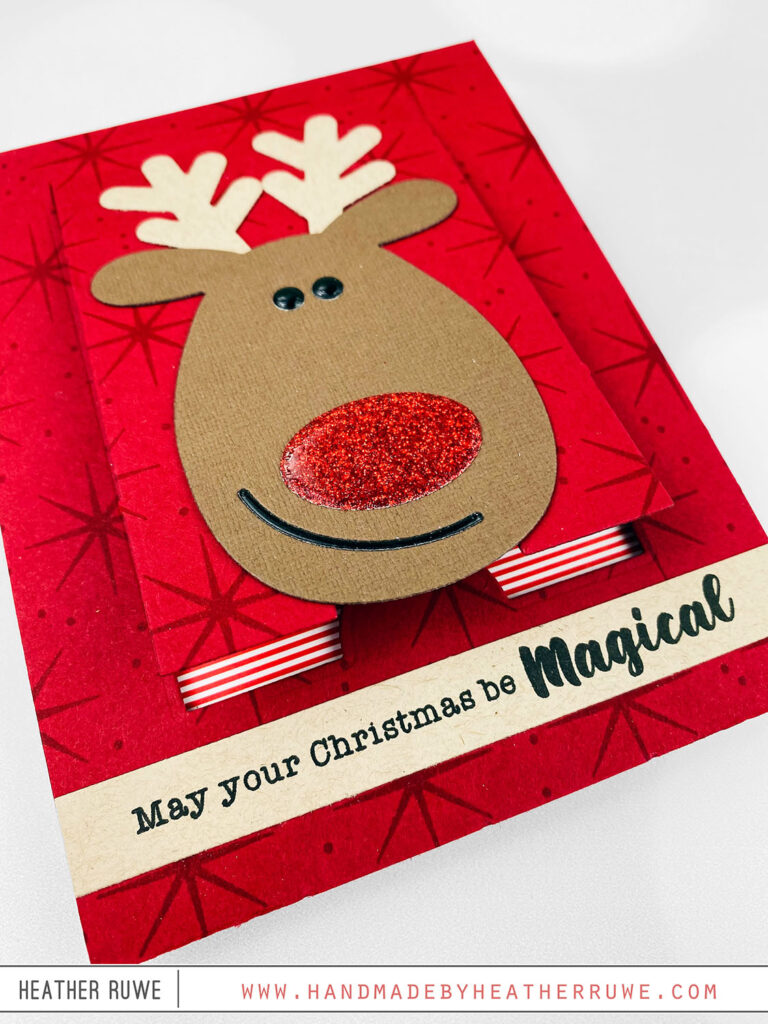
Next, I stamped THIS Christmas star background on and A2 red cardstock using red ink. I die-cut the largest die from THIS Reveal Windows Dies from the stamped piece. These windows only cut three sides and scores the top, creating a window. The die actually seals the window shut in case you want the recipient to pull it or tear it open but I wanted mine to be open so I just snipped those four connector pieces.
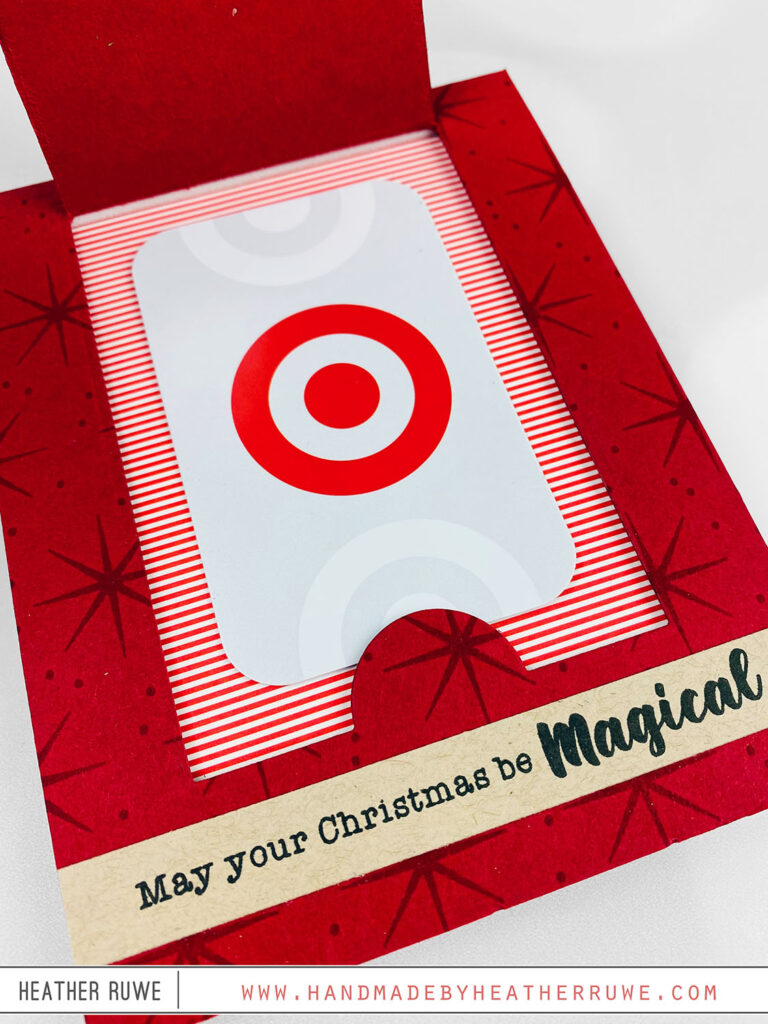
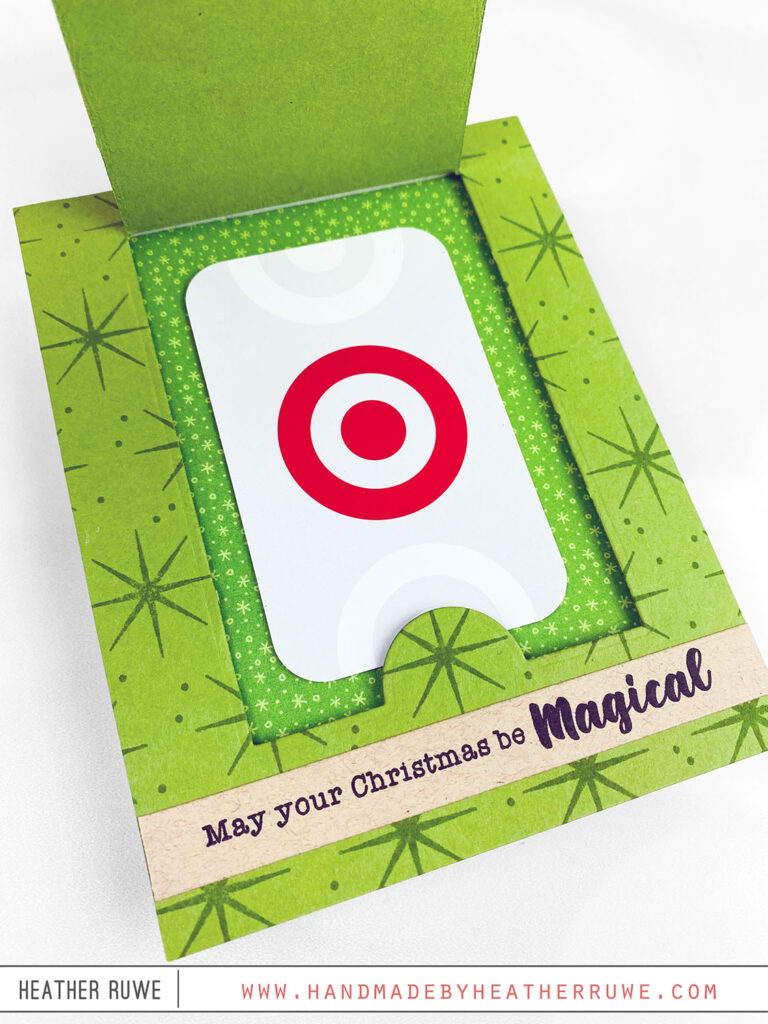
I wanted to decorate the inside of my window, so I adhered a piece of patterned paper to the front of a top folding white notecard. This is a great way to use up scraps as you just have to have a piece big enough to fill in the window opening.
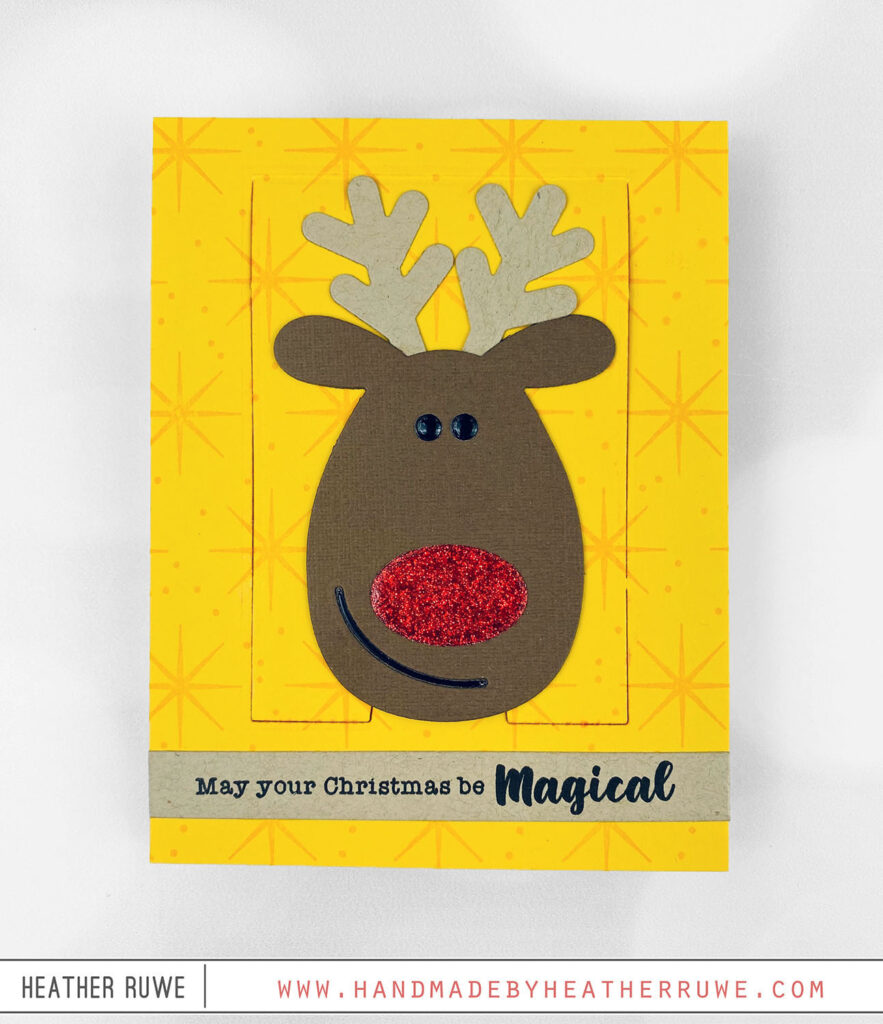
I wanted to add some dimension and give some room for the gift card to be placed inside, so I added foam tape around the opening of the window on the back side of the stamped piece. After adhering the piece on top of the card base, I adhered the reindeer die-cut on top of the window. I added a stamped sentiment from THIS Magical Christmas stamp set along the bottom of the card design.
To finish off the card, I added some crystal glaze to the reindeer’s nose and eyes for some shine. When adding the crystal glaze to a die-cut, I like to trace the die-cut with the glaze and then fill it in. It keeps the gloss contained and gives a cleaner look.
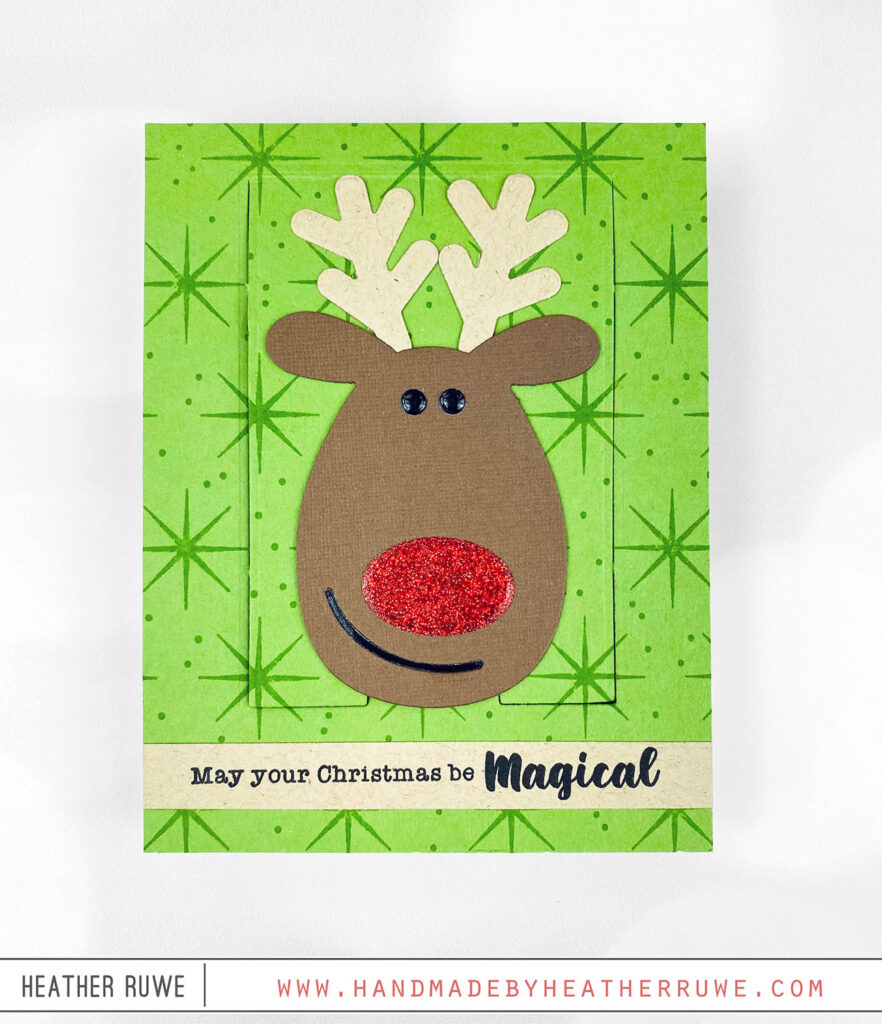
I give a lot of gift cards for the holidays and it’s nice to dress them up a bit and make them feel a bit more personal.
BLOG HOP
There is much more inspiration to see. Click HERE for the next stop on the hop. Click HERE to start at the beginning of the hop.
Here’s the complete Blog Hop List…
Looking for even more inspiration using THIS release? I shared another project HERE…
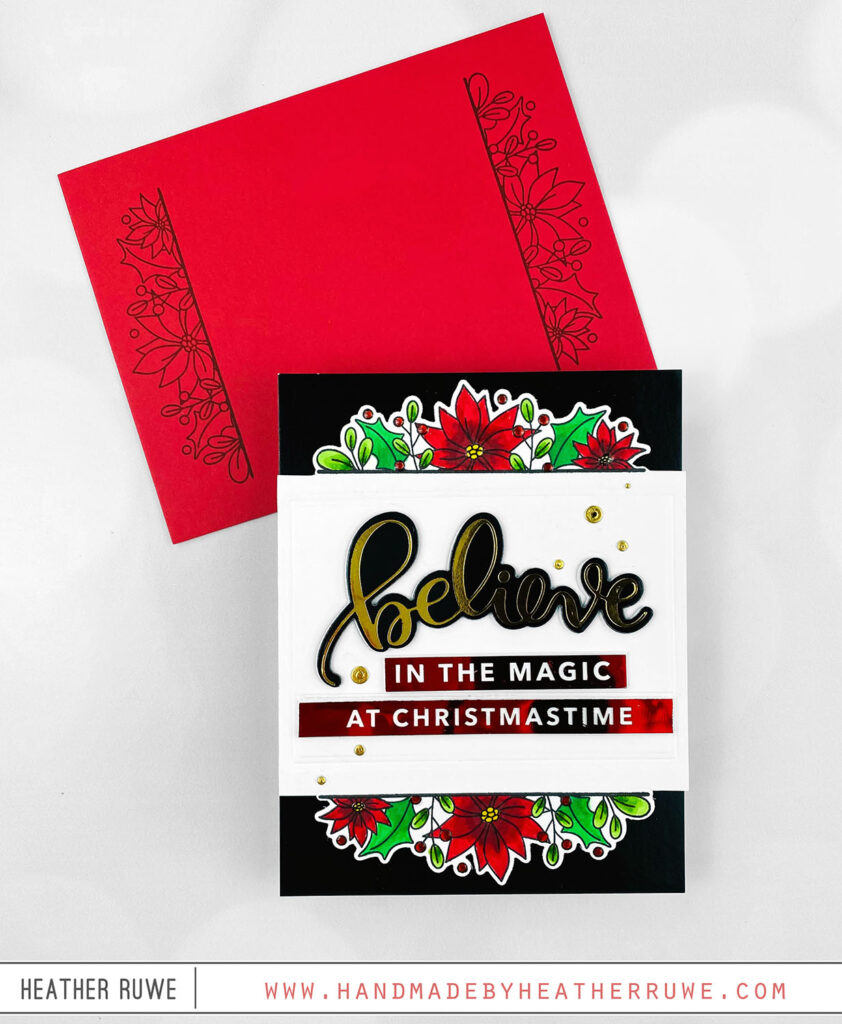
I also have a few projects that I haven’t blogged about yet. Here’s a sneak peek of those…
The first project features THIS Magical Christmas stamp set…
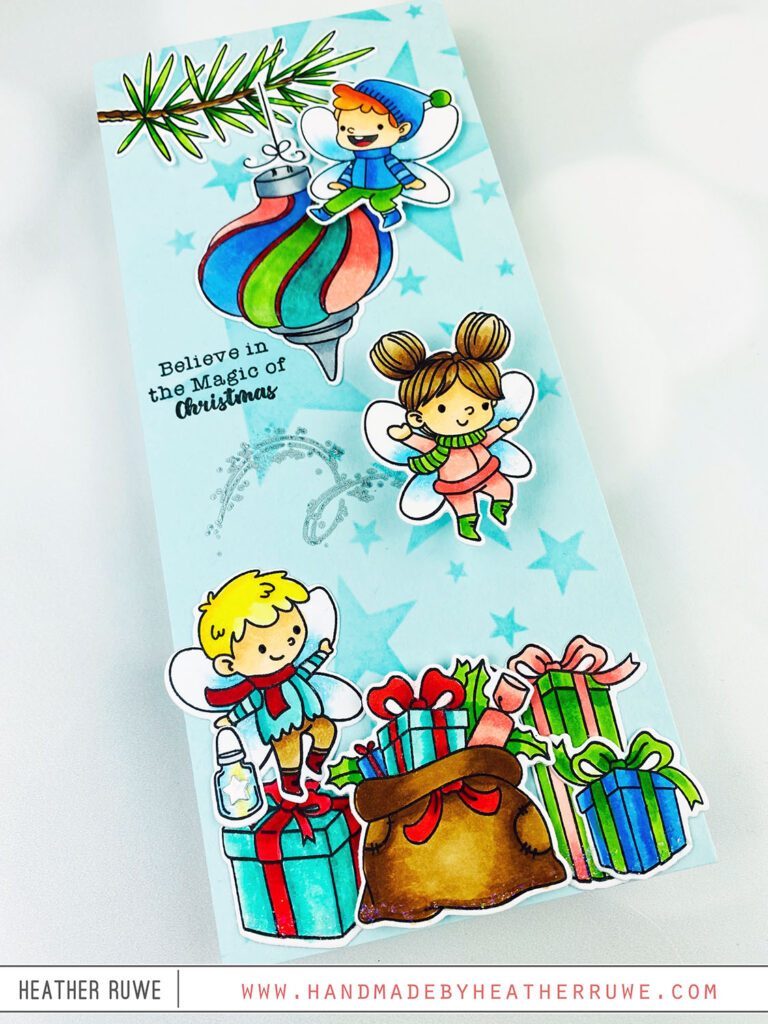
The next project features THIS Warm Christmas stamp set…
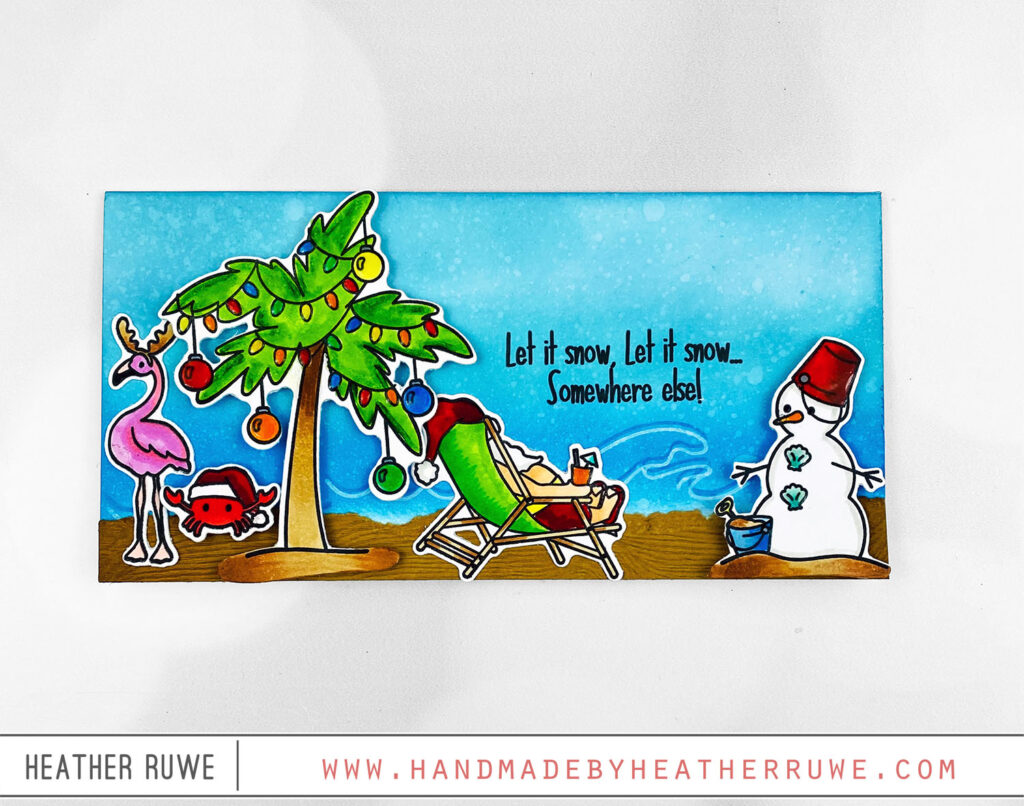
Simon is so generous and giving away a $25 coupon to every stop on the hop so be sure to leave comments along the way for your chance to win. Simon Says Stamp will announce winners on their blog on Wednesday. Good luck!
Wait, there’s more…
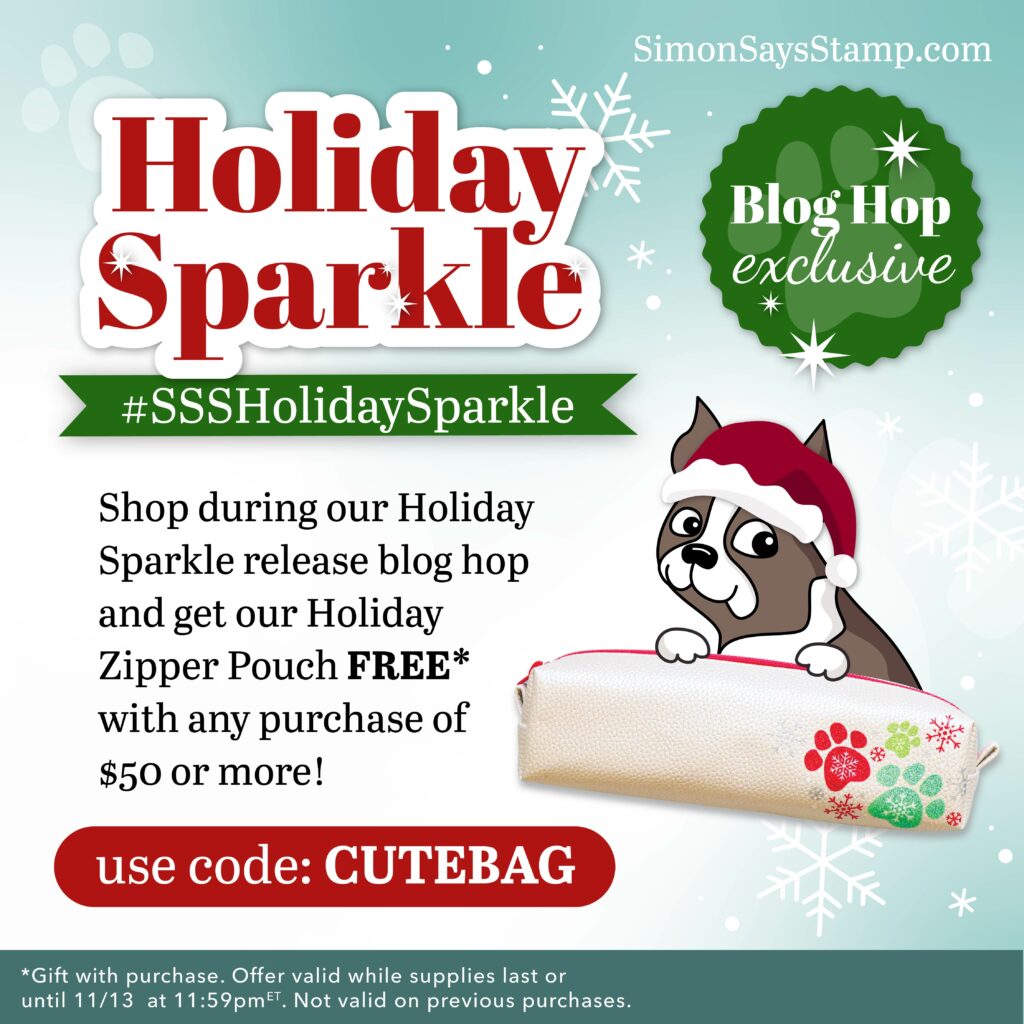
Use the code CUTEBAG to receive a Holiday Zipper Pouch FREE with any purchase of $50 or more. Valid while supplies last or until 11/13 at 11:59 EST.
Thank you so much for stopping by. I’ve linked to the entire new release below as well as products used on today’s cards.
LINKS TO ENTIRE HOLIDAY SPARKLE RELEASE:
(Affiliate links used at no extra cost to you. Thank you for your support.)
LINKS TO SUPPLIES USED ON TODAY’S CARDS:
(Affiliate links used at no extra cost to you. Thank you for your support.)



November 16, 2022
super cute!
November 14, 2022
Absolutely adorable! I always feel gift cards need a little something to elevate them. This is just perfect! Thanks for sharing.
November 14, 2022
So cute! Love the Reindeer Parts dies. Thanks for sharing.
November 14, 2022
Super cute! and Great idea for gifts!
November 14, 2022
Luv your adorable gift card holders. Thanks for the inspiration!
November 14, 2022
Your gift card holders are adorable! And wow, you make such beautiful cards, too! I especially love the brilliant “believe” card.