
Hello there, crafty friends. Today’s crafty share is a bit different. It’s an organization video sharing how I organize and store my wax beads.
I’m really into creating wax seals lately and I thought I would give you a closer look at my favorite wax beads as well as sharing how to create a wax seal which I do at the end of the video.
VIDEO
You can watch the video all about wax seals HERE or click on the video below…
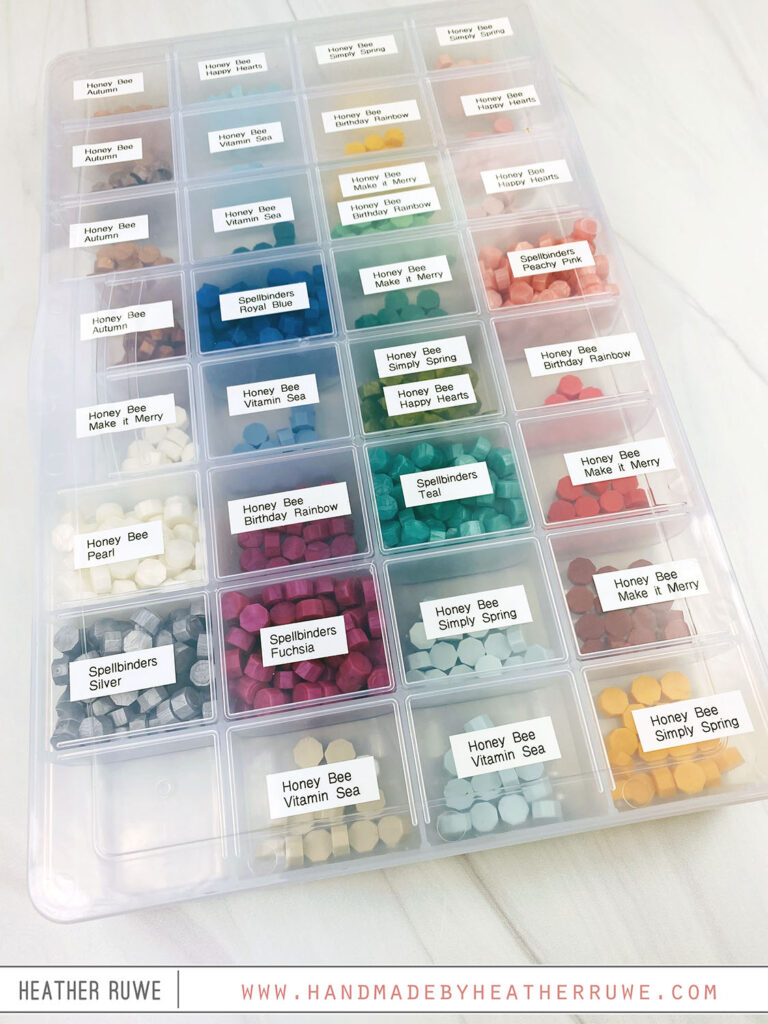
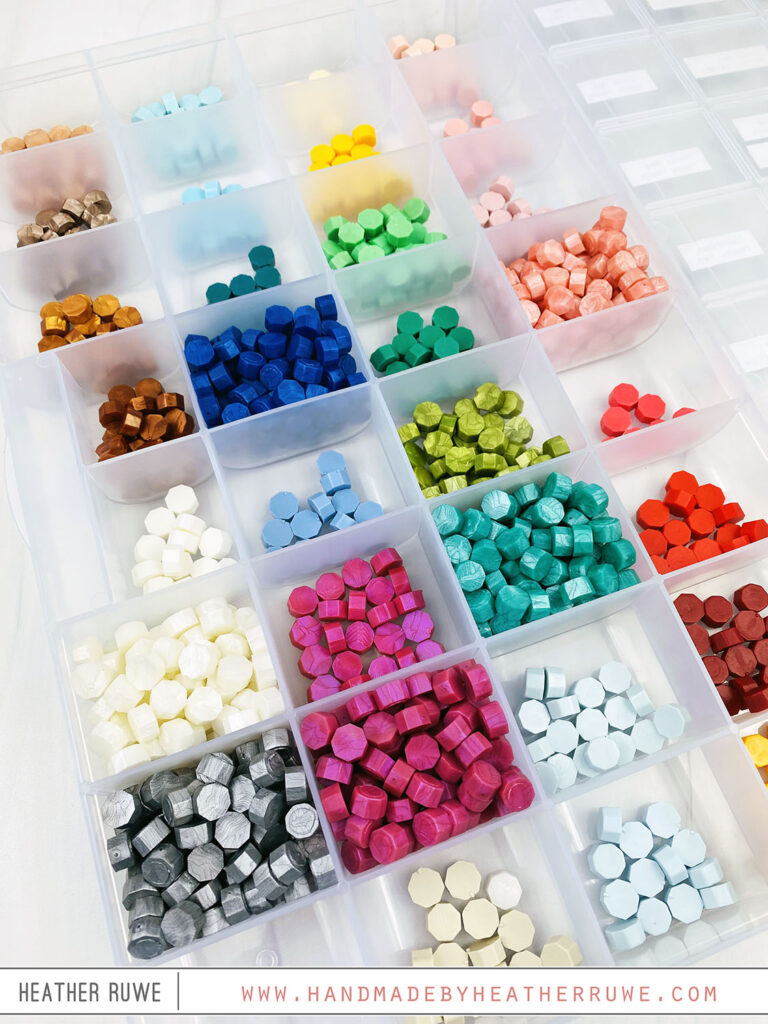
Let’s start with the wax beads. I like using the Honey Bee Wax Melts as well as Spellbinders wax Beads. Honey Bee provides mixes of colors in their jars. I really like this because it gives you a great variety and it’s a good option when you are first starting out.
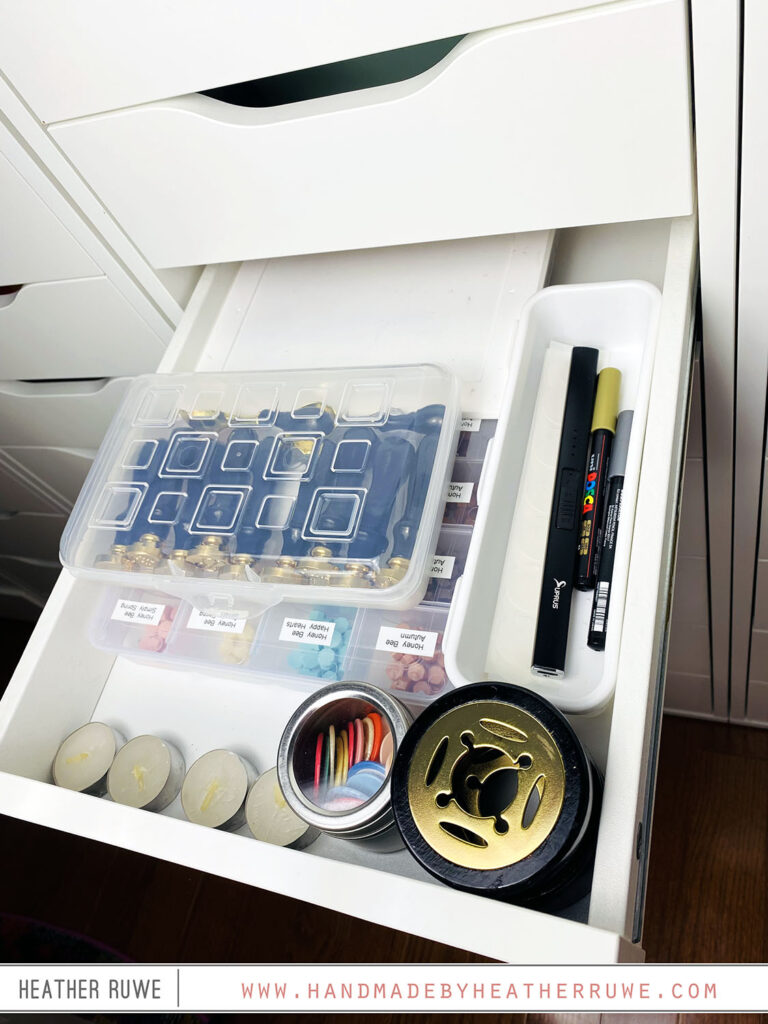
Next, I put the wax beads in the storage unit. I’ve had this tackle box container for a long time and thought it would work perfect for these beads. I will link to some options below for storing these wax beads but take a second look at containers you already own as there are many options that would work for storing these wax melts.
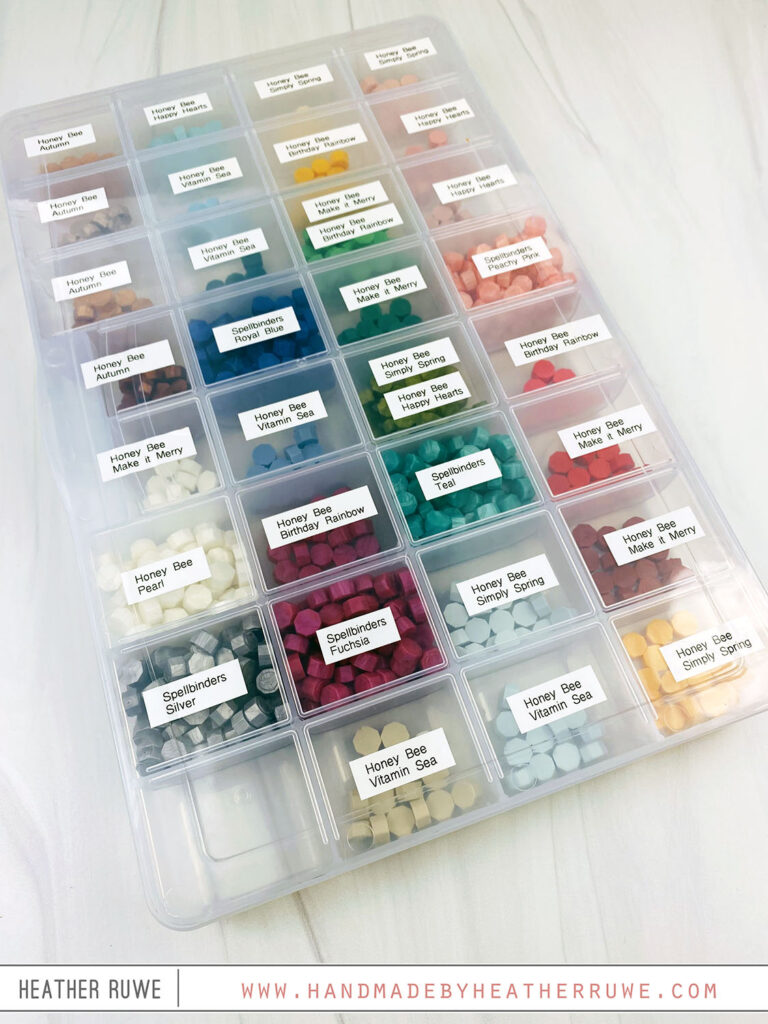
The next step in my organization process is to create labels for the beads. I use a label maker similar to THIS one. Since I do this for my job, I need to know the color name and manufacturer of each wax bead I use. For the honey bee wax beads, I put the name of the mix instead of the color because that is how I would link up to it. I like to place them in one or two at a time and then place the coordinating label on the outside of the box on the front of the lid. I repeated the process in rainbow order.
Now, let’s talk about some of the other tools you will need to create a wax seal. You will need a wax stamper to make an impression. All of the wax stampers I own are from Honey Bee and linked below. I placed them inside this plastic container that I found out Target in their school supply section. I also keep my wax spoon in there and a wax stirring tool.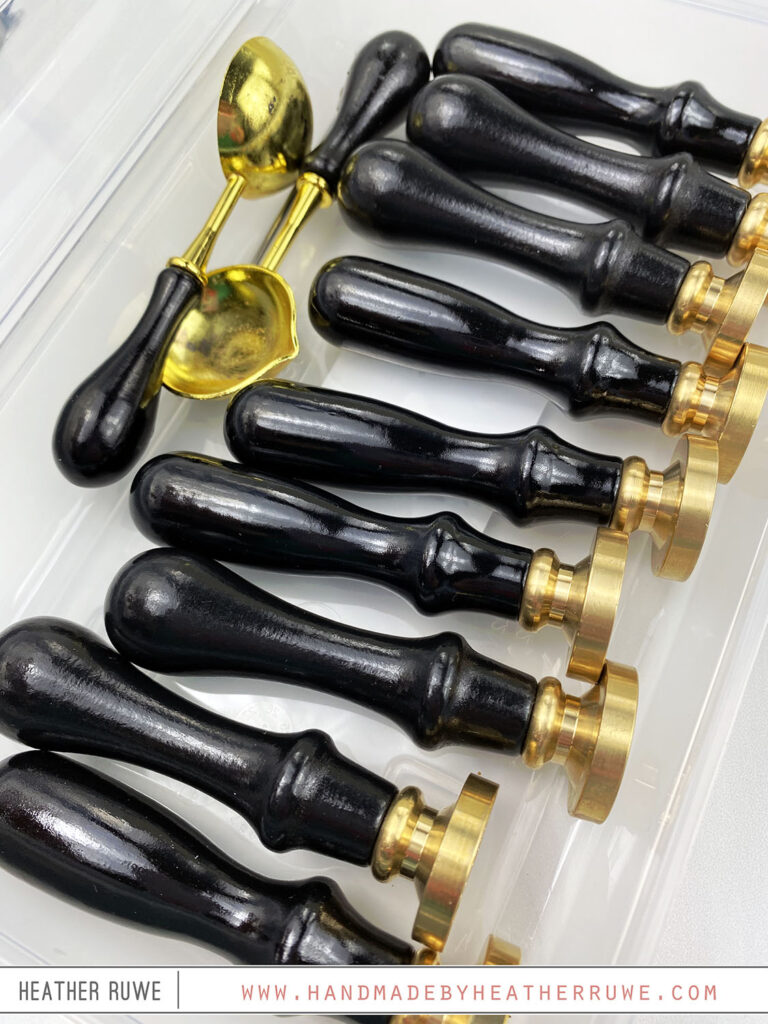
To make a wax seal, I like to use this silicone mat from waffle flower to pour my wax melt on to. You will also need a tea light candle for this to place under your wax furnace. I use THIS electric candle lighter to light it and I set my spoon on top with 4 of the wax beads. After they have melted, I used my wax stirring tool to stir it and then pour the liquid on the silicone mat. Then I place the wax stamper on top. You do not want to press hard. I gently lay it on top of the liquid and let go. I give it about a minute to set up and cool and clean my spoon while I wait. I just use a baby wipe to wipe it out while it’s still warm. Remember, the spoon gets very hot so be extra careful. Then I remove the seal. It comes off very easily.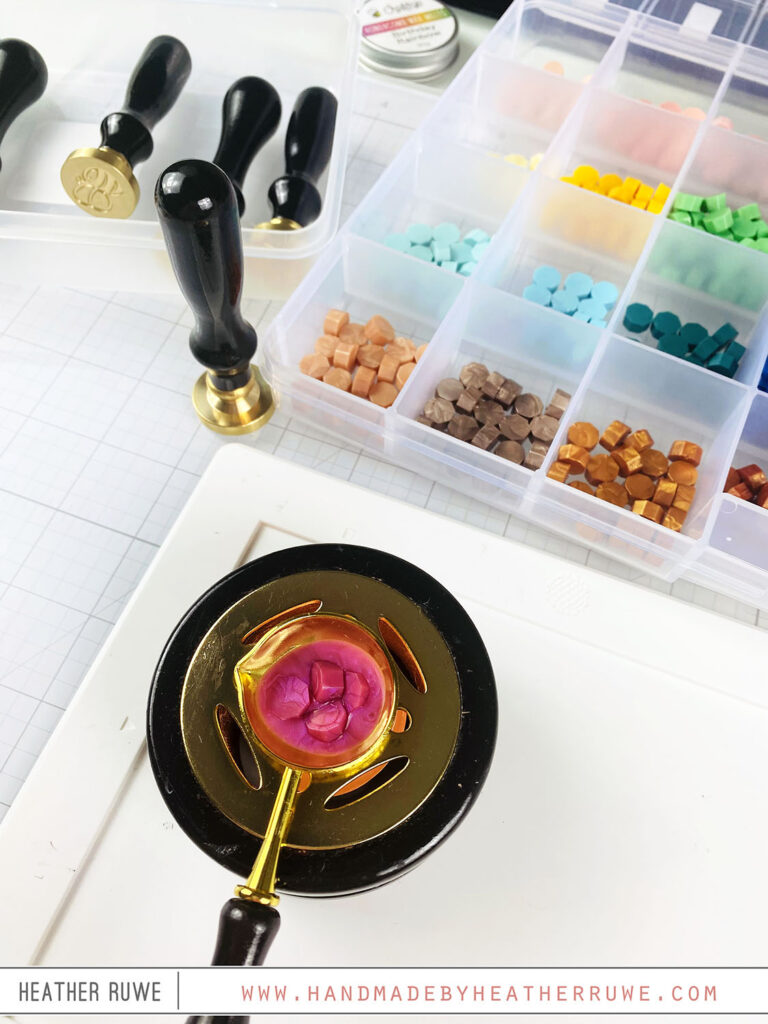
On one of the examples in the video, I was not happy with the one of the wax seal results. If this happens to you, no worries, simply cut it up and place it back in the spoon to reheat. This ensures no waste.
(Affiliate links used at no extra cost to you. Thank you for your support.)

December 2, 2023
I am a big time organizer. I can’t stand it when I can’t find what I am looking for. I get frustrated and not finish my project when I can’t find some certain cardstock, dsp, or embellishments. I have a wax seal kit and have not used it yet. I’m afraid of another addiction. LOL