Hello. I just love creating interactive cards and Chibitronics offers some amazing products to light up any craft project. I created two light up cards to share today…
To make a card light up, you have to create a circut. This may sound scary, but it’s not. There are some amazing tutorials out there. THIS video from Jennifer McGuire made the process so easy as well as tutorials on the Chibitronics website HERE. I’ve shared a light up card before HERE on my blog which shares a picture of how the circuit was created. These cards were created in the same fashion.
The first card…
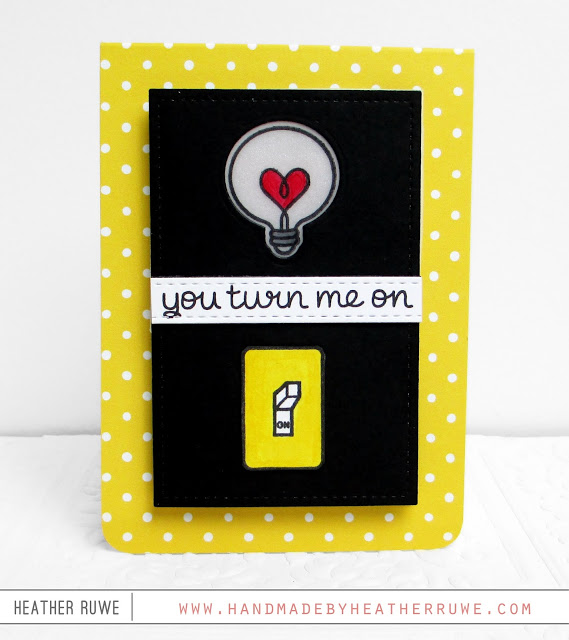
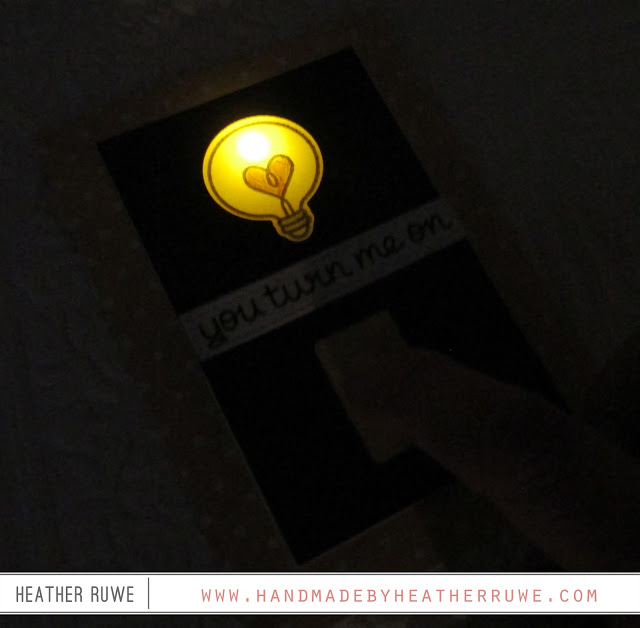
…only used one of the LED lights. They come in a variety of colors, including white. I used THIS yellow one since it was a lightbulb. I made sure to place the battery underneath the light switch image so when you press it, the light comes on…
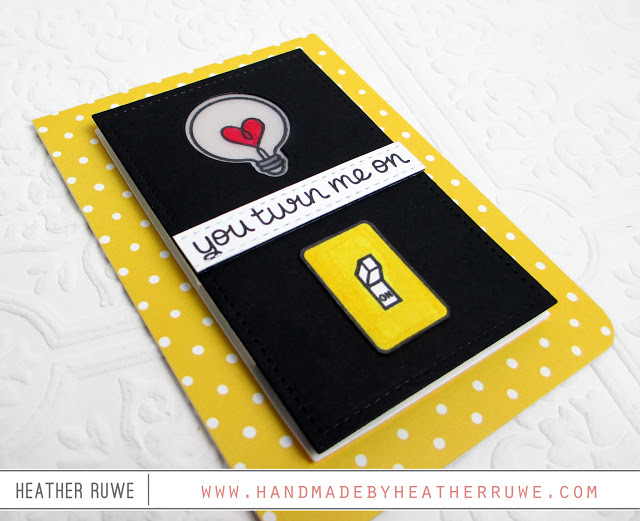
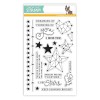
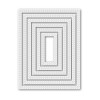
I die-cut THIS coordinating die from a piece of black cardstock. I stamped the lightbulb image from THIS set on to a piece of vellum using Staz-On black ink. I layered two more pieces of vellum underneath. I did this so it would mute the copper tape and light sticker below it. I stamped the sentiment from the set on to a piece of white cardstock cut with THIS die. I also stamped, cut and colored the light switch plate image. After mounting the circut to one of THESE note cards, I added three layers of THIS tape before adhering the top panel down so the battery would not be turned on all the time.
For the second card…
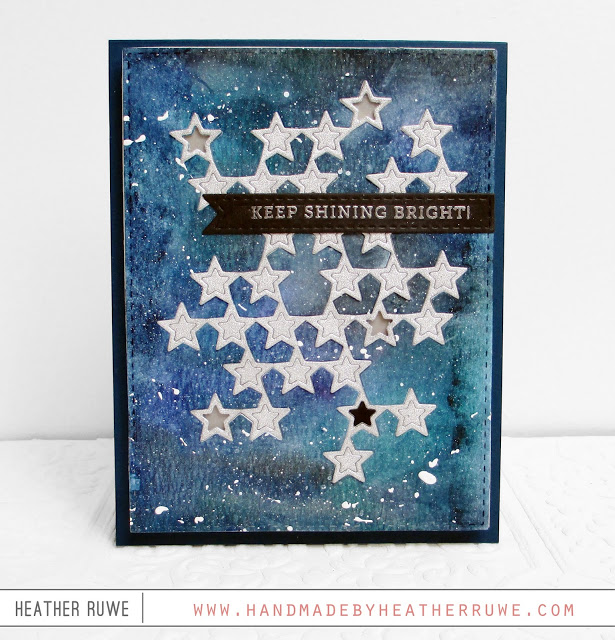
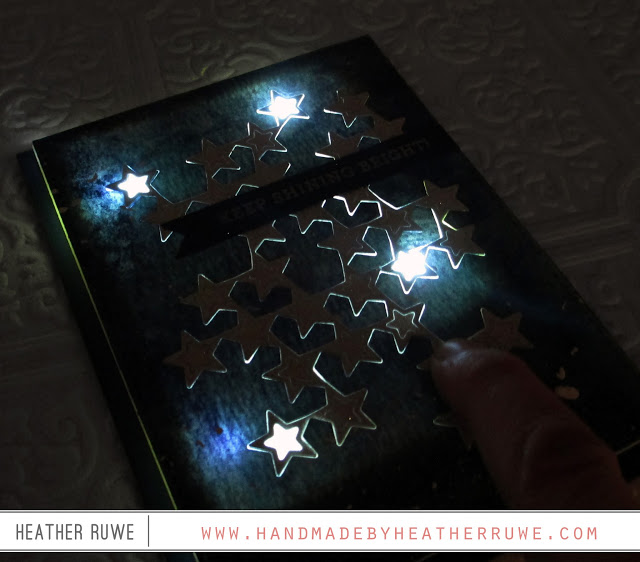
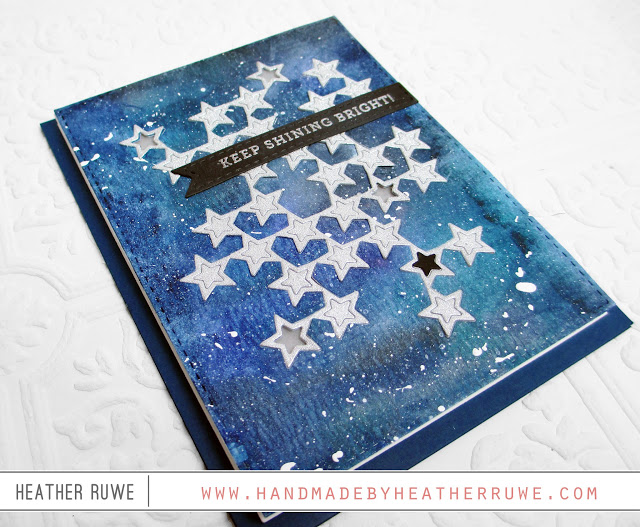
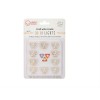
I did the exact same process but added four of THESE white LED stickers under the vellum stars.I added a black star to one of the center of the stars so the recipient knows where to press to activate the light…
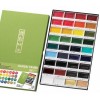
I created the galaxy background using THESE watercolors on a piece of THIS cardstock. I used THIS die to give it a border and cut THIS die from the center and from a piece of glitter paper. I removed four of the star centers and placed vellum behind it where the lights would shine. I adhered a silver embossed sentiment that I stamped from THIS stamp set on to a piece of black cardstock. The whole piece was mounted in the same fashion as the first card on to a navy notecard.
I hope this inspires you to try lighting up your next project. If you’re looking for a good place to start, THIS Chibitronics Starter Kit has everything you need plus an instruction booklet.
Now how about a giveaway!?
GIVEAWAY
Leave a comment below telling me if you’ve ever tried using these lights before. You have until Monday, March 6th at midnight EST. I will randomly choose a winner to receive the following products…
-1 package of Copper Tape
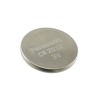
-2 batteries
-6 Color Lights
-6 White Lights
Thanks for joining me. Have a great day.
LINKS TO SUPPLIES USED:
Lawn Fawn Stamp Set can be found HERE
Lawn Fawn Coordinating Dies can be found HERE

















May 22, 2017
What a FAB giveaway!! Would love to get into Chibitronics! Love your cards. Really makes a huge difference putting a little light on the subject!!
March 7, 2017
I'm newly addicted to card making and would love to try this! How creative!
March 7, 2017
I haven't tried them but look like a fun way to make a card even more special.
March 7, 2017
Love your cards! I've never used these, but instead of thinking "I can't ", you make me feel like "I can!". Thanks so much for sharing and giving us a chance to win your prize package
March 6, 2017
I never used these before, but I had some normal LED's laying around from school projects and I tried using those, but it got a little bit bulky 😅 I love to try these ones out 👌