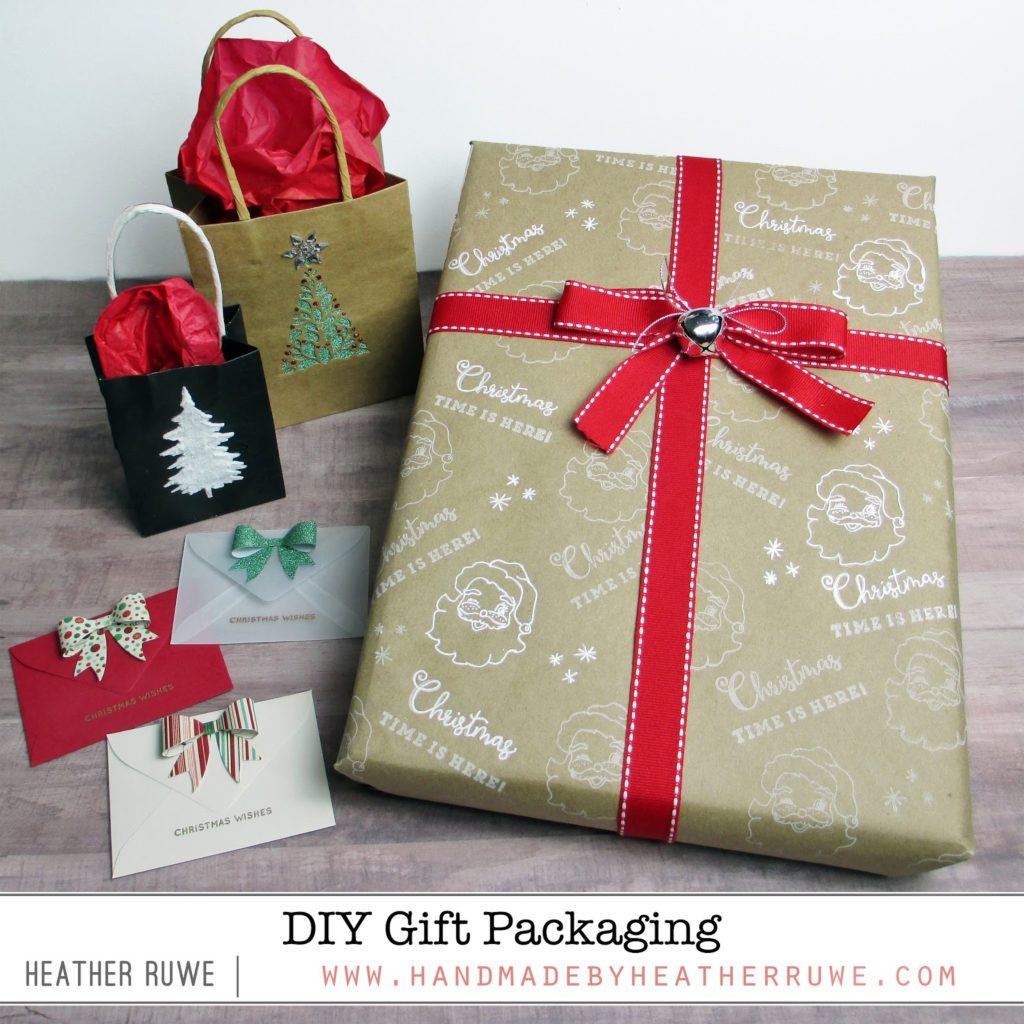
Hello and welcome. I’m sharing a few ideas to create your own gift packaging using new goodies from Simon Says Stamp. Simon has three new releases this week (I have links to each at the end of this post) and I’ve used a mixture of the products on today’s projects…
First up is creating your own wrapping paper with stamping…
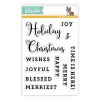
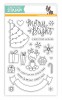
I like to buy basic kraft wrapping paper and create my own pattern by using stamps. I stamped the retro Santa image and the stars from the stamp set in THIS limited edition holiday kit using THIS ink. I also stamped the sentiment from THIS stamp set to fill in some areas.
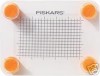
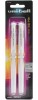
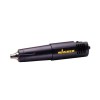
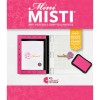
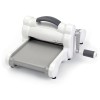
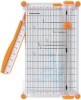
I cut a piece of paper to the size I needed for my gift and tape it down with some masking tape. I used THIS stamp press to help me with placement. Once all the stamping is completed, I wrapped the gift and then added a bow. I used THIS white gel pen and traced a few of the images and sentiments to make them pop. I finished off the gift by adding a jingle bell to the bow.
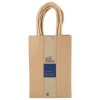
Don’t have kraft wrapping paper? No worries. Simon Says Stamp’s Card Kits come in a large kraft bag inside the box that would perfect for turning into wrapping paper! 🙂
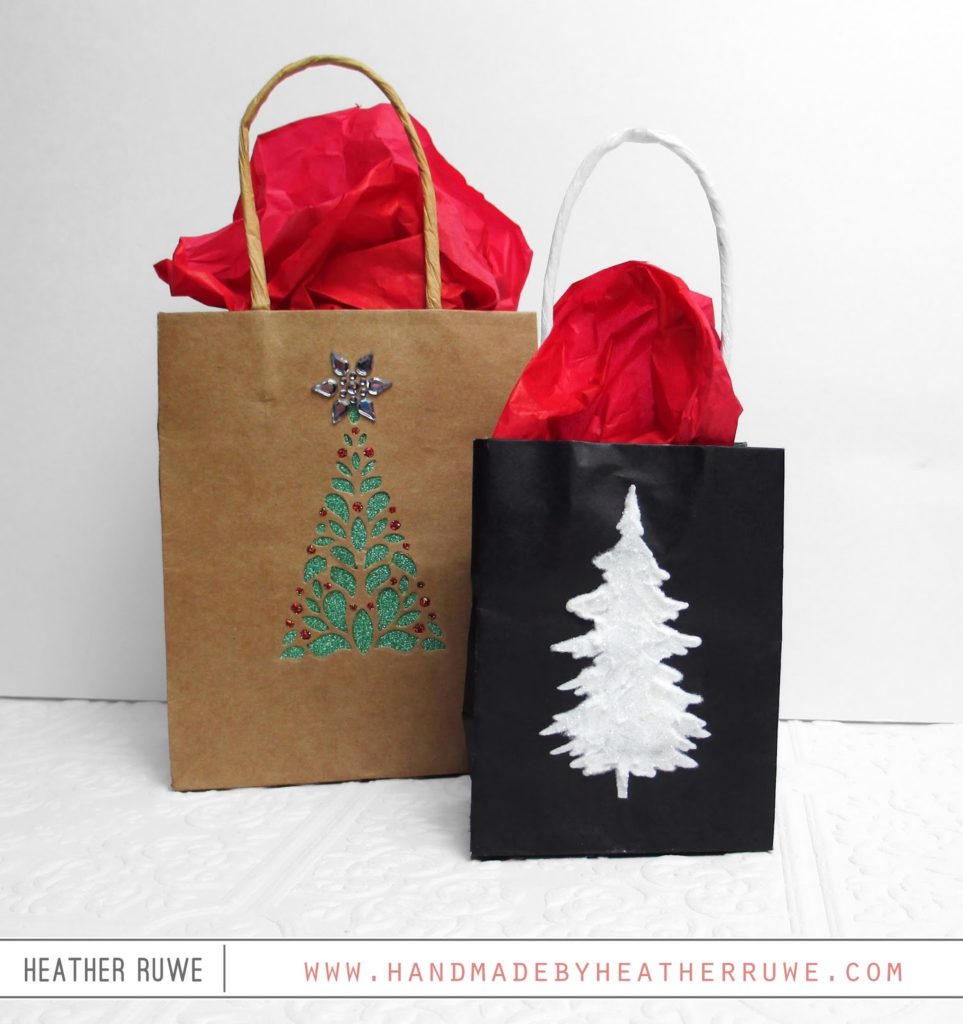
I also decorated a couple of gift bags using dies and stencils….
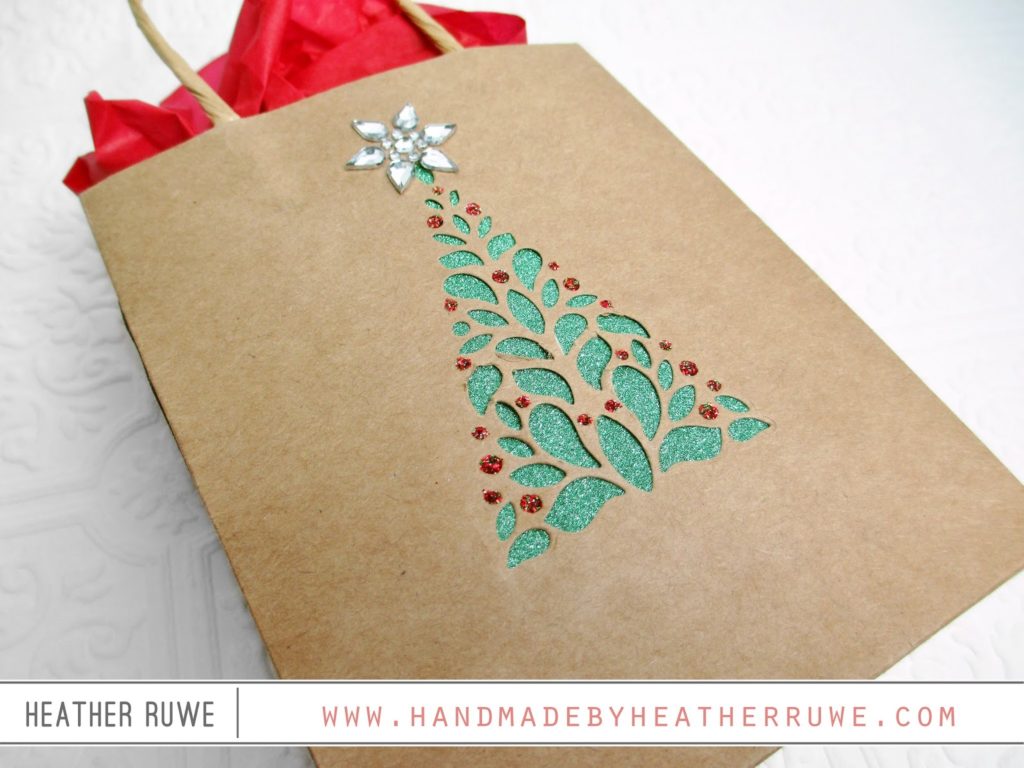
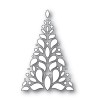
I started with a plain kraft gift bag and die-cut
THIS die from it. The die is from Simon’s previous
Believe release and is great for this since it’s symmetrical. I placed the die on the INSIDE of the bag and cut it out of the front only. I did not place the entire bag into my Big Shot machine. I left the handles sticking out from the cutting plates so there wasn’t as much bulk in the machine. I also played around with shims to make it work. Never try to force anything through your machine. If it is resisting going in, try playing around with removing plates and adding shims. I backed the design with some glitter paper from the kit as well as some red stickles. I added one of
THESE stars to the top to finish it off.
For the second gift bag…
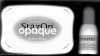
I used the Opaque Texture Paste in the kit and applied it over the tree stencil. While the paste was still wet, I added some of the kit’s glitter on top for some sparkle. This tiny bag will be perfect for a gift card.
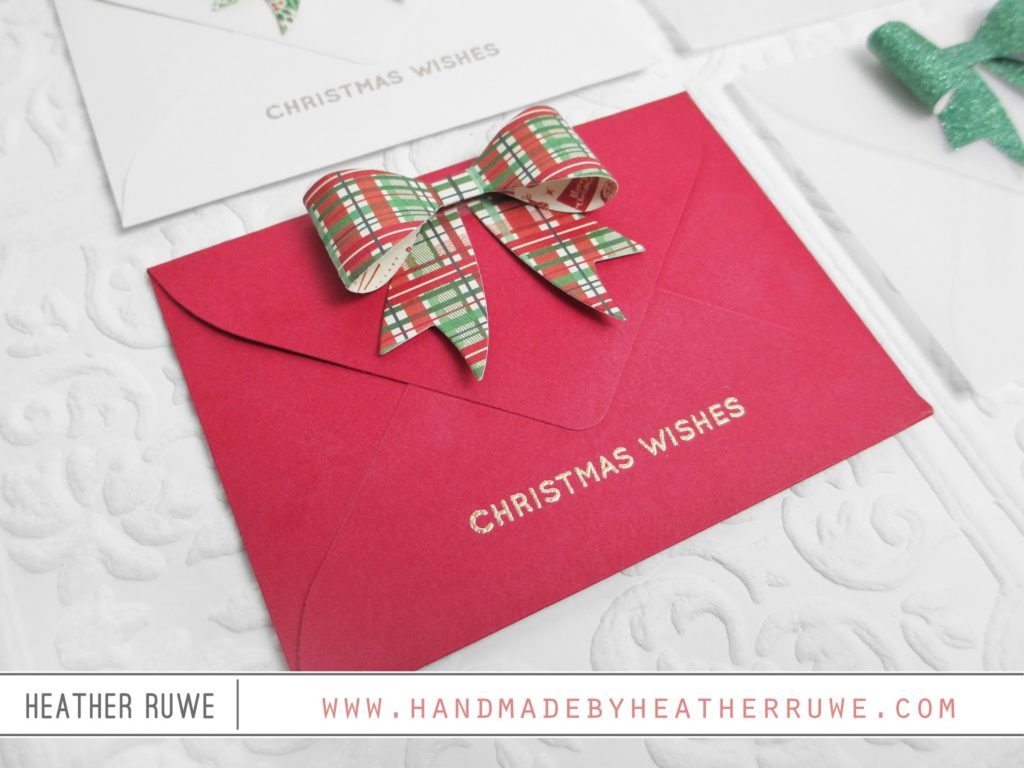
Speaking of gift cards, I gift many of them during the Holiday season, so I wanted to dress up a few mini envelopes from the kit to make it a little more personal and special…
I used several patterned papers included in the kit with THIS die to create bows to place on the flap of the envelopes…
I heat embossed a sentiment from
THIS stamp set under the flap using the gold embossing powder from the kit. I hope this inspires you to use your craft supplies to create your own unique packaging.
KEEP HOPPING
Like I mentioned, these projects are part of a fun blog hop celebrating a week of new releases from Simon Says Stamp. Click
HERE for the next stop on the hop and visit the talented,
Amy Rysavy. You can start at the beginning of the hop
HERE.
GIVEAWAY
How about a $50 Gift Card to Simon Says Stamp? Just leave a comment below to be entered to win. You have until Sunday (November 19th) at midnight EST. Good Luck!
NEW RELEASES
My projects used a mixture of three new releases this week. Here are links to each new release in case you’re interested…
Click
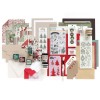
HERE to view the Limited Edition Holiday Card Kit
(This kit is such a great value! It’s a Limited Edition so once it sells out, it’s gone.)
Click
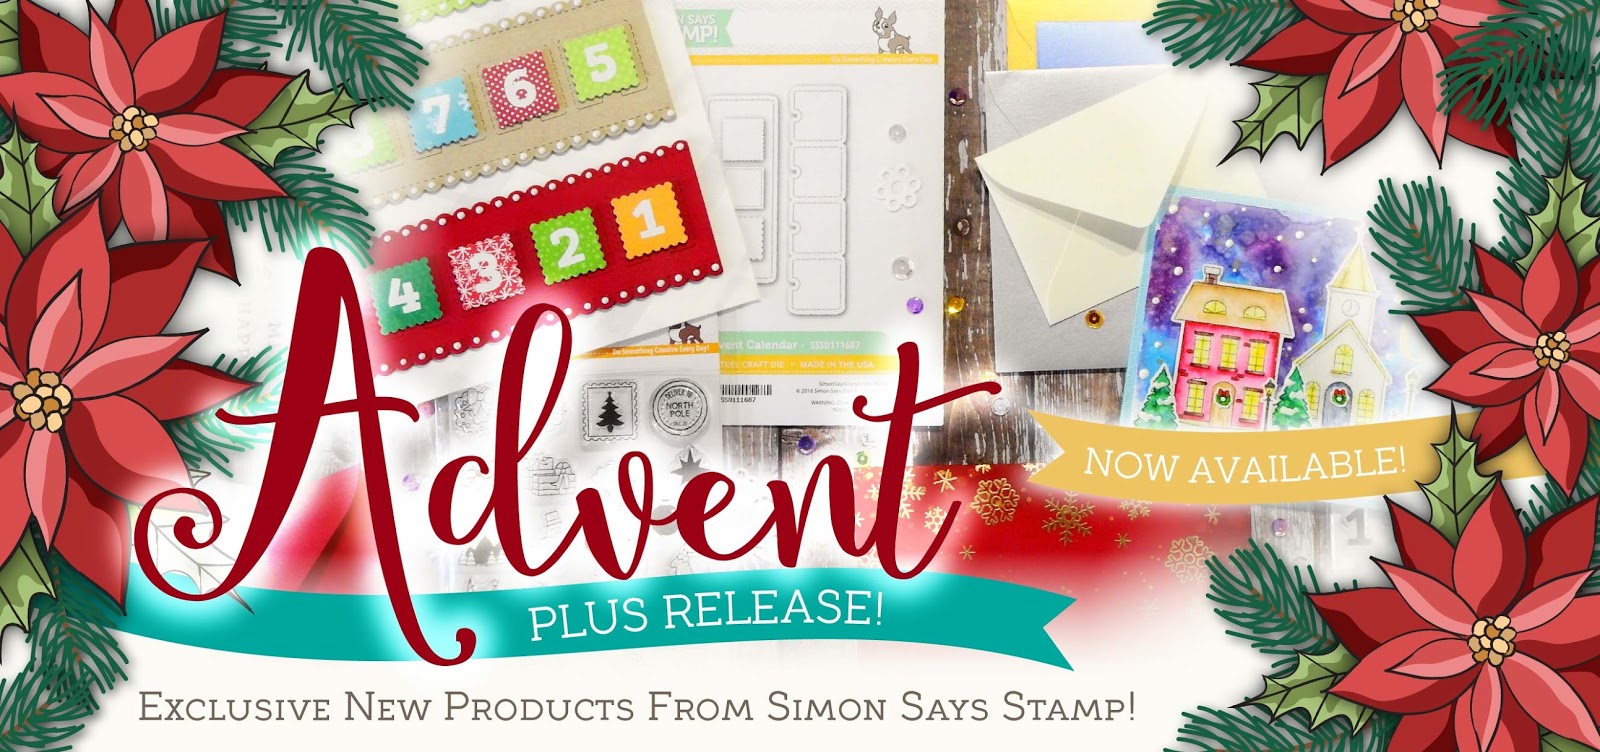
HERE to view the Advent Plus Release
(You can see a card I made HERE using the products from this release.)
Click
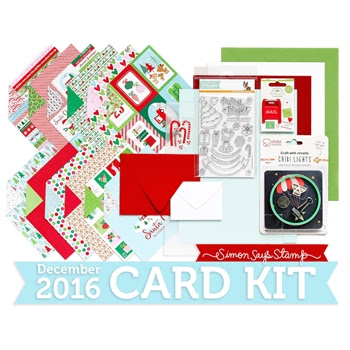
HERE to view the 2016 December Card Kit
(You can see a card I created HERE using this kit.)
ETA: This kit has SOLD OUT, but many of the individual products are still for sale.
LINKS TO SUPPLIES USED:


November 22, 2016
What great projects and inspiration! I have been making my Christmas cards and some for meals on wheels.
November 22, 2016
Great gift wrapping ideas!
November 21, 2016
Love your wrapping ideas and I plan to case them all!