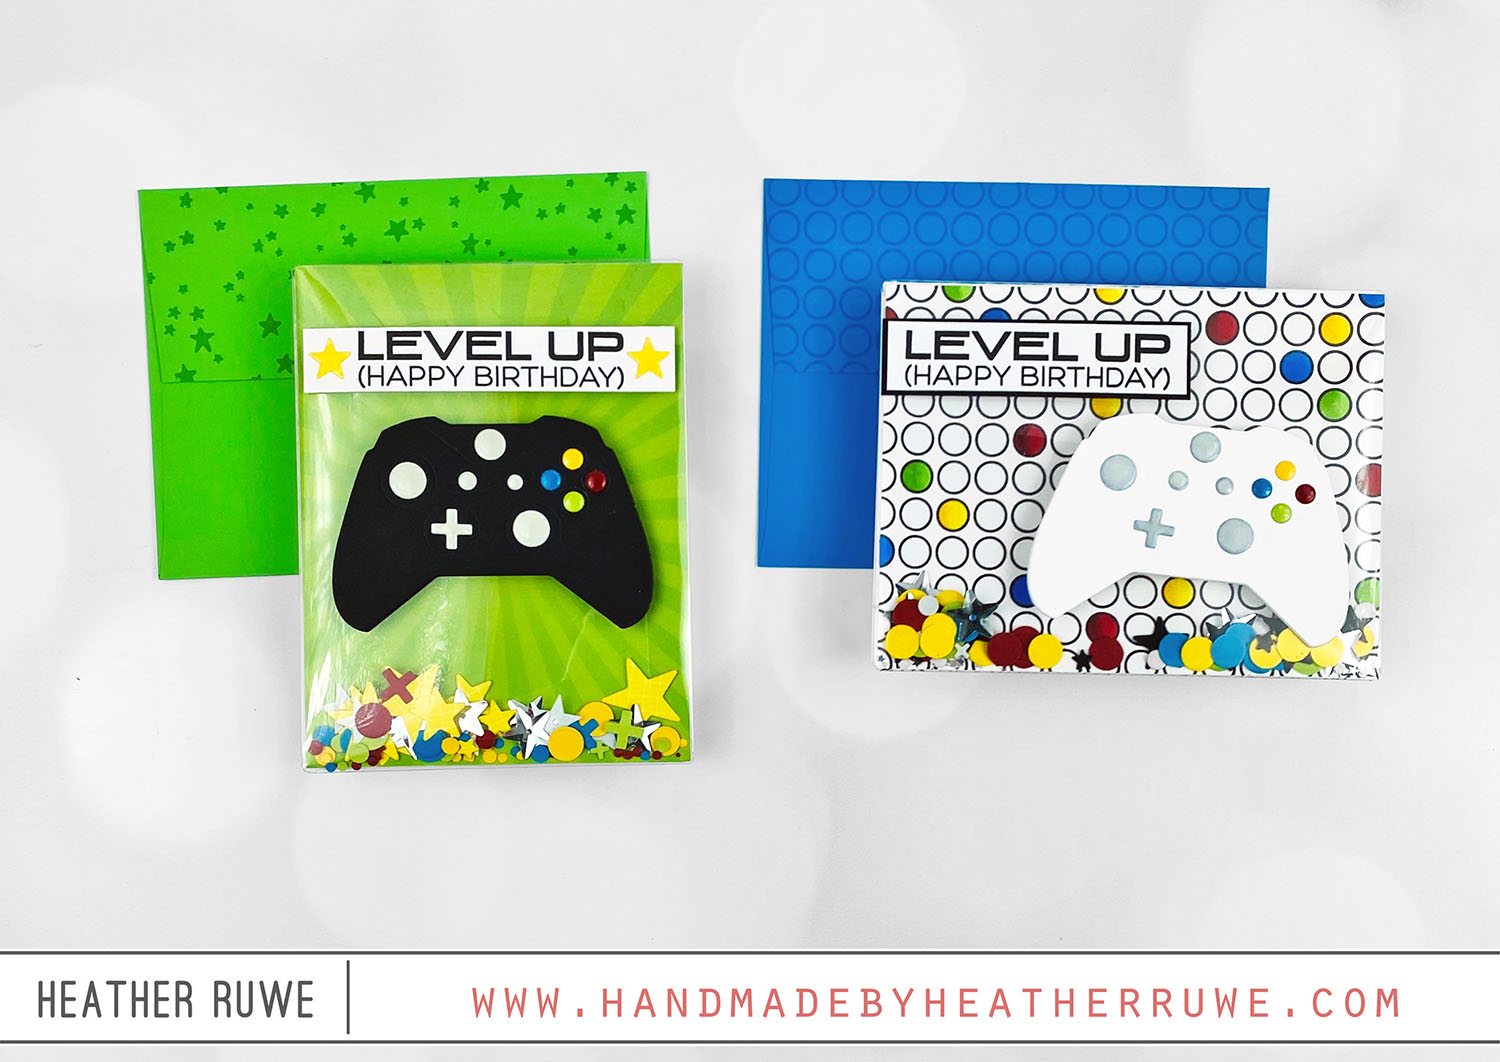
Hello, crafty friends. I have two shaker cards to share today that would be perfect for any gamer in your life. I’m a big fan of using shaker pouches because they make shaker cards super quick and easy. For the first card… I die-cut a black controller using the My Favorite Things Game Controller Die as well as a sentiment from the My Favorite Things Level Up stamp set and adhered it to the...
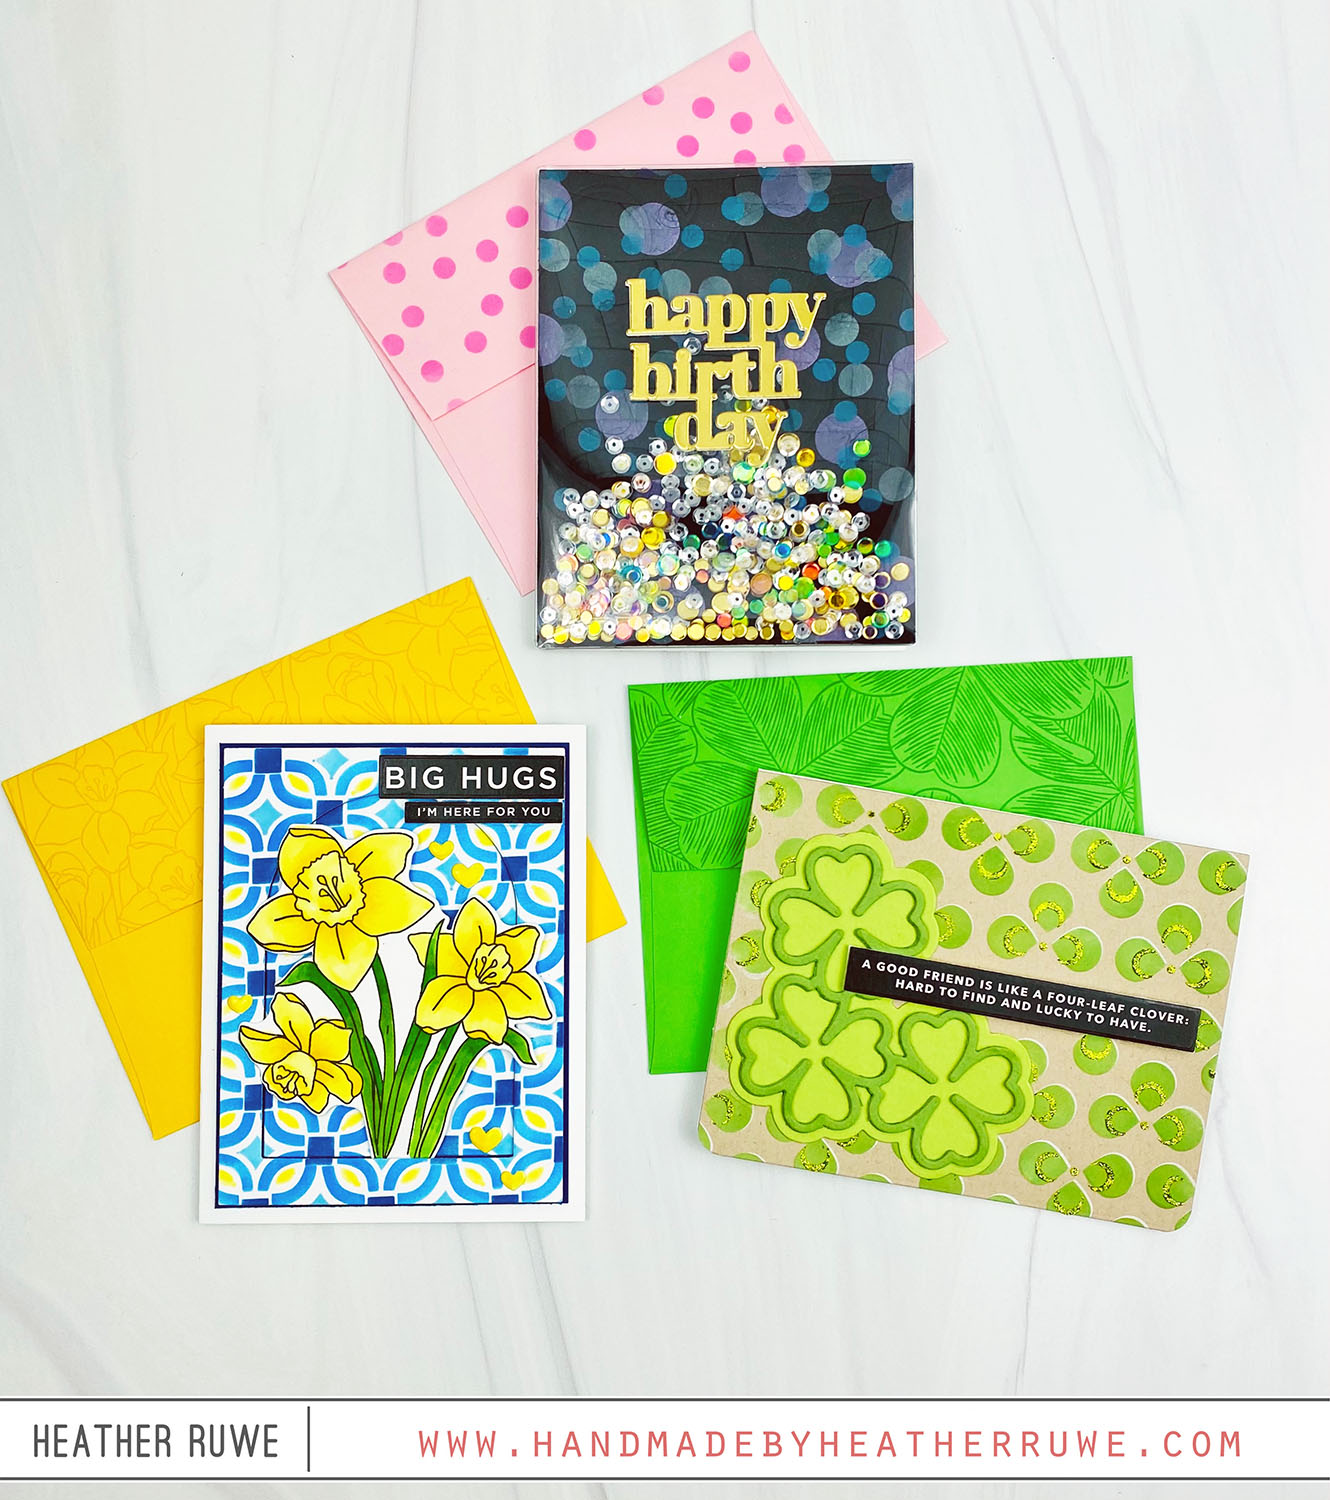
Stencil Set Cards + Good Luck Charm Release Blog Hop
Hi there, crafty friends. I’m thrilled to be part of THIS Blog Hop Celebrating THIS new release. I have three cards to share featuring stencil sets… VIDEO I’m excited to bring more video content in 2022. You can watch the video on how I created these cards HERE or click on the video below… For the first card, I applied ink through the Interlocking Circles stencil set. I die-cut the arched dome die from...
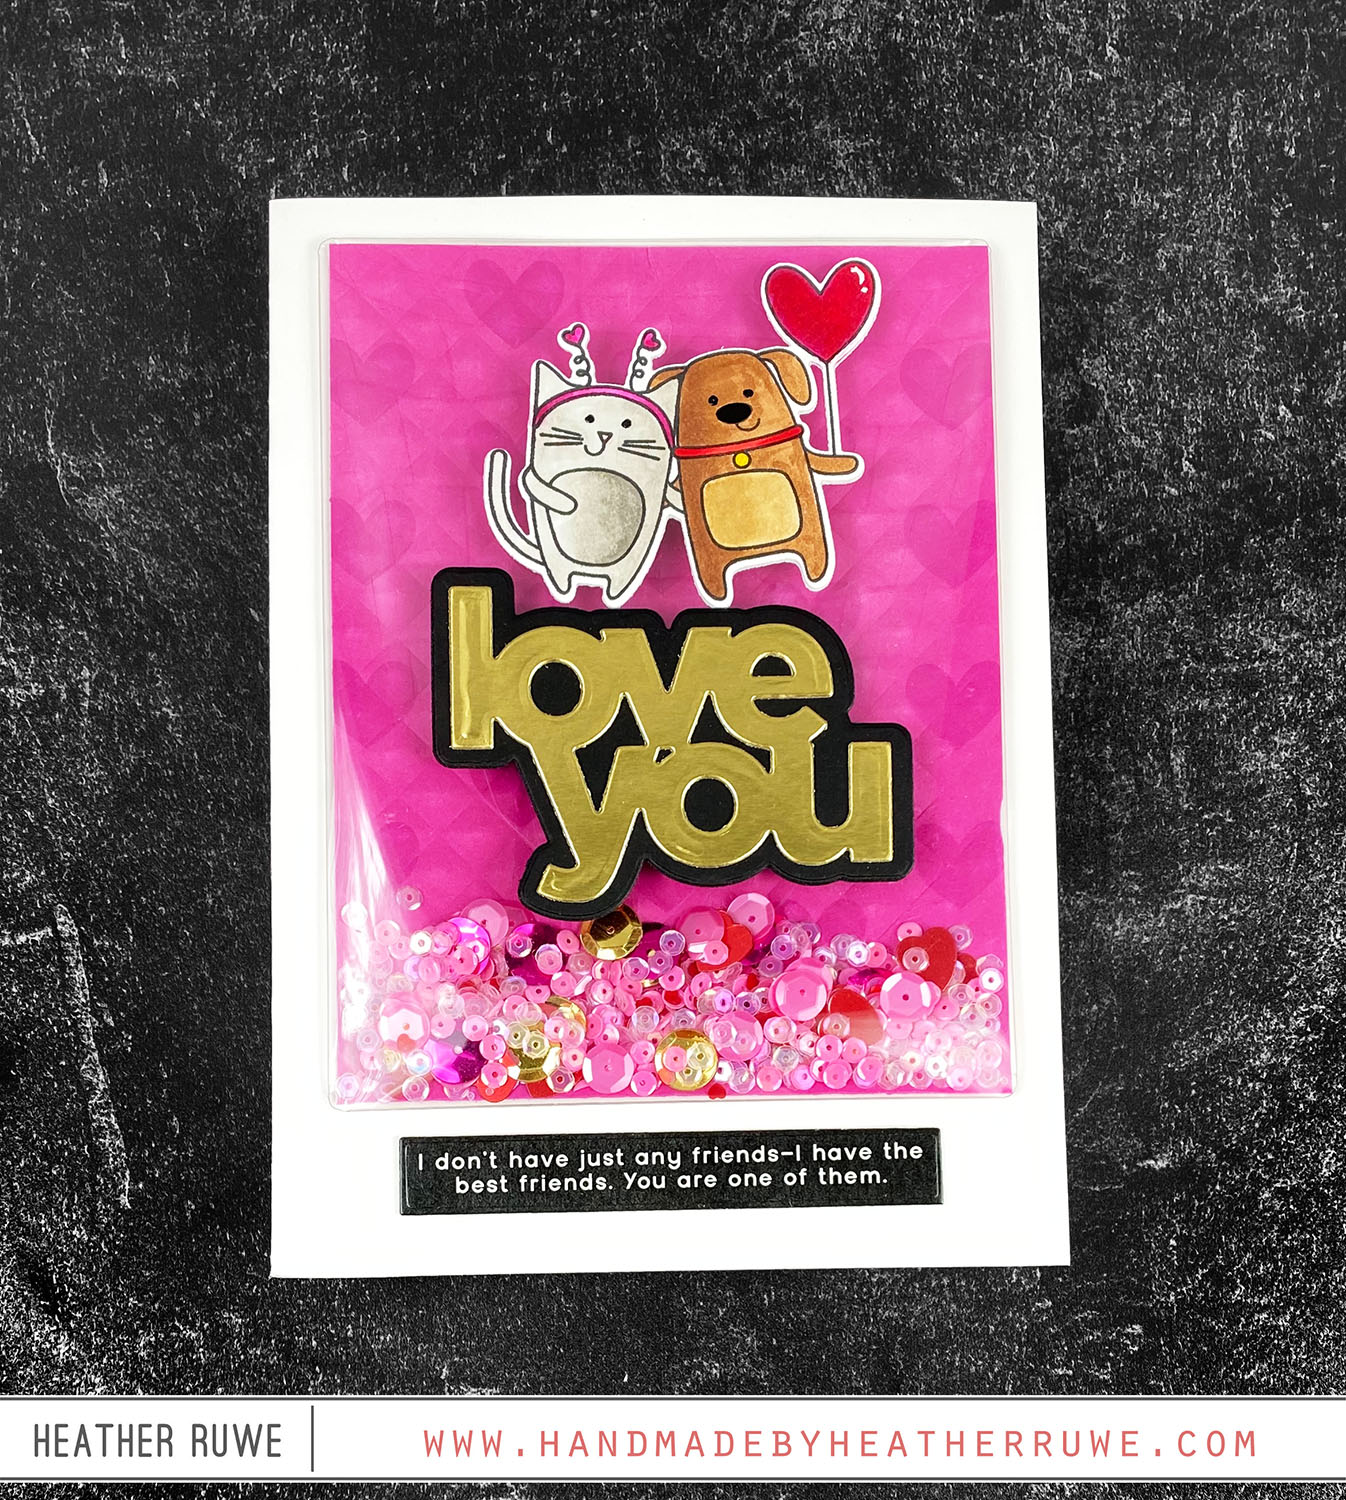
Shaker Pouch Card
Howdy, crafty friends. I finally got my hands on some shaker pouches and I created a card using one… I started by creating the background piece that goes in the shaker pouch. I started with a piece of Doll Pink Cardstock and stenciled on the hearts from the Polka Hearts stencil. Next, I ran it through my die-cut machine inside the Geometric Lattice embossing folder to add lots of texture. It’s hard to see...
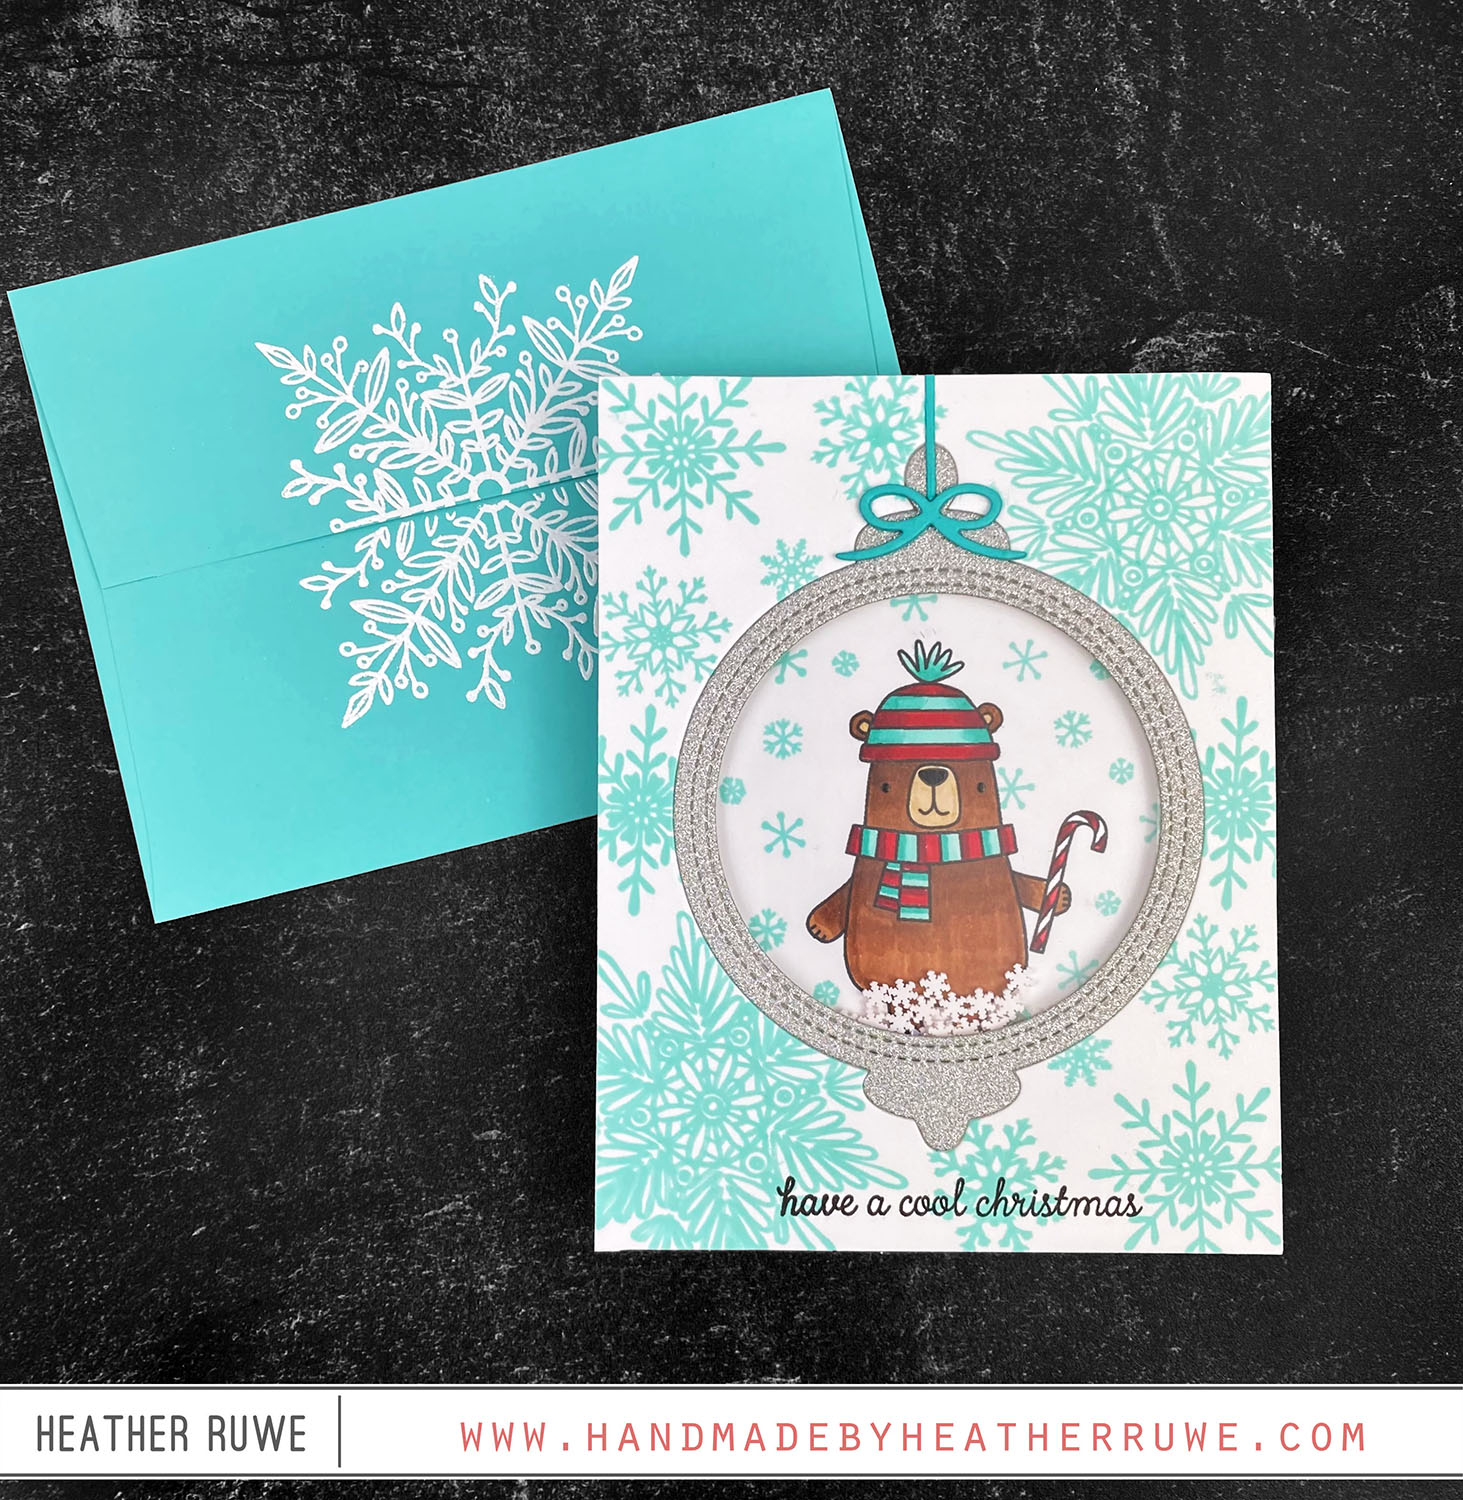
Reverse Confetti November Release Blog Hop
Hi, crafty friends. I’m excited to be part of THIS blog hop celebrating THIS new Reverse Confetti release. I started by stamping the snowflake images from the Snowflake Season Stamp set on an A2 white panel along with a sentiment from the Polar Party Stamp Set. I die-cut the Ornament die from the center of the panel and from a piece of silver glitter cardstock. On a another panel, I stamped the bear image and...
Limited Edition 2021 Halloween Card Kit
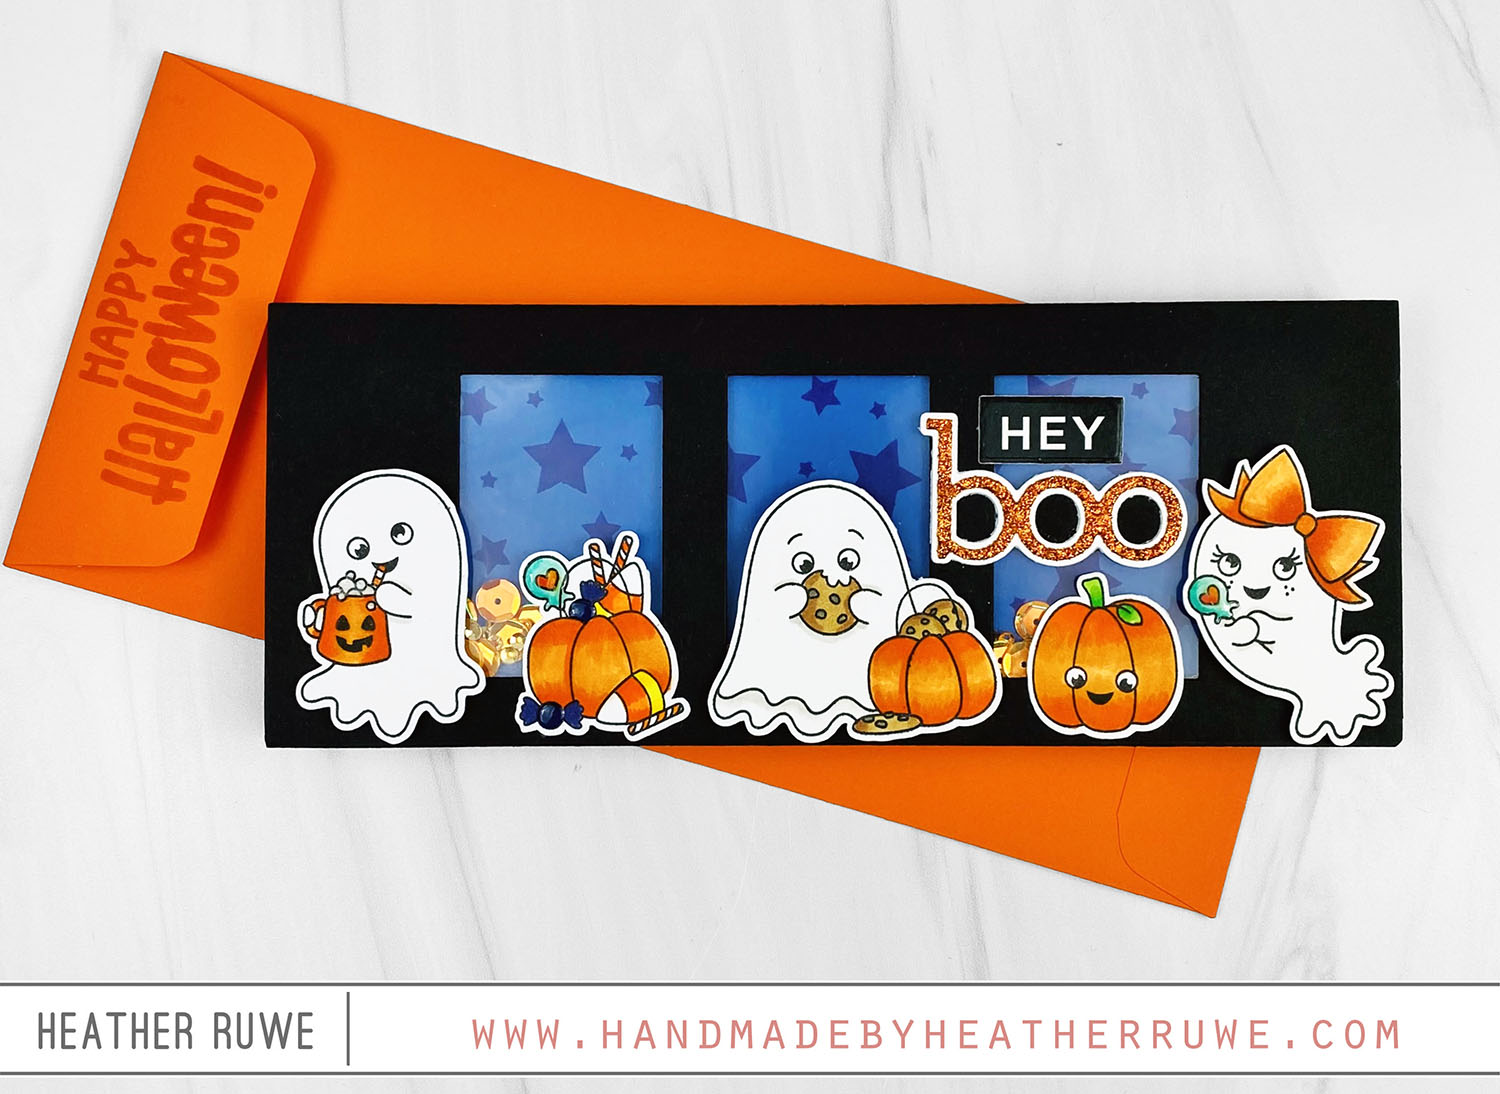
Hi, crafty friends. Today’s card share features the stamp set included in the Limited Edition Halloween Card Kit from Simon Says Stamp… I started by cutting the Mini Slimline Windows die from the center of a black slimline panel. I stamped and Copic colored the images from the Boo Day stamp set. I used the coordinating dies to cut them out. I also die-cut the Boo Word and Shadow die from white and orange...
New Ink Blot Shop Release
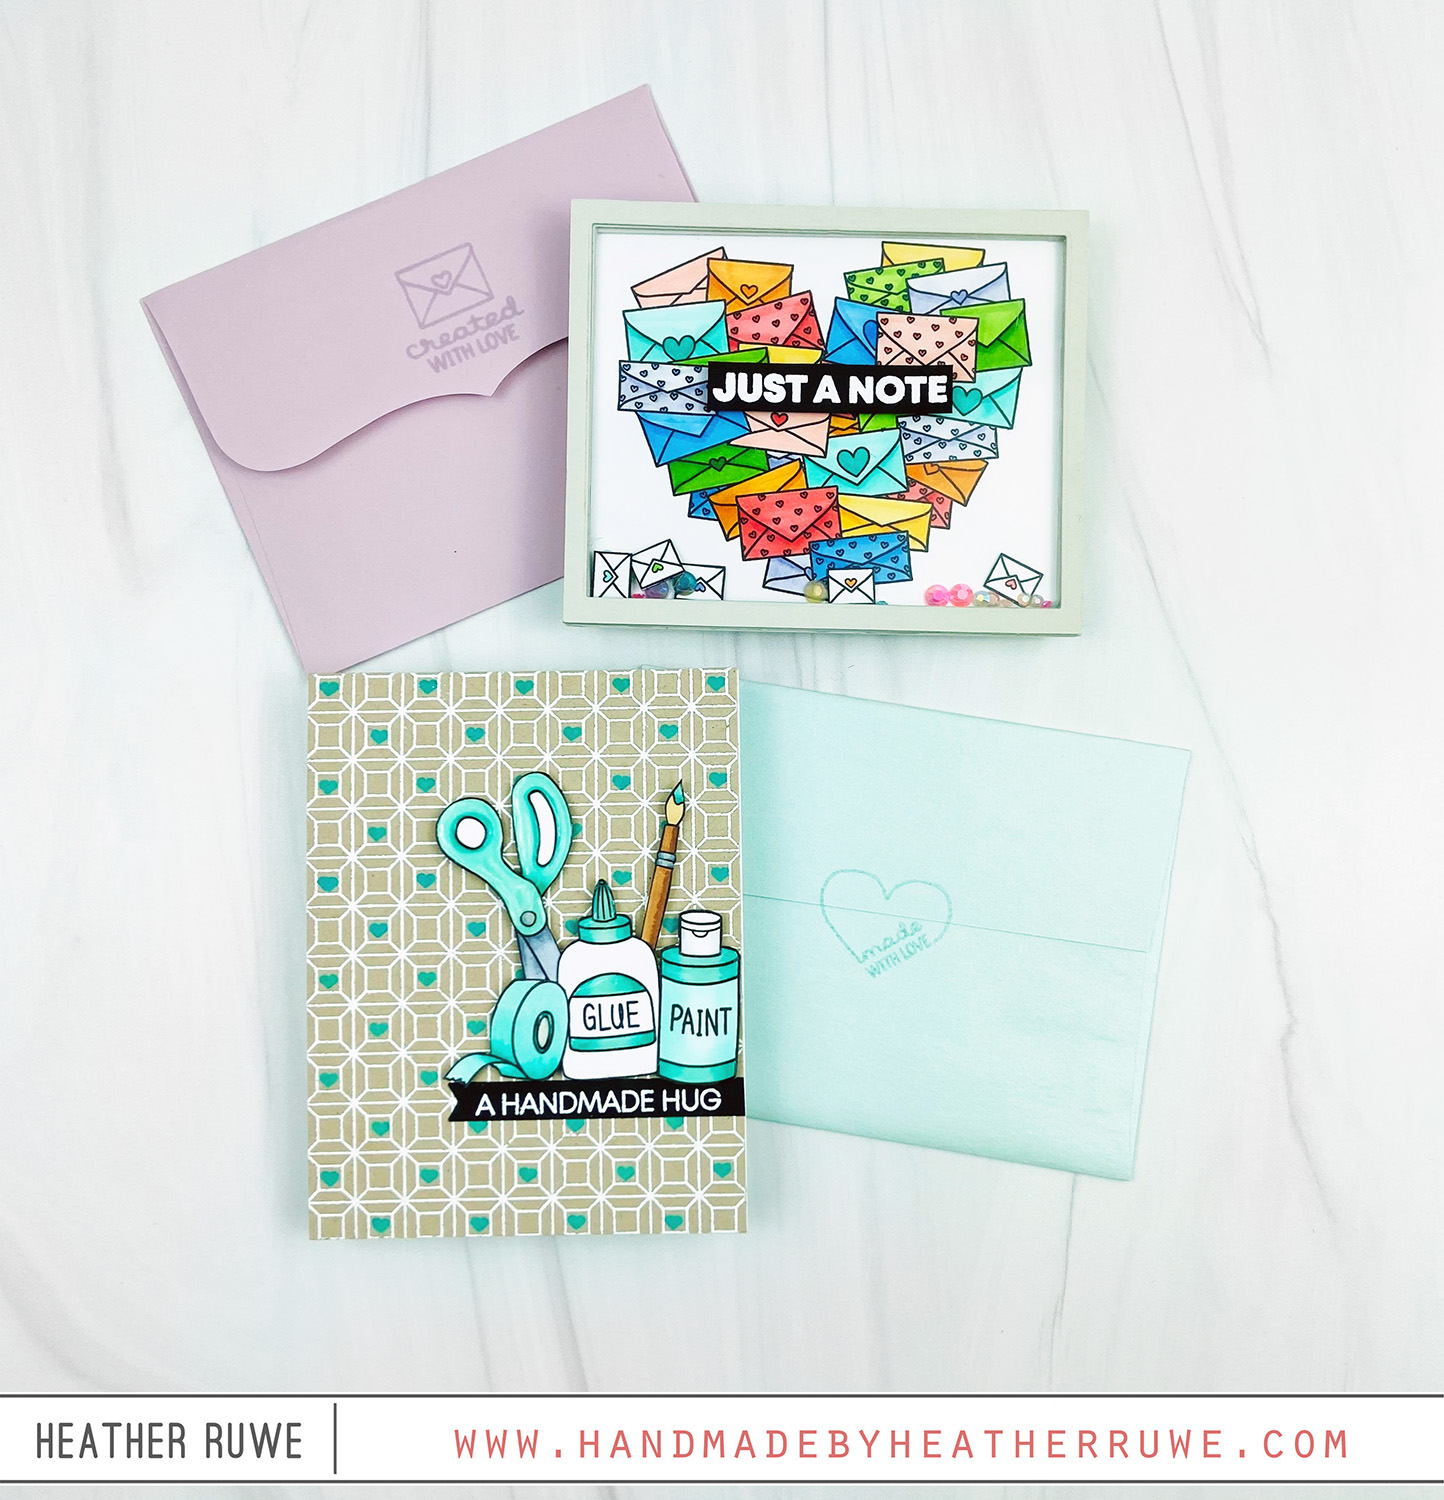
Howdy, crafty friends. I have two cards to share using THIS new release from the Ink Blot Shop… To create the first card… I started by stamping the image from the Happy Mail Heart stamp set on to a white card stock panel and coloring it with Copic Markers. I used basic rectangle dies to create a thin border frame. I sandwiched some acetate between the layers of the frame and added some small...
Welcome Home Shaker Card
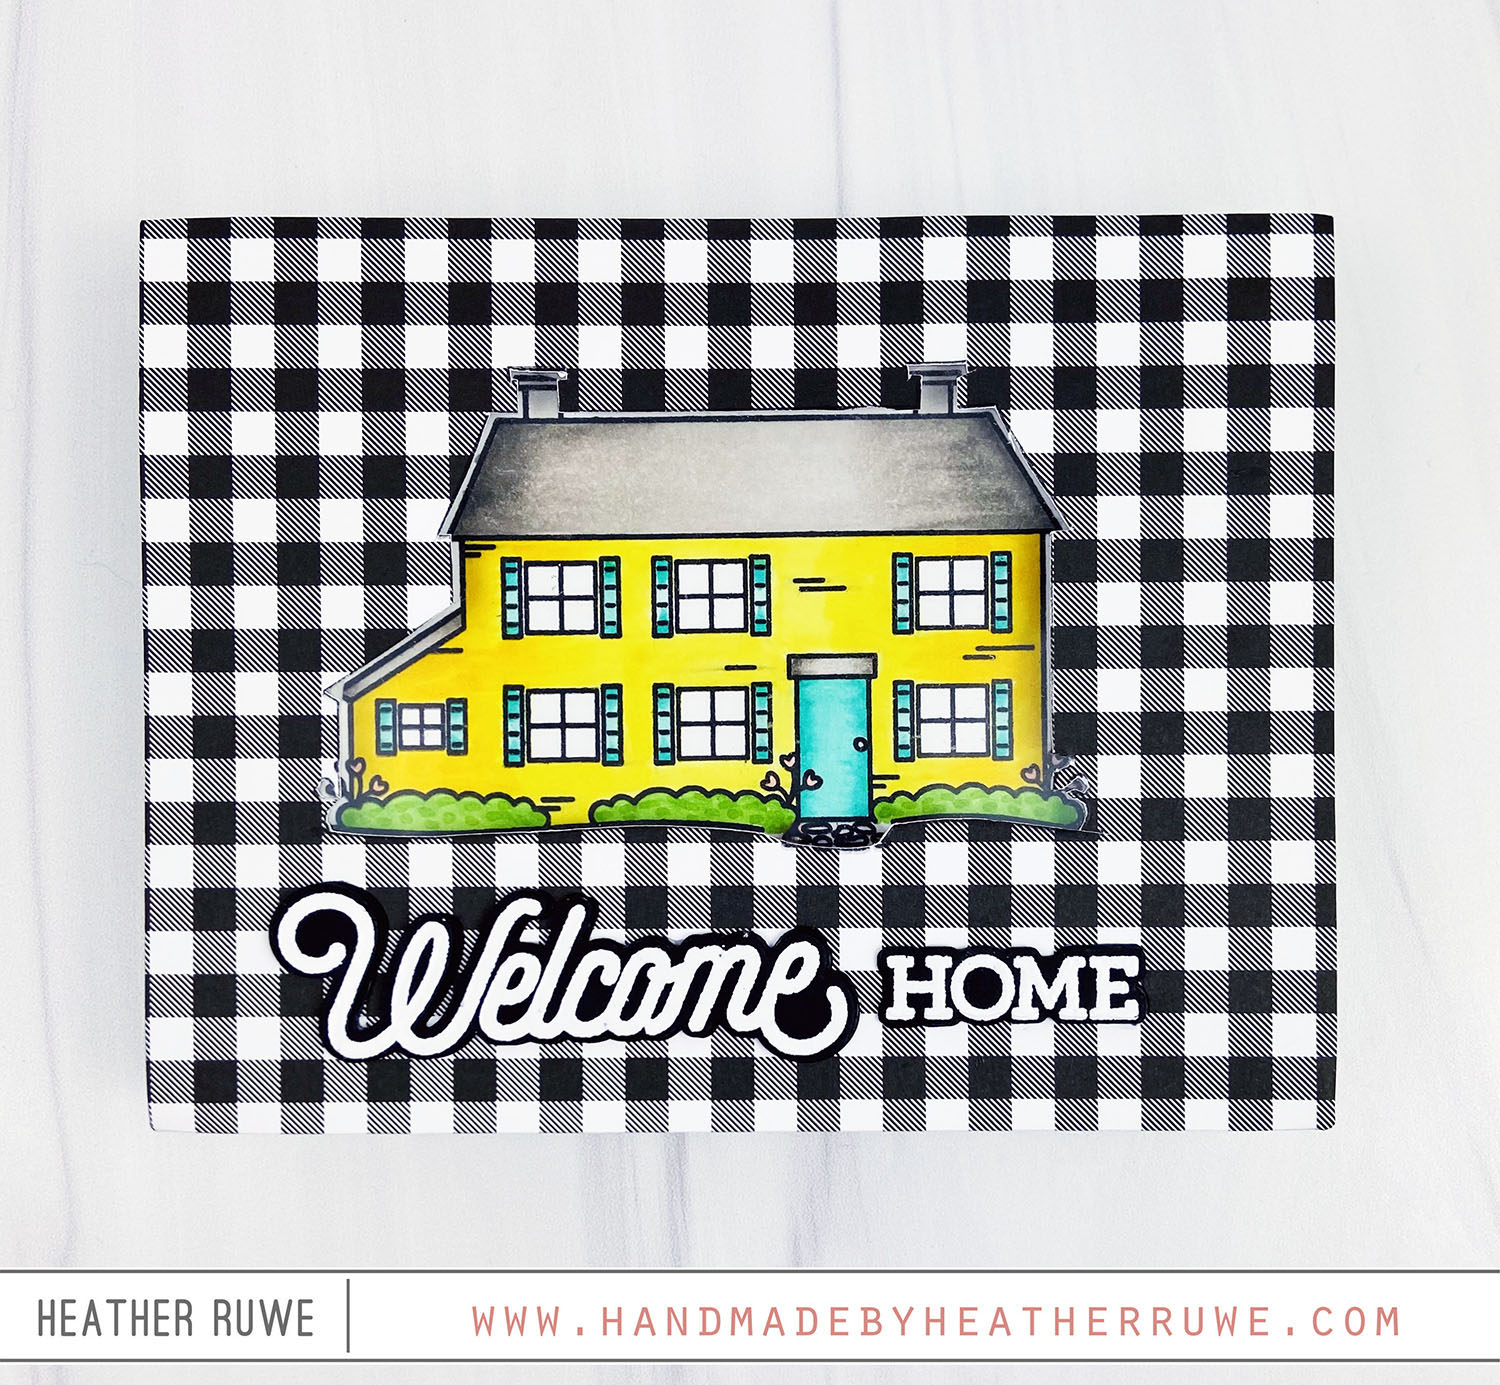
Hello, crafty friends. I’m back with a fun shaker card featuring products from THIS release… I started by stamping THIS house image on a white card stock panel and coloring with with Copic Markers. I stamped it again on a piece of THIS patterned paper and fussy cut it out. I didn’t have the coordinating die at the time so I poked my scissors in the center of the image to create a hole...
Big Thanks Autumn Card Kit
Hello there, crafty friends. I’m sharing two shaker cards today featuring THIS card kit from Simon Says Stamp. For the first card… I stamped one of the patterned papers with THIS background stamp using THIS ink. I adhered the piece to a top folding note card and then foiled one of the acetate sheets with one of the kit’s foils. The kit comes with a pack of multiple color foils. To foil the printed...
Let’s Connect Release Shaker Card
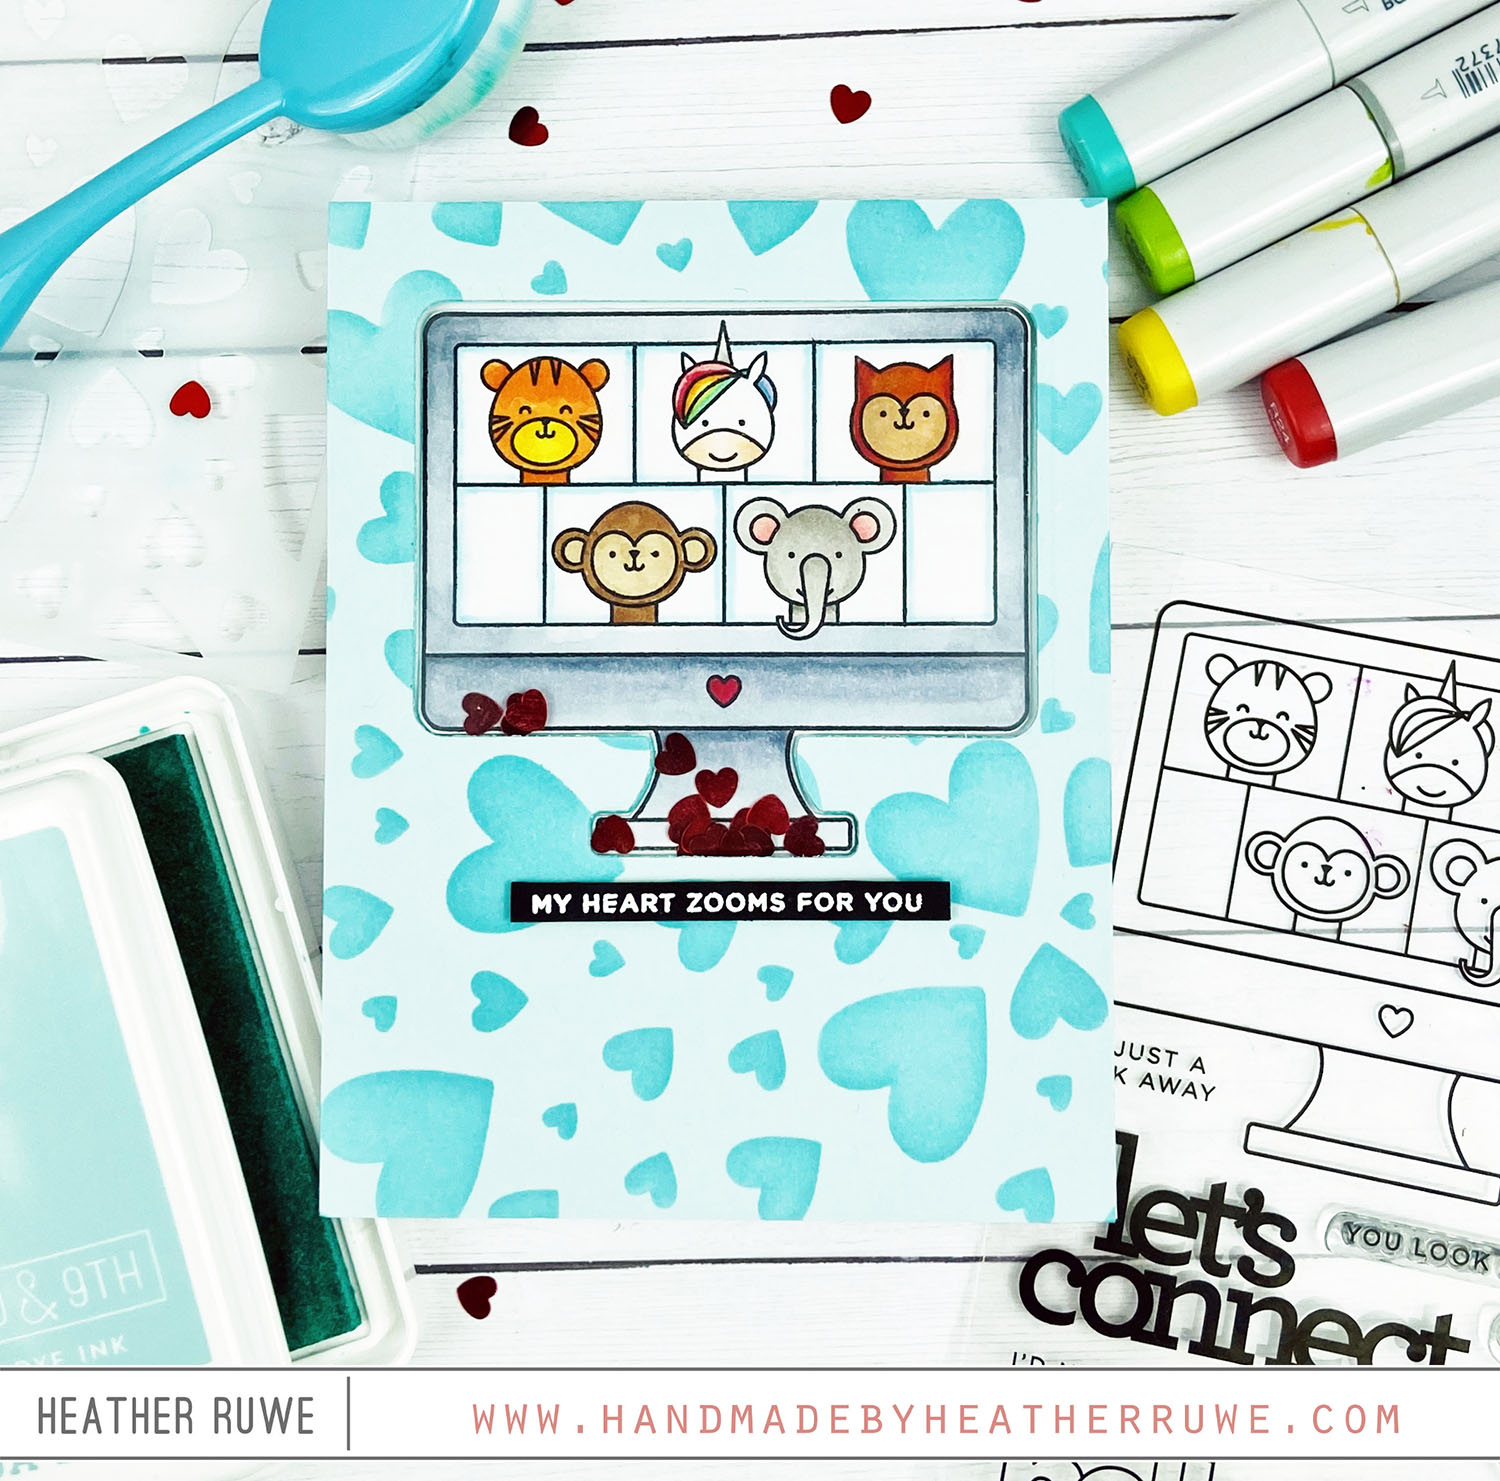
Hello there, crafty friends. I’m back with more inspiration from THIS release. This time I’m sharing a simple shaker card… I inked up THIS stencil on THIS card stock. I die-cut THIS coordinating die from the front. On the front panel of the card base, I stamped the computer image from THIS adorable stamp set. I temporarily adhered the stenciled panel to the front for correct placement. After coloring in the images, I adhered...
Window Frames Card Kit
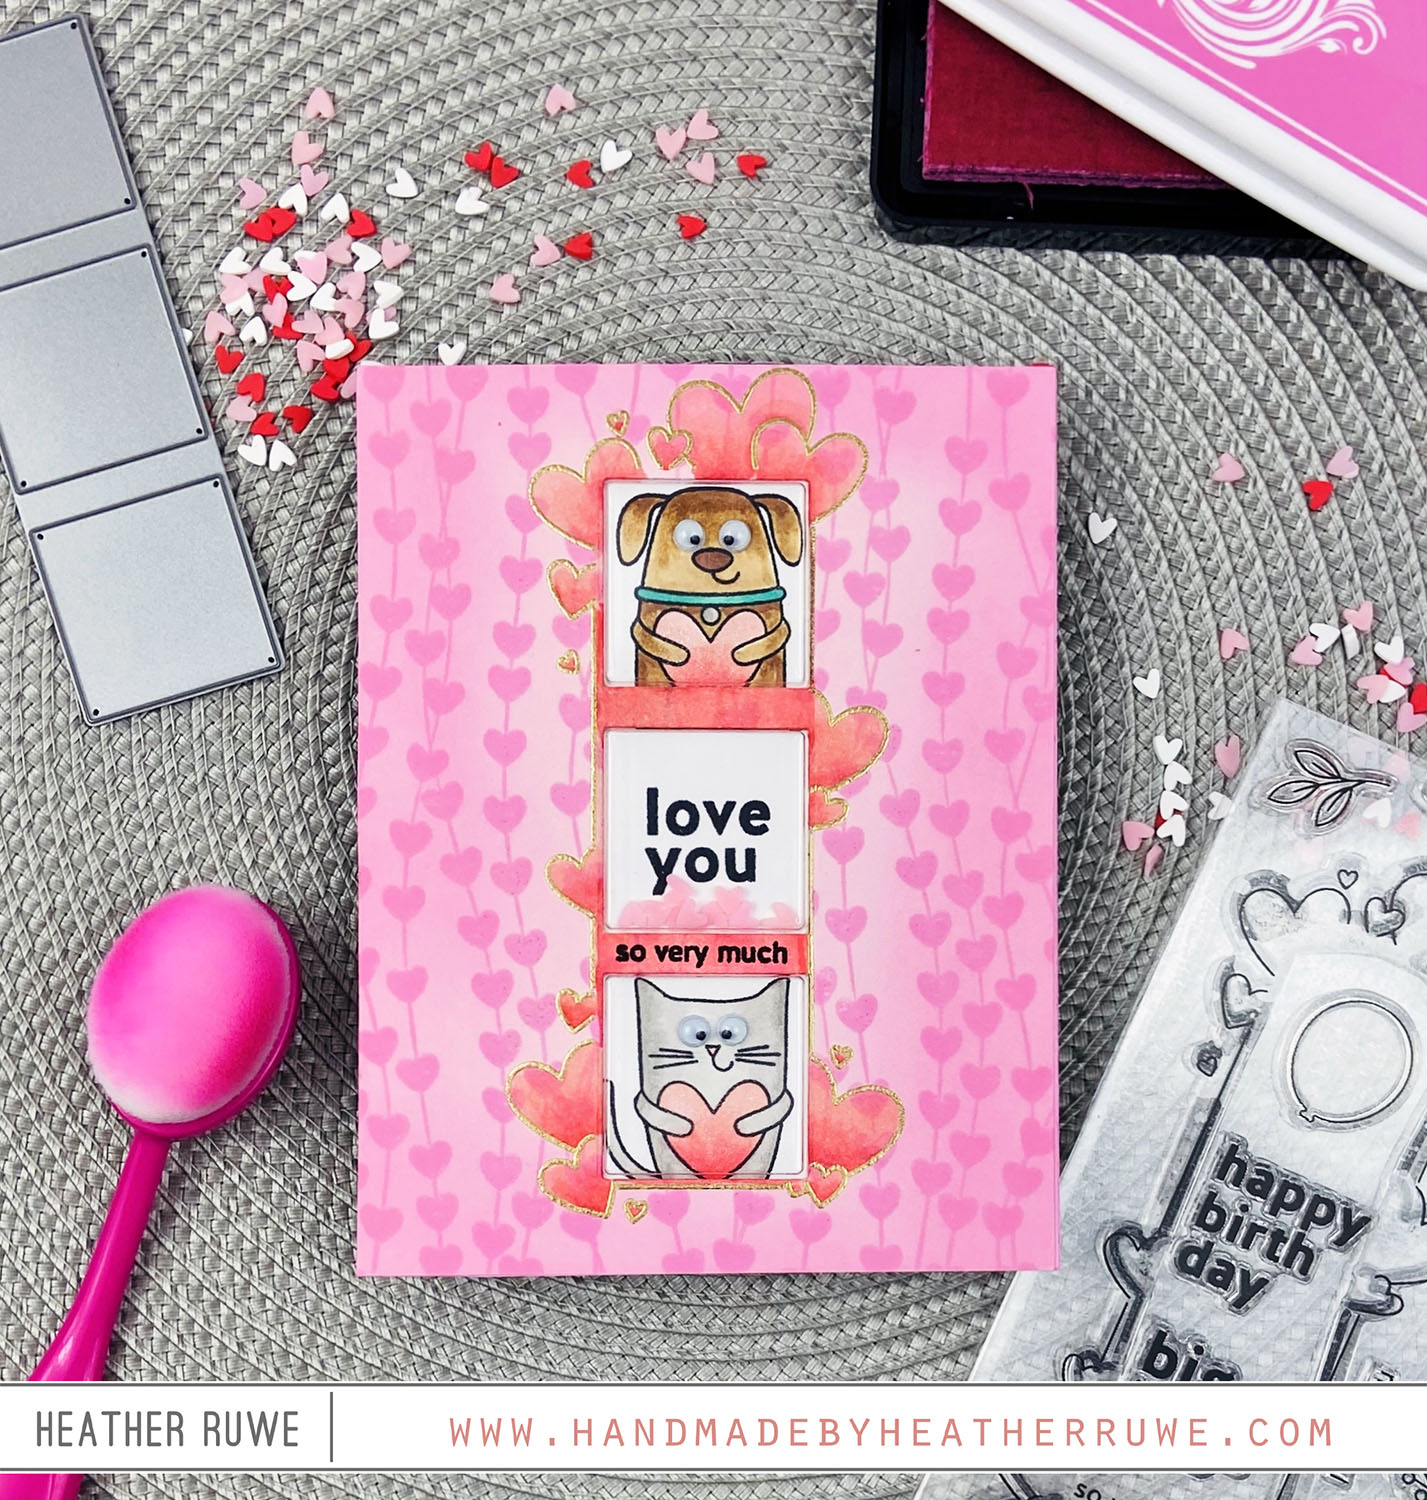
Hello, crafty friends. Simon Says Stamp just released their February Card Kit HERE and it is so clever! Check out the card I made using the kit… I started by stamping THIS background with THIS ink on to a pink card panel. I used a blending brush with the same ink and inked up the edges. I gold heat embossed the heart frame from the kit’s stamp set and used the kit’s trio window...

